Can I Use a Cricut Heat Press for Dtf Transfers
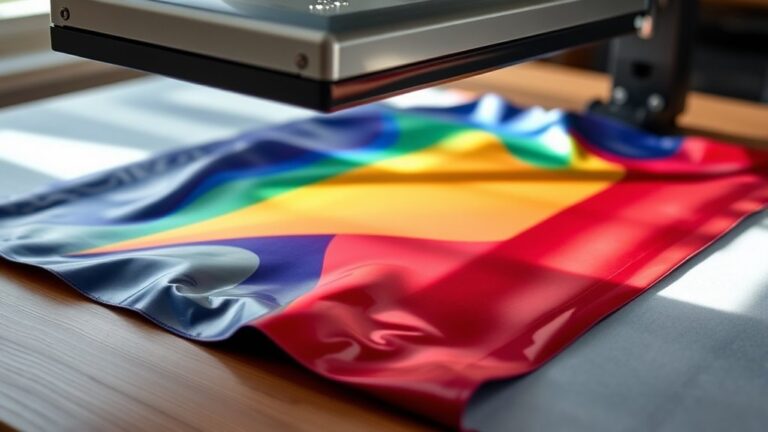
Yes, you can use a Cricut Heat Press for DTF transfers, making it a versatile tool for your crafting needs. Managing the temperature carefully, around 305-320°F, is essential to ensure proper adhesion and vibrant prints.
Applying firm, even pressure for about 15-20 seconds helps achieve the best results.
This heat press is ideal for small projects and occasional use, but it may not provide the consistent heat and durability that dedicated DTF machines offer.
Learning how to adjust your settings and handle materials properly is key to getting vibrant, lasting transfers.
There’s much more to explore about optimizing this process for the best outcomes in your DTF crafting.
Key Takeaways
- A Cricut Heat Press can be used for DTF transfers by applying consistent heat and pressure around 305-320°F for 15-20 seconds.
- It is suitable for small, occasional DTF projects but not ideal for high-volume or heavy-duty production.
- Preheating garments and testing settings help achieve better adhesion and vibrant transfer results.
- Use protective sheets and manual pressure adjustments to prevent residue buildup and ensure even heat distribution.
- Dedicated DTF machines provide superior temperature control, larger platen sizes, and better durability for extensive DTF use.
What Is a Cricut Heat Press and How Does It Work for DTF?
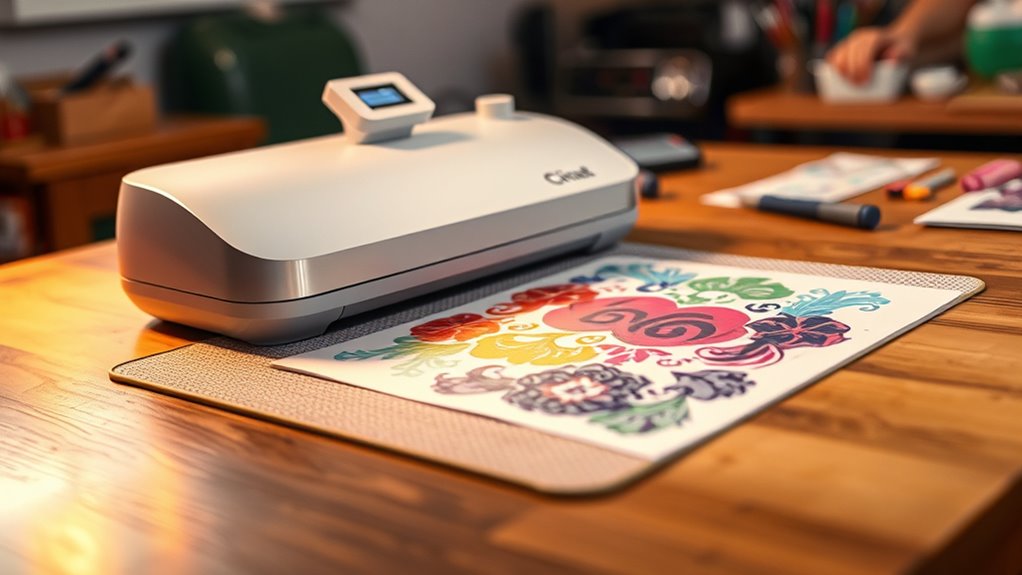
How does a Cricut Heat Press work for DTF transfers? When you use a Cricut Heat Press, you apply consistent heat and pressure to the DTF transfer film placed on your fabric. The press heats the special ink and adhesive on the transfer, bonding it firmly to your material.
You’ll set the temperature and time according to the DTF film’s requirements, usually around 320°F for 15 seconds. The even heat distribution ensures vibrant colors and strong adhesion. After pressing, you peel off the film’s backing while it’s still warm or cool, depending on the transfer type.
Using a Cricut Heat Press simplifies the process, giving you control for professional-looking DTF transfers without needing bulky or specialized equipment.
How Does DTF Transfer Differ From Vinyl and HTV?
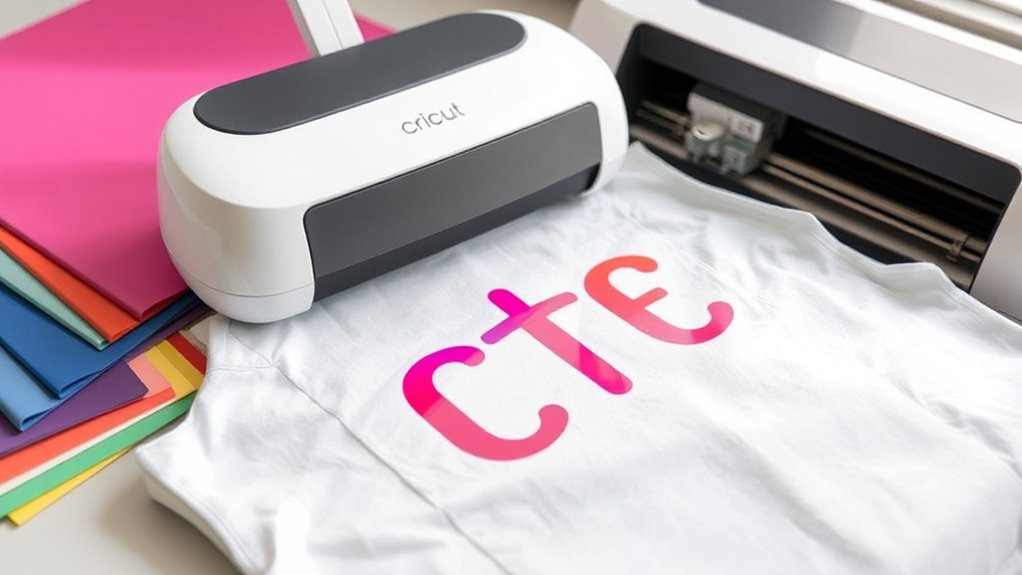
You’ll notice DTF transfers use a different material composition compared to vinyl and HTV, which affects how they bond to fabrics. The application process also varies since DTF requires a heat press to cure the ink and adhesive properly.
Understanding these differences will help you get the best results with your Cricut heat press.
Material Composition Differences
Although DTF transfers, vinyl, and HTV all serve as popular methods for decorating fabric, their material compositions vary considerably. DTF transfers use a specialized powdered adhesive that’s printed onto a PET film along with the design. When heat is applied, the powder melts and bonds the ink directly to the fabric fibers.
Vinyl, on the other hand, is a solid, flexible plastic sheet cut into shapes or letters, which you then press onto your fabric. HTV (Heat Transfer Vinyl) is similar to vinyl but specifically designed to activate with heat, featuring a heat-sensitive adhesive backing. Understanding these differences helps you choose the right transfer type for your project and guarantees you use the correct equipment for successful results.
Application Process Variations
Because each transfer type involves different materials, the application process for DTF transfers varies substantially from vinyl and HTV. When you apply DTF transfers, you’ll start by positioning the printed film on your fabric, then use a heat press—like your Cricut heat press—to melt the adhesive powder and bond the ink to the garment. This requires a specific temperature and pressure setting, usually around 320°F for 15 seconds, differing from HTV’s longer pressing time and cooler temperature.
Vinyl and HTV need you to weed excess material and often use a carrier sheet, while DTF transfers come pre-coated with adhesive, eliminating weeding. Also, DTF works well on a broader range of fabrics, so you’ll notice the process is quicker and more versatile compared to vinyl or HTV.
Can a Cricut Heat Press Handle DTF Transfers?
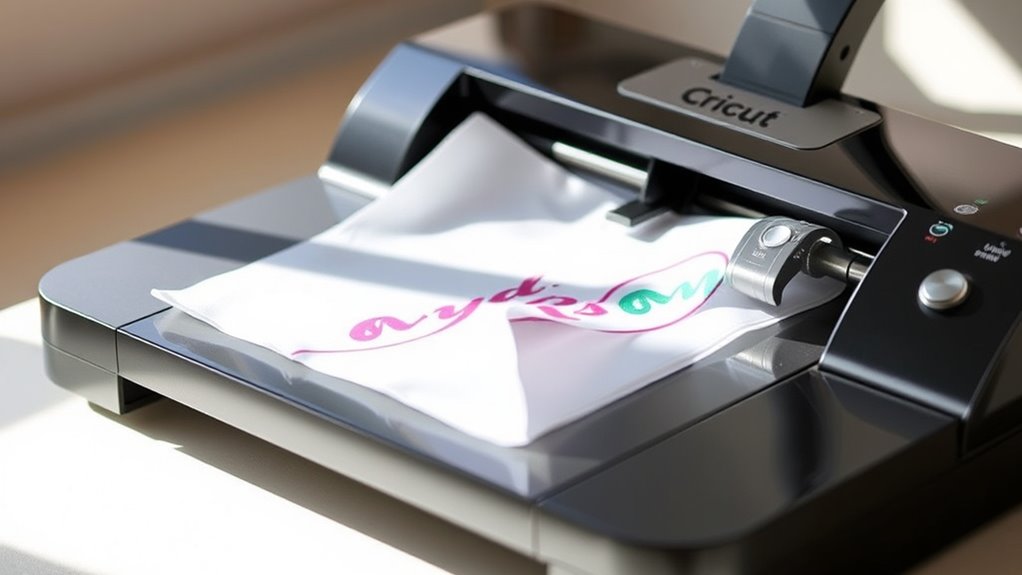
You’ll want to check if your Cricut heat press can reach the high temperatures needed for DTF transfers, usually around 300°F. Pressure and timing are just as important, and your press should allow adjustments to get those settings right.
Making certain your machine can handle these factors will help ensure successful DTF transfers.
Heat Press Temperature Limits
When working with DTF transfers, understanding your Cricut heat press’s temperature limits is essential to achieving a successful application. Most Cricut heat presses reach a maximum temperature around 400°F (204°C), which generally suits DTF transfer requirements, typically between 330°F to 350°F (165°C to 177°C). This means your Cricut heat press can handle the necessary heat without overheating or damaging the transfer.
However, keep in mind that some Cricut models might have slightly lower maximum temps, so always check your specific press’s manual. Staying within the recommended temperature range ensures the adhesive properly melts and bonds to the fabric. Avoid exceeding your heat press’s limits, as pushing beyond can harm both your press and project quality.
Pressure And Time Settings
Although temperature is essential, pressure and time settings play an equally important role in ensuring your DTF transfers adhere properly when using a Cricut heat press. You’ll want to apply firm, even pressure to make sure the transfer bonds well with your fabric. Most DTF transfers require medium to high pressure; if your Cricut heat press doesn’t allow adjustable pressure, you might need to add a heat-resistant mat or padding to increase pressure.
As for time, DTF transfers typically need around 15-20 seconds at the right temperature. Using too little time can cause poor adhesion, while too much can damage the print or fabric. Always test a small sample first to dial in the perfect pressure and timing for your setup.
How to Adjust Your Cricut Heat Press for DTF Transfers
Since DTF transfers require specific heat and pressure settings to adhere properly, adjusting your Cricut Heat Press correctly is crucial. Start by setting the temperature to around 305°F (150°C), which works well for most DTF films. Next, adjust the pressure: you want firm, even pressure without crushing the garment or transfer.
Use the press’s pressure knob or lever to find that balance. Set the timer between 15 to 20 seconds; this ensures the adhesive bonds without overheating. Before pressing your final design, test on a scrap piece to fine-tune these settings.
Also, preheat your garment briefly to remove moisture, which helps the transfer stick better. With these adjustments, you’ll get crisp, durable DTF transfers using your Cricut Heat Press.
Choosing the Best DTF Films and Inks for Cricut Heat Press
Getting your heat press settings right is just part of the process—choosing the right DTF films and inks will make a big difference in the quality and durability of your transfers. You want films that offer excellent adhesion and vibrant colors, so your designs pop and last wash after wash.
Look for inks that cure well under your Cricut heat press’s temperature range without fading or cracking.
When selecting DTF films and inks, consider:
- Bright, vivid colors that resist fading
- Strong adhesive properties for long-lasting wear
- Compatibility with your Cricut heat press temperature
- Flexibility to prevent cracking on fabric movement
- Ease of peeling for smooth application
How to Apply DTF Transfers With a Cricut Heat Press
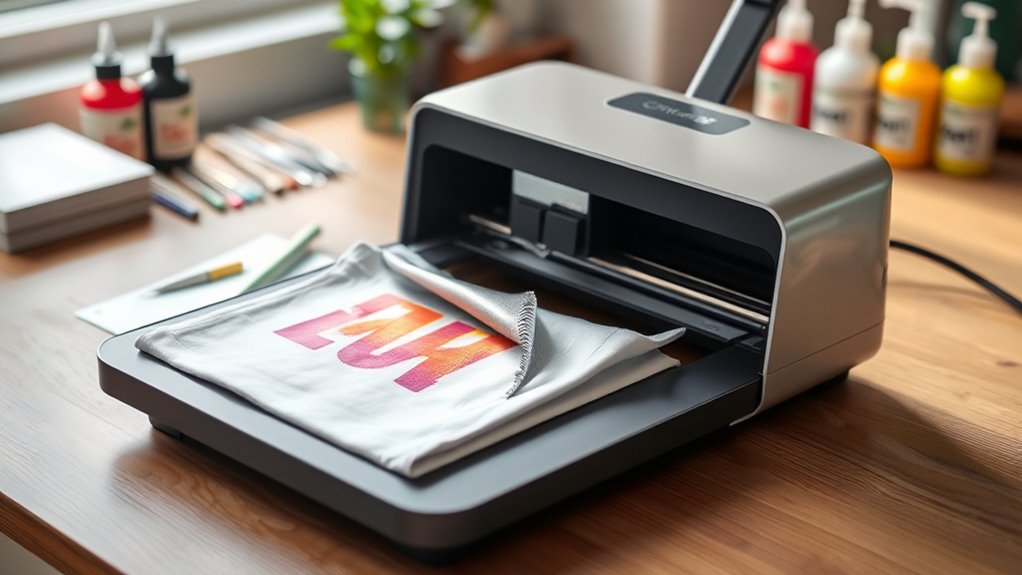
When you’re ready to apply your DTF transfers using a Cricut heat press, setting up your workspace and preparing both the garment and transfer properly will guarantee the best results. Start by preheating your Cricut heat press to around 320°F (160°C). Lay your garment flat on the press, ensuring no wrinkles.
Position the DTF transfer print side up on the fabric, then cover it with a non-stick parchment sheet or Teflon sheet to protect both the transfer and press. Apply firm pressure for about 15-20 seconds, depending on your material. Once pressed, let the transfer cool slightly before peeling the film off carefully.
Following these steps guarantees a smooth, vibrant finish that lasts, making your Cricut heat press a reliable tool for DTF transfers.
Common DTF Transfer Problems and Fixes for Cricut Heat Press
Applying DTF transfers with your Cricut heat press can yield great results, but you might still encounter some common issues. Don’t worry—most problems have simple fixes.
- Peeling too soon: Wait for the transfer to fully cool to avoid lifting or tearing.
- Incomplete transfer: Increase your press time or temperature slightly, ensuring even pressure.
- Blurry or faded images: Check your ink quality and make sure your print is vibrant before pressing.
- Transfer sticking to the film: Use the recommended pressing time and avoid overheating.
- Wrinkles or bubbles: Smooth your garment and transfer before pressing for a clean finish.
How Cricut Heat Presses Compare to Dedicated DTF Machines
Although Cricut heat presses offer convenience and versatility, they differ markedly from dedicated DTF machines in performance and features. When you use a Cricut heat press, you get a compact, user-friendly tool designed primarily for smaller projects and various heat transfer types.
However, dedicated DTF machines excel in consistent temperature control, pressure distribution, and larger platen sizes, which are essential for high-quality DTF transfers. You’ll notice that dedicated machines often have advanced features like adjustable pressure settings and quicker heat-up times, optimizing your workflow for volume and precision.
While a Cricut heat press can handle occasional DTF transfers, it may fall short in providing the uniformity and durability you’d get from a purpose-built DTF heat press, especially if you plan frequent or large-scale production.
Tips to Extend Your Cricut Heat Press’s Life When Doing DTF Transfers
Since Cricut heat presses aren’t specifically designed for heavy-duty DTF transfers, you’ll need to take extra care to keep yours running smoothly.
Treat your machine gently and follow these tips to extend its life:
Care for your heat press with gentle use and simple steps to ensure it lasts longer.
- Avoid overheating by sticking to recommended temperature settings for DTF.
- Use a protective sheet between the heat press and transfers to prevent residue build-up.
- Clean the heat platen regularly with a soft cloth to remove adhesive or ink.
- Limit continuous use; allow your press to cool down between batches.
- Handle transfers carefully to avoid unnecessary pressure or jams.
Frequently Asked Questions
Can I Use a Cricut Heat Press for Other Types of Heat Transfers?
Yes, you can use your Cricut heat press for various heat transfers like HTV, sublimation, and vinyl. Just adjust the temperature and time settings to match the material requirements for the best results every time.
Using the correct settings ensures your projects come out perfectly. Always refer to the material guidelines before pressing. This helps prevent damage and achieves optimal results.
What Safety Precautions Should I Take When Using a Cricut Heat Press?
Wear heat-resistant gloves, avoid loose clothing, keep your workspace clear, and never leave the press unattended. Always follow manufacturer guidelines, use proper ventilation, and allow the press to cool before storing to stay safe and efficient.
How Long Does a Cricut Heat Press Typically Last With Regular Use?
A Cricut heat press typically lasts about 3 to 5 years with regular use. You’ll want to maintain it properly and avoid overheating to extend its lifespan and keep it working efficiently for your projects.
Are There Specific Maintenance Tips for Cricut Heat Presses?
You might think maintenance is complicated, but it’s simple. You should clean the heat plate regularly, check for loose parts, and avoid using harsh chemicals.
Doing this keeps your Cricut heat press working smoothly and lasting longer.
Can I Use a Cricut Heat Press on Different Fabric Types?
Yes, you can use a Cricut heat press on different fabric types. Just adjust the temperature and time settings based on the fabric’s heat tolerance to avoid damage and guarantee your transfers adhere properly every time.
Conclusion
Using your Cricut heat press for DTF transfers is like steering a versatile ship through new waters—you just need the right adjustments and care. With proper settings, quality films, and a bit of patience, you can navigate DTF projects successfully.
Remember, fine-tuning your press and understanding DTF’s unique needs will keep your creations vibrant and your machine running smoothly.
So, set sail confidently and make your heat press work wonders beyond vinyl! Using a Cricut heat press for DTF transfers is definitely possible with the right techniques and equipment.