How to Clean a Heat Press Machine? A Complete Guide
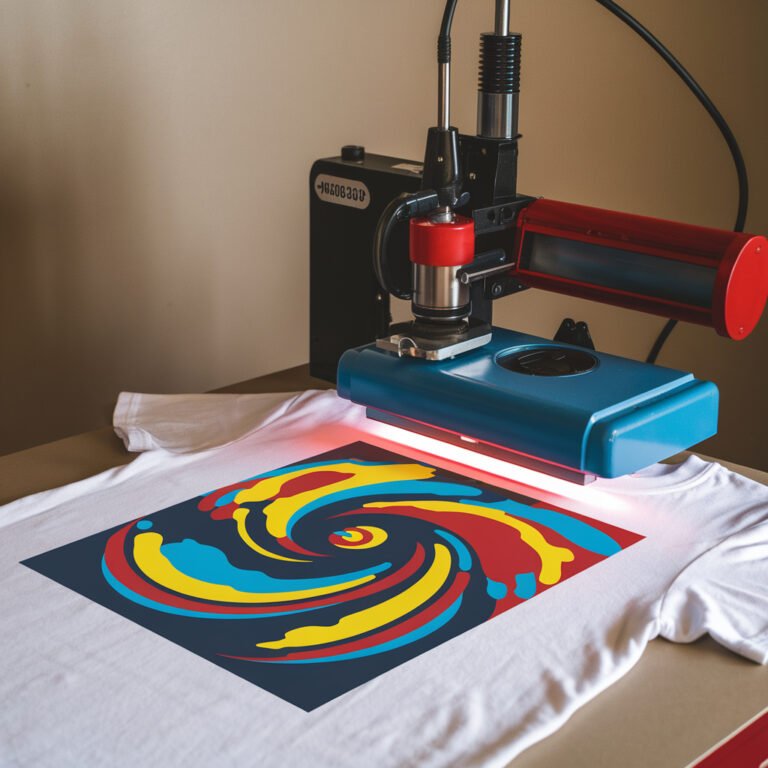
A heat press machine is an essential tool for businesses and hobbyists involved in custom apparel, sublimation printing, and other heat transfer projects.
Over time, the machine can accumulate residue from transfers, adhesives, and ink, leading to reduced performance, uneven transfers, or even damage to the substrate being printed. Regular maintenance, particularly cleaning, is crucial to prolong the machine’s lifespan and ensure optimal transfer results.
In this article, we’ll take you through a comprehensive step-by-step guide on how to clean your heat press machine, the tools you’ll need, cleaning specific parts of the machine, as well as tips on how to maintain it effectively for long-term use.
Why Cleaning Your Heat Press Machine Is Important?
Heat press machines endure constant exposure to high temperatures, pressure, and various transfer materials. Without regular cleaning, these factors can lead to the buildup of grime and residue on the heat platen, lower platen, and other parts of the machine.
Key reasons to clean your heat press machine regularly include:
- Maintaining Performance: Dirt, adhesive residues, or ink on the heat platen can affect temperature consistency, leading to uneven transfers.
- Prolonging Machine Life: Proper maintenance reduces wear and tear on the machine’s components, extending its service life.
- Preventing Transfer Failures: Residue buildup can cause your transfers to stick improperly or ruin the quality of your designs.
- Protecting Your Materials: Unclean platens may transfer residue or dirt onto the fabric or substrate, leading to unwanted marks or ruined garments.
Tools You’ll Need for Cleaning
Before you begin cleaning your heat press machine, gather the following materials to ensure a smooth cleaning process:
- A non-abrasive cloth or microfiber towel
- A heat press cleaner (designed specifically for heat press platens)
- Isopropyl alcohol (90% or higher concentration) or mild soap and water solution
- Teflon sheet or protective sheet
- Heat-resistant gloves (optional)
- Plastic scraper or rubber spatula (for tough residues)
- Compressed air canister (for dusting)
- A lint roller
Step-by-Step Guide to Cleaning Your Heat Press Machine
1. Unplug the Machine and Let It Cool Down
Safety first: Before cleaning any part of your heat press machine, make sure it is unplugged and has cooled down. Even though the heat platen may retain heat for some time, allowing it to cool sufficiently prevents burns or accidents during cleaning.
However, cleaning is most effective when the platen is slightly warm, as this makes it easier to remove sticky residue. If the machine has cooled completely, plug it back in briefly to heat the platen, but don’t overheat it. Warm to the touch (not hot) is optimal.
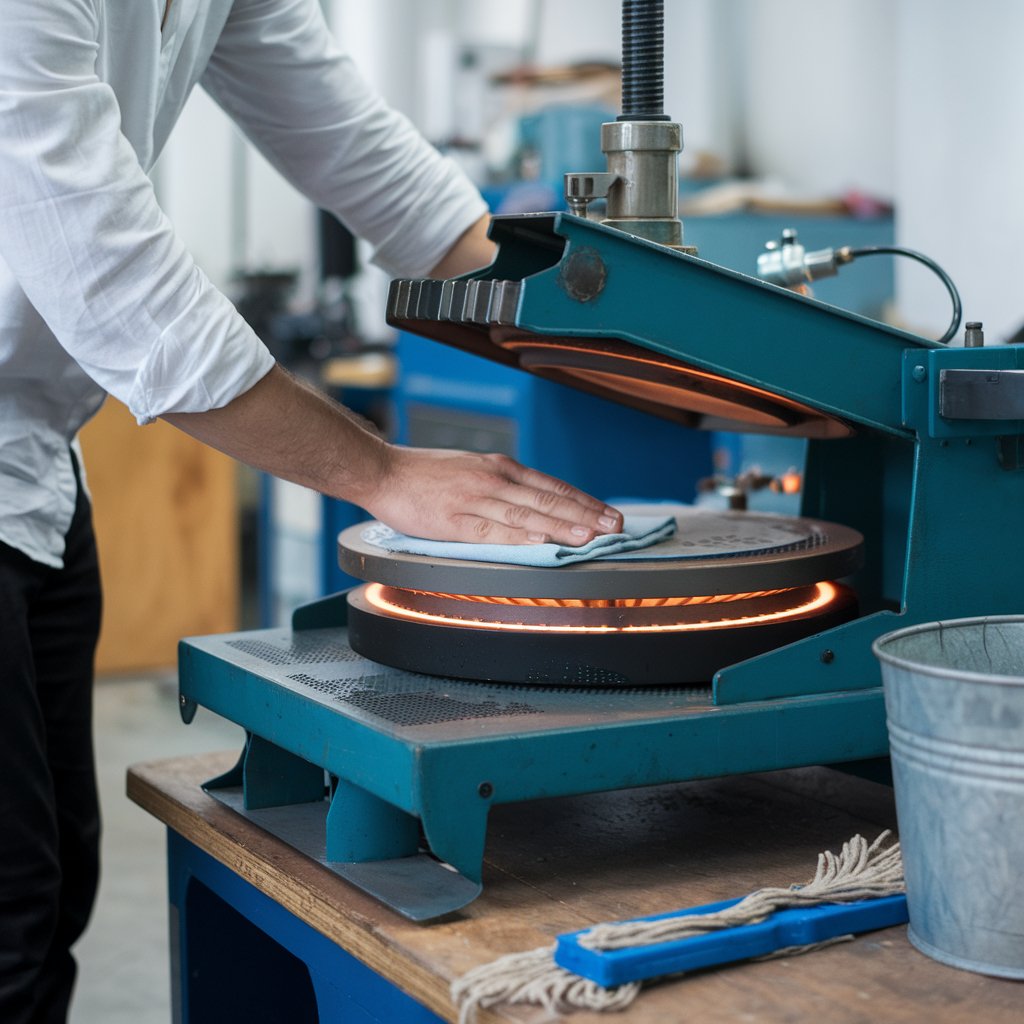
2. Cleaning the Upper Heat Platen
The heat platen is the most important part of the heat press machine, and it requires regular attention since this is where residues from transfers, adhesives, and inks tend to accumulate.
- Use a Heat Press Cleaner: Specialized heat press cleaners are designed to clean the platen effectively without damaging the surface. These cleaners can remove adhesives and ink residues. Apply the cleaner to a soft, non-abrasive cloth or directly onto the heat platen, then gently scrub the surface.
- Use Isopropyl Alcohol: For light residue or grease stains, you can use a cloth dampened with isopropyl alcohol. Avoid soaking the cloth, as excess liquid may seep into electrical components. Gently wipe the platen in circular motions to clean away the residue.
- Scrape Off Tough Residue: If there is stubborn or sticky material stuck to the platen, use a plastic scraper or rubber spatula. Never use metal objects, as they can scratch or damage the heating surface. Once scraped off, wipe the area again with the cleaner or alcohol.
- Avoid Abrasive Materials: The heat platen has a smooth coating that ensures even heat distribution. Using abrasive cleaning materials like steel wool or harsh chemicals can scratch the surface and interfere with the press’s ability to transfer heat effectively.
3. Clean the Lower Platen (Silicone Pad)
The lower platen, where you place the fabric or substrate, is usually covered with a silicone rubber pad. This pad can also accumulate dirt, lint, or small bits of adhesive.
- Wipe with a Damp Cloth: Use a cloth slightly dampened with water or a mild soap solution to wipe away any dirt, dust, or lint. Be gentle with the silicone pad, as it can tear if treated harshly.
- Remove Adhesive Residue: If adhesives from vinyl transfers or sublimation papers are stuck on the silicone pad, carefully use a scraper to remove them. Avoid using strong solvents on the silicone pad, as they can degrade the material over time.
- Check for Damage: While cleaning, inspect the silicone pad for cracks, wear, or tears. If it’s damaged, it’s recommended to replace it, as it could lead to uneven pressure distribution during heat transfers.
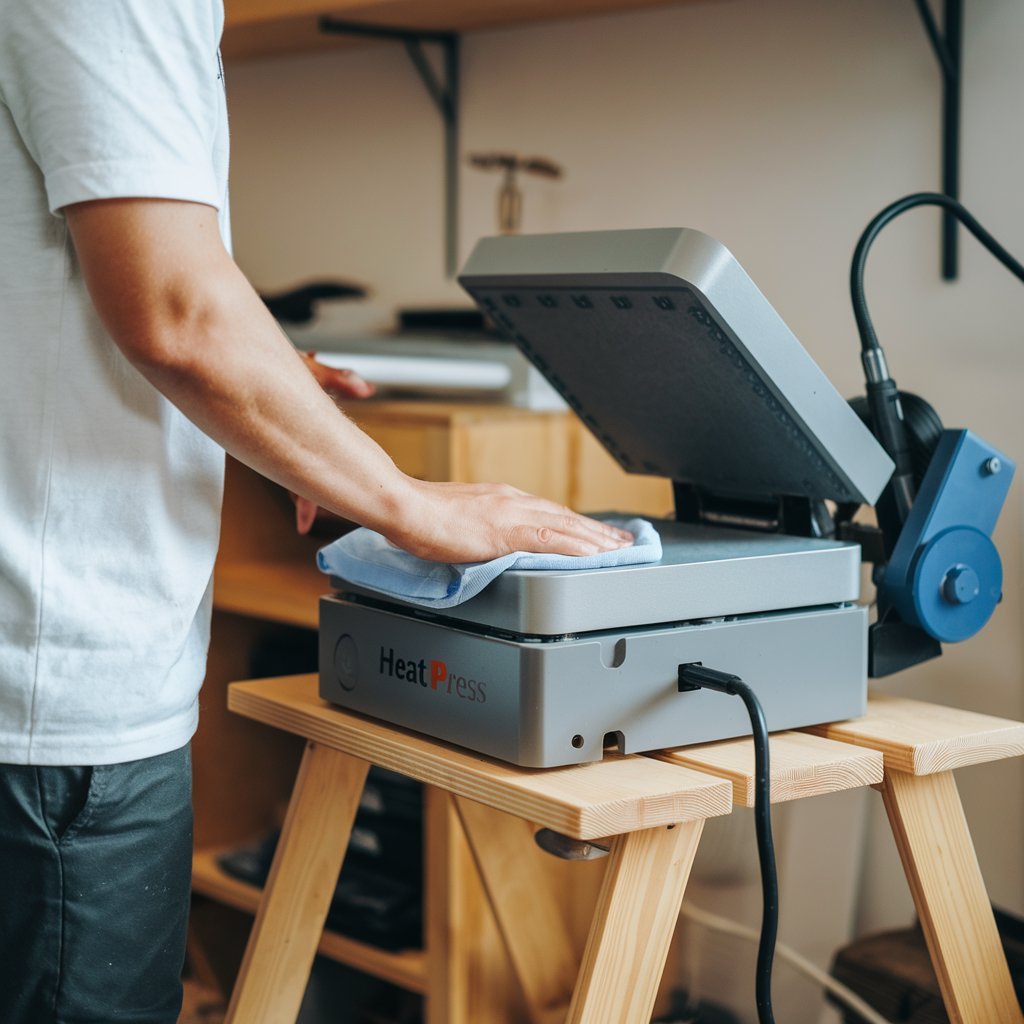
4. Cleaning the Exterior of the Machine
The exterior of your heat press machine can collect dust and dirt over time, especially if it’s in a workshop or production environment.
- Dust with a Lint-Free Cloth or Compressed Air: Use a cloth to wipe down the machine’s exterior, removing dust and dirt. If necessary, use a can of compressed air to blow away dust from crevices, control panels, or around buttons.
- Clean the Control Panel: The control panel can become smudged or dusty, affecting the visibility of the settings. Use a damp cloth with a mild soap solution to wipe down the panel. Avoid getting moisture inside the electronic components.
5. Maintain the Heat Press Machine
- Use a Teflon Sheet: One way to minimize the buildup of adhesives or ink on your heat platen is by using a Teflon sheet during transfers. This sheet acts as a barrier between the platen and your substrate, catching any residue. Make sure to clean the Teflon sheet regularly as well.
- Inspect and Replace Parts: Over time, heat press machines experience wear on parts like the silicone pad, pressure knobs, or gas shocks (in swing-away presses). Regularly inspect these parts and replace them if they show signs of excessive wear.
- Lubricate Moving Parts: For machines with moving parts, like swing-away heat presses, applying a light lubricant (according to the manufacturer’s instructions) can keep them operating smoothly.
- Check Electrical Components: Periodically, check the power cord and plug for signs of wear or damage. Loose or frayed cords should be replaced immediately to prevent electrical hazards.
6. Establish a Regular Cleaning Routine
To keep your heat press machine in top working condition, establish a regular cleaning and maintenance schedule based on your frequency of use. For example, if you use the machine daily for production, it’s advisable to wipe down the platen and lower pad after every few uses to prevent buildup.
Additional Tips for Maintaining Your Heat Press Machine
- Use Heat-Resistant Gloves: If you need to clean the machine while it is still slightly warm, wear heat-resistant gloves to protect yourself from burns.
- Store in a Clean, Dry Environment: Keeping your heat press in a clean and dry area prevents dust buildup and reduces the likelihood of rust or other environmental damage.
- Avoid Overheating the Machine: Overheating can cause components to wear faster. Always use the machine at the recommended temperature settings for your specific materials.
- Clean Immediately After Accidents: If a transfer goes wrong and adhesive or ink gets on the platen, clean it immediately. Letting residue cool and harden makes it harder to remove later.
Wrapping Up!
Cleaning your heat press machine regularly is essential for ensuring optimal performance, protecting your transfers, and extending the machine’s lifespan. By following the steps outlined in this guide cleaning the upper platen, lower platen, and exterior components you’ll be able to maintain a well-functioning heat press.
Additionally, practicing preventive care with Teflon sheets, proper storage, and routine inspections will keep your machine running smoothly and efficiently for years to come.