Can You Heat Press Vinyl on Leather
Yes, you can heat press vinyl on leather safely by carefully preparing the surface and using the right settings. Heat pressing vinyl on leather requires attention to detail to ensure the leather is not damaged during the process.
Proper cleaning and pre-pressing help remove moisture and create a smooth base for the vinyl to adhere.
Use heat transfer vinyl like polyurethane with medium pressure at about 270°F for 10-15 seconds. Always protect the leather with parchment or Teflon sheets to avoid heat damage.
These steps are essential for achieving a durable and attractive finish.
If you want to get the best results without ruining your leather, there are important tips and techniques you’ll want to explore. Following these guidelines ensures your design looks great and your leather stays in excellent condition.
Key Takeaways
- You can heat press vinyl on leather using moderate temperatures around 270°F to avoid damage and ensure proper adhesion.
- Use heat transfer vinyl types like PU or stretch vinyl that flex with leather’s texture for durability and flexibility.
- Always place a protective barrier such as Teflon sheet between the leather and heat press to prevent scorching or sticking.
- Apply medium pressure evenly and peel the vinyl carrier warm to minimize wrinkles, bubbles, and surface disturbance.
- Test on a small area first, as excessive heat or pressure can dry, discolor, or damage leather fibers.
Is It Safe to Heat Press Vinyl on Leather?
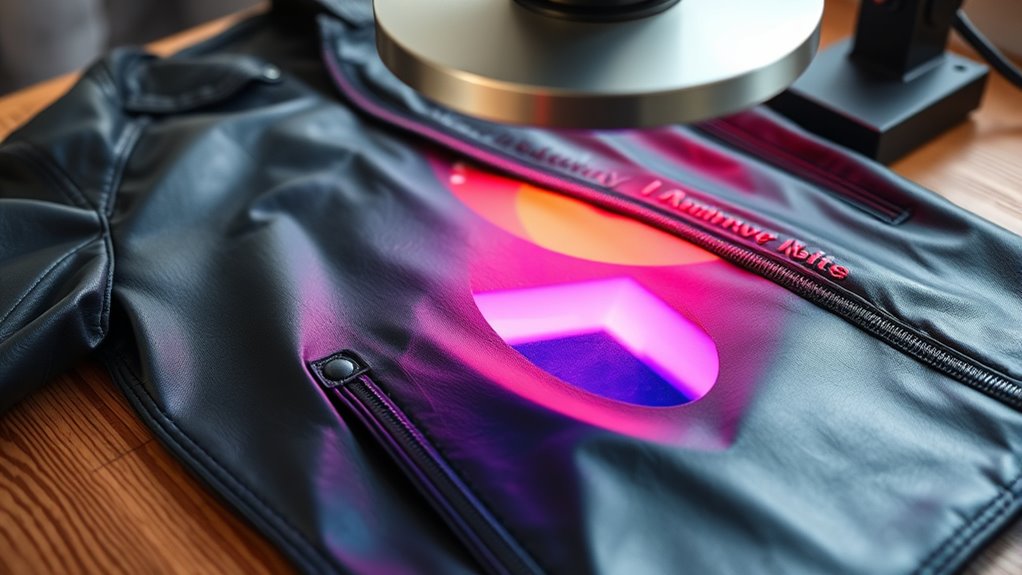
How safe is it to heat press vinyl on leather? You can safely heat press vinyl on leather if you take proper precautions. Leather is sensitive to high temperatures, so you’ll want to use a lower heat setting and shorter pressing time than you might with fabric.
Always test on a scrap piece first to avoid damaging your project. Make sure the leather is clean and dry before pressing. Use a protective sheet, like a Teflon sheet or parchment paper, between the heat press and the vinyl to prevent scorching or melting.
Avoid applying too much pressure, as leather can get indented or misshapen. By controlling temperature, time, and pressure, you’ll preserve your leather’s quality while getting a strong vinyl bond.
Best Vinyl Types for Heat Pressing on Leather
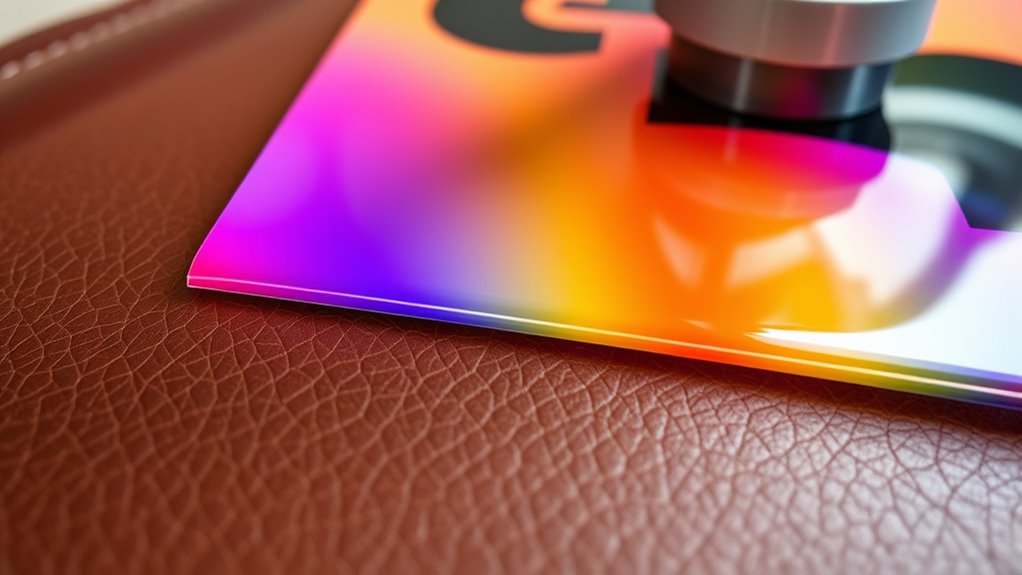
You’ll want to choose a durable heat transfer vinyl that can handle the unique texture of leather. Pay close attention to adhesive strength to guarantee your design sticks without peeling.
Also, flexibility is key so the vinyl moves naturally with the leather’s surface.
Durable Heat Transfer Vinyl
Although leather presents unique challenges for heat pressing, choosing durable heat transfer vinyl (HTV) can make your designs last through wear and time. You want vinyl that withstands leather’s flexibility and surface texture without cracking or peeling.
Here are four durable HTV types to evaluate:
- Polyurethane (PU) Vinyl – Flexible and soft, perfect for maintaining leather’s natural feel.
- Polyester (PET) Vinyl – Offers strong durability and resists fading over time.
- Glitter Vinyl – Adds sparkle without sacrificing longevity if applied correctly.
- Metallic Vinyl – Provides a sleek finish and holds up well under stress.
Using these vinyl types helps your leather projects stay vibrant and intact, making your heat-pressed designs truly stand out.
Adhesive Strength Considerations
Picking the right vinyl is only part of the equation; you also need to take into account how well the adhesive bonds to leather. Leather’s natural oils and texture can make adhesion tricky, so choosing a vinyl with a strong, flexible adhesive layer is essential. Not all adhesives are designed to grip leather surfaces effectively, which can lead to peeling or lifting over time.
Here’s a quick comparison of common vinyl adhesives for leather:
| Vinyl Type | Adhesive Strength on Leather |
|---|---|
| PU (Polyurethane) | High – bonds well, durable |
| PVC (Polyvinyl Chloride) | Moderate – may peel |
| Heat Transfer Vinyl (HTV) | Varies – choose leather-specific |
Always test a small area first to guarantee lasting adhesion.
Flexibility for Leather
Since leather naturally bends and stretches, the vinyl you choose must bend without cracking or peeling. You want a material that moves with the leather, maintaining durability and appearance over time.
Here are four vinyl types ideal for heat pressing on leather due to their flexibility:
- Stretch Vinyl – Designed to stretch with fabric, it adapts well to leather’s movements.
- Printable Flex Vinyl – Offers flexibility and vibrant colors, perfect for detailed designs.
- Soft PU Vinyl – Thin and pliable, it adheres well while remaining soft to the touch.
- Stretch Flock Vinyl – Adds texture and stretches comfortably without compromising adhesion.
Choosing the right flexible vinyl ensures your design lasts and keeps your leather looking great.
What Heat Does to Leather When Applying Vinyl
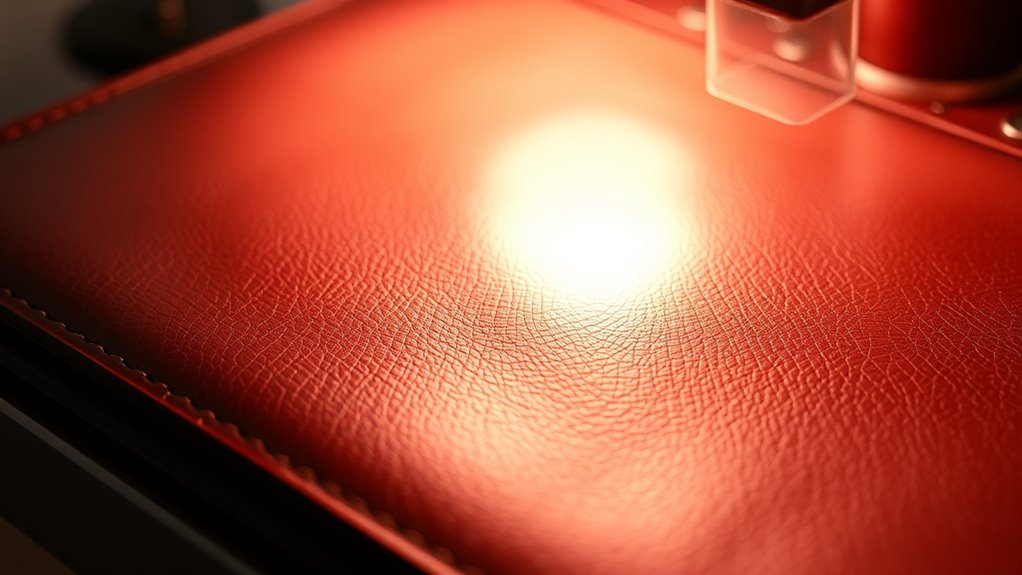
When you apply heat to leather, it can cause changes in texture and flexibility. Too much heat may dry out or stiffen the material, affecting its look and feel.
Understanding these effects helps you protect your leather while pressing vinyl.
Effects Of Heat Exposure
Although heat is necessary to apply vinyl to leather, it can alter the material’s texture and durability if not carefully controlled. When you expose leather to heat, you risk damaging its natural fibers, which impacts its longevity. You also might notice changes in color or finish, which can be irreversible.
To avoid these issues, it’s important to understand the specific effects heat exposure can have:
- Drying out the leather, causing stiffness and potential cracking.
- Weakening the adhesive properties, leading to poor vinyl adhesion.
- Discoloration or darkening, which affects the leather’s appearance.
- Warping or shrinking, altering the leather’s shape and fit.
Leather Texture Changes
Heat can markedly alter the texture of leather during vinyl application, and understanding these changes helps you protect your material. When you apply heat, the leather may stiffen or become slightly rougher, depending on its type and quality. The heat can cause natural oils in the leather to evaporate, leading to dryness and sometimes cracking if you’re not careful.
Additionally, the pressed area might develop a shiny or flattened appearance, which can contrast with the rest of the leather’s natural grain. To minimize texture changes, use a lower temperature setting and shorter pressing time. Always test on a scrap piece first.
Preparing Leather Surfaces for Heat Press Vinyl
Before applying vinyl, you’ll need to clean and condition the leather to guarantee proper adhesion. Dirt, oils, and residue can prevent the vinyl from sticking well, so preparing the surface is essential.
Follow these steps to get your leather ready:
- Wipe the leather with a damp cloth to remove dust and debris.
- Use a mild leather cleaner to eliminate oils and stains without damaging the material.
- Allow the leather to dry completely before moving on.
- Apply a leather conditioner to keep it supple, but avoid over-conditioning as it may interfere with vinyl adhesion.
Best Heat Press Settings for Leather
Once your leather is clean and conditioned, you’re ready to set up your heat press for the best results. Set the temperature between 270°F and 300°F (132°C to 149°C) to avoid damaging the leather. Use medium pressure—too much can leave marks, while too little won’t guarantee proper vinyl adhesion.
Keep the pressing time short, around 8 to 12 seconds, to prevent overheating or warping the leather surface. Always use a Teflon sheet or parchment paper between the vinyl and heat platen to protect both materials. Avoid steam or moisture during pressing, as leather is sensitive to water.
How to Test a Small Leather Area Before Full Application
Although testing a small area might seem like extra work, it’s essential to guarantee your heat press vinyl adheres properly without damaging the leather. This small step helps you avoid costly mistakes and guarantees your final design looks flawless.
Here’s how to test effectively:
- Choose an inconspicuous spot on the leather.
- Apply a small vinyl piece using your planned heat press settings.
- Let it cool, then check for any discoloration or texture changes.
- Peel the vinyl gently to see if it adheres securely without lifting or damaging the surface.
If the test area holds up well, you can confidently move forward with the full application. If not, adjust your temperature, pressure, or time before trying again.
Step-by-Step Guide to Heat Pressing Vinyl on Leather
Before you start heat pressing, make sure the leather surface is clean and smooth for the best results. You’ll also need to set your heat press to the right temperature and pressure based on the type of vinyl and leather.
Following these steps carefully will help your design stick perfectly without damaging the material.
Preparing Leather Surface
Getting your leather surface ready is essential to guarantee the vinyl adheres properly and lasts longer. Before you start, make sure you work on a clean, smooth area of leather.
Follow these steps to prepare your leather:
- Clean the surface: Use a damp cloth to remove dust, oils, and dirt. Avoid harsh chemicals that can damage leather.
- Dry thoroughly: Let the leather air dry completely to prevent moisture interference during pressing.
- Test the texture: Run your fingers over the leather; it should be smooth and flexible without cracks or rough patches.
- Use a protective barrier: Place a Teflon sheet or parchment paper over the leather to shield it during heat pressing.
Heat Press Settings
How do you achieve the perfect heat press settings for vinyl on leather? Start by setting your heat press to 270°F (132°C). This temperature is hot enough to activate the adhesive without damaging the leather.
Apply medium pressure—too much can leave marks, too little won’t bond properly. Set the timer for 10 to 15 seconds; longer exposure risks scorching the leather, shorter might not adhere well. Always use a Teflon sheet or parchment paper between the vinyl and the press to protect both materials.
Once the timer ends, peel the carrier sheet slowly and carefully while the vinyl is warm. Adjust settings slightly based on your leather’s thickness and type, but these guidelines give you a reliable starting point for clean, durable results.
How to Prevent Wrinkles and Bubbles on Leather Vinyl
When you apply heat press vinyl to leather, ensuring a smooth surface is essential to avoid wrinkles and bubbles. You want your design to look crisp and professional, so take these steps:
- Clean the Leather: Remove dust and oils to create a flat, adhesive-friendly surface.
- Use a Teflon Sheet: Place it between the heat press and vinyl to prevent sticking or scorching.
- Apply Even Pressure: Uneven pressure causes bubbles; adjust your press for consistent contact.
- Pre-Press the Leather: Briefly heat the leather beforehand to flatten creases and reduce moisture.
Caring for Leather After Heat Pressing Vinyl
After applying heat press vinyl to leather, the care you provide can make a big difference in maintaining both the design and the material’s quality. First, avoid exposing the leather to direct sunlight or excessive moisture, as this can cause fading or warping. Use a soft, damp cloth to gently clean the surface without scrubbing the vinyl.
Apply a leather conditioner sparingly around the vinyl area to keep the leather supple, but avoid getting conditioner on the vinyl itself, which could affect adhesion. Store your leather item in a cool, dry place and avoid folding the vinyl area to prevent creases. With these simple steps, you’ll preserve your heat-pressed design and keep the leather looking great for years to come.
Alternatives to Heat Pressing Vinyl on Leather
Although heat pressing vinyl onto leather is popular, you might want to explore alternatives that suit different projects or materials better. These options can offer more flexibility or preserve the leather’s integrity.
Here are four alternatives to *contemplate*:
- Adhesive Vinyl Stickers – Easy to apply and remove without heat, perfect for temporary designs.
- Fabric Glue and Vinyl Sheets – Use strong fabric glue to attach vinyl without heat, reducing leather damage risk.
- Screen Printing with Leather Ink – Provides durable, flexible designs tailored for leather surfaces.
- Embossing or Debossing – Creates a textured design directly on leather, offering a professional, heat-free finish.
Trying these methods can help you achieve great results without risking your leather’s quality or appearance.
Frequently Asked Questions
Can Heat Pressing Vinyl Damage the Color of Leather?
Yes, heat pressing vinyl can damage your leather’s color if you use too much heat or press too long.
Always test a small area first and use lower temperatures to protect your leather’s finish.
How Long Does Heat-Pressed Vinyl Typically Last on Leather?
You can expect heat-pressed vinyl on leather to last anywhere from one to three years.
You’ll enjoy vibrant designs, resist cracking, and maintain flexibility, as long as you care for the leather gently and avoid excessive heat or abrasion.
Is It Possible to Remove Vinyl From Leather Without Damage?
Yes, you can remove vinyl from leather, but you need to be careful. Use a gentle heat source like a hairdryer to soften the adhesive, then peel slowly.
Avoid harsh chemicals to prevent damaging the leather’s surface.
Can You Use Heat Press Vinyl on Synthetic Leather?
Sure, synthetic surfaces suit heat pressing vinyl splendidly. You’ll want to watch your temperature and timing carefully, or you risk ruining the material.
Test a tiny spot first to secure superb, lasting results without scorching or sticking issues.
Does Humidity Affect Heat Pressing Vinyl on Leather?
Yes, humidity affects heat pressing vinyl on leather. You’ll find that high humidity can cause moisture buildup, weakening adhesion and causing bubbling.
Keep your workspace dry to guarantee a smooth, lasting vinyl application on leather surfaces.
Conclusion
Now that you know how to safely heat press vinyl on leather, you can add your personal touch with confidence—no need for a quill and parchment! Just choose the right vinyl, prep your leather well, and follow the proper heat settings.
Remember to protect your leather and avoid wrinkles or bubbles for a sleek finish. With these tips, you’ll create stylish, durable designs that last.
Give it a try and watch your leather projects come to life! Heat pressing vinyl on leather is a fantastic way to customize your items while ensuring the design remains vibrant and long-lasting.