Can I Use a Heat Press on Acrylic
Yes, you can use a heat press on acrylic safely by following specific guidelines to protect your material. Keeping the temperature below 350°F and limiting pressing time to around 15-20 seconds is essential for avoiding damage.
Using protective sheets like Teflon prevents direct contact and helps maintain the acrylic’s surface quality.
Apply moderate pressure to prevent warping or melting, which is crucial for a smooth finish. Cast acrylic works best because it tolerates heat better than extruded types, making it more suitable for heat pressing.
Handling the process carefully ensures clean transfers without any damage.
If you want to get the best results and troubleshoot issues, there’s more to explore about heat pressing on acrylic and how to optimize your technique for flawless outcomes.
Key Takeaways
- Heat press can be used on acrylic if temperature is kept below 350°F to prevent warping or damage.
- Use protective sheets like Teflon to avoid direct heat contact and ensure even heat distribution on acrylic.
- Cast acrylic is preferred over extruded acrylic due to its higher heat resistance and better durability during pressing.
- Limit pressing time to 10–20 seconds and apply moderate pressure to avoid bubbles, melting, or surface distortion.
- Allow acrylic to cool gradually on a flat surface to prevent stress cracks and maintain shape after heat pressing.
Can You Use a Heat Press on Acrylic Safely?
How safely can you use a heat press on acrylic? You can, but you need to be very careful. Acrylic is sensitive to high temperatures, so setting your heat press too hot or pressing for too long can cause damage.
To use a heat press safely, always check the recommended temperature settings for acrylic—usually below 350°F (177°C). Use a protective sheet between the acrylic and the heat press to prevent direct contact. Keep the pressing time short, around 10 to 15 seconds, to avoid warping or melting.
Make sure your acrylic piece is clean and flat before pressing. By controlling temperature, time, and pressure carefully, you can use a heat press on acrylic without ruining it or risking safety.
What Happens When You Use Heat on Acrylic?
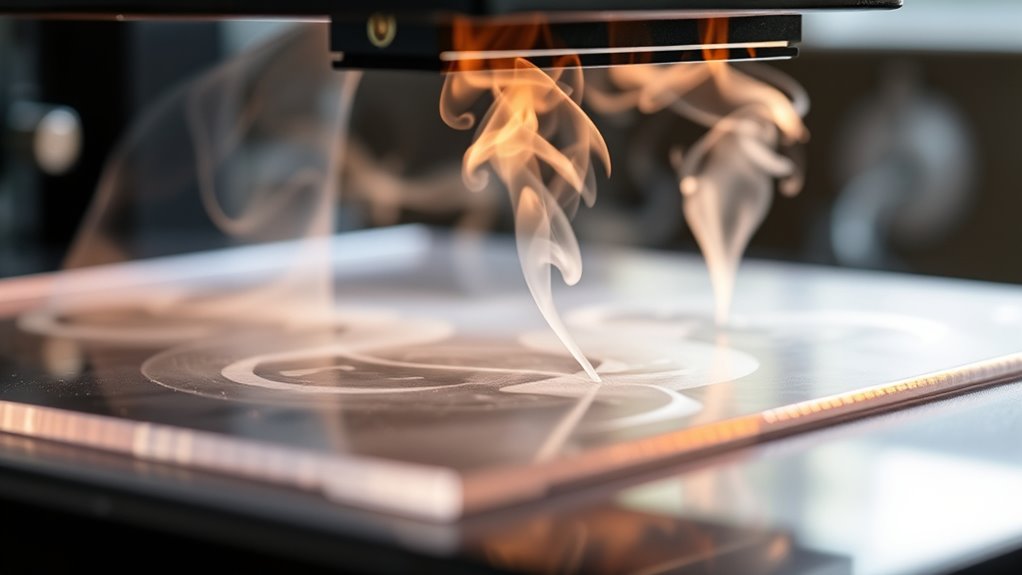
When you apply heat to acrylic, the material undergoes physical changes that can affect its shape and clarity. Acrylic softens as it reaches its glass transition temperature, around 270°F (132°C). If you heat it beyond this point, it becomes pliable and may warp, bubble, or even melt.
Applying uneven or excessive heat can cause discoloration or cloudiness, ruining the smooth, transparent finish you want to maintain. Additionally, rapid heating or cooling might lead to stress fractures or cracks. So, when using heat on acrylic, you must carefully control the temperature and heating duration to avoid damaging the material.
Understanding how acrylic reacts to thermal shifts helps you prevent costly mistakes and maintain the quality of your project.
Which Acrylic Types Work Best With Heat Presses?
When choosing acrylic for heat pressing, you’ll find cast acrylic offers better heat resistance and durability. Extruded acrylic tends to soften and warp more easily under high temperatures, limiting its use.
Understanding these differences helps you pick the right material for your project.
Cast Acrylic Benefits
Although several acrylic types can handle heat pressing, cast acrylic stands out as the best choice due to its durability and resistance to warping under high temperatures. When you use cast acrylic, you’ll notice it maintains its clarity and smooth surface even after repeated heat press sessions. It also offers excellent dimensional stability, so your designs won’t distort or peel over time.
This type of acrylic handles heat evenly, preventing hotspots that could damage your artwork. Plus, cast acrylic’s chemical structure allows it to bond better with various heat transfer materials, giving you crisp, vibrant results. If you want reliable performance and professional-looking finishes from your heat press projects, choosing cast acrylic will make your work easier and more consistent.
Extruded Acrylic Limitations
Since extruded acrylic has a different manufacturing process than cast acrylic, it doesn’t handle heat pressing as well. The extrusion process creates a material with less heat tolerance and more internal stress, making it prone to warping or melting under high temperatures.
If you’re considering heat pressing, extruded acrylic might not give you the results you want.
Here’s a quick comparison to help you decide:
| Feature | Extruded Acrylic |
|---|---|
| Heat Resistance | Lower |
| Surface Finish | Smoother, consistent |
| Flexibility | More flexible |
| Suitable for Heat Press | Not recommended |
For best results, cast acrylic usually works better with heat presses due to its higher heat resistance and stability.
Heat Resistance Comparison
Understanding how different types of acrylic respond to heat pressing can save you from costly mistakes and poor results. Cast acrylic generally handles heat presses better than extruded acrylic because it can withstand higher temperatures without warping or melting.
On the other hand, extruded acrylic is more prone to distortion under heat, making it less ideal for heat pressing. If you want consistent, high-quality results, opt for cast acrylic.
Here’s what you should keep in mind:
- Cast acrylic resists heat up to around 160°C (320°F)
- Extruded acrylic softens around 100°C (212°F)
- Heat press settings should be adjusted accordingly
- Lower heat and shorter press times protect the material
- Testing on a scrap piece saves frustration and money
Choosing the right acrylic type means your designs stay sharp and your projects last longer.
What Tools and Materials Do You Need for Heat Pressing Acrylic?
To get started with heat pressing acrylic, you’ll need the right heat press machine and accessories designed for this material. Choosing acrylic-compatible transfer papers and protective sheets is vital to avoid damage.
Let’s look at the essential tools and materials that make your project successful.
Essential Heat Press Equipment
Although heat pressing acrylic might seem straightforward, having the right tools and materials is essential for achieving clean, professional results. You’ll want equipment that guarantees precision and protects your acrylic from damage. Without the proper setup, you risk warping or discoloring your work.
To get started, make sure you have:
- A reliable heat press machine with adjustable temperature and pressure controls
- Heat-resistant Teflon sheets to protect the acrylic surface
- A silicone pad for even pressure distribution
- Heat-resistant gloves to keep your hands safe
- A digital timer to avoid overheating and ensure consistent results
These essentials help you work confidently and create stunning, flawless acrylic designs every time.
Acrylic-Compatible Materials
When you heat press acrylic, choosing the right materials makes all the difference in your final design’s quality and durability. You’ll want to use heat-resistant tape, protective sheets, and specific transfer papers designed for non-porous surfaces like acrylic. These help prevent damage and ensure your design adheres perfectly.
Avoid generic materials that might melt or warp the acrylic.
Here’s a quick guide to must-have acrylic-compatible materials:
| Material | Purpose |
|---|---|
| Heat-resistant tape | Secures design in place |
| Teflon sheet | Protects acrylic surface |
| Sublimation paper | Transfers vibrant designs |
| Silicone pad | Provides even pressure |
| Heat press gloves | Ensures safe handling |
Using these tools guarantees your heat press project on acrylic turns out flawless and long-lasting.
How Do You Prepare Acrylic Before Heat Pressing?
Before heat pressing acrylic, you need to guarantee the surface is clean and free of dust, oils, or fingerprints that could affect the final design. This step is essential to ensure your artwork adheres smoothly and looks flawless. Start by wiping the acrylic gently with a soft, lint-free cloth dampened with isopropyl alcohol or mild soap and water.
Avoid harsh chemicals that might damage the surface. Once cleaned, let the acrylic dry completely before proceeding.
To prepare acrylic properly:
- Use a microfiber cloth to avoid scratches
- Remove all protective films carefully
- Handle acrylic by edges to prevent fingerprints
- Work in a dust-free environment
- Double-check for smudges or debris before pressing
Following these steps helps you achieve crisp, professional results every time.
What Are the Best Heat Press Settings for Acrylic?
You’ll want to set your heat press to the most suitable temperature range to avoid damaging the acrylic. The ideal pressing duration is just long enough to transfer the design without warping the material.
Let’s explore the specific settings that work best for acrylic.
Optimal Temperature Range
How hot should your heat press be to get the best results on acrylic? You want to keep the temperature between 325°F and 350°F. This range is warm enough to activate the adhesive without warping or melting the acrylic.
Going higher risks damaging your project, while too low won’t properly transfer the design.
Keep these points in mind for ideal temperature:
- Protect your acrylic’s smooth finish
- Prevent unwanted bubbles or warping
- Achieve vibrant, long-lasting prints
- Avoid cracking or discoloration
- Guarantee your design adheres firmly and evenly
Ideal Pressing Duration
Although setting the right temperature is essential, pressing time plays an equally important role in achieving a perfect transfer on acrylic. Typically, you’ll want to press for about 15 to 25 seconds. Pressing too long risks warping or melting the acrylic, while too short a time may result in a poor transfer.
Start with 20 seconds as your baseline and adjust based on your specific heat press and transfer material. Always use a protective sheet to prevent direct contact, which helps avoid damage. After pressing, let the acrylic cool completely before removing the transfer paper to ensure the design sets properly.
How Can You Avoid Warping and Discoloration During Heat Pressing?
When working with acrylic during heat pressing, preventing warping and discoloration requires careful control of temperature and pressure. You need to keep the heat low enough to avoid damaging the acrylic but high enough to transfer the design effectively. Applying even, moderate pressure prevents dents or warping.
Additionally, avoid pressing for too long, as extended heat exposure can cause yellowing or bubbling.
To protect your acrylic project, remember to:
- Use a heat-resistant silicone mat or Teflon sheet to diffuse heat evenly
- Keep the temperature below acrylic’s softening point (usually under 350°F)
- Apply consistent, gentle pressure without pressing too hard
- Limit pressing time to the shortest effective duration
- Allow acrylic to cool gradually before handling to prevent stress
These steps help you achieve flawless results every time.
How Do You Heat Press Acrylic Safely? (Step-by-Step Guide)
Since acrylic is sensitive to heat and pressure, you’ll need to follow a careful process to guarantee your project comes out perfect without damage. First, clean the acrylic surface to remove dust or oils. Then, set your heat press to a low temperature, generally between 270°F and 300°F, avoiding high heat that can warp or discolor the acrylic.
Use a protective sheet, like Teflon or silicone, between the acrylic and the press to distribute heat evenly and prevent direct contact. Apply light to moderate pressure—too much can cause warping. Press for a short duration, usually 10-15 seconds, monitoring closely.
After pressing, let the acrylic cool naturally on a flat surface before handling it to maintain its shape and clarity.
How to Fix Common Heat Press Problems With Acrylic
If you encounter issues like warping, bubbling, or discoloration during your heat press on acrylic, you can usually fix them with quick adjustments. Start by lowering the temperature slightly to avoid overheating. Next, reduce the pressing time to prevent melting or warping.
Make sure to use a protective sheet to shield the acrylic surface from direct heat. Adjust pressure settings carefully—too much pressure can cause damage. Finally, allow the acrylic to cool gradually, avoiding sudden temperature changes that cause stress.
- Don’t panic when your project looks off; small tweaks can save it.
- Watch your temperature gauge like a hawk.
- Protect your work with a Teflon sheet or parchment paper.
- Handle pressure with care—too hard can ruin it.
- Give your acrylic time to breathe and cool down gently.
What Are Alternative Ways to Transfer Designs on Acrylic?
Although heat pressing is popular for transferring designs onto acrylic, you might want to explore alternative methods that offer different textures, finishes, or ease of use. One great option is UV printing, which uses ultraviolet light to cure ink directly onto the acrylic’s surface, resulting in vibrant, durable designs.
Another method is vinyl application, where you cut your design from adhesive vinyl and stick it onto the acrylic—perfect for sharp, clean lines. You can also try screen printing, which deposits ink through a mesh screen, allowing for bold colors and multiple layers.
Ultimately, sublimation isn’t typically used on acrylic, but with special coatings, it can create stunning, full-color transfers. Each method has its strengths, so choose based on your project’s needs and available tools.
How Should You Care for Acrylic After Heat Pressing?
After transferring your design onto acrylic using heat pressing, proper care helps maintain its appearance and durability. You want your artwork to stay vibrant and crack-free for as long as possible. Handle your acrylic gently, avoiding harsh chemicals or abrasive materials that could damage the surface or fade the design.
Keep it away from prolonged direct sunlight to prevent discoloration. Cleaning with a soft, damp cloth is your best bet to preserve its shine and detail. Store your acrylic pieces in a cool, dry place to avoid warping or moisture damage.
- Treat your acrylic like a cherished keepsake.
- Clean softly to protect your hard work.
- Shield it from harsh sunlight’s fade.
- Avoid rough handling that scars the surface.
- Store in a safe spot, away from humidity and heat.
Frequently Asked Questions
Can a Heat Press Damage the Protective Film on Acrylic?
Yes, a heat press can damage the protective film on acrylic if the temperature or pressure is too high. You should use low heat settings and test a small area first to avoid peeling or warping the film.
Always monitor the process closely to prevent any damage. Using a heat press without caution can lead to permanent marks or bubbles on the film.
If unsure, consult the acrylic manufacturer’s guidelines for recommended temperature and pressure settings.
Is It Possible to Use a Heat Press on Colored Acrylic Sheets?
Yes, you can use a heat press on colored acrylic sheets, but you’ll need low temperatures and short pressing times to avoid warping or discoloration.
Always test a small area first to guarantee safe results.
How Long Does a Heat-Pressed Design on Acrylic Typically Last?
Your heat-pressed design on acrylic typically lasts years, withstands daily wear, resists fading, and endures cleaning.
To keep it vibrant, you’ll want to avoid harsh chemicals, excessive heat, and rough handling over time.
Can Heat Pressing Acrylic Affect Its Transparency?
Yes, heat pressing acrylic can affect its transparency if the temperature is too high or applied too long. You’ll want to use lower heat settings and short press times to keep it clear and avoid warping.
Are There Specific Brands of Acrylic Better Suited for Heat Pressing?
Like choosing the right paintbrush for a masterpiece, brands like Plexiglas and Acrylite handle heat pressing better. You’ll find they resist warping and maintain clarity, making your projects look sharp and professional every time.
Conclusion
You might think heat pressing acrylic is risky, but with the right steps, it’s surprisingly doable. Just remember to choose the right acrylic type, control your temperature, and prep carefully.
Coincidentally, mastering this technique not only protects your acrylic but also opens up creative possibilities you didn’t expect. So, don’t shy away—give heat pressing a try, and watch your designs come to life in ways you never imagined!
By understanding how to use a heat press on acrylic safely, you can enhance your crafting skills and create durable, vibrant results. Embrace this method to transform your projects with confidence and creativity.