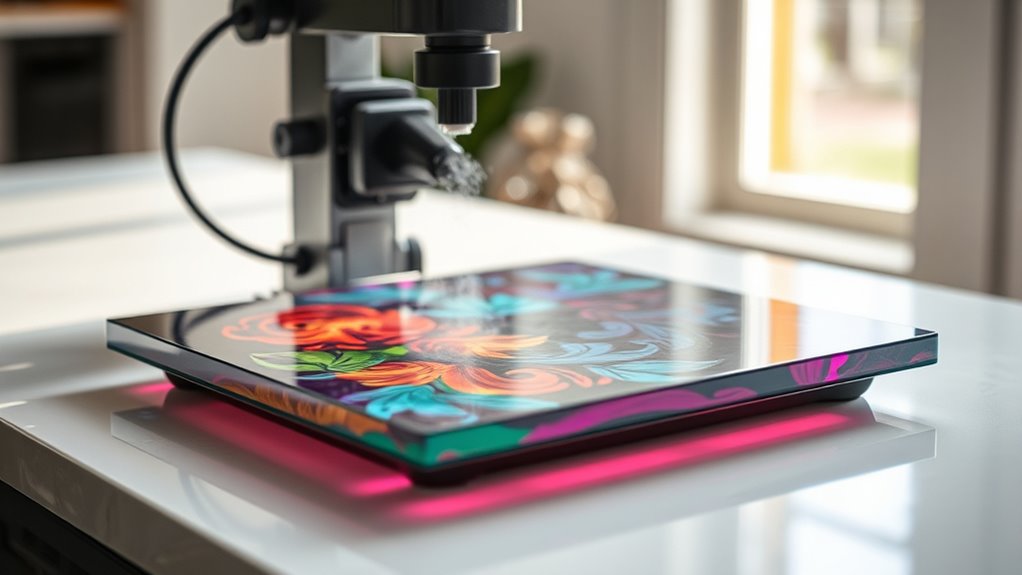
Can I Use a Heat Press on Glass
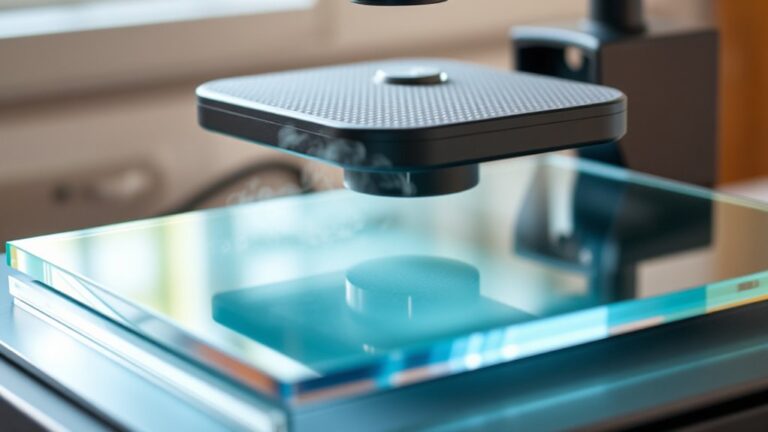
Yes, you can use a heat press on glass to create beautiful, customized designs. Controlling the temperature, pressure, and preparation is essential for success. Proper technique ensures vibrant and long-lasting results on your glass projects.
Make sure to clean the glass thoroughly before starting. Preheat the glass slowly to prevent cracks from forming. Choosing heat-resistant transfers like sublimation or glass-specific vinyl will improve durability.
Use a heat press with even heat distribution and adjustable pressure settings. Following these steps carefully helps you achieve professional-quality designs. There’s more to explore on how to perfect this technique and care for your projects.
Key Takeaways
- Heat pressing on glass is possible using heat-resistant transfer materials and controlled temperature to avoid cracking.
- Tempered or borosilicate glass is ideal due to its heat resistance and ability to handle thermal stress.
- Use heat press machines with even heat distribution and adjustable pressure to protect delicate glass surfaces.
- Preheat the glass gradually and maintain steady temperatures between 300°F–400°F for best transfer results.
- Clean glass thoroughly before pressing and handle finished items carefully to preserve design durability.
How Does Heat Pressing Work on Glass?
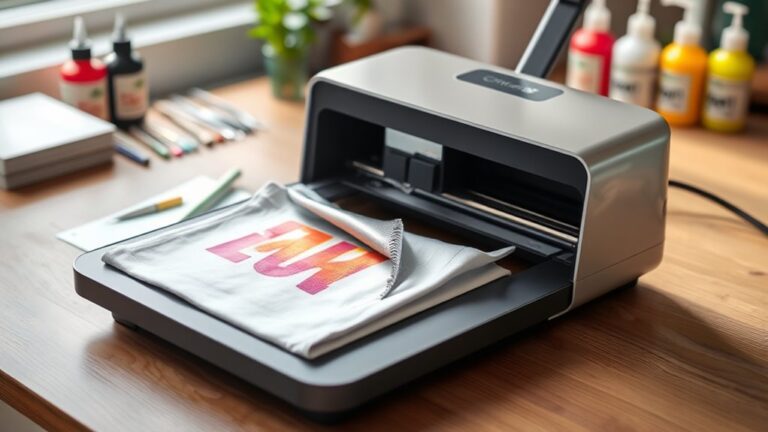
Although glass is a challenging surface to work with, heat pressing allows you to transfer designs onto it effectively. You start by selecting a heat-resistant transfer paper or vinyl with your design printed or cut on it. Then, you place the design on the glass and cover it with a protective sheet to prevent damage.
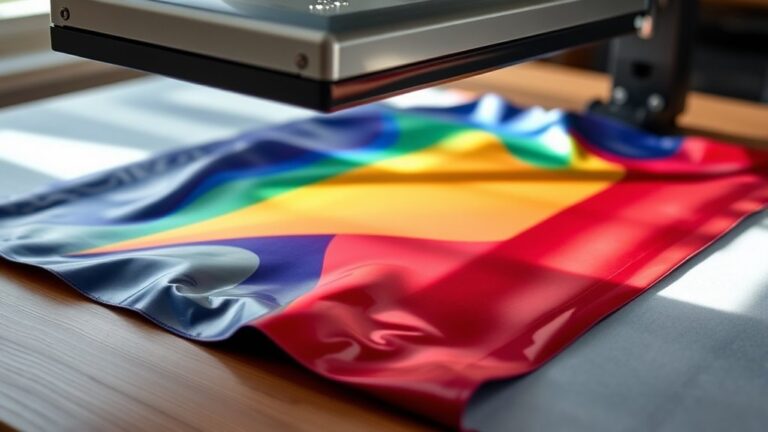
When you apply heat and pressure using the heat press machine, the adhesive on the transfer activates, bonding the design firmly to the glass surface. The controlled heat softens the adhesive without breaking or cracking the glass. After a set time, you peel off the backing, leaving your design permanently affixed.
This process demands precise temperature and timing to avoid damaging the glass or ruining the artwork.
Which Types of Glass Can You Heat Press?
When heat pressing on glass, you’ll want to choose tempered or borosilicate glass because they handle heat well. Avoid acrylic and plastic materials since they can melt or warp under high temperatures. Knowing which glass types work best will help you get the best results without damaging your project.
Tempered Glass Compatibility
How do you know which types of glass are safe to use with a heat press? Tempered glass is a great choice because it’s specially treated to withstand high temperatures and thermal stress. Unlike regular glass, tempered glass is heat strengthened through a rapid cooling process, making it much less likely to crack or shatter when exposed to the heat press’s intense temperatures.
However, you still need to verify the tempered glass is clean and free from scratches, as imperfections can cause weak points. Also, avoid sudden temperature changes to prevent thermal shock. Using tempered glass means you can confidently apply your heat press designs without worrying about damaging your project, making it a reliable and safe option for your heat pressing needs.
Borosilicate Glass Usage
Tempered glass offers great durability under heat, but borosilicate glass takes heat resistance a step further. If you want to use a heat press on glass, borosilicate is an excellent choice because it withstands rapid temperature changes without cracking. This type of glass is commonly used in laboratory equipment and cookware, so it handles heat much better than regular glass.
When working with borosilicate, you can apply higher temperatures and longer pressing times without worrying about thermal shock. Just make sure your heat press settings match the glass’s specifications to avoid damage. Using borosilicate glass guarantees your projects remain intact and professional-looking, giving you more flexibility and confidence during the heat pressing process.
Avoid Acrylic And Plastic
Why should you steer clear of acrylic and plastic when heat pressing on glass? These materials can’t withstand the high temperatures of a heat press and will warp, melt, or release harmful fumes. Unlike genuine glass, acrylic and plastic aren’t heat-resistant, making them unsuitable for heat press projects.
To avoid ruined projects and safety hazards, always confirm your surface is real glass.
Here’s a quick guide to help you identify suitable materials:
| Material | Heat Press Suitability |
|---|---|
| Borosilicate Glass | Excellent |
| Soda-Lime Glass | Good |
| Tempered Glass | Moderate |
| Acrylic | Not Recommended |
| Plastic | Not Recommended |
Stick to heat-resistant glass types for the best results when using a heat press.
What Materials and Transfers Work Best on Glass?
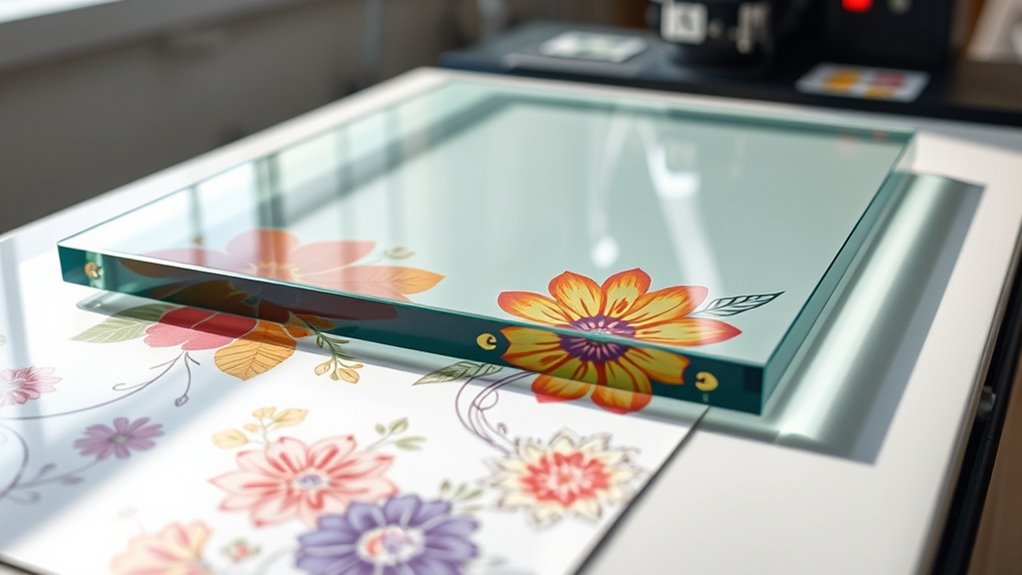
Because glass has a smooth, non-porous surface, selecting the right materials and transfers is essential for achieving vibrant, long-lasting results. You’ll want to use specially designed sublimation paper or high-quality heat transfer vinyl (HTV) that bonds well with glass. Regular transfers often fail to adhere or fade quickly.
Here are the best options to consider:
- Sublimation Transfers: They infuse ink directly into specially coated glass for bright, durable designs.
- Infusible Ink: This creates smooth, permanent images when used with compatible glass.
- Glass-Specific HTV: Made to stick firmly without peeling or cracking.
Choosing these materials guarantees your glass projects look stunning and stand the test of time.
Which Heat Press Machines Are Ideal for Glass Projects?
To get the best results on glass, you’ll want a heat press with even heat distribution and adjustable pressure settings. Certain models are designed specifically for delicate surfaces like glass, offering features that protect your project while ensuring a strong transfer.
Let’s look at some top heat press machines that fit these criteria perfectly.
Best Heat Press Features
When working with glass, you’ll want a heat press that offers precise temperature control and even heat distribution to prevent cracking or uneven transfers. Consistency is key, so look for machines with adjustable timers and reliable pressure settings, ensuring your designs come out flawless every time.
A sturdy build and user-friendly interface also make your process smoother, reducing frustration and saving you time.
Consider these features to get the best results:
- Digital controls for accuracy and repeatability, so you never have to guess.
- Even heat plates that cover the entire surface, preventing hotspots that damage glass.
- Adjustable pressure mechanisms letting you tailor the force without risking breakage.
With the right features, your glass projects will turn out stunning and professional.
Recommended Heat Press Models
Although selecting the right heat press can feel overwhelming, focusing on models designed for glass projects will make your choice much easier. You’ll want a machine with adjustable temperature and pressure controls to handle the delicate nature of glass without causing cracks or damage.
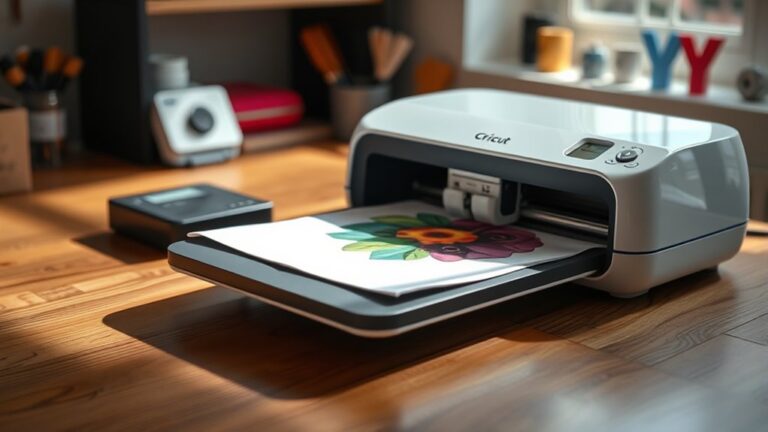
The Cricut EasyPress 2 is a popular choice because it offers precise temperature settings and a compact design perfect for smaller glass items. For larger or more frequent projects, the Fancierstudio Power Heat Press stands out with its sturdy build and even heat distribution.
If you prefer versatility, the PowerPress HPM-1515 is a solid mid-range option that accommodates various materials, including glass. Prioritize consistent heat and pressure to make sure your glass designs come out flawless every time.
How Do You Prepare Glass for Heat Pressing?
Before you start heat pressing on glass, you’ll need to make sure the surface is perfectly clean and free of any oils or dust that might interfere with the design’s adhesion. Begin by wiping the glass thoroughly with rubbing alcohol and a lint-free cloth to remove any residues. Avoid using regular cleaners that leave streaks or film.
Next, verify the glass is completely dry because moisture can cause bubbles or uneven pressing. Finally, position your design carefully to prevent shifting during the heat press process.
- Feel confident knowing your preparation sets the foundation for a flawless transfer.
- Experience the satisfaction of a smooth, vibrant design taking shape.
- Avoid frustration by eliminating common mistakes before you press.
What Are the Ideal Temperature and Time Settings for Glass?
To achieve a perfect heat press on glass, you need to set the right temperature and time to guarantee your design adheres properly without damaging the surface. Generally, you should set your heat press between 350°F and 400°F (175°C to 205°C). The exact temperature depends on the type of glass and the transfer material you’re using.
For time, aim for about 60 to 90 seconds. Too little time won’t set the design well, while too much can risk damage. Always start at the lower end of the temperature range and increase if needed.
Use firm but gentle pressure to ensure even heat distribution. Following these settings helps you achieve crisp, vibrant results every time you heat press on glass.
How Can You Avoid Cracking Glass When Heat Pressing?
To avoid cracking glass when heat pressing, you need to use the proper temperature settings and apply even pressure carefully. Gradually preheating the glass also helps prevent sudden thermal shock.
Use Proper Temperature Settings
Although glass is durable, it’s sensitive to sudden temperature changes, so you’ll need to carefully control your heat press settings to avoid cracking. Start by setting your heat press to a moderate temperature, typically between 300°F and 350°F, depending on the glass type. Avoid cranking the heat too high; rapid heating causes stress inside the glass.
Use a timer to keep the heating duration short and consistent. Gradually preheat the glass if possible, allowing it to adjust to temperature changes slowly.
Remember these key tips:
- Keep temperatures steady and avoid sudden spikes
- Use manufacturer guidelines for specific glass types
- Always test on a scrap piece to ensure safety and quality
Apply Even Pressure Carefully
Controlling temperature is just one part of protecting your glass during heat pressing; applying pressure evenly plays a big role in preventing cracks. Uneven pressure can create stress points, causing the glass to fracture. To avoid this, make sure your heat press platen is clean and flat.
Use a firm but gentle touch, distributing pressure uniformly across the surface.
Here’s a quick guide to applying even pressure:
| Pressure Level | Effect on Glass |
|---|---|
| Too Light | Poor transfer quality |
| Even Moderate | Safe, clear results |
| Too Heavy | Risk of cracks/fractures |
Preheat Glass Gradually
When you preheat glass gradually, you reduce the risk of thermal shock that causes cracks. Glass reacts poorly to sudden temperature changes, so raising the temperature slowly helps the material adjust without stress.
Start by warming the glass at a low temperature for a few minutes before increasing to your desired heat press setting.
To avoid heartbreaking cracks and wasted projects, remember to:
- Be patient—rushing leads to shattered dreams.
- Use a heat press with adjustable temperature controls.
- Monitor the glass closely during the warm-up phase to prevent hotspots.
Taking these careful steps ensures your glass stays intact and your designs come out flawless every time.
Don’t let impatience ruin your creative work—preheat gradually to safeguard your glass and your passion.
What Are the Best Heat Press Designs and Techniques for Glass?
Since glass requires careful temperature management, choosing the right heat press designs and techniques is essential to achieve durable and vibrant results. You’ll want to use designs with bold lines and simple shapes, as intricate details may not transfer well and can blur during pressing.
Opt for heat transfer vinyl (HTV) or sublimation prints specifically made for glass to guarantee strong adhesion. When pressing, apply even pressure and maintain a consistent temperature around 300°F to 350°F for 10 to 15 seconds, depending on your material’s specifications.
Always use a heat-resistant pad or parchment paper between the glass and the heat press to protect both surfaces. Taking these steps helps you create eye-catching, long-lasting designs on glass with your heat press.
How Do You Care for and Clean Heat-Pressed Glass Items?
Although heat-pressed glass items are durable, you’ll need to handle them carefully to preserve their designs. Avoid harsh scrubbing or abrasive materials that could scratch or fade the artwork. Instead, clean your glass pieces gently with a soft cloth and mild soap.
Hand washing is best; steer clear of dishwashers, which might weaken the design over time.
To keep your heat-pressed glass looking stunning, remember to:
- Treat each piece like a cherished keepsake, handling it with care.
- Use gentle cleaning techniques to maintain vibrant colors and crisp details.
- Store your glass items safely, avoiding stacking or bumping to prevent chips and cracks.
With these simple steps, your heat-pressed glass will stay beautiful for years to come.
How Do You Troubleshoot Common Heat Press Issues on Glass?
If you run into issues while heat pressing on glass, pinpointing the problem early can save you time and materials. First, check your temperature and pressure settings—too much heat or pressure can crack the glass, while too little will prevent proper adhesion. Make certain your glass surface is clean and dry; any dust or moisture disrupts the transfer.
If the design is peeling or fading, increase the pressing time slightly or verify your transfer paper compatibility. Uneven prints often result from uneven pressure, so adjust your platen for consistent contact. Finally, use a heat-resistant pad to protect the glass and distribute heat evenly.
Frequently Asked Questions
Can I Use a Regular Iron Instead of a Heat Press on Glass?
You can use a regular iron on glass, but it’s tricky. It won’t apply heat as evenly or firmly as a heat press, so be careful to avoid cracks or uneven transfers.
Use low heat and press gently.
Is It Safe to Drink From Heat-Pressed Glass Items?
Drinking from heat-pressed glass is like sipping from a carefully painted canvas—safe if you use food-grade materials and proper techniques. Otherwise, chemicals might leach, so always make certain your glassware meets safety standards before use.
How Long Does a Heat-Pressed Design Last on Glass?
Your heat-pressed design on glass can last several years if you handle it carefully. Avoid abrasive cleaning and extreme temperature changes, and your design will stay vibrant longer, maintaining its quality through regular gentle use.
Can Heat Pressing Glass Be Done at Home Without Professional Tools?
Yes, you can heat press glass at home using a household heat press or an oven with proper heat-resistant materials. Just make sure to control temperature and pressure carefully to avoid cracking or damaging the glass during the process.
Are There Any Health Risks Associated With Heat Pressing on Glass?
Imagine Jane, who didn’t ventilate her workspace during heat pressing glass and inhaled fumes. You’ll face similar risks if you don’t use proper ventilation or protective gear, as toxic fumes and burns can occur without precautions.
Conclusion
You can confidently create alluring custom glass with careful heat pressing. By choosing compatible glass, preparing properly, and pressing patiently, you’ll prevent pesky problems like cracking. Perfect your process by picking the proper press and practicing precise pressure and temperature.
With consistent care and clever cleaning, your creations will stay stunning and strong. So, start experimenting, stay safe, and showcase your skills with sensational, sleek, and sparkling heat-pressed glass!
Using a heat press on glass allows for unique and beautiful designs, but always ensure the right materials and settings are used. Proper technique will help you achieve flawless results and avoid damage. Embrace the art of heat pressing on glass to make your custom projects truly shine!