Can You Heat Press Vinyl on Velvet
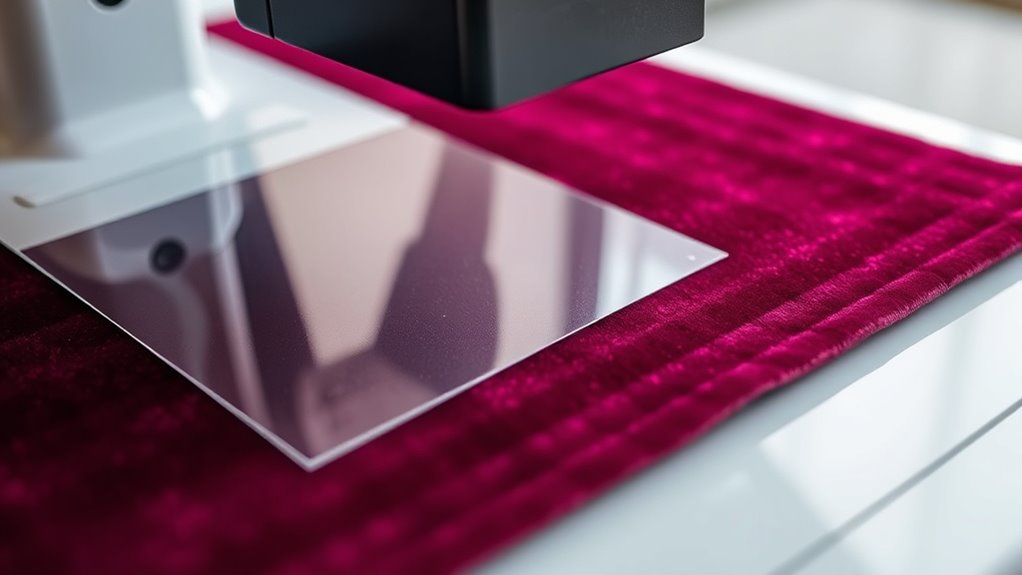
Yes, you can heat press vinyl on velvet, but it requires special care to maintain the fabric’s luxurious feel. Velvet’s soft texture makes it susceptible to crushing, so you’ll need to use lower heat settings, lighter pressure, and protective sheets like Teflon or parchment paper.
Choosing flexible, thin vinyl designed specifically for delicate fabrics is essential for good adhesion without damage.
Always test a small area first to ensure the heat press won’t harm your velvet. These precautions help keep your velvet looking rich and plush while making sure the vinyl sticks well.
Following these tips will give you flawless results and lasting wear on your velvet projects.
Key Takeaways
- Heat pressing vinyl on velvet is possible but requires low temperature, short pressing time, and protective sheets to avoid fabric damage.
- Use flexible, thin heat transfer vinyls like Siser EasyWeed Stretch for better adhesion and minimal texture impact.
- Excessive heat or pressure can flatten velvet’s pile and cause shiny spots or fiber damage.
- Always use a Teflon or parchment sheet between the vinyl and velvet to protect the surface during pressing.
- Let the fabric cool completely before handling and follow gentle washing instructions to preserve vinyl adhesion and velvet texture.
Is Heat Pressing Vinyl on Velvet Possible?
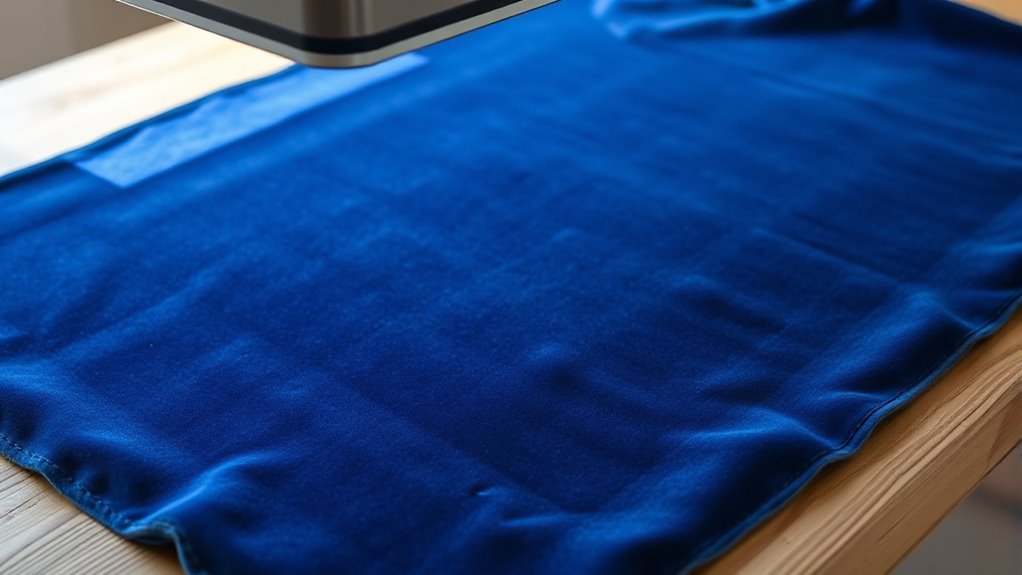
Wondering if you can heat press vinyl on velvet? Yes, you can, but it requires some care. Velvet’s soft, textured surface makes it tricky since heat and pressure can damage its pile or leave marks.
You’ll need to adjust your technique to avoid flattening the fabric or causing shine. Using a lower temperature and shorter pressing time helps protect the velvet’s plush feel. Also, placing a protective sheet, like a Teflon or parchment paper, between the vinyl and velvet prevents direct heat contact.
Keep pressure moderate to avoid crushing the fibers. With the right settings and precautions, heat pressing vinyl on velvet is definitely possible, letting you customize this luxurious fabric without ruining its unique texture.
Which Types of Vinyl Work Best on Velvet Fabrics
When choosing vinyl for velvet, you’ll want to focus on heat transfer vinyl options that bond well without damaging the fabric. Adhesive vinyl generally isn’t the best fit since it doesn’t stick properly to velvet’s texture.
Specialty vinyl designed for delicate or textured materials can give you the best results.
Heat Transfer Vinyl Options
Which heat transfer vinyl (HTV) types suit velvet best depends largely on the fabric’s texture and pile. For velvet, you’ll want to choose HTV that’s thin and flexible to avoid crushing the soft surface. Stretchy vinyl like Siser EasyWeed Stretch works well because it moves with the fabric and doesn’t stiffen it excessively.
You might also consider flocked HTV if you want to complement velvet’s plush feel, but test carefully to prevent adding bulk. Avoid thick or rigid vinyls, as they can damage the pile or make the design uncomfortable. Always opt for HTV with a low-temperature adhesive to protect the delicate fibers.
Adhesive Vinyl Suitability
Although adhesive vinyl isn’t as commonly used on velvet as heat transfer vinyl, certain types can still work if you choose carefully. You’ll want to pick a vinyl with a strong, flexible adhesive designed for textured or plush surfaces. Removable or permanent adhesive vinyl with a soft, matte finish tends to adhere better without compromising velvet’s softness.
Avoid thick or rigid vinyls—they won’t conform well to velvet’s pile and may peel off easily. Also, consider vinyls labeled for fabric use since they offer better durability and flexibility. Keep in mind that adhesive vinyl won’t bond as deeply as heat transfer vinyl, so it’s best for decorative, low-friction areas on your velvet project.
Testing a small patch first helps guarantee good adhesion and prevents damage.
Specialty Vinyl For Velvet
Since velvet’s texture presents unique challenges, you’ll need specialty vinyl designed to flex and adhere without damaging the fabric. Stretchy heat transfer vinyl (HTV) like glitter or holographic types work best because they move with the pile.
Flocked vinyl is another good choice, as its fuzzy texture complements velvet’s softness. Avoid rigid vinyl that can crack or flatten velvet’s nap. Here’s a quick comparison:
| Vinyl Type | Flexibility | Best Use on Velvet |
|---|---|---|
| Stretchy HTV | High | Ideal for detailed designs |
| Flocked Vinyl | Medium | Adds texture, soft finish |
| Standard HTV | Low | Not recommended |
Choose vinyl that bends easily and uses a low heat setting to protect your velvet fabric.
How Heat and Pressure Affect Velvet
When you apply heat and pressure to velvet, its soft texture can change or flatten. This can affect how your vinyl design looks and feels on the fabric. Understanding this impact helps you adjust your heat press settings for the best results.
Velvet Texture Changes
If you apply heat and pressure to velvet, you’ll notice its texture changes considerably. The fabric’s soft pile may flatten or become uneven, altering the plush feel you expect. You might see areas where the velvet looks crushed or shiny, losing its natural depth.
This happens because the fibers are sensitive to heat and pressure, causing them to shift or press down. As you work with velvet, you’ll want to be mindful of these changes since they can affect the overall appearance of your project. Even brief exposure to high heat can leave lasting marks on the texture,
so you’ll need to handle the fabric carefully to maintain its luxurious look and feel throughout the heat pressing process.
Impact Of Heat Pressure
Heat and pressure don’t just change velvet’s texture—they can also impact its durability and appearance in more subtle ways. When you apply heat and pressure during a heat press, you need to take into account how velvet reacts:
- Flattening fibers: Excessive pressure can crush velvet’s pile, leading to a dull, worn look.
- Color shifts: High heat may cause slight discoloration or fading, especially on dyed velvet.
- Adhesion issues: Too little pressure might result in weak vinyl bonding, while too much can damage the fabric.
- Wrinkling risk: Improper pressure combined with heat can create unwanted creases or distortions.
To protect your velvet, balance heat and pressure carefully. Test on scraps first to find the sweet spot that preserves velvet’s luxurious feel without compromising vinyl adhesion.
Preparing Velvet for a Successful Vinyl Heat Press
Although velvet’s plush texture can pose challenges, you can prepare it properly to guarantee your vinyl adheres smoothly and lasts longer. First, make certain the velvet is clean and free of dust or lint by gently brushing or using a lint roller.
Next, pre-press the fabric with a heat press or iron on a low setting for a few seconds to remove moisture and wrinkles—this creates a stable surface for vinyl application. Use a protective sheet like parchment paper or a Teflon sheet between the heat press and velvet to prevent crushing the pile.
Finally, test a small area to confirm the fabric can handle the heat without damage. Taking these steps assures your heat press vinyl bonds well and your velvet maintains its luxurious look.
Step-by-Step Guide to Heat Pressing Vinyl on Velvet
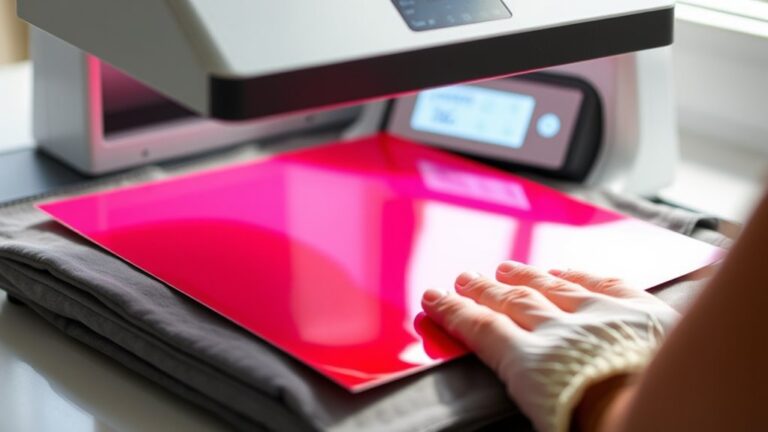
When you’re ready to apply vinyl to velvet, following a clear step-by-step process guarantees the best results. Start by preheating your heat press to around 270°F (130°C), as velvet requires a lower temperature to protect its texture.
Next, position your vinyl design on the velvet, backing it with a Teflon sheet to prevent direct heat damage. Then, press the vinyl with medium pressure for about 10-12 seconds, avoiding excessive force that could crush the fabric.
Finally, peel the backing carefully while the vinyl is warm to ensure a smooth transfer. By sticking to these steps, you’ll create a crisp, lasting design without harming your velvet’s luxurious feel.
Common Mistakes When Heat Pressing Vinyl on Velvet
Following the right steps helps, but even small errors can affect how your vinyl sticks to velvet. You might press at too high a temperature, causing vinyl to scorch or velvet to deform.
Applying uneven pressure can result in poor adhesion or bubbling. Skipping the pre-press step often leaves moisture or wrinkles, disrupting the vinyl transfer. Also, using the wrong type of vinyl can lead to peeling or cracking.
| Mistake | Cause | Result |
|---|---|---|
| Too high temperature | Ignoring velvet’s heat sensitivity | Scorched vinyl or fabric damage |
| Uneven pressure | Improper press setup | Bubbling, poor adhesion |
| No pre-press | Skipping fabric preparation | Wrinkles, moisture trapped |
| Wrong vinyl type | Using non-compatible vinyl | Peeling, cracking |
Avoid these pitfalls to get smooth, lasting results on velvet.
Protect Velvet’s Texture When Heat Pressing Vinyl
To keep velvet’s soft, luxurious texture intact during heat pressing, you need to handle it with extra care and precision. Velvet’s pile can easily crush or become shiny if you’re not careful. Here’s how to protect its delicate surface:
- Use a protective sheet: Place a teflon or parchment sheet between the velvet and the heat press to prevent direct contact.
- Lower the heat setting: Use the lowest temperature recommended for your vinyl to avoid damaging the fibers.
- Limit pressing time: Keep the press time short to reduce heat exposure and minimize texture distortion.
- Apply gentle pressure: Avoid heavy pressure that can flatten the velvet pile and ruin its plush feel.
Following these steps helps preserve velvet’s look while successfully applying vinyl.
Tips for Long-Lasting Vinyl Adhesion on Velvet
Although velvet’s texture requires careful handling, you can guarantee your vinyl design stays put by choosing the right materials and techniques. Start by selecting high-quality, heat-activated vinyl designed for delicate fabrics. Use a Teflon sheet or parchment paper between the heat press and velvet to prevent crushing the pile.
Apply medium pressure and moderate heat—too much heat or pressure can damage velvet and weaken adhesion. Heat press in short bursts, checking adhesion frequently. After pressing, let the fabric cool completely before handling to allow the vinyl to set properly.
Wash velvet items inside out on gentle cycles and avoid harsh detergents to preserve the bond. By following these tips, you’ll ensure your vinyl stays vibrant and secure on velvet for the long haul.
Frequently Asked Questions
Can Velvet With Vinyl Heat Pressing Be Machine Washed Safely?
You shouldn’t machine wash velvet with heat-pressed vinyl; doing so can damage both the fabric and the vinyl. Instead, hand wash gently in cold water and air dry to keep your design and velvet looking great longer.
Does Heat Pressing Vinyl on Velvet Affect Fabric Color?
About 70% of velvet users notice slight color change after heat pressing vinyl. You’ll find that applying heat can slightly darken or lighten velvet fabric, so test a small area first to avoid unwanted color shifts.
What Types of Designs Work Best With Vinyl on Velvet?
You’ll want to choose simple, bold designs with minimal detail when applying vinyl on velvet. Large shapes and solid colors work best since intricate patterns might not adhere well or show clearly on velvet’s textured surface.
Can You Remove Heat Pressed Vinyl From Velvet Without Damage?
Think you can remove heat pressed vinyl from velvet without damage? It’s tricky—you’ll likely damage the fabric since velvet’s delicate pile can lift or distort.
Is Heat Pressing Vinyl on Velvet Suitable for Commercial Production?
Heat pressing vinyl on velvet isn’t ideal for commercial production since velvet’s texture and heat sensitivity can cause inconsistent results and damage.
You’ll want to explore other methods or materials for reliable, high-quality finishes in bulk.
Conclusion
You might think heat pressing vinyl on velvet is tricky, but with the right techniques, it’s surprisingly doable. Velvet’s delicate texture contrasts with the firm vinyl, so you’ll need to balance heat and pressure carefully.
By preparing your fabric and protecting its softness, you can create vibrant, lasting designs without crushing the pile. Embrace the challenge, and you’ll turn velvet’s luxury into a bold, personalized statement piece.
With proper care and method, heat pressing vinyl on velvet can elevate your projects, combining durability and style seamlessly.