Can You Heat Press Vinyl on Vinyl
You can heat press vinyl on vinyl successfully by carefully choosing compatible types like HTV on HTV and controlling temperature, pressure, and timing. Understanding how to heat press vinyl on vinyl is essential for achieving professional and durable results.
Always test settings on scraps first, use a heat-resistant cover sheet, and align layers precisely to avoid warping or peeling.
Deciding between cold or hot peel depends on the vinyl’s properties and design complexity. If you want your layered vinyl to last and look professional, understanding these techniques will help you master the process.
Proper preparation and attention to detail are key to ensuring your vinyl layers adhere smoothly and maintain their quality over time.
Key Takeaways
- Heat pressing vinyl on vinyl is possible with proper temperature, pressure, and timing to avoid damage or peeling.
- Use a heat-resistant cover sheet like Teflon or parchment paper to protect vinyl layers during pressing.
- Different vinyl types require specific heat settings; HTV tolerates higher heat than adhesive or glitter vinyl.
- Cold peel is recommended for layered vinyl to prevent shifting and ensure strong adhesion between layers.
- Test on small samples first to fine-tune temperature and pressing time for the vinyl combination used.
Can You Heat Press Vinyl on Vinyl Without Damage?
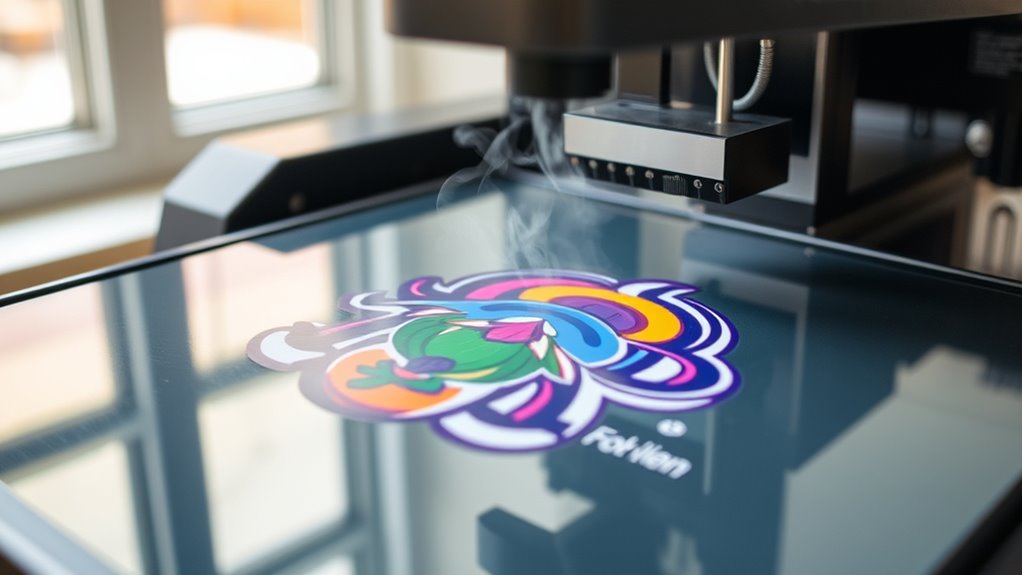
Although heat pressing vinyl on vinyl requires careful handling, you can do it without causing damage if you use the right technique. First, always test a small, inconspicuous area to assure the heat and pressure won’t warp or melt either vinyl layer. Use a heat-resistant cover sheet, like a Teflon or parchment paper, between your heat press and the vinyl to protect both surfaces.
Keep the temperature and pressing time moderate—too much heat or pressure can cause bubbling, warping, or peeling. Apply firm, even pressure and avoid moving the press during the process to prevent shifting or wrinkling. By controlling these factors and monitoring closely, you’ll successfully heat press vinyl on vinyl while maintaining a smooth, durable finish without damage.
How Different Types of Vinyl React to Heat Pressing
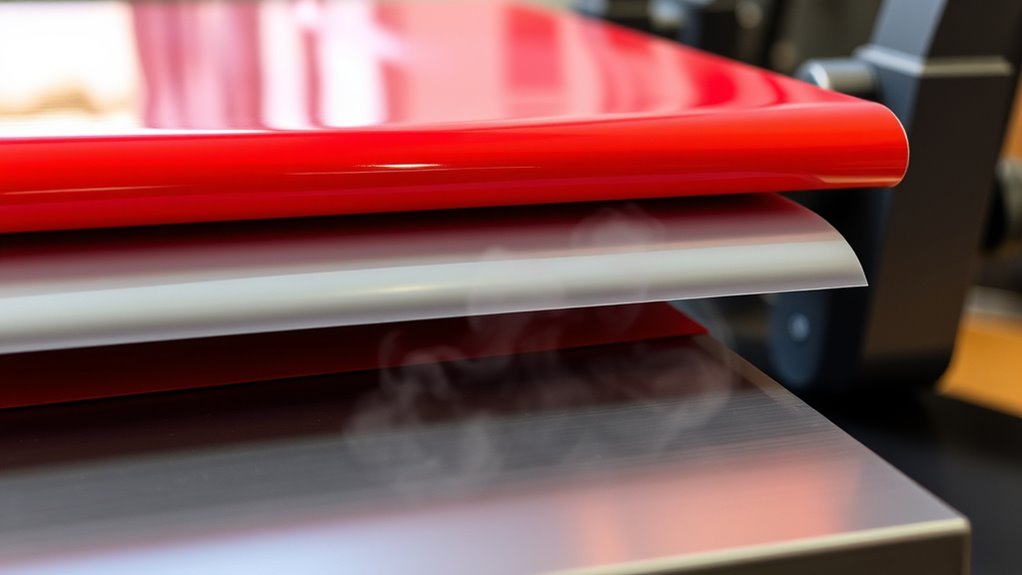
You need to understand how heat affects different types of vinyl since some are more sensitive than others. The heat can activate adhesives differently, changing how well the vinyl sticks or even causing damage.
Knowing these reactions helps you avoid mistakes when heat pressing vinyl on vinyl.
Heat Sensitivity Of Vinyl
When working with vinyl, understanding how different types react to heat pressing is essential for achieving the best results. Each type of vinyl has a unique heat sensitivity, which affects how well it withstands temperature and pressure without warping or melting.
Here’s what you need to know about heat sensitivity:
- HTV (Heat Transfer Vinyl): Designed to withstand high heat, but excessive temperature can cause peeling or discoloration. Stick to recommended settings.
- Adhesive Vinyl: Usually more delicate; too much heat can warp the backing or cause the adhesive to fail.
- Glitter Vinyl: Contains particles that can melt or lose shine if overheated, so lower temps and shorter pressing times work best.
Knowing these differences helps you avoid ruining your project and ensures a smooth press every time.
Adhesive Activation Differences
Since different types of vinyl rely on various adhesives, their activation under heat pressing can vary considerably. When you heat press vinyl on vinyl, you need to understand that some adhesives require higher temperatures or longer pressing times to bond effectively, while others activate quickly with moderate heat.
For example, heat transfer vinyl (HTV) often has a heat-activated adhesive that melts and bonds under specific conditions, but adhesive vinyl may need a different approach. If you don’t match the right temperature and pressure for each vinyl type, the layers might not stick properly or could peel off later.
Best Vinyl Combinations for Heat Pressing Vinyl on Vinyl
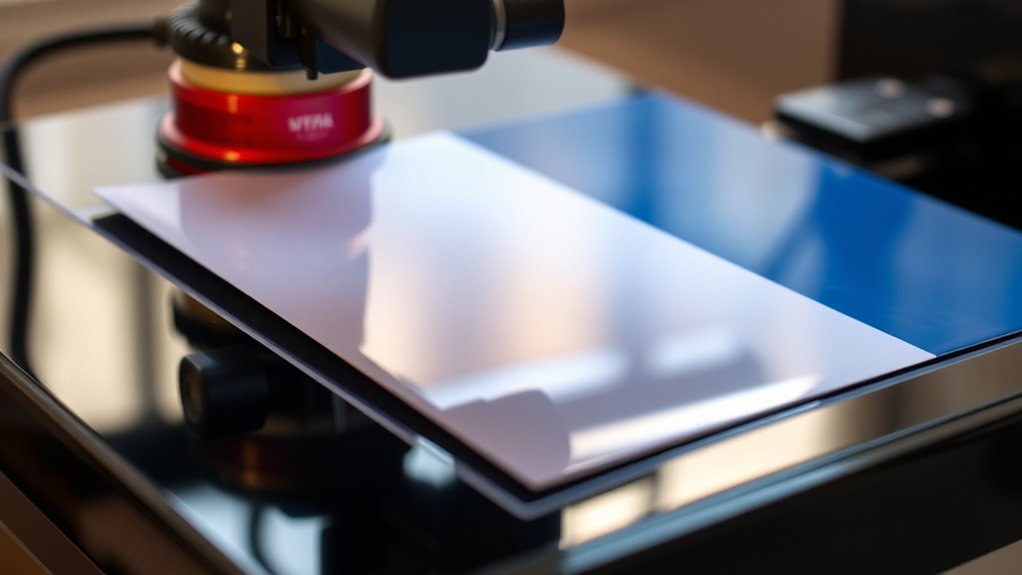
Which vinyl combinations work best for heat pressing vinyl on vinyl? To get strong, lasting results, you want vinyl types that bond well under heat without melting or warping.
Here are three reliable combos you should try:
Discover three reliable vinyl combinations that ensure strong, lasting heat press results without warping or melting.
- HTV on HTV (Heat Transfer Vinyl): Use compatible brands with similar heat press settings for smooth layering.
- HTV on Adhesive Vinyl: Ideal for adding textured or decorative accents; verify adhesive vinyl tolerates heat.
- Stretch Vinyl on Regular HTV: Great for flexible fabrics like sportswear, as stretch vinyl handles movement better.
Avoid mixing vinyls with drastically different heat requirements. Sticking to these combinations helps you achieve clean, durable layers without ruining your project.
How to Layer Vinyl With a Heat Press: Step-By-Step Guide
Understanding the best vinyl combinations sets the foundation for successful layering with a heat press. First, prepare your base vinyl by ensuring it’s properly applied and cooled. Next, align your second vinyl layer carefully on top, making sure the design matches your vision.
Use heat-resistant tape to hold layers in place if needed. When ready, cover the vinyl with a Teflon sheet or parchment paper to protect it. Press the layers for the recommended time and temperature specific to your vinyl types, avoiding excessive heat that could damage them.
After pressing, let the vinyl cool completely before peeling off any carrier sheets. This step-by-step process helps you achieve crisp, durable layered designs without shifting or bubbling.
Choosing Heat Press Temperature and Pressure for Vinyl Layers
When you choose the right heat press temperature and pressure for your vinyl layers, you guarantee a strong bond without damaging the material. Too much heat or pressure can cause warping or melting, while too little won’t adhere the layers properly.
Here’s how to get it right:
Here’s how to get it right: the perfect balance of temperature, pressure, and time ensures strong, lasting adhesion.
- Temperature: Set between 280°F and 320°F, depending on the vinyl type; always check the manufacturer’s guidelines.
- Pressure: Use medium pressure—firm enough to bond layers but gentle enough to avoid distortion.
- Time: Press for 10-15 seconds; longer can harm the vinyl, shorter may weaken adhesion.
Adjust these settings based on your vinyl’s thickness and flexibility. Always test on a small piece first to ensure optimal results.
How a Teflon Sheet Saves Your Vinyl From Heat Damage
You need to protect your vinyl surface from direct heat to avoid damage during pressing. A Teflon sheet acts as a barrier, preventing your vinyl from sticking to the heat platen or other layers.
This simple step keeps your design intact and guarantees smooth heat transfer every time.
Protecting Vinyl Surface
How can you prevent heat damage while pressing vinyl on vinyl? Using a Teflon sheet acts as a reliable shield between your heat press and vinyl, preserving the vinyl’s surface. This barrier prevents direct contact, which can cause melting, discoloration, or sticking.
Here’s why a Teflon sheet is essential:
- Heat distribution: It evenly disperses heat, avoiding hot spots that damage vinyl.
- Protection: Shields the vinyl from direct heat and pressure, maintaining its texture.
- Reusable: Durable and easy to clean, making it a cost-effective tool for multiple projects.
Preventing Heat Sticking
A Teflon sheet doesn’t just protect your vinyl from heat damage—it also prevents the vinyl from sticking to your heat press. When you place a Teflon sheet between the vinyl and the heat press, it acts as a non-stick barrier, ensuring your design stays intact and your press remains clean.
Without it, vinyl can melt and adhere to the press surface, ruining both your project and equipment.
Here’s why you should always use a Teflon sheet:
| Benefit | Explanation |
|---|---|
| Non-stick surface | Prevents vinyl from bonding to the press |
| Heat resistance | Withstands high temperatures without damage |
| Easy cleanup | Stops residue buildup on your press |
| Prolongs equipment life | Protects your heat press from damage |
Using a Teflon sheet is a simple step that saves you time and money.
How to Avoid Warping, Melting, and Other Heat Press Issues
When working with vinyl on vinyl, careful temperature control and timing prevent warping and melting. You want to keep your heat press settings within the vinyl manufacturer’s recommended range to avoid damaging your materials. Overheating or pressing too long can cause the vinyl layers to warp or even melt together improperly.
To avoid these issues, remember to:
To avoid warping and melting, carefully control temperature, timing, and test before pressing final vinyl layers.
- Use a heat press with precise temperature control and avoid guesswork.
- Set a timer for each press to ensure you don’t exceed the recommended duration.
- Test on scrap vinyl layers before applying to your final project.
When to Use Cold Peel vs. Hot Peel for Layered Vinyl
You’ll want to know when to use cold peel versus hot peel for your layered vinyl projects to get the best results. Cold peel helps prevent shifting and guarantees clean layers, while hot peel can speed up your process with certain vinyl types. Choosing the right method depends on the vinyl you’re using and the design’s complexity.
Understanding Cold Peel Benefits
Although hot peel is common for many heat press projects, cold peel offers distinct advantages, especially with layered vinyl. You’ll want to use cold peel when you need more control over the layers to prevent shifting or peeling apart. It’s ideal for delicate designs or when working with vinyl types that require extra cooling time to set properly.
Here’s why cold peel benefits you:
- Minimizes risk of vinyl stretching or distortion during removal
- Ensures better adhesion between layers by allowing full cooling
- Helps avoid unwanted separation or lifting in multi-layered designs
Hot Peel Application Tips
Cold peel works wonders for layered vinyl, but knowing when to switch to hot peel can improve your workflow and final results. Use hot peel when the vinyl layers need to bond more securely during multi-layer applications. Hot peeling right after pressing helps the layers fuse perfectly, reducing the risk of lifting or separation.
It’s especially useful for vinyl types that respond well to heat and pressure, like glitter or metallic. If you peel too soon or too cold, the layers might not adhere properly, causing issues later. Just be careful not to burn yourself—use a heat-resistant glove or tool.
Choosing Peel Method Factors
When deciding between cold peel and hot peel for layered vinyl, consider the type of vinyl you’re using and the complexity of your design. Some vinyl materials bond better when peeled hot, while others require cooling to set properly. Your design’s details also play a role—intricate layers often benefit from a cold peel to prevent shifting.
Here’s what to keep in mind:
- Vinyl type: Thin or delicate vinyl usually needs a cold peel to avoid damage.
- Design complexity: Multiple layers or fine details often require cold peeling for precision.
- Heat sensitivity: Some vinyls soften or stretch with heat, making cold peel safer.
Troubleshooting Warping, Melting, and Adhesion Issues
If you notice your vinyl warping, melting, or failing to stick properly during heat pressing, addressing these issues quickly can save your project. Warping often results from too much heat or pressure, while melting usually means the temperature is too high.
Adhesion problems could stem from insufficient heat, pressure, or time. Adjusting these variables helps you get the best results.
| Issue | Cause | Solution |
|---|---|---|
| Warping | Excess heat/pressure | Lower temperature/pressure |
| Melting | Too high temperature | Reduce heat, shorten duration |
| Poor Adhesion | Insufficient heat/time | Increase heat/time, check pressure |
Tips for Adding Small Details and Accents on Vinyl Layers
Mastering heat press settings helps prevent common problems like warping or melting, but adding small details and accents on vinyl layers requires extra care. When working with intricate designs, you need to be precise and gentle to maintain the integrity of each layer.
Mastering heat press settings is key to preserving delicate vinyl details without warping or melting.
Here are some tips to help you add those fine details flawlessly:
- Use a lower temperature and shorter press time to avoid distorting delicate areas.
- Apply small accents separately before layering larger vinyl pieces to ensure crisp edges.
- Utilize a Teflon sheet or parchment paper to protect the vinyl and distribute heat evenly.
Frequently Asked Questions
Can Heat Pressing Vinyl on Vinyl Affect the Garment’s Fabric?
Yes, heat pressing vinyl on vinyl can affect your garment’s fabric if you use too much heat or press too long.
You should always follow temperature guidelines to avoid scorching, warping, or damaging the fabric fibers.
How Long Should Vinyl Be Left to Cure After Heat Pressing?
You should let vinyl cure for at least 24 to 48 hours after heat pressing to guarantee proper adhesion and durability. Avoid washing or stretching the fabric during this time to keep your design looking great.
Are There Specific Vinyl Brands Better Suited for Layering?
Some vinyl brands excel at layering, while others struggle to stick properly. You’ll find that brands like Siser EasySubli and Oracal 651 offer reliable layering, giving you vibrant, durable designs without the hassle of peeling or bubbling.
Can You Remove Heat Pressed Vinyl Without Damaging the Base Layer?
You can remove heat-pressed vinyl without damaging the base layer if you use a gentle, low-temperature peel and peel slowly. Rushing or using high heat might lift or ruin the base vinyl, so be patient and careful.
What Tools Besides a Heat Press Help With Vinyl Layering?
You’ll want a Teflon sheet to protect layers and a weeding tool for precision. Over 70% of crafters use a heat-resistant tape to keep vinyl pieces aligned perfectly during layering, making your work cleaner and easier.
Conclusion
So, can you heat press vinyl on vinyl? Sure, if you enjoy playing with fire—literally. Just remember, it’s not a magic trick; vinyl layers don’t always love a hot squeeze.
Get your temps right, pressure light, and peel timing perfect, or you’ll end up with a melted mess that even your cat won’t touch. Master the art, or embrace the chaos—it’s your vinyl, after all.
Happy pressing, brave vinyl warrior! When it comes to heat pressing vinyl on vinyl, proper technique and caution are key to avoid damage.