Can You Heat Press Canvas
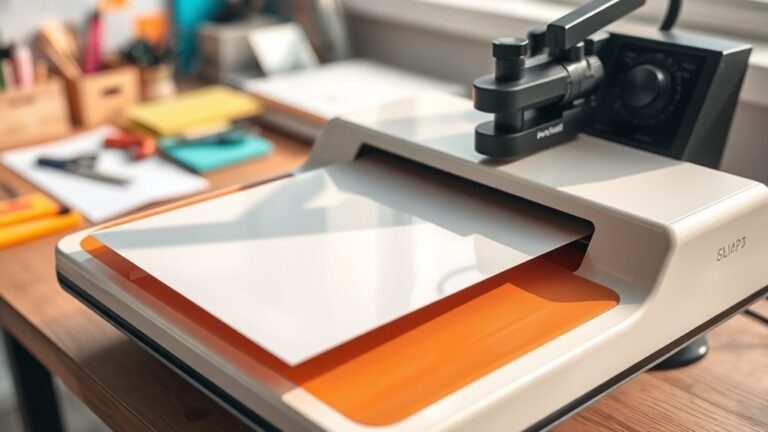
You can heat press canvas safely by using medium pressure and keeping the temperature between 320°F and 350°F to avoid damage. Heat pressing canvas is a popular method for applying designs, but it requires careful control of heat, pressure, and time to achieve the best results.
Understanding how to properly heat press canvas ensures vibrant, long-lasting prints.
Make sure your canvas is clean, pre-pressed, and dry before starting the process. Always use a protective barrier like parchment paper to prevent scorch marks on the fabric.
Cotton canvases work best for heat pressing, while synthetic materials need lower heat settings.
Balancing heat, pressure, and time is key to vibrant, lasting results. If you want to master the process, there are important steps and tips to explore that will help you achieve professional-quality finishes every time.
Key Takeaways
- Yes, canvas can be heat pressed using medium pressure and controlled temperature to transfer designs effectively without damaging the fabric.
- Use temperatures between 320°F and 350°F with pressing times of 15 to 25 seconds for optimal results on cotton canvas.
- Pre-press the canvas to remove wrinkles and moisture, ensuring a smooth surface for even heat distribution.
- Always place a protective barrier like Teflon or parchment paper between the heat press and canvas to prevent scorch marks or ink bleed.
- Test on scrap canvas to adjust pressure, temperature, and time, avoiding excessive heat that can warp or damage the canvas.
Can You Heat Press Canvas Safely?
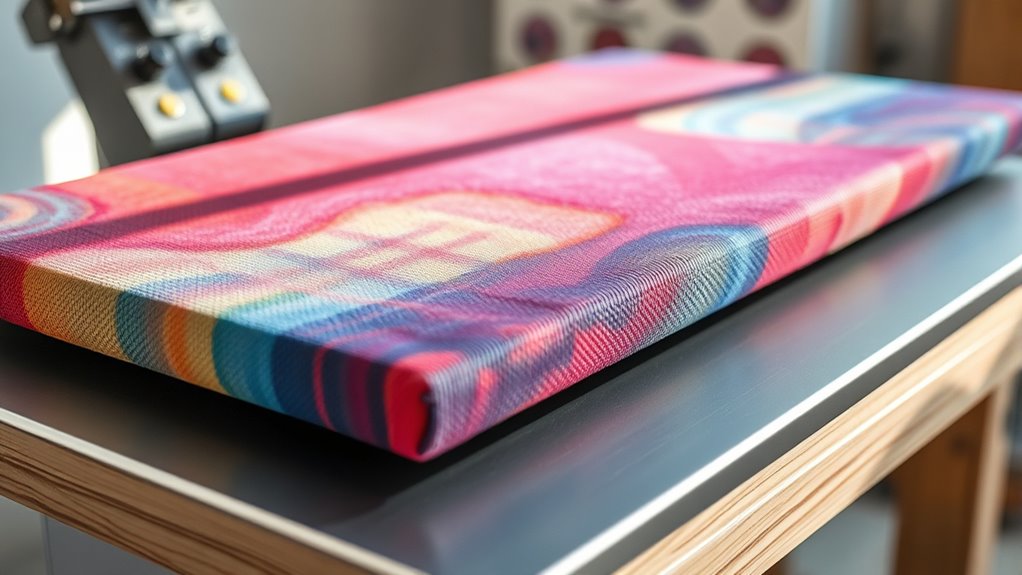
How can you heat press canvas safely without damaging your artwork? First, always preheat your heat press and test on a scrap piece to find the right temperature and pressure settings. Use a heat-resistant protective sheet, like parchment paper, between the canvas and the press to prevent scorching or ink smudging.
Keep the pressing time short—usually 10 to 15 seconds—to avoid overexposure to heat. Avoid excessive pressure, as it can distort the canvas texture or cause unwanted marks. Make sure your artwork is completely dry before pressing to prevent color bleeding.
Finally, handle the canvas carefully after pressing to maintain its shape and finish. With these steps, you can confidently heat press your canvas while preserving your artwork’s quality.
Which Canvas Types Work Best for Heat Pressing?
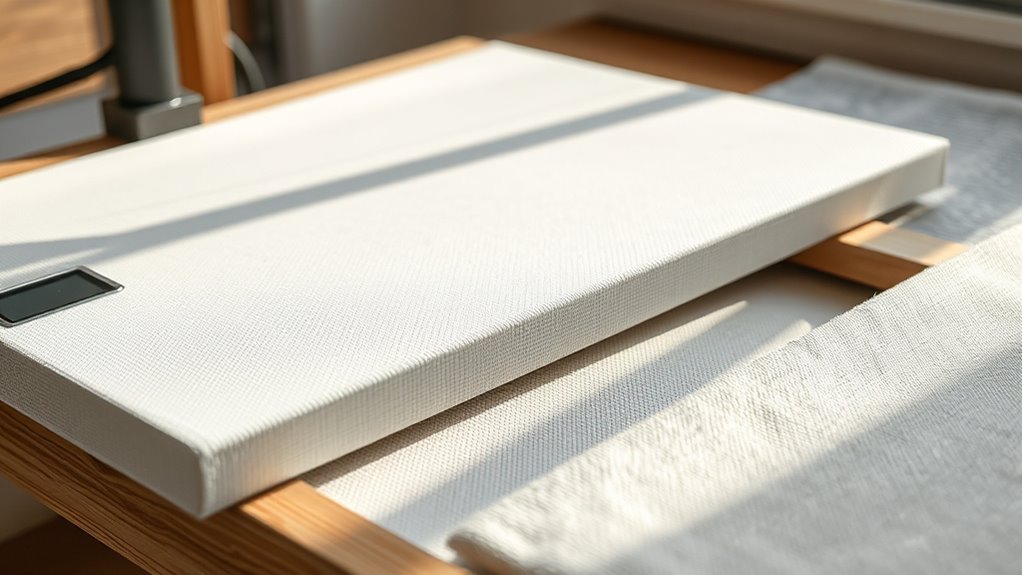
When choosing canvas for heat pressing, you’ll want to take into account whether it’s cotton or synthetic, as each reacts differently to heat. The weight and texture of the canvas also play a big role in how well your design will transfer. Understanding these factors helps you pick the best canvas for your project.
Cotton Vs. Synthetic Canvas
Although both cotton and synthetic canvases have their merits, you’ll find that cotton canvas generally responds better to heat pressing due to its natural fibers and higher heat tolerance. Cotton can handle the high temperatures without melting or warping, allowing you to achieve crisp, vibrant transfers.
On the other hand, synthetic canvases—often made from polyester or nylon—can be tricky. They tend to melt or shrink under heat, which might ruin your design or the fabric itself. If you’re working with synthetic canvas, you’ll need to lower the temperature and press time, but this can affect the transfer quality.
Canvas Weight And Texture
Choosing the right canvas for heat pressing goes beyond fiber content—you’ll also want to think about its weight and texture. Heavier canvases, typically measured in ounces per square yard, hold heat better and withstand pressing without warping. Texture affects how well the design adheres and how sharp the final print looks.
For the best results, consider:
- Medium to heavyweight canvas (10-14 oz): Offers durability and stability during pressing
- Smooth or fine-textured canvas: Ensures even heat distribution and crisp prints
- Avoid overly rough or coarse canvas: These can cause uneven heat transfer and faded designs
How Heat Pressing Affects Canvas Material and Texture
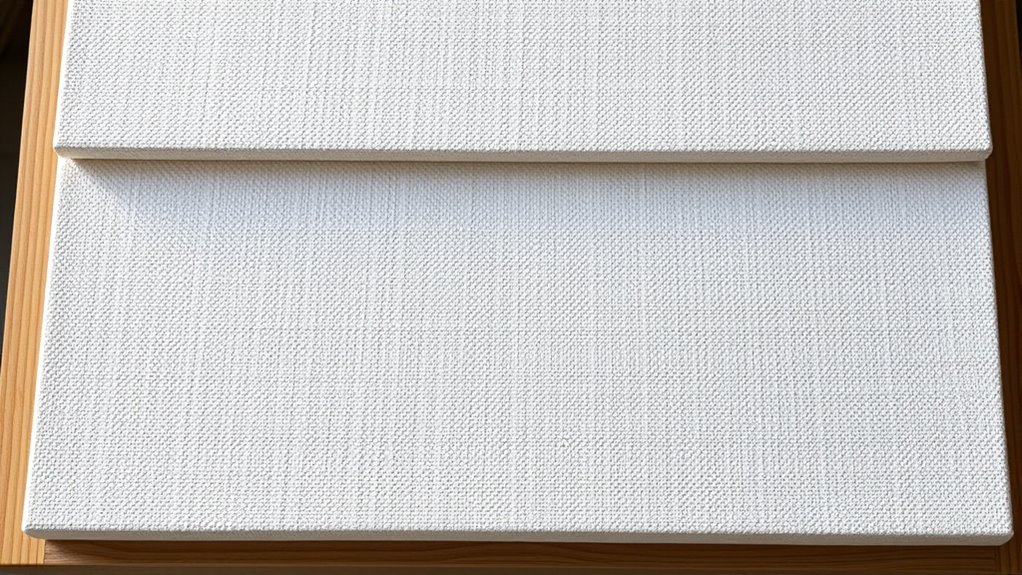
Since canvas is a sturdy, woven fabric, heat pressing can alter its material and texture in noticeable ways. When you apply heat and pressure, the fibers may compact, making the canvas feel stiffer or less breathable. You might also notice slight color changes or shine in the pressed areas due to the heat affecting the fabric’s finish.
If the temperature is too high or the pressing time too long, the canvas can warp or develop unwanted creases, impacting its natural texture. Additionally, repeated heat pressing can weaken the fibers over time, reducing durability. To maintain your canvas’s quality, you’ll want to balance heat, pressure, and time carefully, ensuring the material holds up without compromising its unique woven feel.
Preparing Canvas for Heat Pressing: What You Need to Know
Before you start heat pressing your canvas, you need to prepare it properly to guarantee the best results. Preparation assures your design adheres well and your canvas remains in great shape. First, check that your canvas is clean and free from dust or oils that might affect adhesion.
Next, pre-press the canvas for a few seconds to remove moisture and wrinkles. This step also helps flatten the surface for an even application. Finally, position your design carefully and secure it to prevent shifting during pressing.
Here’s a quick checklist to get you ready:
- Clean the canvas surface with a lint-free cloth
- Pre-press at a low temperature for 5-10 seconds
- Align and tape your transfer securely
This prep will make your heat press project smooth and successful.
Choosing Heat Transfers for Canvas Heat Press Projects
When working with canvas, you’ll want to pick heat transfers that can handle its textured surface and thicker material. Opt for transfers labeled as compatible with heavy fabrics or canvas specifically. Vinyl heat transfers made from polyurethane (PU) or thermoplastic polyurethane (TPU) work well since they’re flexible and durable.
Avoid thin or delicate transfers that might not adhere properly or peel off. You can also use printable heat transfer paper designed for coarse fabrics, but test it first to confirm good adhesion. Remember, the transfer’s adhesive needs to be strong enough to bond to the canvas fibers without compromising the design’s clarity.
Choosing the right transfer guarantees your design stays vibrant and intact after pressing and regular use, giving your canvas project a professional finish.
Ideal Heat Press Settings for Canvas Fabrics
Although canvas is a sturdy fabric, you’ll need to adjust your heat press settings carefully to avoid damaging its texture or the transfer design. The right balance of temperature, pressure, and time is vital for a smooth, lasting result.
Here’s what you should aim for:
- Temperature: Set between 320°F to 350°F (160°C to 177°C) to prevent scorching or warping.
- Pressure: Use medium pressure to ensure the transfer adheres without compressing the canvas fibers too much.
- Time: Press for 15 to 25 seconds, keeping it short enough to protect the fabric but long enough to secure the design.
Fine-tuning these settings based on your specific canvas and transfer type will help you achieve the best results every time.
How to Heat Press Canvas Step-by-Step
To heat press canvas effectively, you’ll start by preparing the fabric to guarantee a smooth surface. Next, you’ll set the right temperature on your heat press based on the type of canvas and transfer material.
Finally, you’ll apply the correct pressure and timing to get a clean, lasting design.
Preparing Canvas For Press
How do you get your canvas ready for heat pressing? Proper preparation guarantees your design adheres well without damaging the fabric.
First, start by pre-washing your canvas to remove any sizing or chemicals that could interfere with heat transfer. Next, iron the canvas to eliminate wrinkles, giving you a smooth surface for pressing.
Finally, position your design carefully, securing it with heat-resistant tape if needed to prevent shifting during the process.
Here’s a quick checklist to prepare your canvas:
- Pre-wash and dry the canvas thoroughly
- Iron out all wrinkles before pressing
- Align and tape your design securely in place
Taking these steps sets you up for a successful heat press and a professional finish.
Setting Heat Press Temperature
Once you have your canvas prepared, setting the right heat press temperature is essential to *guarantee* your design adheres properly without damaging the material. For most canvas types, a temperature between 320°F and 350°F works best. You’ll want to check your specific heat transfer material’s guidelines first, as different transfers may require slight adjustments.
Avoid going above 350°F, as excessive heat can warp or scorch the canvas. When setting the temperature, *confirm* your heat press is fully preheated before placing the canvas inside. This consistency helps the design bond evenly.
Applying Pressure And Time
Although setting the right temperature is essential, applying the proper pressure and timing is just as important to guarantee your design transfers cleanly onto the canvas. Too much pressure can distort the texture, while too little may result in incomplete adhesion. Timing also plays a key role—pressing for too long can scorch the canvas, and too short may leave your design faded.
To get it right, follow these tips:
- Use medium to firm pressure, enough to secure the design without flattening the canvas texture.
- Set your timer according to your heat press and transfer material instructions, usually between 15-30 seconds.
- Test on a scrap piece before pressing the final canvas to fine-tune pressure and time settings.
This balance ensures crisp, vibrant transfers every time.
Common Heat Pressing Mistakes on Canvas (And How to Avoid Them)
If you want your canvas projects to turn out perfectly, steering clear of common heat pressing mistakes is essential. One mistake is using excessive heat, which can scorch or warp your canvas. Always stick to recommended temperature settings.
Another error is applying too much pressure, causing unwanted texture or distortions; adjust pressure to medium for even results. Also, avoid rushing the process—insufficient pressing time leads to poor adhesion, while overdoing it can damage the fabric.
Neglecting to pre-press your canvas can leave wrinkles that ruin your design, so always pre-press before applying transfers. Ultimately, skipping the use of a protective sheet can result in ink bleed or scorch marks. By avoiding these pitfalls, you’ll ensure clean, lasting heat press results on your canvas.
Protecting Your Canvas From Heat Damage During Pressing
To keep your canvas safe during heat pressing, you need to take specific precautions that prevent damage like scorching or warping. Canvas is sensitive to high temperatures and prolonged heat exposure, so you must carefully control the process.
Start by always placing a protective barrier, such as a Teflon sheet or parchment paper, between the heat press and your canvas. This shields the fabric from direct contact. Next, set your heat press to the recommended temperature—usually lower than for other materials—and avoid pressing for too long.
Finally, use a gentle, even pressure to prevent distortion.
- Use a protective sheet like Teflon or parchment paper
- Stick to the recommended temperature and time settings
- Apply even, moderate pressure to avoid warping
Following these steps helps guarantee your canvas stays intact and looks great.
Tips for Vibrant, Long-Lasting Heat Press Designs on Canvas
To get vibrant, long-lasting designs on your canvas, start by properly preparing the surface to guarantee the transfer adheres well. You’ll also want to use ideal heat press settings—temperature, pressure, and time—to avoid damaging the material while achieving a sharp print.
Paying attention to these details makes all the difference in your final result.
Preparing Canvas Surface
Although canvas provides a sturdy base for heat press designs, you’ll need to prepare its surface carefully to guarantee vibrant, long-lasting results. Start by ensuring the canvas is clean and free of dust or oils that could interfere with the heat transfer. Next, flatten the canvas completely to avoid wrinkles, which can distort your design.
Finally, pre-press the canvas briefly to remove moisture and smooth out the surface.
Here are three key preparation tips:
- Clean the canvas with a lint-free cloth to remove debris.
- Use a heat-resistant, non-stick sheet to protect the surface during pre-press.
- Press the canvas for 5-10 seconds at low heat to stabilize fibers before applying your design.
Taking these steps boosts adhesion and keeps your artwork sharp and durable.
Optimal Heat Press Settings
When you dial in the most effective heat press settings, your canvas design will come out vibrant and durable every time. Start with a temperature of 320°F (160°C), which works well for most canvas fabrics without scorching. Set your timer for 15 seconds to allow the ink or transfer to properly adhere.
Apply medium pressure—not too light, or the design won’t bond; not too heavy, or you risk damaging the canvas texture. Always place a Teflon sheet or parchment paper between the heat platen and your design to protect it from direct heat. Test on a small canvas piece before pressing the final product to guarantee your settings yield bright colors and sharp details.
Adjust time or temperature slightly if needed for best results.
Frequently Asked Questions
Can You Use a Regular Iron Instead of a Heat Press on Canvas?
You can use a regular iron on canvas, but it won’t apply even pressure or consistent heat like a heat press. You’ll need to press firmly, use a protective sheet, and be patient for decent results.
How Do You Clean Canvas After Heat Pressing?
You’ll want to gently freshen your canvas after heat pressing by lightly brushing off any residue and spot-cleaning with a damp cloth.
Avoid harsh scrubbing to keep your artwork looking its absolute best.
Are Heat-Pressed Canvas Items Machine Washable?
You usually can machine wash heat-pressed canvas items, but use cold water and gentle cycles to protect the design. Avoid harsh detergents and high heat drying to keep the print vibrant and prevent damage over time.
Can You Heat Press Canvas That Already Has Paint on It?
You can heat press canvas with paint, but you need to be careful. Use low heat and a protective sheet to avoid damaging the paint. Test a small area first to make certain the paint won’t melt or crack.
What Are the Best Brands of Heat Presses for Canvas Projects?
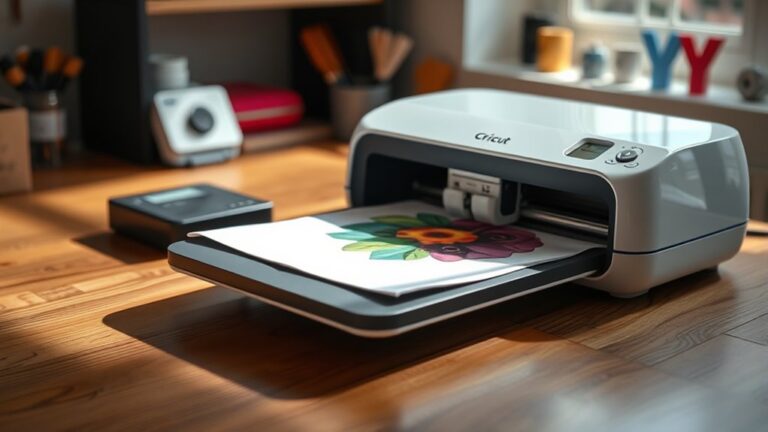
You’ll love brands like Cricut, Fancierstudio, and PowerPress for canvas projects. They offer reliable temperature control and even pressure, making your heat pressing easier and more precise.
Don’t forget to check size options too!
Conclusion
You can heat press canvas safely by choosing the right type, preparing it properly, and using suitable heat transfers. You can protect your canvas from damage by controlling temperature, pressure, and time. You can avoid common mistakes by following clear steps and using protective layers.
You can achieve vibrant, long-lasting designs by paying attention to detail and practicing patience. With care, precision, and patience, your canvas heat press projects will turn out beautifully every time. Remember, proper preparation and the right techniques are key to successful canvas heat pressing.