Can You Heat Press Both Sides of Shirt
You can heat press both sides of a shirt safely by choosing natural fibers like cotton and using thin, heat-compatible vinyl or inks. Heat pressing both sides requires careful preparation to ensure the fabric and design remain undamaged. Proper technique and materials are essential for achieving professional results.
Prepare the fabric by washing, ironing, and protecting it with a Teflon sheet. Align your designs carefully, then press the first side fully before flipping.
Lower the temperature and pressure slightly on the second side to avoid damage. Keep fabric cool between presses to maintain quality.
Following these steps guarantees professional results and avoids common pitfalls. This method ensures your double-sided heat press projects turn out crisp and durable every time.
Key Takeaways
- Yes, you can heat press both sides of a shirt by carefully aligning designs and using protective sheets to prevent damage.
- Allow the first side to fully cool before flipping and pressing the second side to avoid fabric distortion and print damage.
- Use lower temperature and shorter pressing time on the second side to protect the initial design and fabric integrity.
- Stabilize the fabric and remove wrinkles before pressing to ensure proper adhesion and prevent warping.
- Test settings on scrap fabric and use heat-resistant tape or backing sheets to maintain alignment and quality.
How to Heat Press Both Sides of a Shirt Safely
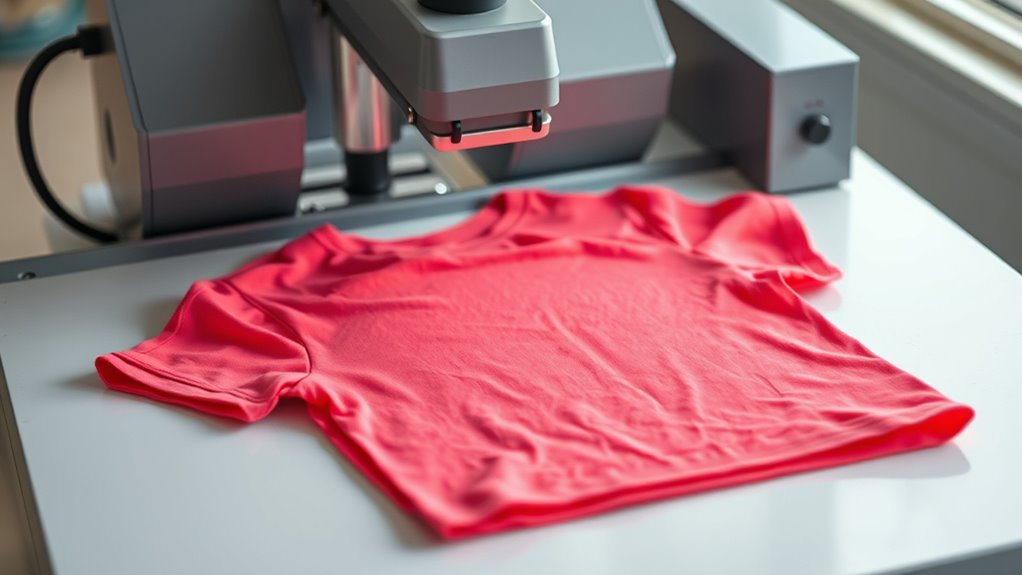
When you heat press both sides of a shirt, you need to take extra care to avoid damaging the fabric or the design. Start by allowing the first side to cool completely before pressing the second side. Use a protective sheet, like parchment paper or a Teflon sheet, over the design to prevent direct contact with the heat platen.
Adjust your heat press settings to a slightly lower temperature and shorter pressing time to reduce the risk of scorching or melting. Always align the shirt carefully to avoid misprints. Test on a similar fabric or scrap first to ensure your settings won’t harm the shirt.
Choosing Materials for Double-Sided Heat Pressing
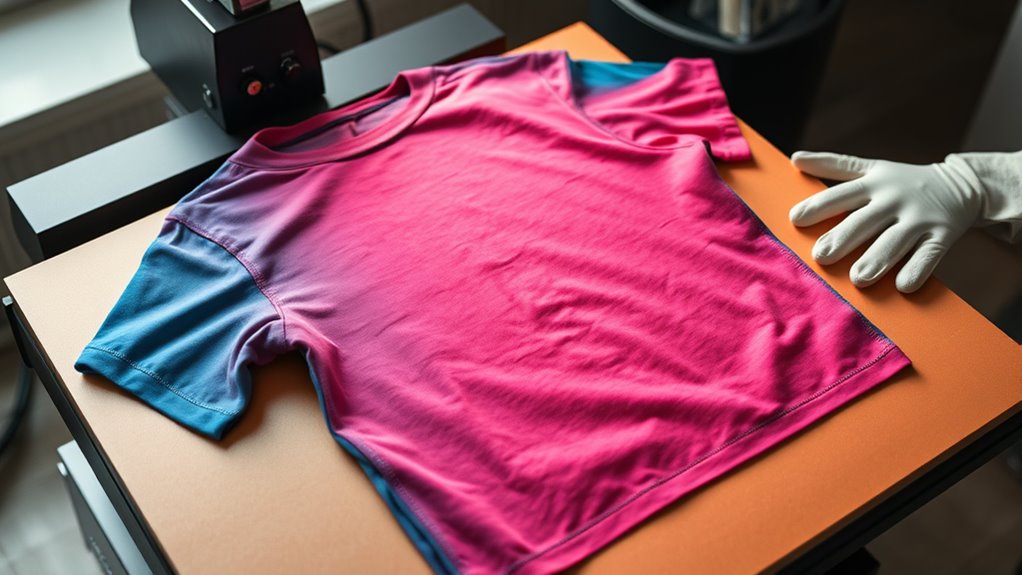
Although choosing the right materials might seem straightforward, selecting fabrics and inks compatible with double-sided heat pressing is essential to achieving durable, vibrant results. You’ll want to opt for shirts made from natural fibers like cotton or cotton blends, as they handle heat well without warping or melting. Avoid synthetic fabrics such as polyester, which can distort or scorch under high temperatures.
For inks, choose heat transfer vinyl (HTV) or sublimation inks designed for double-sided applications. These materials maintain color vibrancy and adhesion on both sides after pressing. Make sure the inks or vinyls are thin enough to prevent stiffness.
Preparing Your Shirt for Double-Sided Heat Pressing
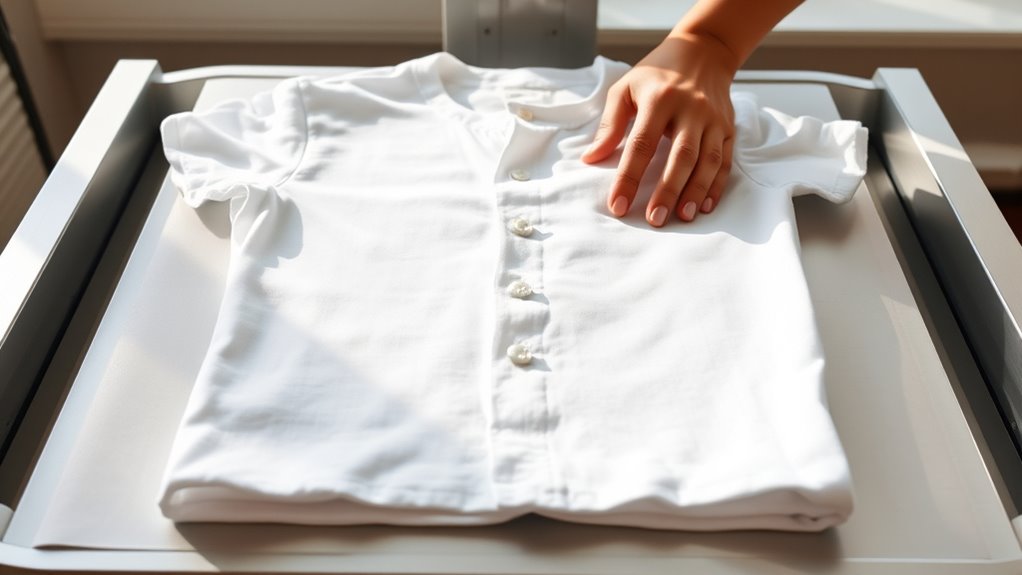
Before you start, make sure your shirt material can handle heat pressing on both sides without damage. You’ll also want to prep the fabric surface by ironing out wrinkles and cleaning off any lint or dust.
Taking these steps guarantees your designs will adhere smoothly and last longer.
Choosing Suitable Shirt Materials
Since not all fabrics handle heat press techniques equally well, you’ll want to select shirt materials that can withstand the high temperatures and pressure involved in double-sided pressing. Look for shirts made from 100% cotton or cotton blends, as these tend to respond best without warping or melting. Polyester can work, but be cautious—too much heat can cause the fabric to shrink or distort.
Avoid delicate materials like silk or rayon, which are prone to damage under intense heat. Also, consider the shirt’s thickness; thicker fabrics provide better support and reduce the risk of imprint bleed-through. By choosing the right material upfront, you guarantee that both sides of your shirt will hold the design clearly and last through multiple washes without compromising quality or comfort.
Prepping Fabric Surface
How do you guarantee your shirt is ready for double-sided heat pressing? Start by prepping the fabric surface carefully to ensure smooth transfers on both sides.
First, wash and dry the shirt to remove any sizing or chemicals that could affect adhesion. Second, iron the fabric to eliminate wrinkles—this creates a flat surface for heat pressing.
Third, place a heat-resistant sheet on the shirt’s surface to protect the fabric and design during pressing. Finally, test a small, inconspicuous area with heat to confirm the fabric holds up without damage.
Following these steps will help you achieve crisp, clean prints on both sides of your shirt without ruining the material or your design.
Should You Use a Protective Sheet When Heat Pressing Both Sides?
When heat pressing both sides of a shirt, you should always use a protective sheet to avoid damaging the prints. Materials like parchment paper or Teflon sheets work well to shield your design from direct heat and pressure.
Using the right protective layer keeps your shirt looking crisp and professional after each press.
Importance Of Protective Sheets
Although you might feel tempted to skip protective sheets to save time, using them is essential when heat pressing both sides of a shirt. They shield your fabric and designs from direct heat, preventing scorching, melting, or unwanted shine. Protective sheets also help distribute pressure evenly, ensuring consistent results on both sides.
Without them, you risk damaging the shirt or ruining your print.
When you use protective sheets, you:
- Avoid fabric burns and discoloration.
- Prevent adhesive or ink from sticking to the heat press platen.
- Maintain the integrity of your design’s colors and textures.
- Achieve a professional, smooth finish on both sides.
In short, protective sheets safeguard your work and improve the quality of your heat press projects.
Types Of Protective Materials
Using protective sheets is a key step in heat pressing both sides of a shirt, but choosing the right material can make all the difference. You’ll want to pick materials that withstand high temperatures and prevent ink from transferring or sticking.
Common options include Teflon sheets, which offer non-stick surfaces and excellent heat resistance. Parchment paper works well too, especially if you’re looking for an affordable, disposable option. Heat-resistant silicone mats provide durability and even heat distribution, making them ideal for repeated use.
Avoid materials that can melt or leave residue. By selecting the appropriate protective sheet, you’ll safeguard your shirt, maintain print quality, and ensure a smooth pressing process on both sides without damaging the fabric or design.
Preventing Print Damage
Since heat pressing both sides of a shirt exposes the fabric to high temperatures twice, you’ll want to take extra care to prevent print damage. Using a protective sheet is essential to shield your design from direct heat and pressure, keeping it vibrant and intact. Without protection, prints can scorch, crack, or fade.
To prevent damage, follow these steps:
- Place a Teflon sheet or parchment paper over the print before pressing.
- Use a lower temperature setting when pressing the second side.
- Avoid pressing the same area multiple times to reduce heat exposure.
- Allow the shirt to cool slightly between pressing each side to minimize stress on the print.
These precautions help maintain the quality of your heat-pressed designs on both sides.
Best Heat Press Settings for Front and Back Prints
When you heat press both the front and back of a shirt, choosing the right settings is crucial to guarantee vibrant, long-lasting prints without damaging the fabric. Typically, set your heat press between 320°F and 350°F (160°C to 177°C). Use medium pressure to ensure even heat distribution, avoiding overly firm pressing that can distort the fabric.
Limit pressing time to 10-15 seconds per side to prevent overheating. If your shirt material is delicate, opt for the lower end of the temperature range and reduce pressing time accordingly. Always check the heat transfer material’s specific instructions, as some require slightly different settings.
How to Press the First Side Without Damage
Getting the first side of your shirt pressed right sets the foundation for a flawless double-sided print. To avoid damage, follow these steps carefully:
- Preheat your heat press to the recommended temperature, ensuring it’s consistent before placing your shirt.
- Use a protective sheet like parchment paper or a Teflon sheet between the heat press and your design to prevent scorching or melting.
- Position the shirt flat and smooth, eliminating wrinkles that could cause uneven pressure or creases in your print.
- Apply firm, even pressure for the specified time, then lift the press carefully to avoid smudging.
How to Align Designs Perfectly When Heat Pressing Both Sides
Although aligning designs on both sides of a shirt can be tricky, you can achieve perfect symmetry by carefully marking key reference points before pressing. Start by folding the shirt in half vertically to find the centerline, then use a washable fabric marker or heat-resistant tape to mark this line on both front and back.
Next, measure the distance from the collar or hem to where the first design sits, and mark that spot on the back side as well. When placing your second design, align it precisely with these marks to guarantee it matches the first side. Using a ruler or T-square can help maintain straightness.
Taking these steps ensures your double-sided heat press designs line up perfectly every time, giving your shirt a professional finish.
How to Avoid Color Bleeding When Heat Pressing Both Sides
To avoid color bleeding when heat pressing both sides, you need to prepare your fabric properly and control the temperature and pressure carefully. Make sure the fabric is clean and dry before starting to prevent unwanted color transfer.
Adjust your heat press settings to match the fabric type and ink to keep colors sharp and vibrant.
Proper Fabric Preparation
When you prepare your fabric correctly, you can prevent color bleeding while heat pressing both sides of a shirt. Start by choosing high-quality fabric with colorfast dyes that won’t run easily. Before pressing, wash the shirt separately in cold water to remove excess dye.
Always dry the fabric completely to avoid moisture interfering with the heat transfer. Finally, pre-press the shirt to flatten wrinkles and remove any residual moisture.
- Select colorfast, high-quality fabric to reduce dye bleeding.
- Wash the shirt in cold water separately before pressing.
- Ensure the fabric is fully dry to prevent moisture issues.
- Pre-press the shirt to smooth wrinkles and eliminate dampness.
These steps set a solid foundation for successful heat pressing without color bleeding.
Temperature And Pressure Control
After preparing your fabric properly, managing the temperature and pressure during heat pressing plays a key role in preventing color bleeding on both sides of the shirt. You should set the heat press to the manufacturer’s recommended temperature to avoid overheating the ink or fabric. Too much heat can cause colors to run, while too little won’t transfer the design properly.
Applying the right pressure is equally important—too much pressure may force inks to bleed through the fabric, while too little pressure results in poor adhesion. Adjust pressure based on fabric thickness and type. Always test on a scrap piece first to fine-tune your settings.
How to Prevent Fabric Distortion When Heat Pressing Both Sides
Although heat pressing both sides of a shirt can create vibrant, double-sided designs, you’ll need to handle the fabric carefully to avoid distortion. Fabric can stretch or warp if not managed properly during the pressing process. To keep your shirt looking crisp and aligned, follow these steps:
Heat pressing both sides creates vibrant designs, but careful handling is key to preventing fabric distortion.
- Stabilize the fabric by using a heat-resistant tape or a backing sheet to hold it in place.
- Press on a flat, firm surface to avoid any wrinkles or uneven tension.
- Avoid excessive heat and pressure which can cause stretching or shrinking.
- Allow the fabric to cool completely before flipping or pressing the second side to maintain its shape.
These steps help guarantee your design stays sharp and the fabric stays true to size.
Best Practices for Pressing the Second Side Without Damaging the First
Keeping the fabric stable and cool before flipping it prevents the stage for pressing the second side without harming your initial design. Allow the first side to fully cool so the ink or vinyl sets properly, reducing smudging risks.
When you flip the shirt, position it carefully to align the second design perfectly. Use a protective sheet, like parchment paper, over the first side to shield it from direct heat and pressure. Avoid pressing too long or at excessive temperatures on the second side, as this can cause the first side to peel or distort.
Press with moderate pressure, just enough to transfer the design without pressing too hard. By taking these precautions, you’ll preserve both designs’ quality and ensure a professional finish on your double-sided shirt.
Essential Tools and Accessories for Double-Sided Heat Pressing
When you’re tackling double-sided heat pressing, having the right tools and accessories makes all the difference in achieving a clean, professional result. You want to protect your first design while pressing the second side, so quality gear is essential. Here are four must-haves:
- Heat-resistant Teflon sheets – These prevent sticking and shield your prints from direct heat.
- Silicone pads – They provide even pressure and protect the fabric underneath.
- Heat press pillow – This helps eliminate pressure points, ensuring both sides press evenly.
- Protective parchment paper – It guards your designs and fabric during pressing.
With these tools, you’ll avoid smudges, burns, or distortion, making your double-sided heat pressing smooth and successful every time.
Frequently Asked Questions
Can Heat Pressing Both Sides Affect the Shirt’s Breathability?
Yes, heat pressing both sides can reduce your shirt’s breathability because the layers of vinyl or ink block airflow.
You’ll want to balance design and comfort to avoid making your shirt too stiff or hot.
How Long Does Double-Sided Heat Pressing Typically Take?
Double-sided heat pressing usually takes about 1 to 2 minutes per side, depending on your heat press settings and material.
You’ll want to carefully time each side to avoid overheating or damaging the shirt.
Is Double-Sided Heat Pressing More Expensive Than Single-Sided?
You might expect double-sided heat pressing to cost more—and it does. Since you’re pressing twice, you’ll spend extra on time, materials, and labor.
But the impact and durability often make it worth every penny.
Can Heat Pressing Both Sides Cause Fabric Shrinkage Over Time?
Yes, heat pressing both sides can cause fabric shrinkage over time if you use high temperatures or press too frequently.
You should use recommended settings and allow the fabric to cool between presses to minimize shrinkage risks.
Are Some Shirt Colors Better Suited for Double-Sided Heat Pressing?
Yes, darker shirts usually handle double-sided heat pressing better because they hide minor imperfections. Lighter colors can show scorch marks or ghosting more easily, so you’ll want to test carefully before pressing both sides.
Conclusion
When heat pressing both sides of a shirt, remember that “haste makes waste.” Take your time choosing the right materials, prepping the fabric, and using protective sheets to avoid damage. Adjust your heat press settings carefully to prevent color bleeding and fabric distortion.
By following best practices and using essential tools, you’ll guarantee both sides look flawless. With patience and precision, you can confidently create double-sided designs without compromising quality. Using the correct technique ensures your heat press both sides of shirt project turns out perfect every time.