Can You Heat Press a Beanie
Yes, you can heat press a beanie effectively by following the right preparation steps. Properly washing, drying, and flattening the beanie first helps remove wrinkles and moisture, ensuring a smooth surface for heat pressing.
Using stretch or flock heat transfer vinyl on cotton or polyester blends works best for vibrant and durable designs.
Choose a cap or swing-away press for better control and apply medium pressure at around 320°F for 15-20 seconds.
Always protect the fabric with a heat-resistant sheet to prevent damage. Taking these precautions guarantees a long-lasting and high-quality finish.
Keep exploring the process to master heat pressing on beanies and create custom designs with ease.
Key Takeaways
- Yes, you can heat press a beanie by using a heat press pillow or folded towel to support its curved shape and distribute heat evenly.
- Use stretch or flock heat transfer vinyl (HTV) for best flexibility and durability on knit beanie fabrics.
- Pre-wash and dry the beanie, then pre-press to remove wrinkles and moisture for optimal heat transfer results.
- Set the heat press to about 320°F (160°C) with medium pressure for 15-20 seconds, adjusting as needed for fabric type.
- Always cover the design with a Teflon sheet during pressing and allow the beanie to cool before removing transfer paper.
Can You Heat Press a Beanie?
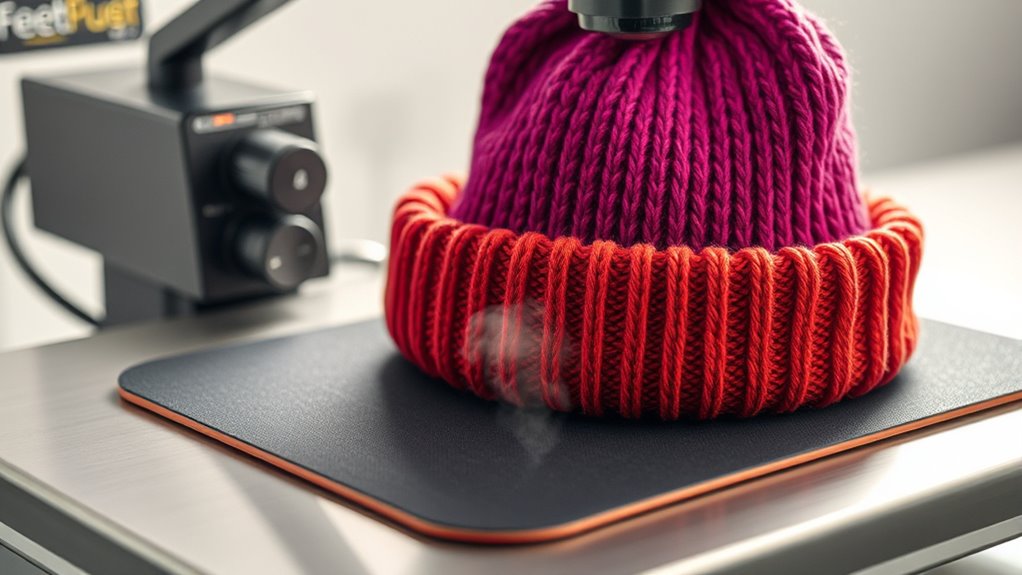
Although heat pressing a beanie requires some care, you can definitely do it with the right approach. You’ll need to factor in the beanie’s shape and fabric flexibility since it’s stretchy and curved. Using a heat press directly on the beanie without support may cause uneven pressure or damage the material.
To avoid this, you can use a heat press pillow or a form that mimics the beanie’s shape. This helps distribute heat and pressure evenly. Also, adjusting the temperature and time settings lower than for flat fabrics will protect the beanie from burning or shrinking.
With patience and the right tools, you can successfully apply custom designs to your beanie using heat pressing techniques.
What Materials Work Best for Heat Pressing Beanies
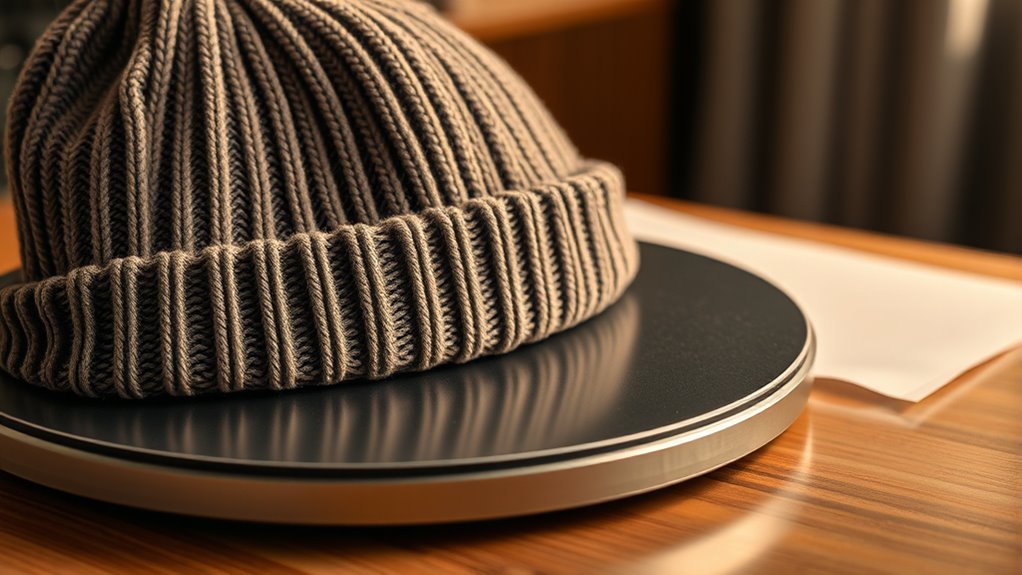
When choosing materials for heat pressing beanies, you’ll want fabrics that can handle heat without losing their shape or texture. Cotton and polyester blends are your best bet since they’re durable and respond well to heat transfer vinyl or sublimation. Acrylic and wool beanies, common in winter hats, aren’t ideal because they can melt or shrink under high temperatures.
Look for beanies labeled with a heat tolerance of at least 300°F (149°C) to guarantee your design adheres properly without damage. Stretchy fabrics like spandex blends can work, but you’ll need to adjust your pressing time and temperature carefully. By picking the right materials, you’ll get crisp, long-lasting designs without ruining your beanie’s comfort or form.
Choosing the Best Heat Press Machine for Beanies
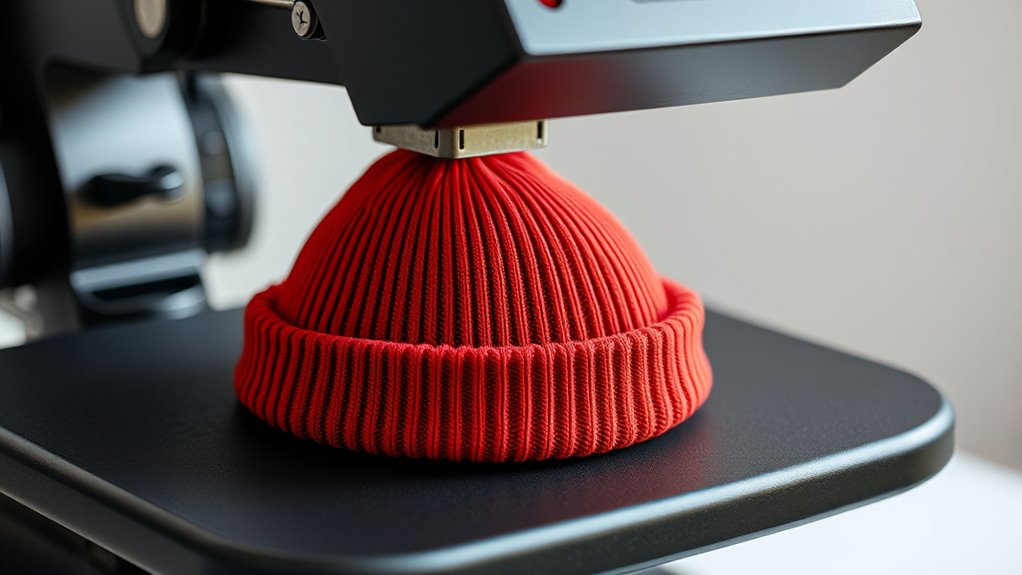
When choosing a heat press machine for beanies, you’ll want to focus on the type of press, temperature and pressure settings, and size compatibility. Confirm the machine can handle curved surfaces and offers precise controls to avoid damaging your beanies.
Picking the right press ensures your designs transfer smoothly every time.
Heat Press Types
Since beanies have a curved shape, choosing the right heat press machine is essential for achieving crisp, even transfers. You’ll want a heat press that contours well to the rounded surface to avoid uneven pressure or distorted designs.
Here’s a quick comparison to help you decide:
| Heat Press Type | Best For | Pros |
|---|---|---|
| Cap Press | Curved surfaces like hats and beanies | Even pressure, fits curves perfectly |
| Swing-Away Press | Flat or slightly curved items | Versatile, adjustable pressure |
| Clamshell Press | Flat surfaces | Compact, easy to use |
| Multi-Function Press | Various items including beanies | Interchangeable platens, versatile |
A cap press usually offers the best fit for beanies, ensuring your design transfers cleanly without wrinkles or gaps.
Temperature And Pressure Settings
Although selecting the right heat press machine is essential for beanies, dialing in the correct temperature and pressure settings guarantees your design adheres flawlessly. For most beanies, set your heat press to around 320°F (160°C). This temperature is hot enough to activate the adhesive without damaging the fabric.
Pressure should be medium to firm—too light, and the design won’t stick properly; too heavy, and you risk crushing the beanie’s shape. Remember, beanies are stretchable, so avoid excessive pressure that could distort the material. Aim for about 30-40 psi, but always test on a sample first.
Adjust timing to 10-15 seconds to give the heat and pressure enough time to bond the design without overheating the fabric. These settings guarantee professional, long-lasting results every time.
Size And Compatibility
Choosing the right heat press machine for beanies means considering both size and compatibility carefully to guarantee your designs transfer perfectly. Since beanies are curved and smaller than flat surfaces, you’ll want a heat press with a curved or hat platen that fits snugly around the fabric. Standard flat platen machines won’t provide even pressure on the rounded shape, leading to uneven transfers or damage.
Also, check the machine’s maximum pressure and temperature settings to ensure they align with your specific beanie material and transfer type. Compact, adjustable machines designed for headwear work best, letting you customize fit and heat application. By focusing on size and compatibility, you’ll avoid mishaps and achieve professional, long-lasting results every time.
What Types of Heat Transfer Vinyl Stick to Beanies
When you’re customizing a beanie, not all heat transfer vinyl (HTV) will adhere properly due to the fabric’s texture and stretch. You’ll want to choose HTV types that are flexible, durable, and compatible with knit materials. Stretchy vinyls work best because they move with the fabric without cracking or peeling.
Here’s a quick guide to help you pick the right HTV for your beanie:
| HTV Type | Flexibility | Best Use |
|---|---|---|
| Stretch Vinyl | High | Knit fabrics, beanies |
| Flock Vinyl | Medium | Soft, textured designs |
| Glitter Vinyl | Low | Decorative, less stretch |
| Metallic Vinyl | Low | Shiny, bold accents |
| Printable Vinyl | Medium | Detailed images |
Opt for stretch or flock vinyl for the best results on beanies.
How to Prepare a Beanie for Heat Pressing
Before you start heat pressing your beanie, you need to prepare it properly to guarantee the vinyl adheres smoothly and lasts longer. Begin by washing the beanie to remove any dirt, oils, or sizing that might interfere with adhesion. Make sure it’s completely dry before proceeding.
Next, preheat your heat press or iron and test the temperature on a small fabric area to avoid damage. Lay the beanie flat on a heat-resistant surface, smoothing out wrinkles and folds. Use a heat press pillow or a folded towel inside the beanie to create an even surface for pressing.
Finally, position your heat transfer vinyl design carefully, ensuring it’s centered and flat. This preparation sets the stage for a clean, durable transfer.
Step-by-Step Guide to Heat Pressing a Beanie at Home
Although heat pressing a beanie might seem tricky at first, you’ll find the process straightforward once you follow the right steps. First, preheat your heat press to about 320°F (160°C). Next, position a heat-resistant mat or Teflon sheet inside the beanie to create a flat surface.
Place your design on the desired spot, then cover it with another Teflon sheet to protect both the fabric and the design. Carefully position the beanie on the heat press, ensuring it’s stable. Apply firm pressure for 15-20 seconds, then gently lift the press.
Allow the beanie to cool before removing the transfer paper to avoid smudging. With practice, you’ll master heat pressing beanies quickly and efficiently right at home.
Avoiding Common Heat Press Mistakes on Beanies
Mastering the basic steps of heat pressing a beanie sets a solid foundation, but you’ll want to prevent common mistakes that can ruin your design or damage the fabric. First, never skip preheating your beanie to remove moisture and wrinkles, which guarantees better adhesion. Avoid applying too much pressure; beanies are stretchy and thick, so excessive force can distort the fabric or design.
Don’t set the temperature too high—check your transfer material’s guidelines to prevent scorching or melting. Also, avoid using a flat platen without a curved heat press attachment or a foam pad; this helps maintain even pressure on the beanie’s rounded surface. Finally, don’t rush the process—give the design proper time to adhere, or it might peel off prematurely.
Tips for Durable Heat Press Designs on Beanies
To get durable heat press designs on your beanies, start by properly preparing the fabric to guarantee a smooth surface. You’ll also want to use the right heat press settings—temperature, time, and pressure—to avoid damaging the material.
Paying attention to these details helps your design last through wear and washing.
Fabric Preparation Techniques
When you prepare your beanie fabric properly, your heat press designs will last longer and look sharper. Start by washing the beanie to remove any dirt, oils, or sizing agents that could interfere with adhesion. Make certain it’s completely dry before pressing to avoid moisture damage.
Use a lint roller or brush to clear away any fuzz or loose fibers, which can cause uneven application. Pre-press the fabric briefly to flatten wrinkles and reduce moisture, creating a smooth surface for your design. If your beanie has a thick or textured knit, consider using a heat-resistant pressing sheet to protect the fabric and assure even heat distribution.
These steps help your design bond securely and maintain its vibrancy over time.
Optimal Heat Press Settings
Although selecting the right heat press settings can seem tricky, dialing in the correct temperature, pressure, and time is essential for durable, vibrant designs on your beanies. Start by setting your press to around 320°F (160°C), which works well for most polyester or acrylic blends. Apply medium pressure—too much can crush the fabric, while too little won’t transfer the design properly.
Keep the press on for 15 to 20 seconds to ensure the design adheres without overheating. Always preheat your beanie briefly to remove moisture and wrinkles, helping your design stick better. Test on a scrap piece first to fine-tune these settings.
Caring for Heat Pressed Beanies
Since heat pressing applies strong pressure and heat to your beanies, you’ll need to handle them with care to maintain the design’s quality. Always wash your beanie inside out and use cold water to prevent fading or peeling of the pressed design. Avoid bleach or harsh detergents that could weaken the adhesive.
When drying, skip the high heat setting—air drying is best, or use a low heat tumble dry to protect the print. Ironing directly over the design is a no-go, as it can damage the transfer. Store your beanies flat or folded gently to avoid creases on the design.
Following these simple steps will keep your heat pressed beanies looking fresh and vibrant for a long time.
Frequently Asked Questions
Can You Heat Press a Beanie With a Logo Already on It?
You can heat press a beanie with a logo already on it, but you need to be careful. Use a lower temperature and protective sheet to avoid damaging the existing logo or fabric while applying your new design.
Make sure to test the settings on a similar fabric first. This helps prevent any unexpected damage. Always handle the beanie gently during the process.
How Long Does a Heat-Pressed Design on a Beanie Typically Last?
You know what they say, “Good things take time.” A heat-pressed design on your beanie typically lasts several washes, but to keep it fresh, you’ll want to wash it gently and avoid high heat when drying.
Are There Any Safety Precautions When Heat Pressing Beanies?
Yes, you should always wear heat-resistant gloves, work in a well-ventilated area, and avoid pressing too long to prevent burns or fabric damage.
Make sure your heat press is stable and follow the manufacturer’s safety guidelines carefully.
Can Children Safely Use a Heat Press for Beanies?
You shouldn’t let children use a heat press unsupervised because it gets extremely hot and can cause burns. Always supervise closely, teach proper safety, and use protective gear to keep them safe while heat pressing beanies.
Is It Possible to Remove or Redo a Heat-Pressed Design on a Beanie?
You can’t exactly erase a tattoo with a wink—redoing a heat-pressed design on a beanie isn’t that forgiving. You’d need to peel carefully or cover up; otherwise, you’re stuck with your artistic “oops.”
Conclusion
Heat pressing a beanie is totally doable with the right materials and technique. Like a warm hug on a chilly day, your personalized design will stick beautifully and last long if you prepare and press carefully. Remember to choose the best heat transfer vinyl and set your machine properly to avoid any mistakes.
With a little practice, you’ll create cozy, custom beanies that stand out and hold up through many wears and washes. Heat pressing a beanie allows for unique customization that is both durable and stylish. By mastering this method, you can make personalized beanies perfect for gifts, events, or everyday wear.