Can You Do Sublimation With a Heat Press
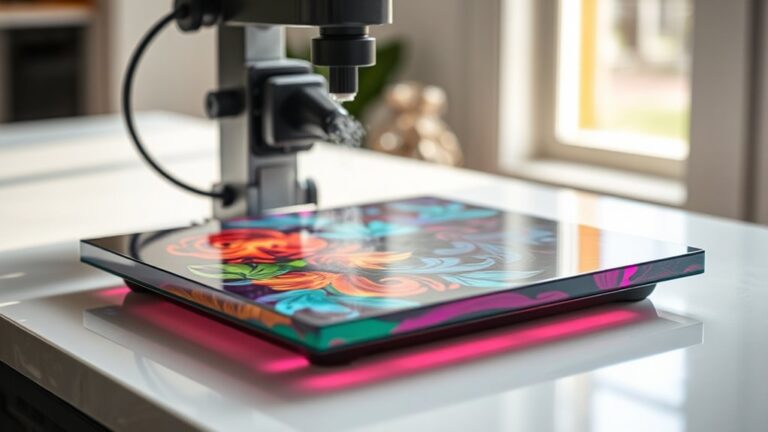
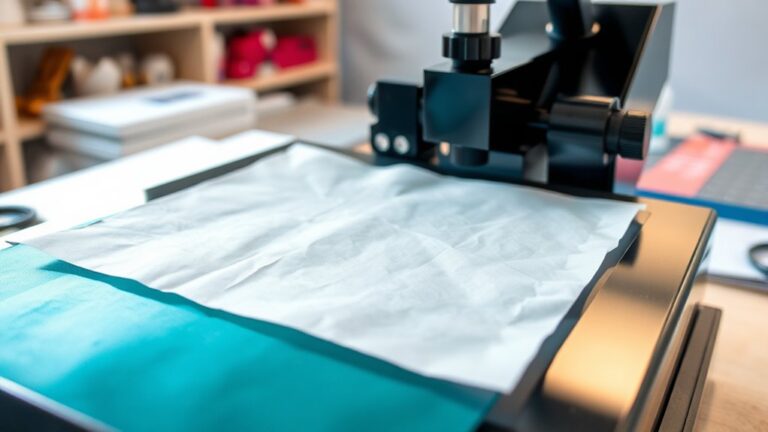
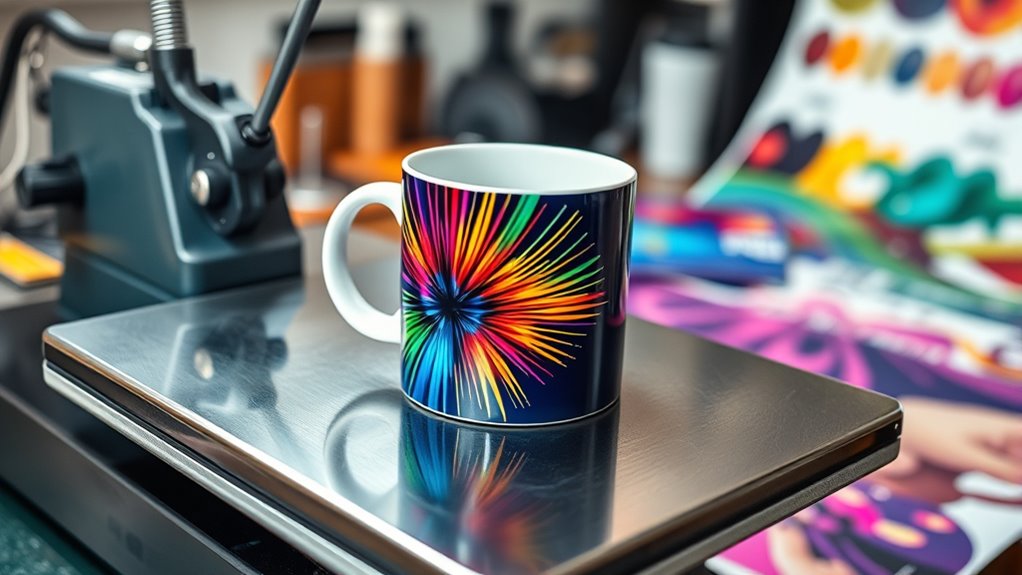
Yes, you can do sublimation with a heat press to create vibrant, long-lasting designs. Sublimation printing works best on polyester fabrics and specially coated items like mugs and phone cases. Using a heat press ensures the dye bonds deeply into the material for durable results.
Start by printing your design with sublimation ink on transfer paper. Then, use the heat press at the correct temperature and pressure settings to transfer the image. Proper preparation and settings are key to achieving sharp, high-quality designs.
With practice, you can master sublimation techniques and avoid common mistakes. Keep experimenting to enhance your skills and create professional-looking products every time.
Key Takeaways
- Sublimation can be done using a heat press to transfer vibrant, permanent designs onto polyester or coated surfaces.
- Heat presses provide the necessary temperature and pressure to turn sublimation ink into gas for bonding with materials.
- Polyester fabrics and polymer-coated items like mugs and phone cases are compatible with heat press sublimation.
- Optimal heat press settings for sublimation range from 385°F to 400°F with 45-60 seconds of firm pressure.
- Using a heat press ensures even heat distribution and precise transfer for durable, vivid sublimation prints.
What Is Sublimation and How Does It Work With a Heat Press?
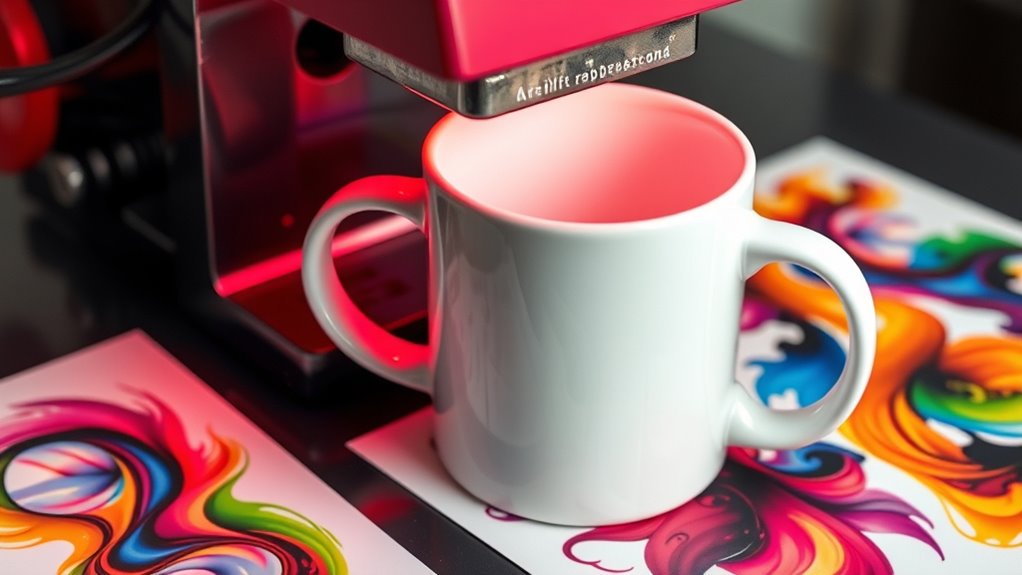
Although sublimation might sound complex, it’s a straightforward process that lets you transfer vibrant, full-color designs onto various materials using a heat press. You start by printing your design onto special sublimation paper with sublimation ink. When you place this paper on your chosen material—usually polyester or polymer-coated surfaces—and apply heat and pressure with the heat press, the ink turns into gas without becoming liquid.
This gas then bonds directly with the material’s fibers, creating a permanent, vivid image. Because the ink becomes part of the material, your design won’t crack, peel, or fade easily. The heat press ensures consistent temperature and pressure, which is essential for a sharp, vibrant transfer.
You’ll find this method perfect for customizing items like shirts, mugs, and phone cases.
Choosing the Best Heat Press for Sublimation
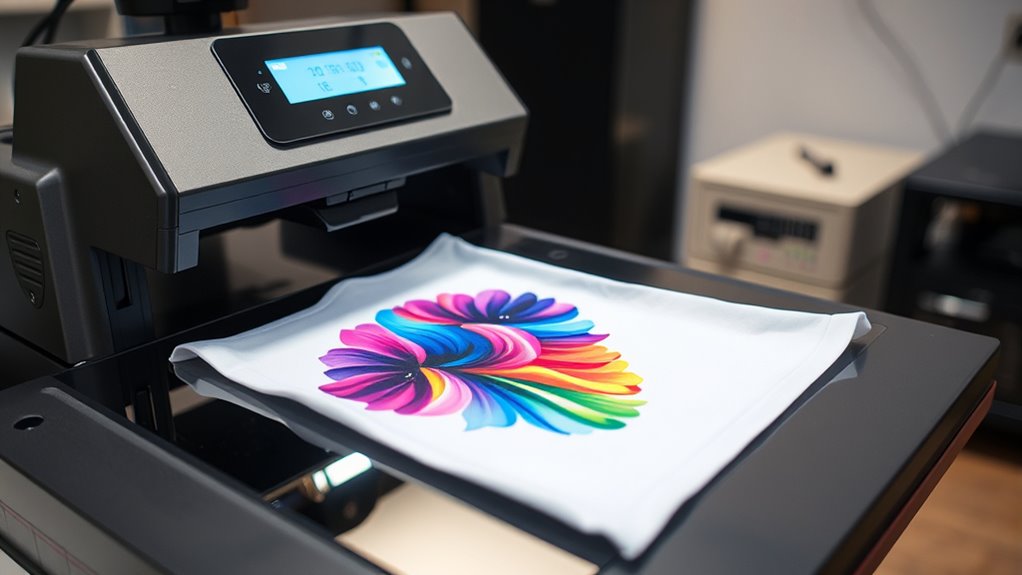
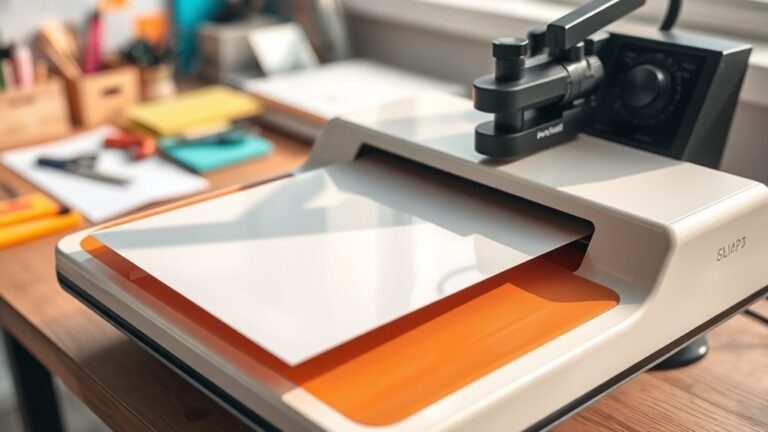
When choosing a heat press for sublimation, you’ll want to take into account the different types available, like clamshell or swing-away models. Focus on essential features such as consistent temperature control and even pressure distribution.
Picking the right press guarantees your designs transfer smoothly and look professional every time.
Heat Press Types
Since your choice of heat press can make or break your sublimation projects, it’s essential to understand the different types available. You’ll mainly encounter clamshell, swing-away, and draw-style presses. Clamshell presses open like a clamshell, saving space and offering quick operation, perfect if you’re short on room.
Swing-away presses allow the heat platen to swing away from the base, giving you full access to your material and reducing accidental burns. Draw-style presses feature a sliding lower platen, making it easier to position your items precisely. Each type suits different workflows, so consider your workspace, project size, and comfort.
Essential Features
Because sublimation requires precise heat and pressure, you’ll want a heat press with reliable temperature control and even heat distribution. These features guarantee your designs transfer flawlessly without fading or ghosting. When choosing the best heat press for sublimation, focus on key elements that affect performance and ease of use.
Consider these essential features:
- Digital temperature and time controls for accuracy
- Even heat platen to avoid hot or cold spots
- Adjustable pressure settings to suit different materials
- Sufficient platen size for your project needs
- Safety features like auto shut-off and heat-resistant handles
Picking a heat press with these qualities helps you achieve vibrant, professional sublimation results every time.
Can You Use a Regular Heat Press for Sublimation Printing?
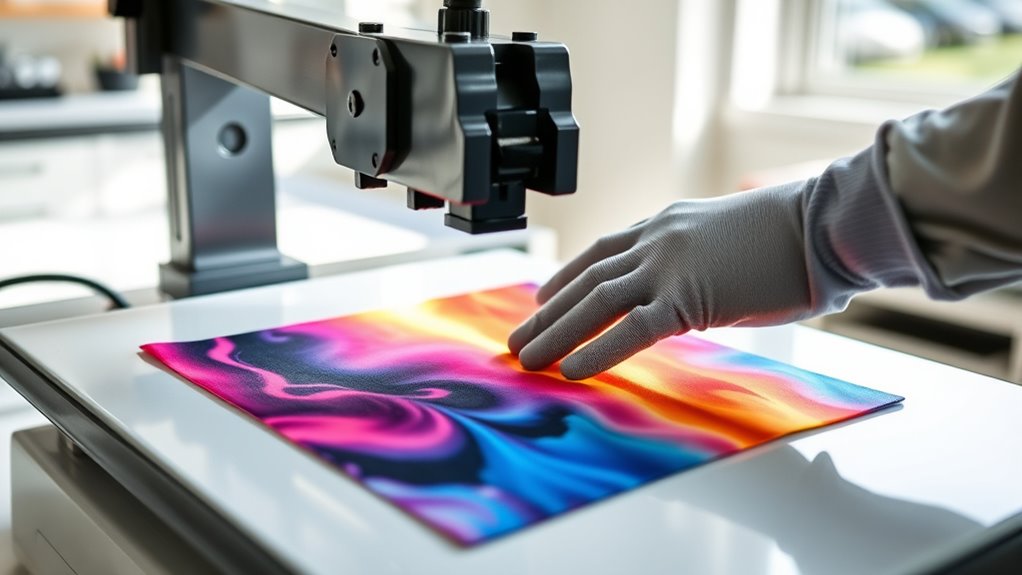
Although a regular heat press isn’t specifically designed for sublimation, you can still use it effectively if you understand its limitations and adjust your process accordingly. Regular heat presses often lack precise temperature control and uniform pressure distribution, which are essential for vibrant, lasting sublimation prints.
To get the best results, monitor temperature closely and apply even pressure.
Here’s a quick comparison:
| Feature | Regular Heat Press | Sublimation Heat Press |
|---|---|---|
| Temperature Control | Less precise | Highly precise |
| Pressure Uniformity | Variable | Consistent |
| Cost | Generally lower | Usually higher |
| Ideal Use | Versatile, not specialized | Designed for sublimation |
With care, your regular heat press can create quality sublimation prints, especially for beginners or small projects.
Materials Compatible With Heat Press Sublimation
When choosing materials for heat press sublimation, you’ll want to focus on polyester fabrics and surfaces with a special sublimation coating. These materials hold the ink well and deliver vibrant, lasting results.
Also, make sure your items can handle the high heat needed without damage.
Polyester Fabric Compatibility
What makes polyester the go-to fabric for heat press sublimation? It’s all about how well polyester fibers bond with sublimation dyes. When you use a heat press, the dye turns into gas and embeds itself into polyester, resulting in vibrant, long-lasting prints.
Natural fibers like cotton don’t hold sublimation ink well, so sticking with polyester guarantees your designs pop.
Here’s why polyester works so well:
- High polyester content absorbs sublimation dyes perfectly
- Durable fabric withstands heat press temperatures
- Results in sharp, vivid, and permanent prints
- Flexible for various apparel and accessories
- Resistant to fading, cracking, or peeling
When you choose polyester, you’re setting yourself up for professional-quality sublimation every time.
Sublimation Coated Surfaces
Since sublimation dyes require a receptive surface to bond with, you’ll want to focus on materials coated specifically for heat press sublimation. These surfaces usually have a polymer or polyester coating that allows the dye to embed itself during the pressing process. Items like ceramic mugs, metal sheets, phone cases, and mouse pads often come pre-coated for sublimation.
Without this coating, the dye won’t properly transfer, resulting in dull or faded prints. When selecting sublimation-coated products, make sure they’re designed for heat press use and match your heat press’s temperature and pressure capabilities. Using the right coated materials guarantees vibrant, durable designs that won’t peel or wash away.
This gives you professional-quality results every time you press.
Heat Resistant Materials
Although sublimation requires specific coatings, your materials also need to withstand high heat and pressure without warping or damage. When choosing items for sublimation with a heat press, pick those made from heat-resistant materials to guarantee your designs transfer perfectly and last long.
Materials that can handle temperatures around 400°F (204°C) and consistent pressure work best. Here are some heat-resistant options you can use:
- Polyester fabrics, especially those with at least 65% polyester content
- Ceramic mugs with a polymer coating
- Aluminum sheets coated for sublimation
- Heat-resistant phone cases made from polycarbonate
- Glass items with a special sublimation coating
Choosing the right base material keeps your projects looking professional and prevents costly mistakes.
Preparing Your Design and Substrate for Sublimation
Before you start sublimating, you’ll want to guarantee your design is properly prepared and your substrate is clean and compatible. Begin by creating or selecting a high-resolution design, preferably in a format like PNG or JPEG with a transparent background. Make sure to mirror your image before printing, as sublimation transfers in reverse.
Next, choose a substrate that’s coated or made from polyester, as sublimation inks bond best with these surfaces. Clean your substrate thoroughly to remove dust, oils, or residues—any dirt can cause uneven transfer or dull colors. Avoid using fabrics or materials without a proper sublimation coating, as the ink won’t adhere well.
Taking these preparation steps ensures vibrant, sharp results and prevents common transfer issues during the sublimation process.
Step-by-Step Guide to Sublimation With a Heat Press
Now that your design and substrate are ready, it’s time to focus on preparing your materials properly for sublimation. You’ll learn key heat press techniques to guarantee vibrant, lasting results.
Follow these steps carefully to get the best outcome every time.
Preparing Materials Properly
When you prepare your materials properly, you set the foundation for a successful sublimation project. Getting everything ready ensures your design transfers cleanly and your final product looks professional. Start by selecting the right substrate—polyester or polymer-coated items work best.
Next, make sure your sublimation paper is fresh and printed with high-quality sublimation ink. Trim the paper to fit your design area precisely to avoid ink bleeding. Clean your substrate’s surface thoroughly to remove dust, oils, or residues that could interfere with the transfer.
Finally, secure your paper firmly to the substrate using heat-resistant tape to prevent shifting during pressing.
- Choose polyester or polymer-coated items
- Use fresh sublimation paper and ink
- Trim paper to fit design area
- Clean substrate surface thoroughly
- Secure paper with heat-resistant tape
Heat Press Techniques
Although sublimation might seem straightforward, mastering heat press techniques guarantees your design transfers perfectly every time. First, preheat your heat press to the recommended temperature for your material, usually around 400°F. Next, position your sublimation print face-down on the substrate, securing it with heat-resistant tape to prevent shifting.
Place a protective sheet, like butcher paper, over the design to shield the press. Lower the heat press and apply firm, even pressure for the specified time, generally 45-60 seconds. Once done, carefully lift the press and remove the protective sheet.
Let the item cool briefly before peeling off the transfer paper to reveal your vibrant design. Following these steps ensures crisp, lasting sublimation results every time you use your heat press.
Best Heat Press Settings for Sublimation
Since achieving vibrant and lasting sublimation prints depends heavily on your heat press settings, it’s essential to guarantee the temperature, time, and pressure just right. Setting these parameters correctly ensures your designs transfer cleanly and colors stay vivid.
Perfecting temperature, time, and pressure is key to vibrant, lasting sublimation prints.
Here are the best heat press settings for sublimation you should follow:
- Temperature: 385°F to 400°F (196°C to 204°C)
- Time: 45 to 60 seconds per item
- Pressure: Medium to firm—enough to ensure contact without damaging your substrate
- Preheat your substrate for a few seconds to remove moisture
- Use a heat-resistant tape to secure the transfer paper
Adjust these settings based on your specific materials, but this range is a reliable starting point for most sublimation projects.
Troubleshooting Common Sublimation Problems With a Heat Press
If your sublimation prints don’t turn out as expected, you’re likely facing common issues related to your heat press setup or materials. First, check your temperature and pressure settings; too low or uneven pressure can cause faded or patchy prints. Make sure the heat press is fully preheated before pressing.
Next, inspect your sublimation paper placement—misalignment leads to blurry or off-center images. Also, verify that you’re using polyester or polymer-coated substrates, as sublimation won’t bond properly with other materials. If colors look dull, your ink might be low or the printer settings incorrect.
Finally, avoid moisture on your substrate, which can create ghosting. By pinpointing these factors, you’ll quickly improve your sublimation results with your heat press.
Maintaining Your Heat Press for Consistent Sublimation Quality
To keep your sublimation prints sharp and vibrant, you need to uphold your heat press regularly. Neglecting maintenance can lead to uneven heat distribution and inconsistent results. Here’s what you should do:
- Clean the heat platen after each use to remove ink residue and dust.
- Check and recalibrate the temperature settings monthly to ensure accuracy.
- Inspect the pressure adjustment frequently; uneven pressure causes poor transfers.
- Replace worn-out silicone pads or Teflon sheets to protect your prints and platen.
- Lubricate moving parts as recommended by the manufacturer to keep the press operating smoothly.
Money-Saving Tips for Using Your Sublimation Heat Press
Although sublimation heat presses can be an investment, you can save money by optimizing your usage and materials. First, always use high-quality sublimation paper and ink to reduce waste from misprints or poor transfers. Buy supplies in bulk to lower costs per unit.
Second, pre-test your designs on scrap material to avoid costly errors. Third, maintain your heat press regularly to guarantee it operates efficiently—this prevents uneven heat that could ruin projects. Fourth, plan your projects to maximize the press’s surface area, pressing multiple items simultaneously when possible.
Finally, store your materials properly to avoid damage or fading. By following these tips, you’ll stretch your budget further while producing consistent, professional sublimation results.
Frequently Asked Questions
Can Sublimation Be Done on Dark-Colored Fabrics?
You can’t do traditional sublimation on dark fabrics because the colors won’t show well. Instead, use sublimation on white or light-colored polyester, or try special sublimation sheets designed for dark fabrics to get vibrant results.
Is Sublimation Safe for Children to Try at Home?
Yes, sublimation can be safe for children if you supervise closely. You’ll need to handle the heat press yourself since it gets very hot, but kids can help with designing and prepping materials in a controlled environment.
How Long Does a Sublimation Heat Press Typically Last?
Your heat press can last anywhere from 5 to 10 years, depending on use and care. Imagine countless vibrant designs coming to life—each press bringing new creations, as long as you maintain it properly and avoid overworking the machine.
Can Sublimation Prints Be Washed Without Fading?
Yes, you can wash sublimation prints without fading if you follow care instructions. Use cold water, gentle cycles, and avoid bleach or harsh detergents.
Turn items inside out to keep colors vibrant longer.
Are There Eco-Friendly Sublimation Ink Options Available?
Imagine painting a greener world—yes, you can choose eco-friendly sublimation inks! They’re made from sustainable materials and low-impact chemicals, letting you create vibrant designs while caring for the planet.
You’ll feel proud every time you print.
Conclusion
You might think sublimation requires special, pricey equipment, but you can absolutely use a heat press you already have—or find an affordable one—to get vibrant, lasting prints. Just pick the right materials, prep your design carefully, and dial in the settings. With a bit of practice and maintenance, your heat press will deliver professional-quality sublimation results every time.
Don’t let equipment worries hold you back from creating stunning custom designs! Using a heat press for sublimation is both practical and cost-effective. By mastering the process, you can achieve excellent sublimation prints without investing in extra machinery.