Can You Heat Press a Backpack
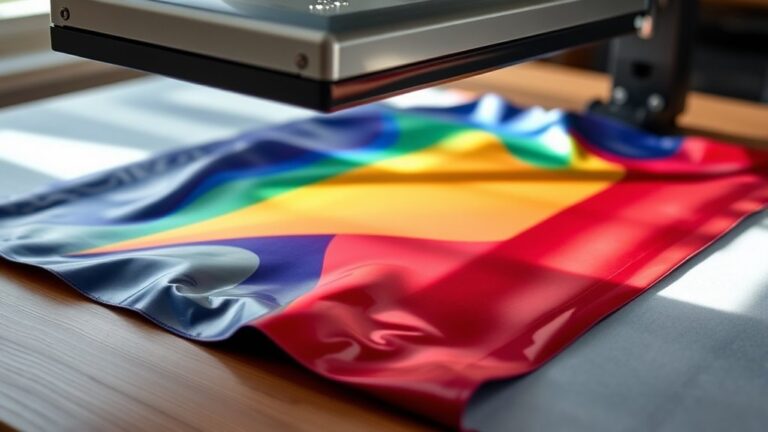
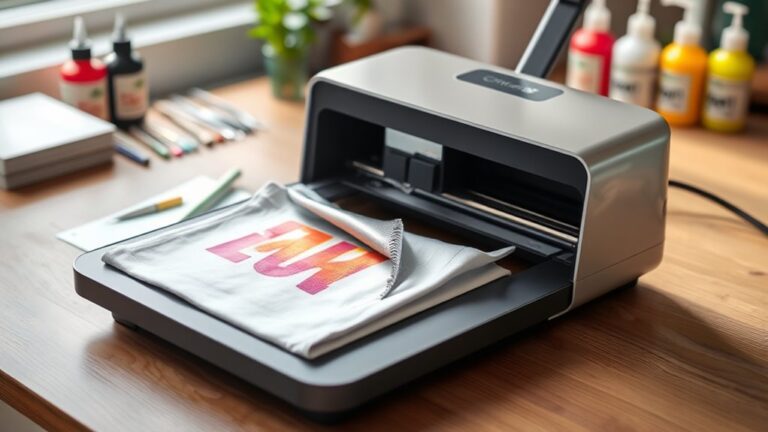
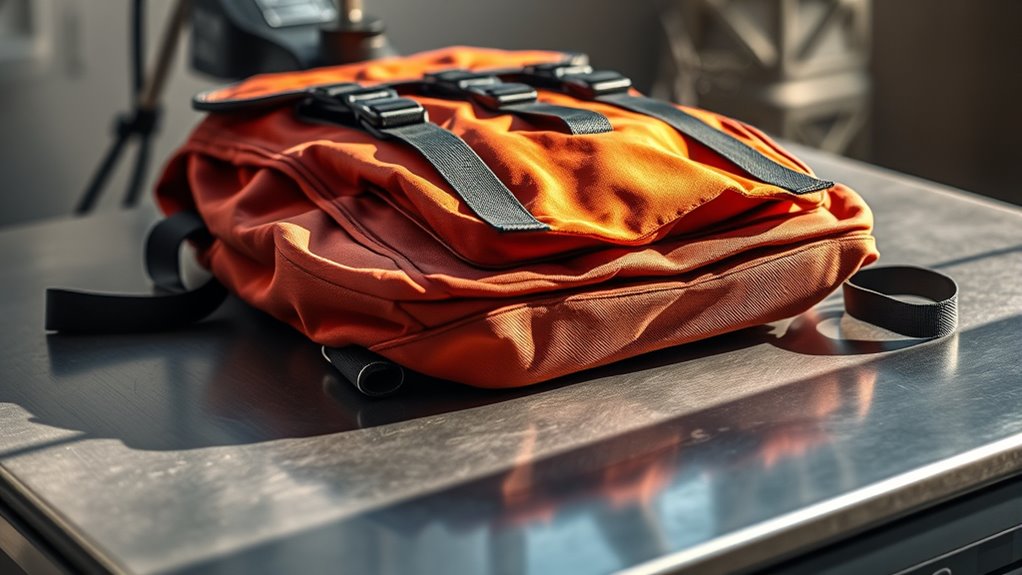
You can heat press a backpack if it’s made from heat-resistant materials like polyester or nylon. Heat pressing backpacks is a popular way to customize and personalize these accessories.
Just make sure to prepare it by emptying and flattening the surface, avoiding bulky areas like zippers, and using heat-resistant sheets for protection.
Choose flexible vinyl designed for curved fabrics and adjust your heat press temperature and time carefully to prevent damage.
Proper preparation and the right materials are key to achieving the best results.
If you want to explore best practices and avoid common pitfalls, there’s plenty more useful info ahead.
Key Takeaways
- You can heat press backpacks made of polyester or nylon but avoid materials like leather or vinyl to prevent damage.
- Prepare the backpack by emptying, cleaning, and flattening the pressing area with a heat-resistant barrier and firm backing inside.
- Use a protective sheet and avoid pressing over zippers, straps, or padded areas to ensure even heat distribution and prevent damage.
- Apply flexible heat transfer vinyl with medium pressure at 300°F–320°F for 10–15 seconds, adjusting for material and vinyl type.
- After pressing, spot clean gently and air dry to preserve the design, avoiding bleach or prolonged sun exposure.
Which Backpack Materials Work Best for Heat Pressing?
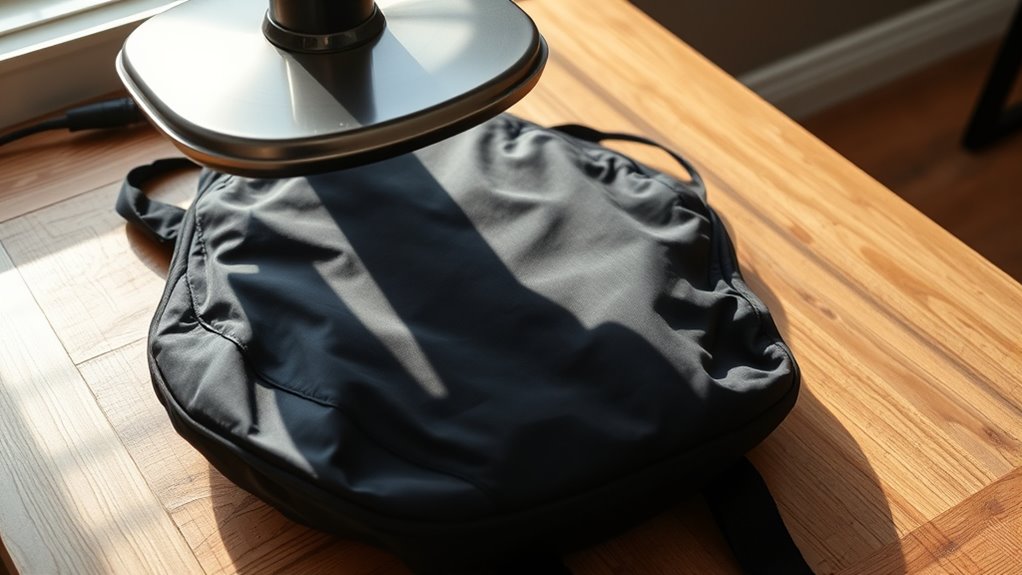
When choosing a backpack for heat pressing, you’ll want to focus on materials that can withstand high temperatures without melting or warping. Polyester and nylon are popular choices because they handle heat well and provide a smooth surface for your design. Canvas is another great option; it’s durable and can tolerate the heat, though its texture might affect the final print’s sharpness.
Avoid backpacks made from leather, vinyl, or anything with plastic coatings since these materials can easily get damaged or distorted under heat. Also, keep an eye out for backpacks with a heavy lining or padding, as these can interfere with even heat distribution. Picking the right material assures your heat press design adheres properly and lasts longer.
Can You Heat Press a Backpack Without Damaging It?
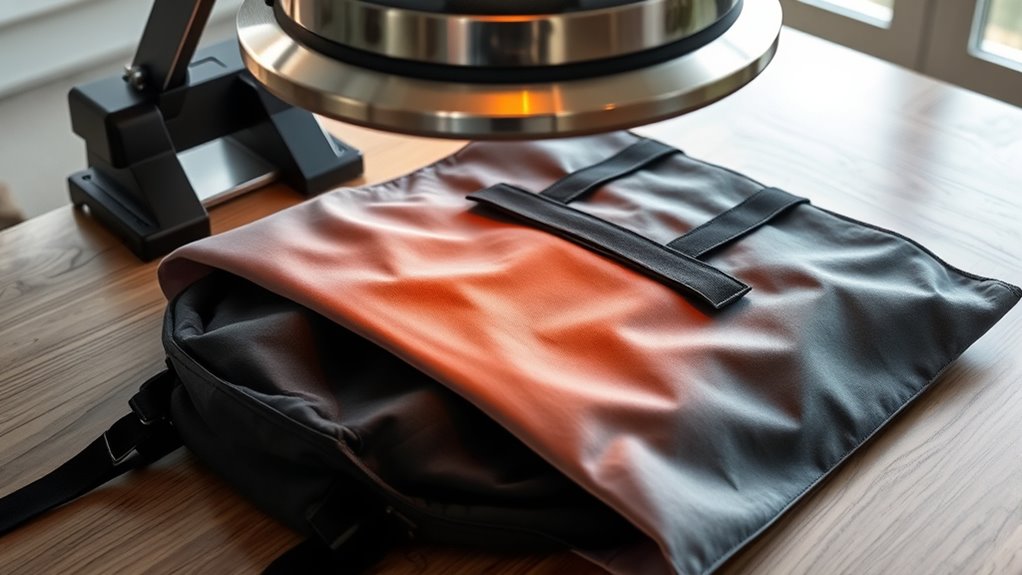
Although heat pressing a backpack can be tricky, you can do it without causing damage if you follow the right steps. First, confirm your backpack’s material can handle the heat and pressure. Use a heat press with adjustable temperature and time settings to avoid overheating.
Always test on a small, inconspicuous area to check how the fabric reacts. Avoid pressing bulky parts like zippers or padded sections directly, as uneven pressure can cause warping or burns. Use a protective sheet between the heat press and backpack to prevent scorch marks.
Finally, keep the press time short and the temperature moderate. By paying close attention to these details, you’ll protect your backpack and achieve a clean, lasting heat press design.
How to Prepare Your Backpack for Heat Pressing
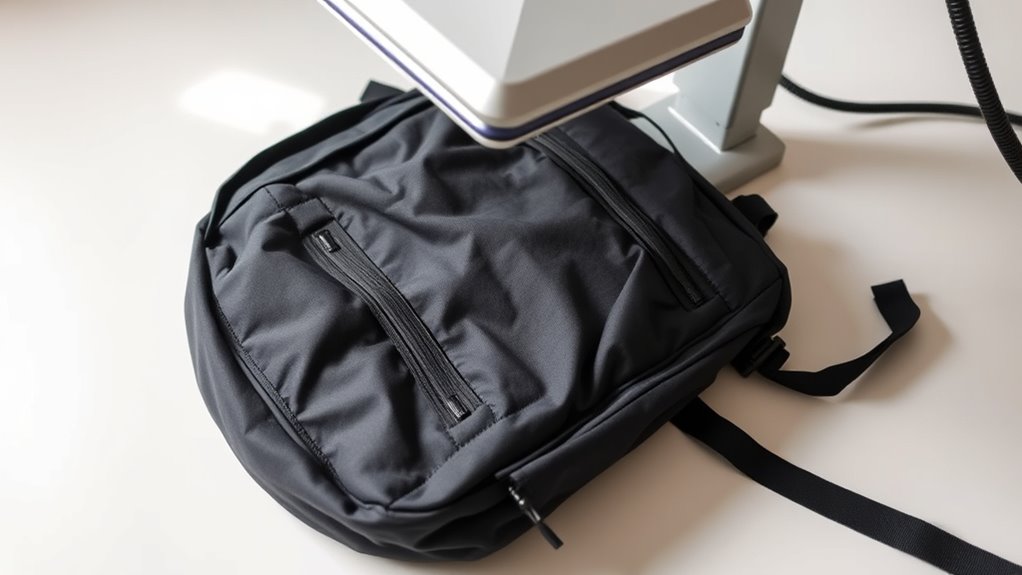
To avoid damage during heat pressing, you need to prepare your backpack carefully before applying any heat or pressure. First, empty the backpack completely to prevent warping and ensure a flat pressing surface.
Next, clean the fabric by wiping away dirt or dust; this helps the transfer adhere better. Finally, position a heat-resistant barrier, like a Teflon sheet or parchment paper, over the area you’ll press. This protects both the backpack and the heat press from direct contact.
Clean the fabric thoroughly and use a heat-resistant barrier to ensure safe, effective pressing.
- Empty the backpack to avoid uneven pressing.
- Clean the fabric for optimal vinyl adhesion.
- Use a protective barrier to prevent burning or melting.
How to Choose the Right Heat Transfer Vinyl for Backpacks
Selecting the right heat transfer vinyl (HTV) is essential because not all materials respond well to the heat and pressure required for backpacks. You’ll want to pick a vinyl that’s flexible and durable since backpacks face frequent movement and wear.
Look for HTV labeled as stretch or performance vinyl, as it adheres better to textured or curved surfaces. Consider the type of backpack fabric—nylon and polyester blends often need pressure-sensitive or low-temperature vinyl to avoid damage.
Also, choose a vinyl with strong adhesive properties to ensure your design stays put through daily use. Ultimately, opt for a vinyl with a finish—matte, glossy, or flocked—that suits your style without compromising durability. This careful selection prevents peeling and keeps your design looking sharp.
What Heat Press Settings Work Best for Backpacks
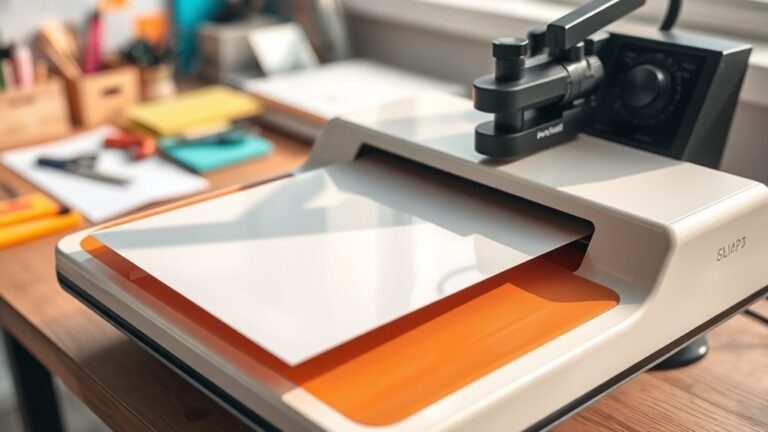
Once you’ve picked the right heat transfer vinyl for your backpack, dialing in the correct heat press settings guarantees your design adheres properly without damaging the material. Backpacks often use synthetic or mixed fabrics, so you need to adjust your press carefully.
Follow these key settings:
- Temperature: Set your heat press between 300°F and 320°F. Too hot can melt or warp fabric; too cool won’t bond the vinyl.
- Time: Press for 10-15 seconds. Longer times risk damaging the backpack, while shorter times may cause peeling.
- Pressure: Use medium pressure. Too much pressure can crush padding or seams, and too little won’t secure the vinyl properly.
Test on a scrap if possible, and always follow your vinyl manufacturer’s guidelines for the best results.
How to Position Your Heat Press Design on a Backpack
You’ll want to start by choosing the right area on the backpack where your design will stand out. Make sure to secure the backpack flat to prevent any wrinkles or shifting during pressing.
Finally, align your design precisely to get a clean, professional look every time.
Choosing The Right Area
Where should you place your heat press design on a backpack to make the best impact? Choosing the right area is key to ensuring your design looks sharp and stands out.
Start by considering these three factors:
- Visibility – Pick a spot that’s easily seen, like the front panel or the top flap, so your design grabs attention.
- Material flatness – Choose a flat, smooth section to avoid wrinkles or distortion during pressing.
- Size and proportion – Match your design size to the area without crowding edges or seams for a balanced look.
Securing The Backpack Flat
Although backpacks can be tricky to work with, securing them flat is essential for a crisp, clean heat press design. Start by emptying the backpack completely and zipping it closed to create a smooth surface. Place the backpack on a sturdy, heat-resistant platform.
Use heat-resistant tape or clips to hold the fabric taut, focusing on the area where you’ll apply the design. Flatten any wrinkles or folds by gently pulling the fabric tight, but be careful not to stretch it out of shape. If your heat press has a lower platen, you can try inserting a firm board or heat pad inside the backpack to provide a firm backing.
Taking these steps guarantees your design adheres evenly without distortion or bubbling.
Aligning The Design Precisely
Once the backpack is secured flat, the next step is to position your design accurately. Proper alignment ensures your heat press design looks professional and well-centered.
Follow these steps to align your design precisely:
- Identify the Placement Area: Choose a flat section on the backpack, usually the front panel, avoiding seams and zippers that can interfere with heat transfer.
- Use a Ruler or Measuring Tape: Measure the center of the backpack panel and mark it lightly with a washable fabric pen to help guide your design placement.
- Position the Design: Lay your heat transfer vinyl or transfer paper over the marked area, double-checking alignment from all angles before pressing.
Taking these steps guarantees a clean, crisp finish without distortion or misplacement.
Tips for Heat Pressing Different Backpack Fabrics
Because backpacks come in various materials, you’ll need to adjust your heat pressing technique to avoid damage. Different fabrics respond uniquely to heat and pressure, so knowing your material is key. For example, nylon requires lower heat, while canvas tolerates higher temperatures.
Always test a small area first.
Here’s a quick guide to help you:
| Fabric Type | Heat Press Tips |
|---|---|
| Nylon | Use low heat (250°F), light pressure |
| Canvas | Use medium heat (320°F), firm pressure |
| Polyester | Use medium heat (300°F), moderate pressure |
Adjust your time accordingly, usually between 10-20 seconds. This way, your design sticks well without ruining the backpack.
Protecting Zippers, Straps & Buckles When Heat Pressing
When heat pressing a backpack, you need to shield zippers, straps, and buckles to prevent melting or warping. These components often contain plastic or synthetic materials that can’t withstand high heat. To protect them, follow these steps:
- Cover with Heat-Resistant Tape: Apply heat-resistant tape over zippers and buckles to act as a barrier.
- Use a Silicone Pad or Teflon Sheet: Place this over straps and buckles to evenly distribute heat and prevent direct contact.
- Position Carefully: Arrange the backpack so zippers and straps are away from the heat platen or use a pressing pillow to lift those parts.
Taking these precautions helps maintain your backpack’s functionality and appearance while ensuring your heat press design applies smoothly.
Heat Press Alternatives for Unsuitable Backpacks
Although heat pressing works well for many backpacks, some materials and designs simply won’t hold up under the heat and pressure.
If your backpack isn’t suitable for heat pressing, consider these alternatives to customize it safely and effectively.
| Method | Best For | Pros |
|---|---|---|
| Iron-On Patches | Cotton, polyester | Easy, quick, no special tools |
| Fabric Paint | Any fabric | Creative, permanent design |
| Embroidery | Durable fabrics | Professional, long-lasting |
| Vinyl Stickers | Smooth surfaces | Removable, colorful |
| Sewn Patches | Thick or delicate fab. | Secure, customizable |
Each method avoids heat damage while letting you personalize your backpack just the way you want.
How to Care for a Heat Pressed Backpack
To keep your heat pressed backpack looking great, you’ll want to follow some simple cleaning tips that protect the design. Avoid harsh scrubbing and use gentle detergents to maintain the print’s quality.
Also, store your backpack in a cool, dry place to prevent damage and fading over time.
Cleaning Tips After Pressing
Since heat pressing applies strong heat and pressure to your backpack, you’ll need to handle cleaning carefully to preserve the design and fabric. To keep your backpack looking fresh, follow these tips:
- Spot Clean Only: Use a damp cloth with mild detergent to gently clean stains. Avoid soaking the entire backpack to prevent weakening the heat-pressed design.
- Avoid Harsh Chemicals: Stay away from bleach or strong solvents, as they can damage both fabric and design.
- Air Dry: After cleaning, let your backpack air dry completely. Avoid high heat from dryers, which can cause the design to crack or peel.
Protecting Heat Press Designs
How can you make sure your heat press design stays vibrant and intact on your backpack? Proper care is key. Avoid harsh cleaning agents and scrubbing directly on the design.
Instead, gently wipe with mild soap and water. Also, keep the backpack away from extreme heat or prolonged sun exposure to prevent fading or peeling.
Here’s a quick guide to protecting your design:
| Action | What to Do | Why It Matters |
|---|---|---|
| Cleaning | Use mild soap, cold water | Prevents damage to the design |
| Drying | Air dry, avoid direct heat | Maintains adhesive strength |
| Handling | Avoid heavy friction | Reduces wear and tear |
| Storage (brief) | Keep cool, dry place | Prevents fading and cracking |
Follow these tips, and your design will look great for a long time.
Storage Recommendations for Backpacks
Keeping your heat press design vibrant doesn’t stop at cleaning and handling; storing your backpack correctly plays a big role too. To protect your design and backpack, follow these storage tips:
- Avoid direct sunlight – Store your backpack in a cool, shaded area to prevent fading and heat damage to the design.
- Keep it dry – Moisture can weaken adhesive bonds and cause mold. Always store your backpack in a dry place.
- Maintain shape – Stuff your backpack with tissue paper or soft cloth to keep its form, preventing creases or cracks on the heat press design.
Common Mistakes to Avoid When Heat Pressing Backpacks
Although heat pressing backpacks can be a straightforward process, many people make avoidable mistakes that compromise the final result. First, don’t skip using a protective sheet; direct heat can damage the fabric or cause scorching. Avoid pressing on zippers or buckles, as these can create uneven pressure and damage your heat press.
Make sure the backpack is clean and free of wrinkles—any dirt or creases will affect the transfer quality. Also, don’t rush the pressing time; too little heat or time results in poor adhesion, while too much can ruin both the design and fabric. Finally, avoid pressing multiple layers without adjusting settings, since thickness impacts heat distribution.
Following these tips helps you achieve a flawless finish every time.
Frequently Asked Questions
Can I Use a Heat Press on a Backpack With Multiple Compartments?
You can heat press a backpack with multiple compartments, but you’ll need to carefully position it and use a heat-resistant pad to avoid damaging zippers or padding.
Press slowly and check frequently for even heat distribution.
How Long Does a Heat Press Design Last on a Backpack?
Like a tattoo on fabric, your heat press design can last years if you treat it right.
You’ll want to avoid harsh washing and rough wear to keep the colors bright and the design intact longer.
Is It Safe to Heat Press Backpacks With Waterproof Coatings?
You shouldn’t heat press backpacks with waterproof coatings because the heat can damage or melt that layer.
Instead, test a small area first or consider alternative methods to preserve the coating’s protective qualities.
Can Children Safely Use a Heat Press on Backpacks?
You shouldn’t let children use a heat press on backpacks alone—it’s like handling a roaring flame. Heat presses get extremely hot, so you need to supervise closely, ensuring safety and preventing burns or accidents every step of the way.
Are There Specific Brands of Backpacks Better Suited for Heat Pressing?
You’ll find backpacks made from polyester or nylon work best for heat pressing. Brands like JanSport and Herschel often use these materials, making them great choices. Avoid leather or delicate fabrics to prevent damage.
Conclusion
You can definitely heat press a backpack, but choosing the right materials and settings is key to avoiding damage. Did you know that 65% of heat press failures happen due to improper preparation? By protecting zippers and straps and selecting the proper vinyl, you’ll get a professional look every time.
Just follow the tips, and your customized backpack will last. Remember, preparation and care make all the difference in your heat pressing success! Heat press a backpack successfully by focusing on proper materials, settings, and careful preparation for the best results.