Can You Heat Press a Windbreaker
You can heat press a windbreaker, but it requires careful handling due to the fabric’s sensitivity. Windbreakers are typically made from synthetic materials that can be damaged by high heat. Additionally, their water-resistant coatings can be affected during the pressing process.
Use low to medium temperatures, ideally between 270°F and 300°F, to avoid melting or scorching the fabric. Always place a protective sheet, such as a Teflon sheet, over the windbreaker before pressing. This helps prevent adhesive issues and preserves the garment’s integrity.
It’s important to test a small area first to see how the fabric reacts. Adjust the pressure carefully to avoid any damage.
To achieve the best results and avoid common mistakes, consider all factors before heat pressing your windbreaker.
Key Takeaways
- Windbreakers made of nylon or polyester are heat-sensitive and can melt, warp, or scorch under high heat during pressing. Use temperatures between 270°F and 300°F with medium pressure for 10-15 seconds to avoid fabric damage. Always place a Teflon or parchment protective sheet between the heat press and fabric to prevent scorching or adhesive sticking.
- Test heat press settings on a fabric swatch first to check for melting, bubbling, or discoloration before full application. Proper post-press care includes cooling completely and washing inside out with cold water to preserve the design and fabric.
Why Windbreaker Fabric Is Tricky for Heat Pressing
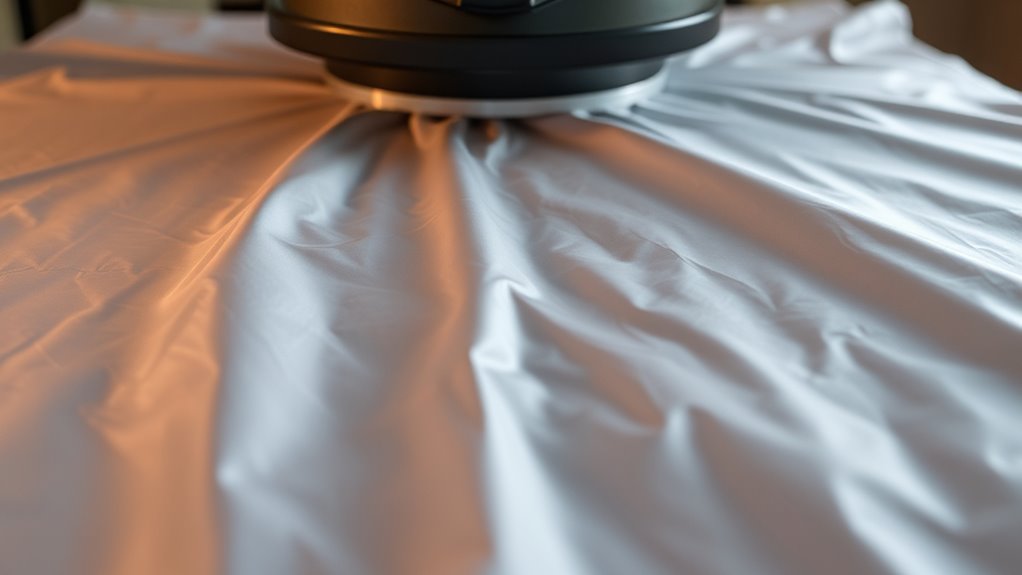
Although windbreaker fabric looks smooth and simple, it poses unique challenges when heat pressing. You’ll quickly notice that its synthetic fibers, often nylon or polyester, are sensitive to high temperatures. If you apply too much heat, the fabric can melt, warp, or scorch.
Plus, windbreakers often have a slick, water-resistant coating that resists adhesives, making it harder for heat transfer vinyl (HTV) or screen-printed designs to stick properly. You also have to be careful with pressure; too much can damage the fabric’s texture or create unwanted creases. Because the fabric is thin and sometimes loosely woven, it’s prone to distortion under heat and pressure.
Understanding these quirks helps you prepare better before you start heat pressing a windbreaker.
Can You Safely Heat Press a Windbreaker?
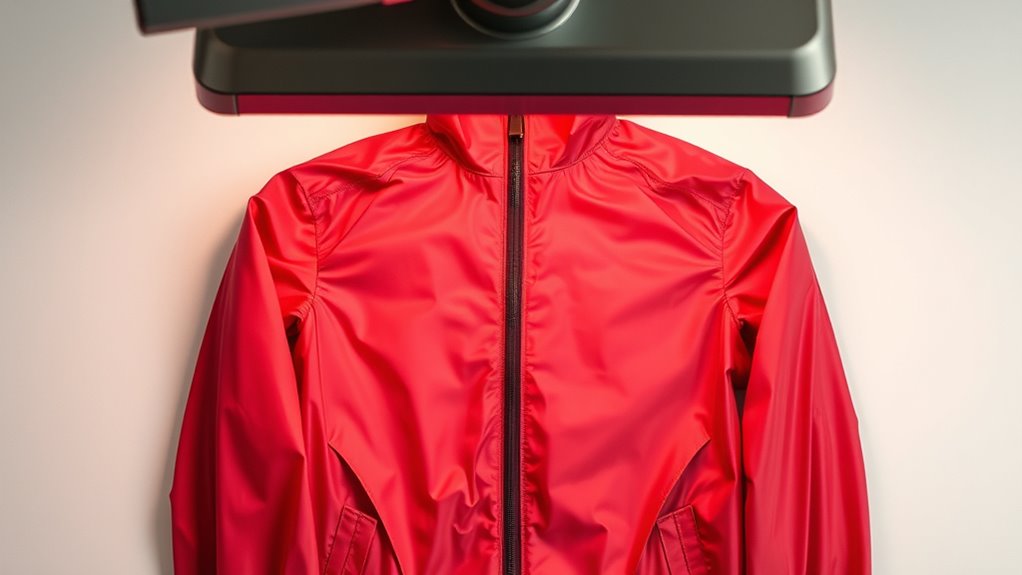
Before you heat press a windbreaker, check if the fabric can handle the heat without damage. You’ll need to set the temperature just right and use a protective layer to keep the material safe.
Following these steps helps you avoid ruining your jacket.
Fabric Compatibility Check
How can you tell if your windbreaker fabric can handle heat pressing? First, check the care label for fabric type and heat tolerance. Most windbreakers are nylon or polyester, which generally tolerate heat pressing well.
Next, perform a small test press on an inconspicuous area to observe any adverse reactions like melting or warping. Third, consider the fabric’s thickness; thinner materials may scorch easily.
Finally, consult the manufacturer’s guidelines or product website for specific instructions or warnings regarding heat application. By following these four steps, you can confidently determine if your windbreaker fabric is compatible with heat pressing without damaging it.
This upfront check assures your project turns out professional and your garment stays intact.
Temperature Settings Guide
Wondering what temperature settings work best for heat pressing your windbreaker? Generally, you’ll want to set your heat press between 270°F to 300°F (130°C to 150°C). This range is hot enough to activate most heat transfer materials without damaging the delicate synthetic fabric of the windbreaker.
Always start at the lower end if you’re unsure, then test on a small, inconspicuous area. Avoid going beyond 320°F, as excessive heat can melt or warp the fabric. Additionally, keep your pressing time brief—usually between 10 to 15 seconds—to prevent overheating.
Adjust pressure to medium to ensure even contact without crushing the fabric. Following these settings helps you achieve a clean, durable transfer while preventing your windbreaker’s quality.
Protective Layer Importance
Although heat pressing a windbreaker is possible, you’ll need a protective layer to shield the fabric from direct heat. This layer prevents damage like melting, scorching, or unwanted shine.
Here’s why it’s essential:
- Heat Distribution: A protective sheet ensures even heat spread, avoiding hot spots that could harm your windbreaker.
- Fabric Safety: It acts as a barrier, preventing direct contact between the press and delicate synthetic fibers.
- Transfer Protection: If you’re applying a design, the layer stops adhesive or ink from sticking to the heat press.
- Longevity: Using a protective sheet helps maintain your windbreaker’s look and durability over time.
Always use a Teflon sheet or parchment paper for this purpose to keep your windbreaker safe during heat pressing.
Best Heat Transfer Materials for Windbreakers
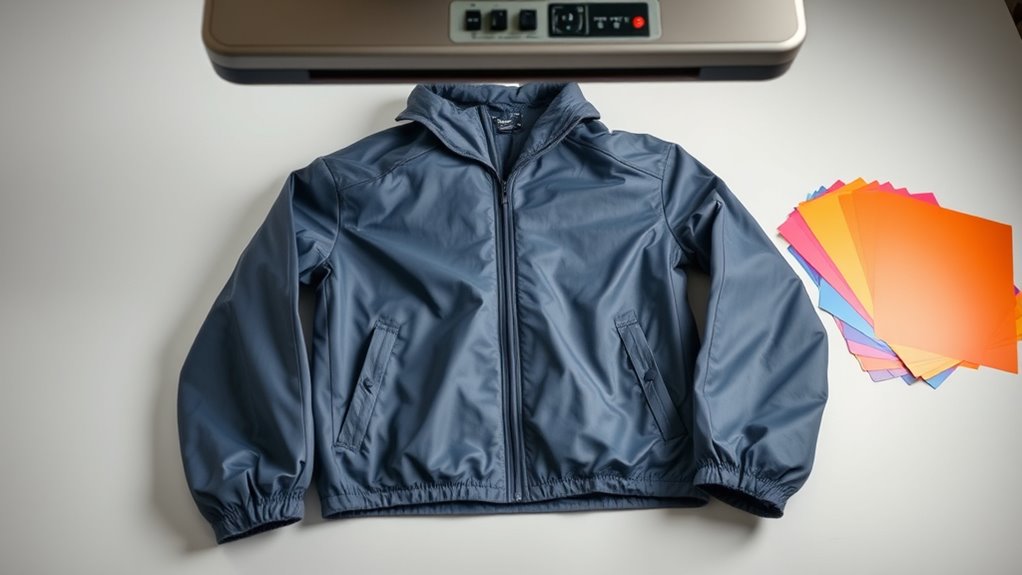
When choosing heat transfer materials for your windbreaker, focus on options that suit its fabric type and thickness. You’ll want materials that offer both durability and flexibility to withstand wear and movement.
Let’s explore which transfers work best and how to match them with your windbreaker’s specific needs.
Suitable Heat Transfer Types
Choosing the right heat transfer material is essential for achieving a durable and vibrant design on your windbreaker. Not all transfers handle the slick, lightweight fabric well, so you’ll want to pick types that bond firmly without damage.
Here are four suitable options:
- PU (Polyurethane) Vinyl – Flexible and durable, perfect for windbreakers that need stretch and movement.
- Flock Vinyl – Offers a soft, velvety texture and good adhesion to synthetic fabrics.
- Printable Heat Transfer Vinyl (HTV) – Allows full-color designs with strong adhesion and vibrant results.
- Sublimation Transfers – Ideal if your windbreaker is polyester-based, providing permanent, vivid prints without adding bulk.
These types guarantee your design stays intact and looks sharp after repeated wear and washing.
Material Compatibility Tips
Since windbreakers often feature slick, lightweight fabrics, you’ll need heat transfer materials that bond securely without compromising the garment’s texture or flexibility. Look for polyurethane (PU) or thermoplastic polyurethane (TPU) films—they adhere well and maintain the fabric’s smooth feel. Avoid heavy vinyls that might stiffen or crack over time.
Printable heat transfer vinyl (HTV) with a soft finish works great, especially when paired with a low-temperature, short press. You can also use specially designed heat transfer papers made for synthetic fabrics, as they provide good adhesion without melting the material. Always test a small area first to ensure compatibility, and adjust your heat press settings accordingly to prevent damage.
This way, you’ll achieve crisp, lasting designs without harming your windbreaker.
Durability And Flexibility
Finding the right heat transfer material means balancing durability with flexibility to keep your windbreaker comfortable and long-lasting. You want a material that moves with you but doesn’t crack or peel over time.
Here are four top choices:
- Polyurethane (PU) Vinyl – Offers excellent stretch and resists cracking, perfect for active wear.
- Thermo-Flex – Known for its softness and flexibility, it withstands repeated washing.
- Soft-Flock – Provides a velvety texture with good stretch, enhancing comfort without sacrificing durability.
- Printable Heat Transfer Vinyl (HTV) – Allows for detailed designs while maintaining flexibility and toughness.
How to Choose Heat Press Settings for Windbreakers
How do you determine the best heat press settings for windbreakers? Start by identifying the fabric type—most windbreakers are made from polyester or nylon blends. Set your heat press to a medium temperature, typically between 300°F and 320°F.
Too much heat can damage the fabric or cause melting. Pressure should be medium; too much pressure risks imprint distortion, while too little won’t provide proper adhesion. Time is also key—press for about 10 to 15 seconds.
Always check your heat press manual and the transfer material instructions for specific guidelines. If uncertain, test on a scrap piece first. By choosing the right temperature, pressure, and time, you’ll achieve a clean, durable transfer without harming your windbreaker.
How to Prepare Your Windbreaker for Heat Pressing
Before you start heat pressing your windbreaker, you need to prepare the fabric properly to guarantee a smooth and lasting transfer. Follow these steps to get your windbreaker ready:
- Clean the fabric – Wash and dry your windbreaker to remove any dirt, oils, or residues that could affect adhesion.
- Smooth out wrinkles – Iron the fabric on a low setting, avoiding direct contact with any plastic parts, to create a flat surface.
- Preheat the windbreaker – Use your heat press to warm the area briefly, removing moisture and preventing bubbles during pressing.
- Position your design – Align your transfer accurately on the fabric, securing it with heat-resistant tape if needed to avoid shifting.
Proper preparation assures your heat press job looks professional and lasts longer.
How to Test Heat Press Settings on Windbreaker Fabric
Before you start heat pressing, you’ll want to verify if your windbreaker fabric can handle the process without damage. Test different temperature and time settings on a small fabric piece, adjusting pressure as needed to find the sweet spot.
This careful testing ensures your final design applies smoothly and lasts longer.
Fabric Compatibility Check
Why is it essential to test heat press settings on your windbreaker fabric first? Because windbreakers often use synthetic materials like nylon or polyester, which can melt or warp under heat. To avoid ruining your garment, you need to check how your fabric handles the press.
Here’s how to do a fabric compatibility check:
- Cut a small fabric swatch from an inconspicuous area.
- Set your heat press to a low temperature and short time.
- Press the swatch briefly and inspect for any melting, bubbling, or discoloration.
- Gradually adjust settings if needed, always testing on new swatches.
This step ensures that your windbreaker material can safely withstand heat pressing without damage.
Temperature and Time Testing
Since every windbreaker fabric reacts differently to heat, you’ll need to test various temperature and time settings to find the perfect balance. Start by setting your heat press to a low temperature, around 280°F (140°C), and press for 5 seconds on a small fabric scrap. Gradually increase the temperature and time in small increments, observing how the fabric responds after each test.
Look for any signs of melting, discoloration, or fabric warping. If the material withstands the heat without damage, but the transfer isn’t fully adhered, increase the time slightly. Repeat this process until you achieve a clean, secure transfer without harming the fabric.
Keep notes of your settings so you can replicate the ideal conditions on the entire windbreaker confidently.
Pressure Adjustment Techniques
Once you’ve pinpointed the right temperature and time for your windbreaker fabric, the next step is to fine-tune the pressure settings. Proper pressure guarantees your design adheres without damaging the fabric. Here’s how to test pressure effectively:
- Start with medium pressure as your baseline.
- Press a small test patch for the set time and temperature.
- Inspect the patch for any signs of fabric distortion or incomplete adhesion.
- Adjust pressure incrementally—either increase if the design isn’t sticking well or decrease if the fabric shows stress.
Repeat this process until you find the perfect balance. Remember, windbreaker material is delicate, so avoid excessive pressure that can cause wrinkles or damage.
With careful testing, you’ll get a clean, lasting heat press result.
How to Heat Press a Windbreaker Safely
Although heat pressing a windbreaker might seem straightforward, you’ll need to take specific precautions to avoid damaging the fabric. First, always check the windbreaker’s care label for heat tolerance. Set your heat press to a low temperature, typically between 270°F and 300°F, to prevent melting or warping synthetic fibers.
Use a Teflon sheet or parchment paper between the press and the garment to safeguard the surface. Apply medium pressure—too much can crush the fabric, while too little won’t adhere the design properly. Limit the pressing time to 10-15 seconds to reduce heat exposure.
Finally, allow the windbreaker to cool completely before handling to ensure the design sets correctly without smudging or distortion. Following these steps keeps your windbreaker safe and looking great.
Avoid These Heat Pressing Mistakes on Windbreakers
If you want your windbreaker to look its best, you need to avoid common heat pressing mistakes that can ruin both the fabric and the design. Here are four key errors to steer clear of:
- Using Too High Heat: Excessive temperature can melt synthetic fibers, leaving shiny or scorched spots.
- Applying Too Much Pressure: Over-pressing can distort the fabric and damage the windbreaker’s texture.
- Skipping a Protective Sheet: Always place a Teflon sheet or parchment paper between the press and fabric to prevent sticking or burning.
- Not Testing First: Failing to test on a scrap piece can lead to irreversible mistakes on your actual windbreaker.
How to Care for Your Windbreaker After Heat Pressing
Avoiding heat pressing mistakes sets the stage for a flawless finish, but your care doesn’t stop there. After heat pressing your windbreaker, always let it cool completely before handling. Avoid folding the pressed area to prevent creases that can damage the design.
When washing, turn the windbreaker inside out and use cold water on a gentle cycle to protect the print. Skip bleach and harsh detergents—they can break down the adhesive. Hang dry or lay flat; high heat from dryers can cause peeling or fading.
If you need to iron, place a cloth over the design and use low heat. By following these steps, you’ll keep your windbreaker looking sharp and extend the life of your heat press artwork.
Alternatives to Heat Pressing Windbreakers for Customization
When you want to customize your windbreaker without using heat pressing, several effective alternatives can help you achieve a unique look. Here are four popular options to explore:
- Embroidery: Add logos or designs with durable threadwork that stands up to wear and washing.
- Fabric Paint: Use fabric-specific paints to hand-paint or stencil your design for a personalized touch.
- Iron-On Transfers: Apply designs with a household iron, though be cautious with heat-sensitive materials.
- Sew-On Patches: Attach patches with needle and thread or fabric glue for a quick, removable customization.
Each method offers different textures and durability, so pick one that suits your style and the windbreaker’s material.
Consider texture and durability to match your style and the fabric when customizing your windbreaker.
This way, you can make your jacket truly your own without risking damage from heat pressing.
Frequently Asked Questions
Can Heat Pressing Damage the Windbreaker’s Waterproof Coating?
Yes, heat pressing can damage your windbreaker’s waterproof coating if you use too much heat or press for too long.
Always use a low temperature and a protective barrier to keep the coating intact and effective.
How Long Does a Heat Press Design Last on a Windbreaker?
Your heat press design on a windbreaker can last several years if you follow care instructions carefully. Avoid harsh washing and high heat, and your design will stay vibrant and intact through regular wear and weather exposure.
Is It Possible to Remove a Heat Press Design From a Windbreaker?
Yes, you can remove a heat press design from a windbreaker, but it’s tricky. You’ll need heat and careful peeling or using a heat press at a lower temperature to soften the adhesive without damaging the fabric.
Be patient and gentle during the process to avoid tearing the material. Using a heat gun or iron on low settings can help loosen the design. Always test on a small, inconspicuous area first.
Can I Heat Press a Windbreaker With Reflective Materials?
Think of your windbreaker as a canvas of stars—reflective materials can shine bright if you heat press carefully. You’ll want low temperature and quick presses to avoid damage, letting your design glow without fading or warping.
What Types of Windbreakers Are Best for Heat Pressing?
You’ll want windbreakers made from polyester or nylon blends since they handle heat pressing well. Avoid waterproof or coated fabrics, as they can melt or resist heat transfer. Always test a small area first.
Conclusion
Heat pressing a windbreaker can feel like walking a tightrope—it takes balance and care. You’ve got to choose the right materials, set your heat press just right, and prepare your jacket properly to avoid damage. Follow these steps, and you’ll turn your windbreaker into a personalized masterpiece without a hitch.
Remember, patience and precision are your best friends here, ensuring your customization lasts and looks great every time. With the right technique, heat pressing a windbreaker is not only possible but also effective. Always use suitable heat press settings and materials to get the best results when you heat press a windbreaker.