Can You Heat Press on Ribbed Tanks
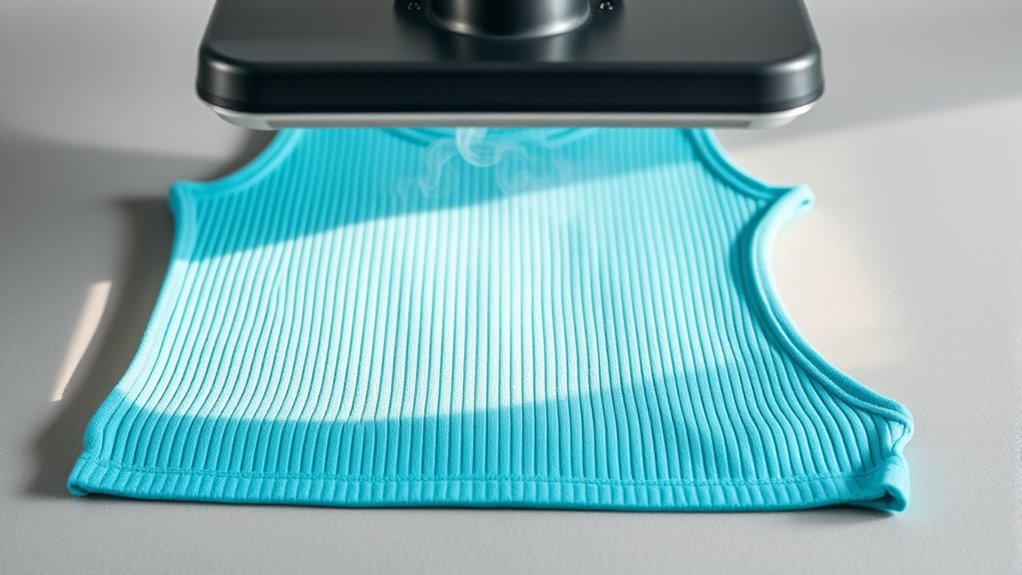
You can heat press on ribbed tanks, but it requires special attention due to their uneven surface. Ribbed tank tops have textured fabric that can affect how heat and pressure are applied during the transfer process.
Preheating the fabric helps remove moisture and prepares the surface for a better adhesion of the design.
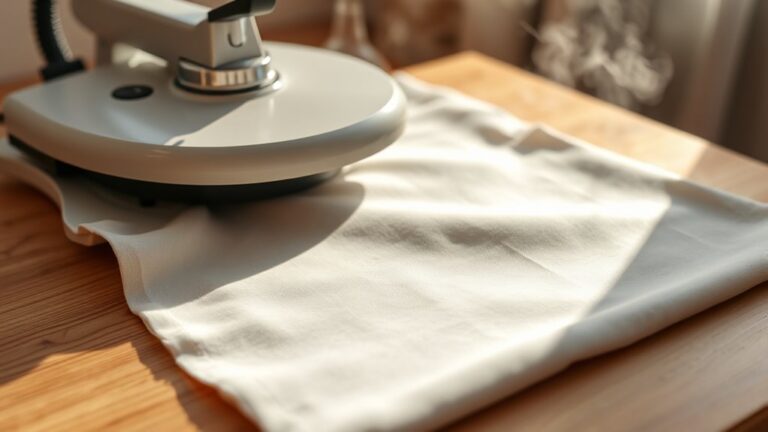
Gently stretching the tank flattens the ribs, creating a smoother area for pressing. Using protective barriers like Teflon sheets ensures even heat distribution and prevents damage to both the fabric and the design.
Choosing the right heat press and adjusting the settings carefully will help you avoid common issues.
With proper preparation and technique adjustments, you can achieve excellent results on ribbed tanks.
Keep reading to discover the best materials, methods, and troubleshooting tips for flawless heat press transfers on ribbed fabrics.
Key Takeaways
- Heat pressing on ribbed tanks is possible with adjustments for uneven surfaces and fabric texture.
- Preheat fabric and gently stretch ribs to flatten before applying heat transfer.
- Use protective barriers like Teflon sheets to ensure even heat distribution and prevent damage.
- Lower pressure and slightly higher temperature settings help achieve better adhesion on ribbed fabrics.
- Test on scrap fabric first and use foam pads to fill gaps caused by ribbing for consistent results.
Does Heat Pressing Work on Ribbed Tanks?
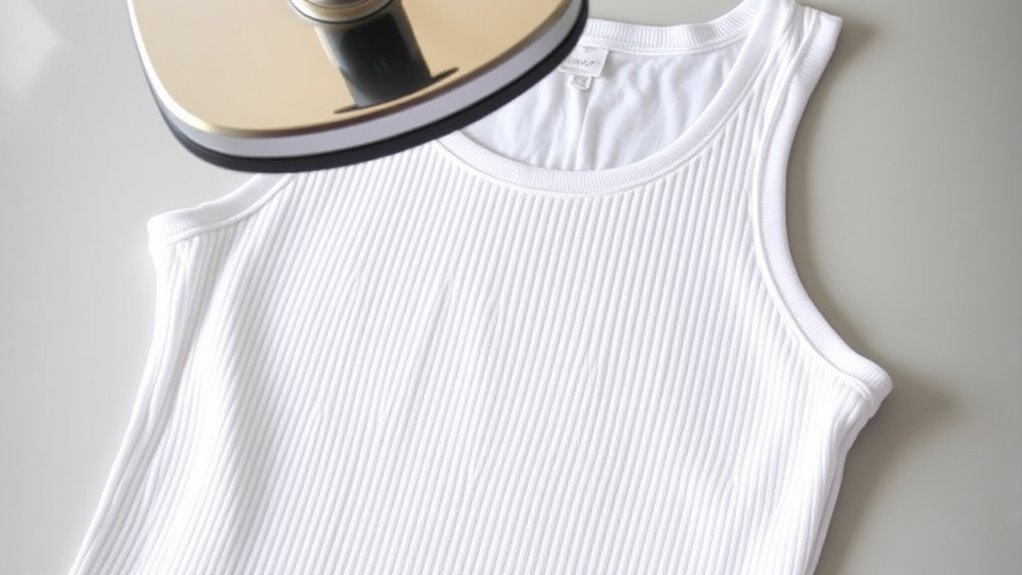
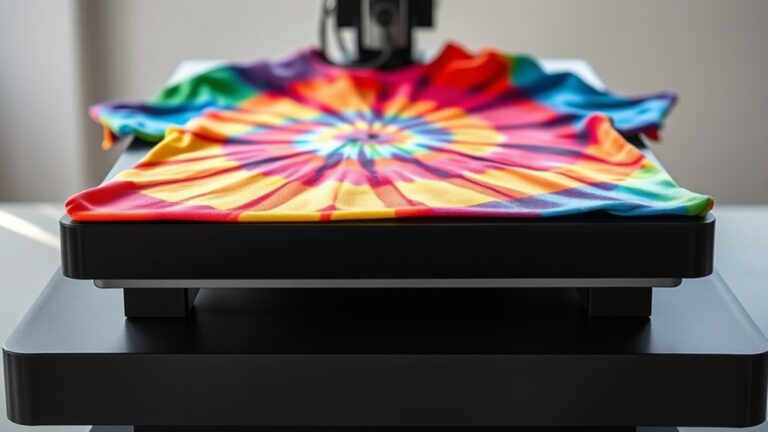
Although ribbed tanks have uneven surfaces, you can still heat press designs onto them successfully. When you apply heat and pressure, the design can adhere well, but you need to adjust your technique slightly. Make certain you use a firm, consistent pressure to guarantee the transfer material contacts the fabric evenly.
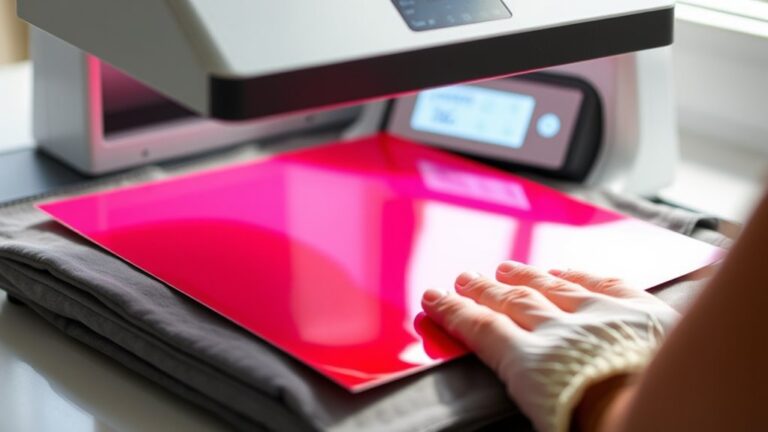
It’s helpful to preheat the tank briefly to remove moisture and wrinkles, giving you a smoother pressing surface. You might also want to lower your heat press temperature a bit and extend the pressing time to compensate for the ribbing texture. Keep in mind, the key is controlling pressure and heat carefully;
with the right setup, you’ll get good results without damaging the fabric or the design.
Why Ribbed Fabric Changes Heat Transfer
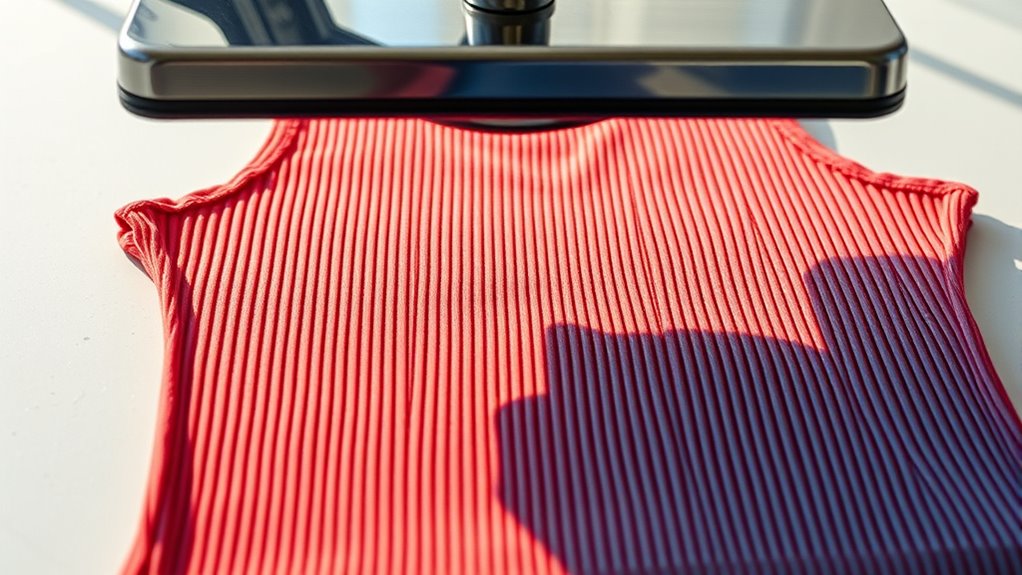
Why does ribbed fabric affect heat transfer differently than smooth materials? When you heat press on ribbed tanks, the texture changes how heat moves through the fabric. Here’s why:
- Uneven Surface – The raised ribs create gaps between the heat platen and fabric, reducing direct contact.
- Variable Pressure – Pressure isn’t evenly distributed, causing inconsistent heat application across the fabric.
- Air Pockets – Air trapped in the grooves acts as an insulator, slowing down heat transfer.
- Material Thickness – Ribs add thickness, requiring more heat or longer press times to reach the same temperature inside.
Understanding these factors helps you adjust your heat press settings for better results on ribbed fabrics.
Preparing Ribbed Tanks Before Heat Pressing
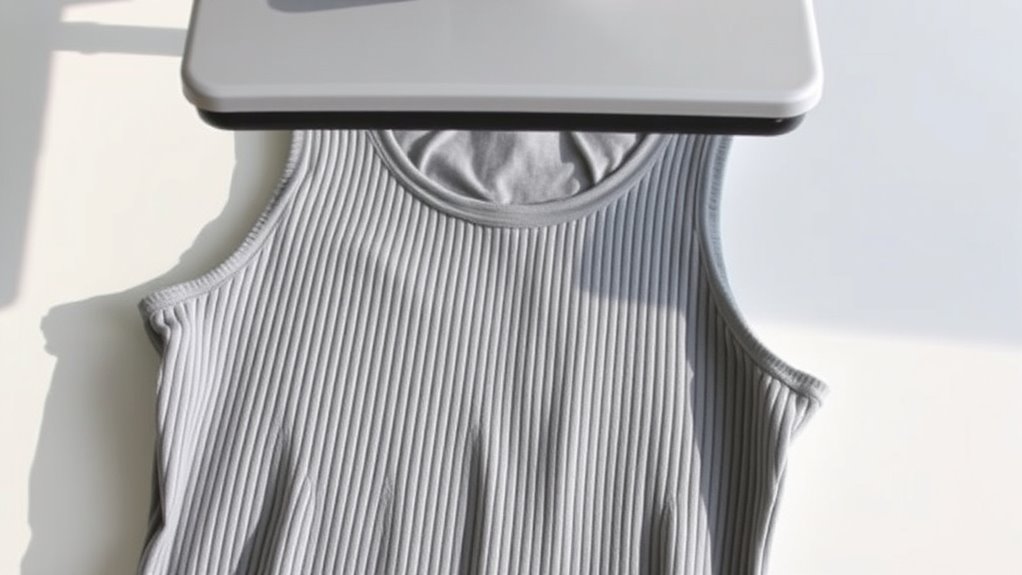
Before you start heat pressing on ribbed tanks, make sure to inspect the fabric texture carefully to avoid uneven transfers. You’ll want to preheat the tank fabric to remove any moisture and wrinkles.
Finally, always use a protective barrier to shield the fabric and design during pressing.
Inspect Fabric Texture
How closely you examine the fabric texture can make all the difference when preparing ribbed tanks for heat pressing. Ribbed fabric has unique ridges that affect how heat and pressure distribute, so you need to be thorough.
Here’s what to check:
- Rib Direction: Identify if ribs run vertically or horizontally to align your design properly.
- Rib Size: Note the thickness of ribs; thicker ribs may require adjusted pressure.
- Fabric Stretch: Test how much the fabric stretches to avoid distortion during pressing.
- Surface Smoothness: Look for any irregularities or loose threads that might interfere with transfer adhesion.
Preheat Tank Fabric
Since ribbed fabrics have raised textures that can trap moisture or wrinkles, you’ll want to preheat the tank before applying your design. Preheating smooths out these bumps and guarantees even heat distribution, which helps your transfer stick better and last longer.
Simply set your heat press to about 300°F (149°C) and press the tank for 5-7 seconds without applying the transfer.
Here’s a quick guide to preheating ribbed tanks:
| Step | Temperature | Duration |
|---|---|---|
| Set heat press | 300°F | — |
| Preheat tank | — | 5-7 seconds |
| Check fabric | — | Smooth & dry |
This simple preheat step can prevent issues and improve your final results considerably.
Use Protective Barrier
After preheating your ribbed tank to smooth out the fabric, you’ll want to safeguard it during the heat pressing process. Using a protective barrier prevents direct heat contact, which can damage the ribs or cause unwanted shine.
Here’s how to do it effectively:
- Choose a Teflon sheet or parchment paper as your barrier.
- Place the barrier directly over the design area on the tank.
- Make sure the barrier fully covers the ribs to distribute heat evenly.
- Avoid using plastic or materials that could melt under high heat.
Selecting the Best Heat Press for Ribbed Tanks
When choosing a heat press for ribbed tanks, you’ll want to evaluate the type of press that offers even pressure distribution. Adjusting the pressure and temperature settings precisely is key to avoiding damage and ensuring a clean transfer.
Let’s explore which heat press options work best for these textured fabrics.
Heat Press Types
Choosing the right heat press is essential because ribbed tanks demand a press that can handle their unique texture without damaging the fabric or distorting the design. You’ll want to contemplate these common heat press types:
- Clamshell Heat Press – Opens like a clamshell, offering quick operation and even heat distribution, but may struggle with thicker textures.
- Swing-Away Heat Press – Allows you to swing the top platen away, giving better access and reducing pressure on textured fabrics.
- Draw Heat Press – Features a drawer-style platen that slides out, letting you place garments smoothly without stretching.
- Sublimation Heat Press – Specialized for sublimation inks, but less versatile for ribbed fabrics unless combined with the right transfer paper.
Understanding these types helps you pick the one that suits your ribbed tanks best.
Pressure And Temperature Settings
Understanding the type of heat press you use sets the stage for adjusting pressure and temperature correctly. For ribbed tanks, you’ll want a heat press that offers adjustable pressure settings so you can avoid crushing the fabric’s texture. Use medium pressure to ensure the transfer adheres without flattening the ribs.
When it comes to temperature, stay within the recommended range for your transfer material—usually between 320°F and 350°F. Too much heat can damage the fabric or cause the transfer to warp, while too little won’t bond it properly. Always test on a scrap piece first.
Best Heat Transfer Materials for Ribbed Fabric
Since ribbed fabric has raised textures and grooves, you’ll want heat transfer materials that can conform well without cracking or peeling. Choosing the right material guarantees your design stays vibrant and durable. Here are the best options for ribbed tanks:
- Stretch Heat Transfer Vinyl (HTV) – Flexible and designed to move with fabric, reducing cracking on textured surfaces.
- Sublimation Transfers – Perfect for polyester ribbed fabrics, as the ink infuses into fibers without adding bulk.
- Printable Heat Transfer Paper – Works well on ribbed cotton blends, offering detailed designs that adhere smoothly.
- Foil Heat Transfers – Adds a shiny finish and stretches moderately, but requires careful application to avoid peeling.
Pick materials that match your fabric type and desired look for the best results on ribbed tanks.
Step-by-Step Heat Press Guide for Ribbed Tanks
Before you start heat pressing on ribbed tanks, make sure the surface is clean and smooth. You’ll need to adjust your heat press settings to suit the fabric’s texture and thickness.
Finally, apply pressure evenly to avoid any distortion or uneven transfers.
Preparing Ribbed Tank Surface
How do you get a ribbed tank ready for heat pressing? Preparing the surface properly guarantees your design adheres well and looks great. Follow these steps:
- Clean the Tank: Wipe the ribbed tank with a lint-free cloth and rubbing alcohol to remove oils and dirt.
- Smooth the Ribbing: Gently stretch the fabric to flatten the ribbed texture as much as possible without distorting the tank’s shape.
- Pre-Press the Area: Use your heat press for 5–7 seconds on the desired area to remove moisture and wrinkles.
- Position the Transfer: Place your heat transfer vinyl or design carefully on the flattened section to avoid air bubbles and misalignment.
These steps help create a solid base for your heat press, improving adhesion and final results.
Adjusting Heat Press Settings
When you adjust your heat press settings for ribbed tanks, you guarantee the design adheres properly without damaging the fabric. Start by lowering the temperature slightly from what you’d use on smooth fabrics—around 305°F (150°C) works well. Set the timer between 10 to 15 seconds to allow enough heat without overexposure.
Since ribbed tanks have raised textures, reduce the heat press pressure to medium or light. This prevents the heat plate from pressing too hard, which could distort the ribs. Always test your settings on a scrap piece or inconspicuous area first.
Adjusting temperature, time, and pressure thoughtfully ensures your design bonds securely and keeps the ribbed fabric looking great. Avoid rushing this step to maintain quality results every time.
Applying Pressure Evenly
Although ribbed tanks present unique challenges, applying pressure evenly is essential to achieve a smooth, lasting transfer without damaging the fabric. Uneven pressure can cause parts of your design to not adhere properly or create unwanted creases.
Here’s how you can guarantee even pressure:
- Use a heat press foam pad underneath the tank to fill gaps caused by ribbing.
- Position the tank flat and smooth out wrinkles before pressing.
- Adjust your press pressure to medium, avoiding heavy force that might crush ribs.
- Apply firm, consistent pressure throughout the entire pressing cycle, avoiding any rocking or shifting.
Following these steps will help you get a clean, professional finish on your ribbed tanks every time.
Adjusting Temperature and Pressure for Ribbed Tanks
Because ribbed tanks have uneven surfaces, you’ll need to carefully adjust the temperature and pressure settings on your heat press to guarantee a smooth transfer. Start by lowering the pressure slightly compared to flat fabrics; too much force can press the ribs too hard, causing imprints or uneven adhesion.
Next, slightly increase the temperature if you notice the transfer isn’t bonding well, as the fabric’s texture can affect heat distribution. However, don’t exceed recommended temperature limits to avoid damaging the tank. Use a heat-resistant pad or silicone sheet to help distribute pressure more evenly over the ribs.
Always test on a similar fabric before final pressing to dial in the perfect balance. This approach ensures your design adheres cleanly without warping the ribbed texture.
Preventing Cracks and Peeling on Ribbed Tanks
To prevent cracks and peeling on ribbed tanks, you need to handle the transfer with extra care during and after pressing. The ribbed texture makes the surface less uniform, increasing the risk of damage. Follow these steps to keep your design intact:
- Use a Teflon sheet to protect the transfer and fabric from direct heat.
- Press with lighter pressure than usual to avoid stretching the fabric.
- Allow the tank to cool completely before handling to let the adhesive set properly.
- Avoid excessive bending or stretching of the ribbed areas after pressing.
Troubleshooting Heat Press Issues on Ribbed Tanks
When you run into issues with heat pressing ribbed tanks, pinpointing the problem quickly helps you fix it without wasting time or materials. If you notice uneven transfers, check that your heat press platen is clean and flat, ensuring consistent pressure.
Adjust the pressure if the design isn’t adhering well—too light or too heavy pressure can cause peeling or incomplete transfers. If the material wrinkles or bubbles, lower the temperature slightly and slow your pressing speed.
For cracked or faded designs, increase temperature in small increments or extend pressing time, but avoid overheating. Always test on a scrap piece first. By carefully adjusting heat, pressure, and timing, you’ll troubleshoot effectively and achieve crisp, durable results on ribbed tanks every time.
Caring for Heat Pressed Ribbed Tanks
After troubleshooting your heat press settings to get a flawless design on ribbed tanks, maintaining that quality is just as important. To keep your heat-pressed designs looking sharp, follow these key care tips:
- Wash Inside Out: Turn the tank inside out to protect the design during washing.
- Use Cold Water: Hot water can weaken the adhesive and cause fading.
- Avoid Harsh Detergents: Use mild soaps to prevent damage to the print.
- Air Dry or Low Heat: Skip the dryer or use low heat to avoid peeling or cracking.
When You Should Skip Heat Pressing Ribbed Tanks
Although heat pressing ribbed tanks can create vibrant designs, you should skip this method if the fabric is too thin or stretchy, as the pressure and heat may distort the material or damage the print. Avoid heat pressing if the tank has delicate embellishments or seams that can be crushed.
Also, steer clear when the design requires fine details that might blur under heat. If you’re unsure, test a small area first.
| Fabric Type | Risk Level | Reason |
|---|---|---|
| Thin cotton | High | May warp or shrink |
| Stretchy blends | High | Can distort shape |
| Thick cotton | Low | Holds design well |
| Embellished | High | Pressure can damage |
| Ribbed polyester | Medium | May tolerate heat but test first |
Bonus: Design Ideas That Work Well on Ribbed Tanks
Wondering what designs work best on ribbed tanks? You’ll want patterns that complement the texture without getting lost in the ribs. Here are four design ideas to consider:
- Bold, Simple Shapes – Large, clear shapes like stars or hearts stand out well against the ribbing.
- Minimalist Typography – Short words or phrases in clean fonts avoid visual clutter.
- Geometric Patterns – Repeating triangles or stripes can enhance the tank’s texture.
- Single-Color Prints – Using one solid color keeps the design crisp and easy to heat press.
These options *guarantee* your design remains visible and attractive while working smoothly with the ribbed fabric. Keep your designs straightforward, and you’ll get the best results on ribbed tanks.
Frequently Asked Questions
Can Ribbed Tanks Be Heat Pressed With Multi-Color Designs?
Yes, you can heat press multi-color designs on ribbed tanks, but you’ll need to adjust pressure and temperature carefully. The ribbed texture may cause uneven transfers, so take your time to make sure each color applies smoothly.
Be patient throughout the process to achieve the best results. Adjust settings as needed for different layers in your design. This careful approach helps ensure vibrant and accurate colors.
How Long Does a Heat Press Design Last on Ribbed Fabric?
Durability depends on your design’s details, but typically, heat press designs on ribbed fabric last several washes if you follow care instructions.
You’ll want to wash gently, avoid high heat, and handle your tank with tender love.
Are There Specific Brands of Ribbed Tanks Best for Heat Pressing?
Yes, you’ll want brands like Bella+Canvas or Next Level, as their ribbed tanks have quality blends that hold heat press designs well without warping.
Always test a small area first to guarantee the best results.
Can You Wash Heat Pressed Ribbed Tanks in Hot Water?
You can wash heat-pressed ribbed tanks in hot water, but it’s best to use cold or warm water to preserve the design. Hot water might cause the print to fade or peel faster, so avoid it when possible.
Is It Possible to Reuse Heat Transfer Vinyl on Ribbed Tanks?
You can’t really reuse heat transfer vinyl on ribbed tanks because the texture and stretching damage the vinyl when you remove it.
It’s best to use fresh vinyl for each project to guarantee a clean, durable design.
Conclusion
Imagine your ribbed tank as a canvas, textured and alive, waiting for your design to come to life with vibrant heat transfer. While the ridges might challenge your heat press, with the right prep and materials, you’ll achieve a lasting, flawless finish.
Embrace the process, and soon you’ll be rocking unique, eye-catching tanks that stand out in every crowd. Just remember—sometimes, skipping heat pressing is the best way to keep your fabric looking fresh.
When considering can you heat press on ribbed tanks, it’s important to balance creativity with care to protect the fabric’s texture and durability.