Can You Heat Press Embroidery Patches
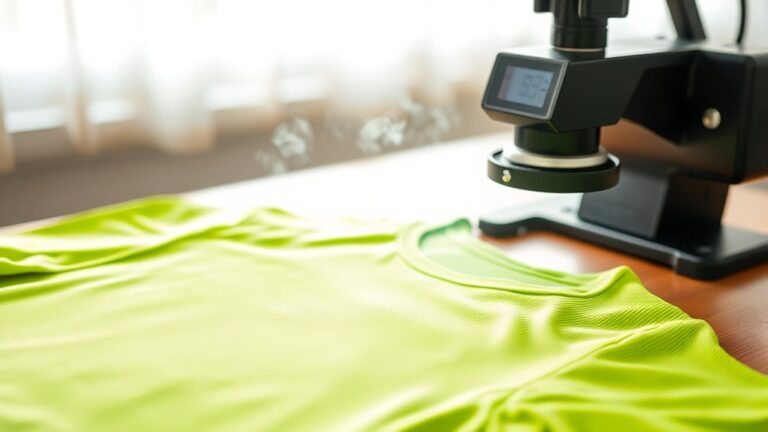
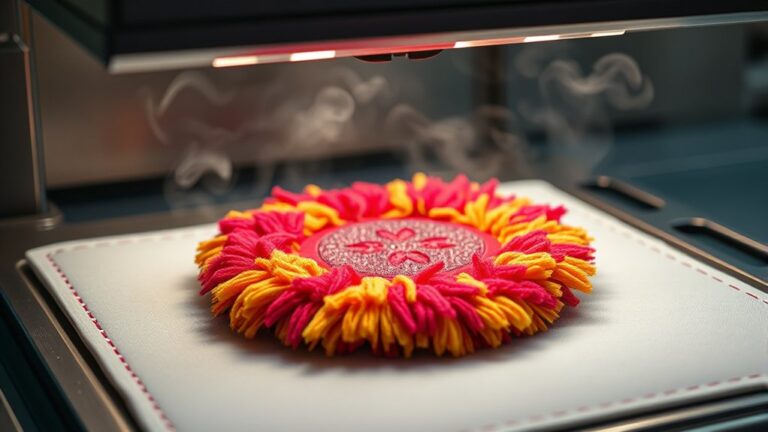
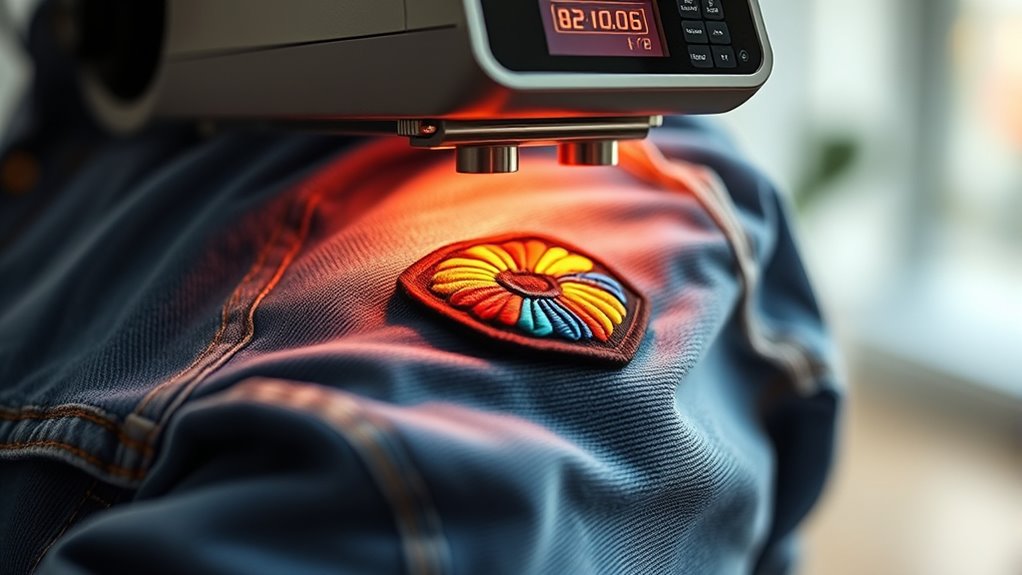
You can heat press embroidery patches if they have a heat-activated adhesive backing, making this method a quick and effective way to attach patches to fabrics like twill or polyester.
Heat pressing embroidery patches offers a secure bond without the need for sewing, ideal for customizing clothing and accessories. Understanding the correct temperature, pressure, and timing is crucial for successful application.
Make sure you use the right temperature, pressure, and time—usually around 300°F to 350°F for 10–15 seconds—and protect your patch with a Teflon sheet. This helps prevent damage to the patch or fabric during the process.
After heat pressing, let it cool completely before handling or washing.
Keep going to uncover tips for perfect results and long-lasting adhesion. With proper technique, your embroidered patches will stay firmly in place through wear and washing.
Key Takeaways
- Embroidery patches with heat-activated adhesive backing can be securely applied using a heat press. Proper temperature (300°F–350°F), pressure, and pressing time (10–15 seconds) are crucial for durable adhesion. Use a Teflon sheet or parchment paper to protect patches and fabric during heat pressing.
- Allow patches to cool fully and wait 24 hours before washing to ensure strong bonding. Not all patches are heat-press compatible; test small areas to avoid damage or use sewing as an alternative.
Can You Heat Press Embroidery Patches?
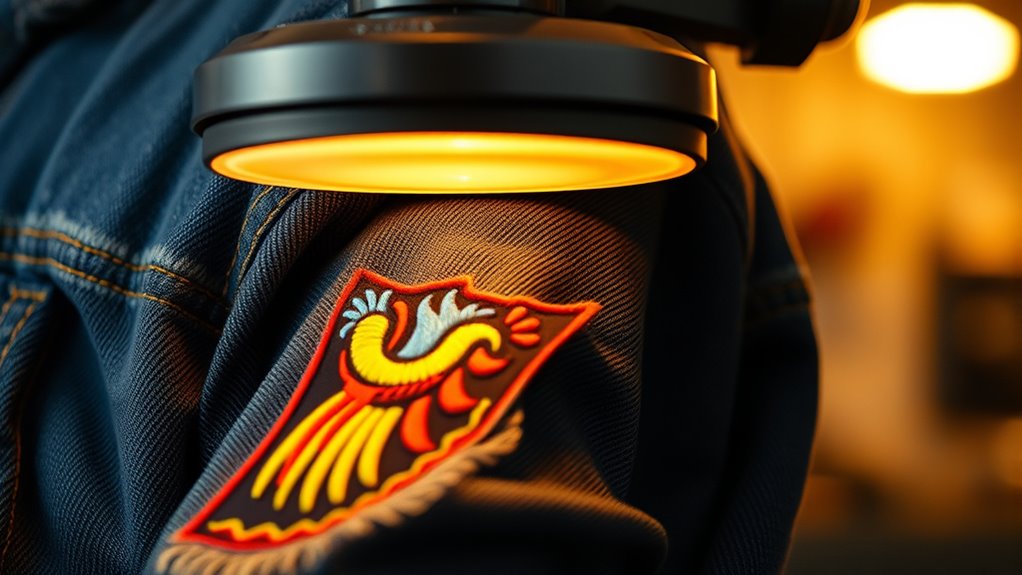
Although many people wonder if you can heat press embroidery patches, the answer is yes—you can. When you use a heat press, you apply heat and pressure to bond the patch securely to your fabric. This method is quick and effective, especially if you want a neat, professional look on your garments.
You just need to make certain your patch has a heat-activated adhesive backing designed for heat pressing. Without this, the patch won’t stick properly. The process is straightforward: position the patch, cover it with a protective sheet, and press with the right temperature and timing.
Following these steps ensures your patch stays put through washing and wear. Heat pressing saves time compared to sewing and gives you a clean finish every time.
Materials Used In Embroidery Patches And Heat Pressing
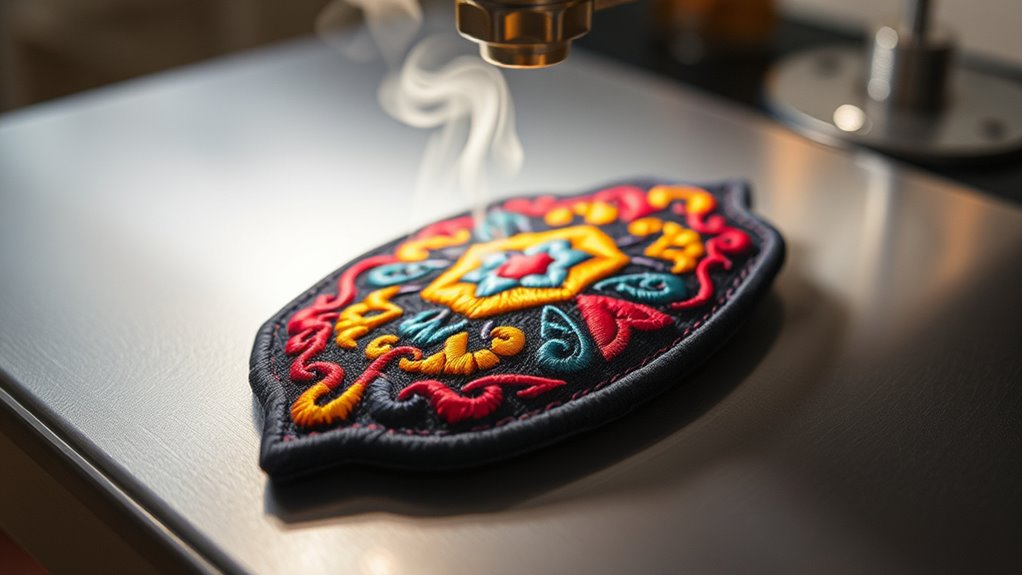
When you work with embroidery patches, the fabric type plays a big role in how well they stick during heat pressing. You’ll want to choose materials that handle heat without warping and adhesives designed for strong, lasting bonds.
Understanding these options helps you get the best results every time.
Common Patch Fabrics
What makes a patch fabric ideal for heat pressing? You want materials that can withstand high temperatures without warping or melting. Commonly, twill fabric is your go-to choice because it’s durable, smooth, and holds embroidery well.
Polyester patches are also popular since they resist heat and maintain color vibrancy. Cotton patches offer a natural feel but may shrink if exposed to too much heat, so you’ll need to be cautious. Felt, while soft and thick, isn’t the best heat press candidate because it can scorch easily.
When you pick your patch fabric, consider how it reacts to heat and pressure. Choosing the right fabric helps you avoid damage and guarantees your patch stays secure and looking sharp after heat pressing.
Heat Press Compatibility
Since heat pressing involves high temperatures and pressure, you need embroidery patch materials that can handle both without losing shape or color. Fabrics like polyester, twill, and cotton blends tend to withstand heat pressing well, maintaining their integrity during the process. Synthetic fibers, especially polyester, resist shrinking and fading, making them ideal for patches you want to heat press.
On the other hand, delicate materials such as silk or rayon may warp or discolor under heat, so avoid those if you plan to use a heat press. The thread used in your patch also matters—polyester and rayon threads are common, but polyester threads usually endure heat better. By choosing heat-compatible fabrics and threads, you guarantee your patches stay vibrant and intact after pressing.
Adhesive Types Used
Choosing the right materials for your embroidery patches sets the stage for effective adhesion during heat pressing. Typically, patches use heat-activated adhesives like thermoplastic glue, which melts under heat and pressure to bond the patch to fabric. Fusible backing is common—it contains a layer of adhesive that activates with your heat press.
Some patches come with peel-and-stick adhesive, making application quicker but often less durable. You might also encounter patches with no adhesive, requiring sewing for secure attachment. When selecting patches, check if the adhesive suits your fabric type and heat press settings to avoid damage.
Using compatible adhesives guarantees your patches stay put and look great after pressing, saving you time and frustration during your crafting process.
Identifying Heat-Press Friendly Embroidery Patches
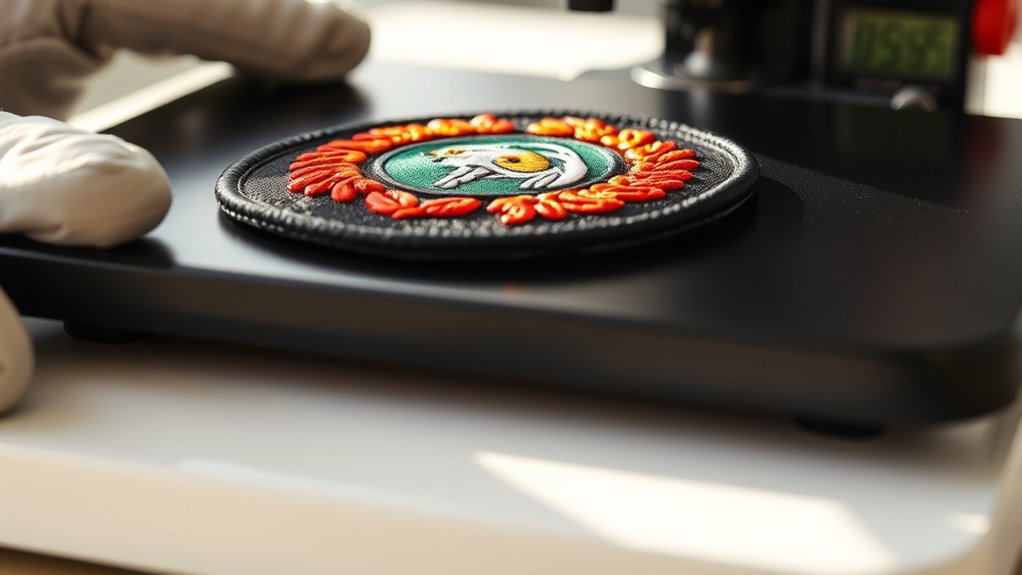
You’ll want to check the patch backing materials to guarantee they can handle the heat press process without damage. Look for heat activation indicators, like a shiny adhesive layer, that signal the patch is designed for heat pressing.
Knowing these signs helps you choose patches that stick well and last longer.
Patch Backing Materials
When you want your embroidery patches to adhere smoothly with a heat press, understanding the backing materials is essential. The backing determines how well the patch bonds to your fabric, so choosing the right one saves you time and frustration.
Here are three common backing materials to look for:
- Heat Seal Backing – This has a layer of heat-activated adhesive that melts and sticks when pressed, perfect for quick application.
- Iron-On Backing – Similar to heat seal but designed specifically for household irons, though it works with heat presses too.
- Sew-On Backing – No adhesive layer; requires stitching but offers the strongest hold for delicate or thick fabrics.
Knowing these helps you pick patches that work best with your heat press setup.
Heat Activation Indicators
Although not all embroidery patches advertise their compatibility clearly, you can quickly identify heat-press friendly patches by looking for specific heat activation indicators. These patches often feature a shiny, slightly tacky backing that melts and bonds under heat and pressure. You might also notice a thin adhesive layer visible on the patch’s reverse side, designed to activate at certain temperatures.
Some patches come with a paper or plastic liner that peels away after pressing, signaling a heat-activated adhesive underneath. Additionally, manufacturers may include temperature guidelines on the patch or packaging. If you’re unsure, test a small area with your heat press on low settings.
Recognizing these signs helps you avoid damaging patches and guarantees a strong, lasting bond when heat pressing embroidery patches.
Heat Pressing Embroidery Patches: Step-By-Step Guide
Before applying your embroidery patch with a heat press, make sure the fabric is clean and wrinkle-free to achieve the best adhesion.
Ensure your fabric is clean and wrinkle-free before heat pressing your embroidery patch for optimal adhesion.
Follow these steps for a professional finish:
- Position the Patch: Place the patch exactly where you want it on the fabric. Use heat-resistant tape if needed to hold it in place.
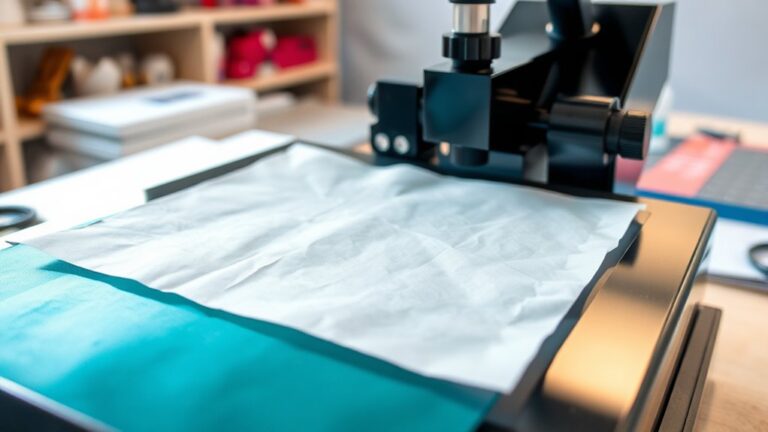
- Cover with Protective Sheet: Lay a Teflon sheet or parchment paper over the patch to protect it and the heat press from adhesive residue.
- Press the Patch: Close the heat press firmly and apply consistent pressure for the recommended time. Once done, carefully lift the press and allow the patch to cool before handling to secure the bond.
Heat Press Settings That Work Best For Embroidery Patches
To get your embroidery patches to stick just right, you’ll need to set your heat press to the ideal temperature range. Pressing for the ideal amount of time is just as important to guarantee a strong bond without damaging the fabric.
Let’s explore the best settings to make your patches look perfect every time.
Optimal Temperature Range
When you set the heat press to the right temperature, you guarantee your embroidery patches adhere securely without damage. The ideal range usually falls between 300°F and 350°F (149°C to 177°C). Going too low won’t activate the adhesive properly, while too high risks melting threads or fabric.
To get it right, follow these guidelines:
- Start at 320°F (160°C) for most patches—this balances adhesion and safety.
- Adjust slightly up or down based on patch material—denser patches may need higher heat.
- Test on a small, inconspicuous area first to avoid ruining your patch or garment.
Sticking to this temperature range ensures your patches look great and stay put without scorching or warping.
Ideal Pressing Time
Getting the temperature right sets the foundation, but pressing time plays an equally important role in securing your embroidery patches. Generally, you’ll want to press for about 10 to 15 seconds. This timeframe ensures the adhesive backing melts properly, bonding the patch to your fabric without damaging either.
Pressing too briefly might cause the patch to lift, while pressing too long can scorch the fabric or distort the embroidery. Remember to apply firm, even pressure during this period. Once you finish, let the patch cool completely before handling to solidify the bond.
If your patch has specific instructions, always prioritize those. Otherwise, starting with 12 seconds at the recommended temperature usually delivers excellent results for most embroidery patches.
Common Mistakes To Avoid When Heat Pressing Embroidery Patches
Although heat pressing embroidery patches seems straightforward, many people make avoidable mistakes that can ruin their work. To get the best results, prevent these common errors:
- Using excessive heat or time – Too much heat or pressing too long can melt the patch backing or damage the fabric beneath. Follow the recommended settings carefully.
- Skipping a heat-resistant barrier – Always use a Teflon sheet or parchment paper between the patch and the press to prevent scorching or adhesive seepage.
- Not aligning the patch properly – Heat pressing fixes the patch permanently, so misalignment can ruin your project. Take time to position it perfectly before pressing.
Avoiding these mistakes ensures your embroidery patches look professional and last longer.
How To Test If Your Patch Can Handle Heat Pressing
Before you apply heat to your embroidery patch, you’ll want to verify it can withstand the temperature and pressure without damage. Start by checking the patch’s backing material—heat-resistant backings like polyester or heat-activated adhesives are good signs.
Next, test a small, inconspicuous area by pressing it briefly at your intended temperature and pressure. Use a scrap piece or an extra patch if possible. After cooling, inspect for any warping, melting, discoloration, or distortion.
If the patch holds up without changes, it’s safe to proceed with heat pressing. Avoid patches with plastic or delicate fibers that melt easily. Taking this simple step prevents ruining your patch or garment and guarantees a smooth heat pressing process every time.
How To Keep Heat Pressed Embroidery Patches Secure Longer
To keep your heat pressed embroidery patches secure longer, you’ll need to focus on both preparation and aftercare. First, thoroughly clean and dry the fabric before applying the patch to ensure proper adhesion. Then, when heat pressing, use the correct temperature, pressure, and time settings recommended for your patch and fabric type.
Proper fabric preparation and precise heat press settings are essential for lasting embroidery patch adhesion.
Finally, after pressing, let the patch cool completely before handling or washing to allow the adhesive to set properly.
Here are three key steps to keep your patches in place:
- Avoid washing the garment for at least 24 hours after pressing.
- Turn the garment inside out before washing to reduce friction.
- Use gentle cycles and cold water to preserve the adhesive.
Following these tips will help your patches stay put and look great longer.
Troubleshooting: Fixing Patches That Won’t Stick
If your heat pressed embroidery patch isn’t sticking properly, you might be dealing with issues like incorrect temperature, insufficient pressure, or inadequate fabric preparation. First, double-check that your heat press is set to the right temperature for the adhesive—too low, and it won’t bond; too high, and you risk damaging the patch or fabric.
Next, make sure you’re applying enough pressure; a light press won’t activate the adhesive fully. Also, clean and dry the fabric before pressing to remove oils or moisture that can prevent sticking. If the patch still won’t adhere, try increasing the pressing time by a few seconds.
Finally, consider using a protective Teflon sheet to evenly distribute heat and prevent scorching. These steps should help you secure your patch firmly.
Alternatives To Heat Pressing For Embroidery Patches
Although heat pressing is popular for applying embroidery patches, you might want to explore alternatives that suit different fabrics or offer stronger durability. Here are three effective options to contemplate:
- Sewing – Stitch your patch directly onto the fabric for a secure, long-lasting hold, ideal for delicate or thick materials that can’t handle heat.
- Fabric Glue – Use a strong adhesive designed for textiles to bond patches quickly without sewing or heat, perfect for quick fixes or non-washable items.
- Iron-on Adhesive Tape – Place double-sided fusible tape between the patch and fabric, then use a household iron to bond them, offering a middle ground between sewing and heat pressing.
These alternatives can help you choose the best method based on your patch type and fabric.
Frequently Asked Questions
Can Embroidery Patches Be Removed Without Damaging the Fabric?
Yes, you can remove embroidery patches without damaging the fabric by carefully unpicking the stitches with a seam ripper. Take your time to avoid tearing the fabric, and gently pull the threads away as you go.
How Do Embroidered Patches Affect Garment Washing Instructions?
Embroidered patches usually require gentler washing—cold water, gentle cycle, and avoiding bleach. You’ll want to turn the garment inside out and air dry to keep the patch intact and prevent damage or peeling over time.
Are There Eco-Friendly Adhesives for Embroidery Patches?
Oh sure, because nothing says “eco-friendly” like glue! But seriously, you can use water-based or biodegradable adhesives for your embroidery patches.
They’re kinder to the planet and still keep your designs stuck where you want them.
Can Heat Pressing Embroidery Patches Change Their Color or Texture?
Yes, heat pressing embroidery patches can change their color or texture if the temperature is too high or applied too long.
You’ll want to use the right settings to keep your patches looking vibrant and intact.
What Are the Best Storage Methods for Unused Embroidery Patches?
Treat your embroidery patches like delicate butterflies—store them flat in a cool, dry place, away from sunlight and moisture.
Use acid-free envelopes or plastic sleeves to keep their colors vibrant and textures intact for future use.
Conclusion
Now that you know how to heat press embroidery patches, you’re ready to give your projects a professional finish. Just remember, not every patch is cut out for heat pressing, so always test first.
With the right settings and a bit of patience, you can stick your patch like glue and keep it looking sharp for the long haul. When it comes to customizing, this method is truly the icing on the cake!
In conclusion, heat pressing embroidery patches is an effective way to apply patches securely. Always ensure you follow the correct heat press settings for embroidery patches to achieve the best results. This technique will help you create durable and attractive finished products every time.