Can You Heat Press Chenille Patches
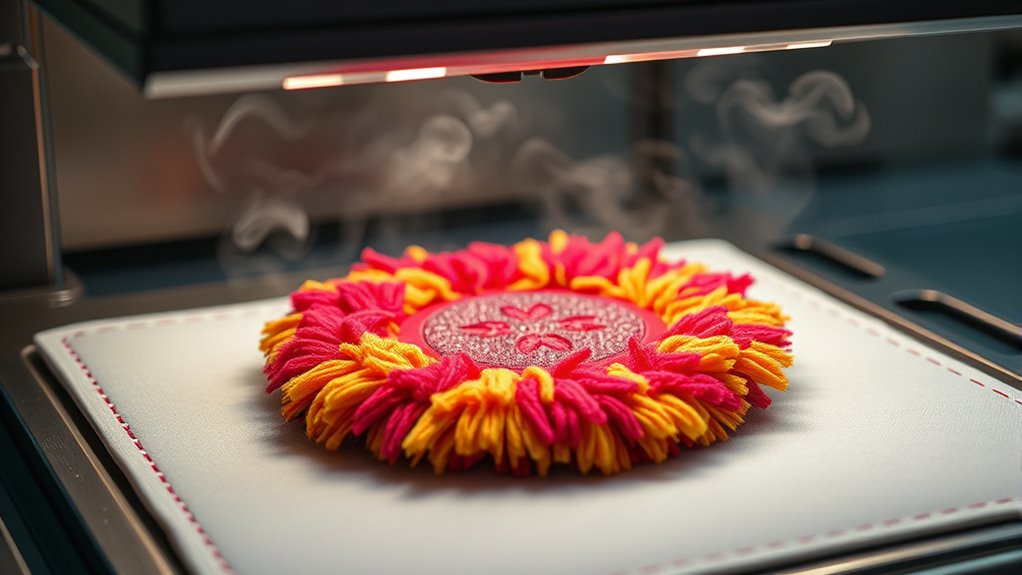
Yes, you can heat press chenille patches safely by using moderate temperatures between 320°F and 350°F and pressing for just 10 to 15 seconds.
Heat pressing chenille patches requires careful attention to temperature and timing to maintain their unique texture and durability. Proper technique ensures that the patch adheres well without compromising its fluffy appearance.
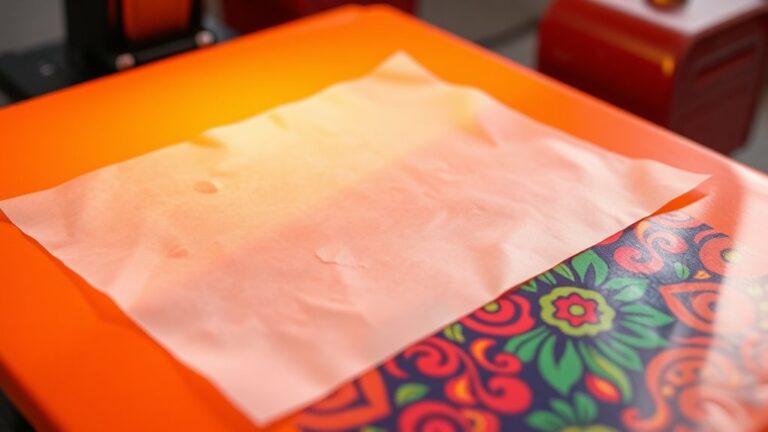
Always protect the patch with parchment paper or a pressing cloth to preserve its fluffy texture and prevent damage.
Make sure your fabric can handle the heat, and test settings on scrap material first. This helps avoid any unwanted damage to your garment or patch.
If you want to master the best techniques and avoid common mistakes, there’s plenty more to explore.
Experimenting with different fabrics and heat settings can improve your results and extend the life of your chenille patches.
Key Takeaways
- Chenille patches can be heat pressed using moderate temperature and short pressing time to avoid damaging their textured fibers.
- Use parchment paper or a pressing cloth as a protective layer during heat pressing to preserve the patch’s fluffy appearance.
- Optimal heat press settings are between 320°F and 350°F for 10-15 seconds to activate adhesive without melting or warping.
- Test heat pressing on scrap material first to determine the best temperature and time for your specific patch and fabric.
- Sewing is recommended instead of heat pressing for delicate fabrics or items requiring frequent washing for stronger, lasting attachment.
Can You Heat Press Chenille Patches Safely?
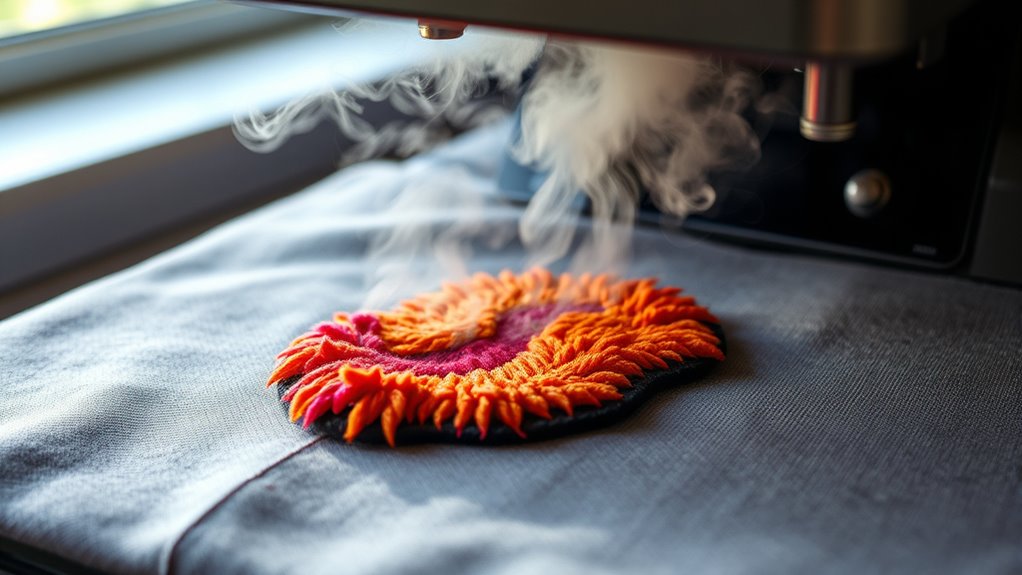
Although chenille patches are popular for their textured look, you might wonder if you can heat press them safely. The good news is yes, you can heat press chenille patches, but you need to be cautious. Chenille patches often have a fabric base and delicate fibers that react differently to heat compared to standard patches.
You’ll want to use a moderate temperature and shorter pressing time to avoid damaging the texture or adhesive backing. Always place a protective sheet like parchment paper between the patch and the heat press to prevent scorching. Testing on a scrap piece first helps you find the right settings.
With the right approach, you can securely attach chenille patches without ruining their unique fuzzy appearance.
Why Chenille Patches Need Careful Heat Pressing
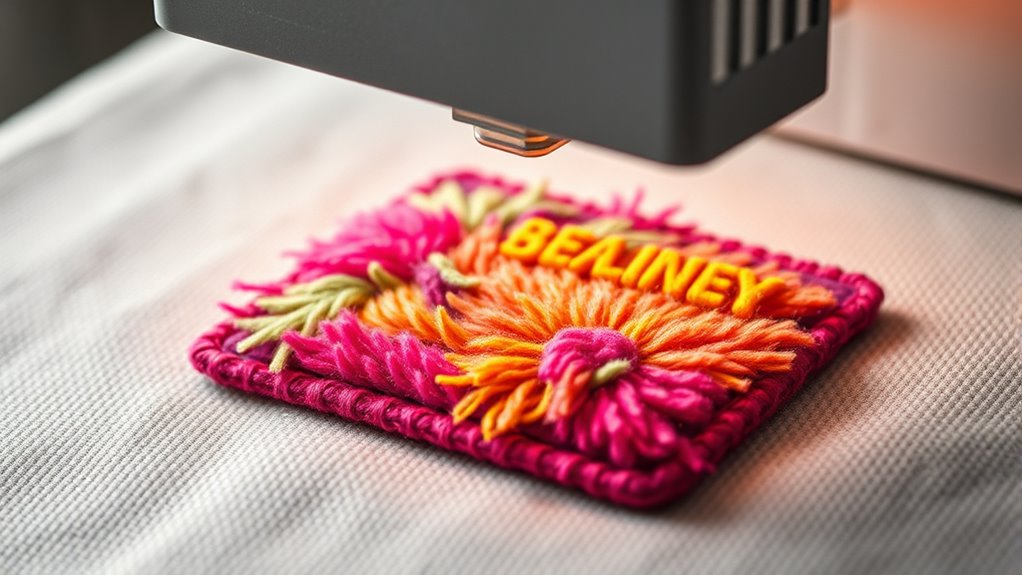
Because chenille patches have delicate fibers and a soft texture, you need to handle heat pressing with extra care to avoid damage. If you’re too rough or use excessive heat, the patch can lose its fluffiness or even burn. You want the patch to look vibrant and last long, so attention to detail is key.
Here’s why careful heat pressing matters:
- Preserves Texture: Harsh heat flattens the soft loops, ruining the patch’s unique look.
- Prevents Melting: Too much heat can melt the backing or threads.
- Maintains Adhesion: Gentle pressing ensures the adhesive bonds without warping.
- Extends Longevity: Proper care keeps your patch looking fresh through many washes.
Taking these steps safeguards your patch’s charm and durability.
Prepare Your Gear for Heat Pressing Chenille Patches
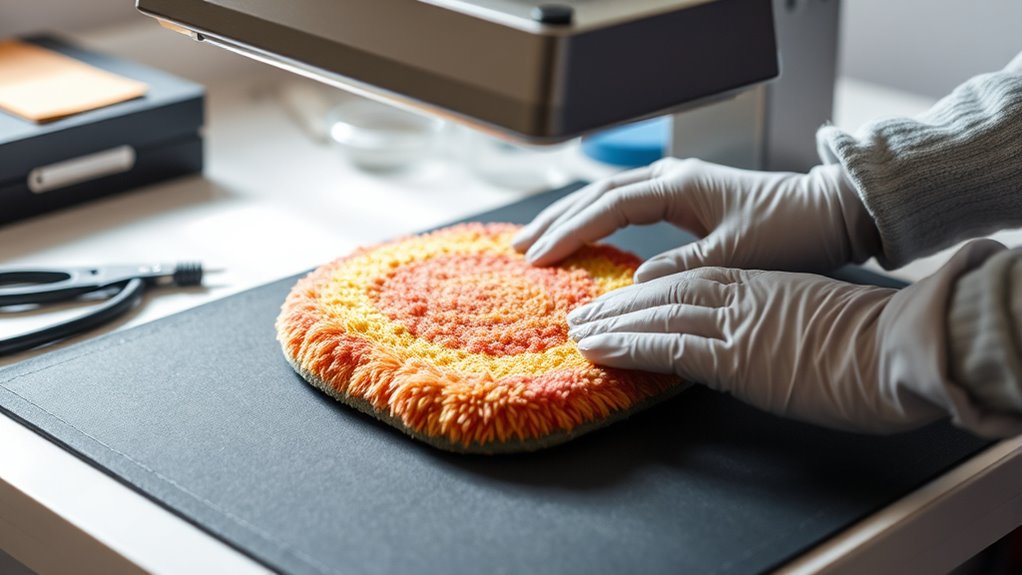
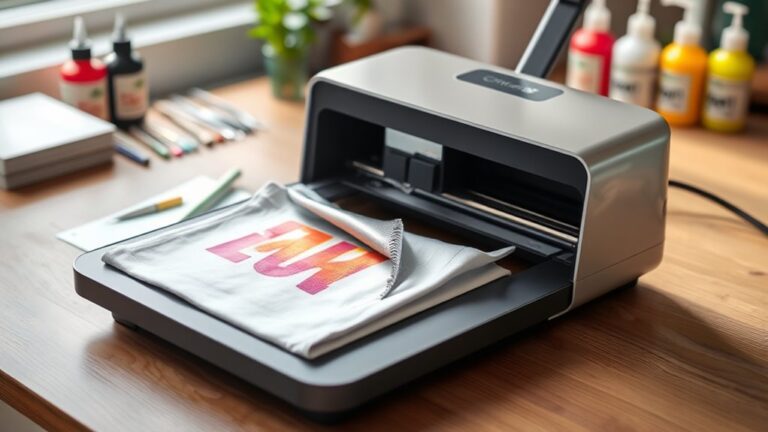
Before you start heat pressing chenille patches, make certain you have the right tools ready, like a reliable heat press and protective materials. Choosing the correct protective layer is key to preventing damage during pressing.
Also, set your heat press to the accurate temperature to ensure the patch adheres properly without harming the fabric.
Essential Heat Press Tools
When you’re ready to start heat pressing chenille patches, having the right tools on hand makes all the difference. Using proper equipment guarantees a smooth, professional finish and protects your patch and fabric.
Here are the essential heat press tools you’ll need:
- Heat Press Machine – A reliable, adjustable press that offers consistent temperature and pressure.
- Heat-Resistant Tape – Keeps your patch perfectly in place during pressing without damaging fibers.
- Silicone or Teflon Sheet – Shields your patch from direct heat, preventing scorching or melting.
- Protective Gloves – Safeguard your hands from burns when handling hot materials.
With these tools, you’ll feel confident and ready to achieve flawless heat pressing results every time.
Selecting Protective Materials
Having the right heat press tools sets the stage, but protecting your chenille patches and fabric during pressing requires selecting the proper protective materials. You’ll want to use heat-resistant items to shield your patches from direct heat and prevent scorching or melting.
Materials like Teflon sheets, silicone pads, and parchment paper work well. Each offers different benefits depending on your patch and fabric type.
| Protective Material | Heat Resistance | Best Use |
|---|---|---|
| Teflon Sheet | High | Prevents sticking, even heat |
| Silicone Pad | Medium | Cushions and distributes heat |
| Parchment Paper | Medium | Protects delicate surfaces |
| Cotton Cloth | Low | Additional layer, less heat |
Choose based on your patch’s texture and fabric sensitivity to guarantee a flawless press.
Setting Accurate Temperature
How do you certify your chenille patches adhere perfectly without damage? Setting an accurate temperature is critical. Too hot, and you risk melting fibers or scorching the fabric; too cold, and the adhesive won’t bond properly.
To nail this, follow these steps:
- Consult patch instructions—always check recommended temperature ranges first.
- Test on scrap fabric—this saves your final piece from costly mistakes.
- Use a calibrated heat press—an accurate machine ensures consistent heat.
- Adjust in small increments—start lower and increase gradually if needed.
Set the Best Heat Pressing Settings for Chenille Patches
You’ll want to set your heat press to the ideal temperature range to guarantee the chenille patches adhere properly without damage. Pressing for the perfect duration is just as important to achieve a strong bond.
Let’s look at the specific settings that work best for these patches.
Optimal Temperature Range
Although chenille patches require careful handling during heat pressing, setting the right temperature is crucial to achieve a strong bond without damaging the fabric. Too much heat can crush the soft texture, while too little won’t secure the patch properly.
Aim for an ideal temperature between 320°F and 350°F (160°C to 177°C). This range balances adhesion and fabric preservation perfectly.
Here’s why you’ll want to stick to these temperatures:
- Prevents melting or warping of the chenille fibers
- Ensures the adhesive activates fully for a durable hold
- Maintains the patch’s plush, raised look
- Avoids discoloration or scorching on your garment
Keeping within this range helps your patch stay vibrant and secure, giving your project a professional finish.
Ideal Pressing Duration
When heat pressing chenille patches, pressing duration plays a key role in securing the patch without damaging its texture. You’ll want to keep the pressing time between 10 to 15 seconds. Pressing too long risks crushing the soft, raised fibers, while too short might not bond the adhesive properly.
Start with 12 seconds as a sweet spot and adjust slightly based on your specific heat press and patch thickness. Always use a protective cover sheet to shield the chenille during pressing. After pressing, let the patch cool completely before handling to guarantee the adhesive sets well.
Heat Press Chenille Patches Step-by-Step
Before starting the heat pressing process, gather all the necessary materials and set your heat press to the recommended temperature and time settings for chenille patches. This preparation guarantees a smooth, damage-free application.
Prepare thoroughly by gathering materials and setting your heat press to the correct settings for flawless chenille patch application
Follow these steps carefully to get the best results:
- Position the patch where you want it on the fabric, making sure it’s perfectly aligned.
- Place a protective sheet like a Teflon cover over the patch to shield it from direct heat.
- Press firmly for the recommended time, avoiding excessive pressure to maintain the patch’s texture.
- Let it cool completely before moving the garment to ensure the adhesive bonds securely.
Fix Common Heat Pressing Mistakes on Chenille Patches
If you notice your chenille patch peeling or losing texture after heat pressing, don’t worry—you can fix common mistakes quickly with the right approach. First, check your temperature settings; excessive heat can damage the fabric and adhesive. Lower the heat to the recommended range, usually between 300°F and 320°F.
Next, avoid pressing too long—30 seconds is often enough. Over-pressing flattens the chenille’s texture. Also, ensure you use a protective cover sheet to prevent direct heat contact, which can scorch the patch.
If edges peel, reapply heat with slightly more pressure but keep time short. Finally, always let the patch cool completely before handling to allow the adhesive to set properly. With these adjustments, your chenille patches will look sharp and last longer.
When to Skip Heat Pressing and Sew Instead
Although heat pressing offers convenience, you should skip it and sew chenille patches on fabrics that can’t withstand high temperatures or where durability is a priority. Sewing guarantees your patch stays secure through wear and washing, especially on delicate or heat-sensitive materials.
You’ll want to choose sewing when:
- You’re working with thick or textured fabrics that heat pressing can’t properly bond.
- The patch will face frequent washing, needing stronger attachment.
- You want a classic, handcrafted look that adds charm.
- The garment’s care instructions advise against high heat, protecting your fabric.
Trust your instincts—sometimes stitching is the safer, more reliable option. It keeps your patch looking great and your favorite items intact.
Tips for Long-Lasting Chenille Patch Adhesion
To keep your chenille patches firmly attached, you’ll want to prepare both the patch and fabric properly before heat pressing. Start by cleaning the fabric surface and ensuring it’s dry and wrinkle-free. Use a pressing cloth between the patch and heat press to protect delicate fibers.
Apply firm, even pressure and follow the recommended temperature and time settings for your specific patch type. After heat pressing, let the patch cool completely before handling to allow the adhesive to set. For extra durability, consider sewing around the patch’s edges.
Avoid washing the garment immediately; wait at least 24 hours, and use gentle cycles and cold water to maintain adhesion. These steps help your chenille patches stay secure and vibrant longer.
Frequently Asked Questions
Can Chenille Patches Be Removed Without Damaging the Fabric?
Yes, you can remove chenille patches without damaging the fabric if you’re careful. Use a seam ripper or small scissors to gently cut the stitches, then peel the patch slowly to avoid tearing your garment.
Are Chenille Patches Machine Washable After Heat Pressing?
You can definitely machine wash chenille patches after heat pressing, but don’t toss them in like a tornado. Use cold water and gentle cycles to keep them looking sharp and prevent any fraying or damage over time.
Can You Use an Iron Instead of a Heat Press for Chenille Patches?
You can use an iron instead of a heat press for chenille patches, but you’ll need to apply firm, even pressure and hold it longer.
Be careful with heat settings to avoid damaging the patch or fabric.
What Types of Fabrics Are Best for Applying Chenille Patches?
Like a knight choosing armor, you’ll want sturdy fabrics such as denim, wool, or canvas for chenille patches. These materials hold patches well, ensuring durability and a sharp, timeless look without worrying about peeling or fraying.
How Do Chenille Patches Affect Garment Breathability?
Chenille patches reduce garment breathability because their thick, textured surface blocks airflow. When you add them, expect less ventilation, which might make your clothing feel warmer and less comfortable during extended wear or in hot conditions.
Conclusion
You can heat press chenille patches, but you need to handle them gently, set the right temperature, and use protective layers. You must prepare your gear carefully, follow each step precisely, and fix mistakes promptly. Sometimes, you’ll sew instead of heat pressing.
By caring for your patches, respecting their texture, and applying heat thoughtfully, you’ll guarantee vibrant, long-lasting adhesion. This careful approach helps keep your chenille patches looking great for years to come. Proper heat pressing ensures durability and preserves the unique feel of the chenille material.