Can You Cure Plastisol Ink With a Heat Press
Yes, you can cure plastisol ink with a heat press by applying the right combination of heat and pressure. Typically, this involves setting the heat press to around 320°F–330°F and pressing the garment for 10–15 seconds.
Proper curing is essential to solidify the ink, ensuring your design becomes durable and wash-resistant.
Before pressing, make sure your garment is clean and wrinkle-free. The ink should be fully dry to avoid any issues during curing.
Avoid over-curing or under-curing, as both can lead to smudging or cracking of the design.
To achieve the best results and prevent common mistakes, it’s important to explore effective curing techniques further. Mastering these steps will help you create high-quality, long-lasting prints every time.
Key Takeaways
- Yes, plastisol ink can be cured with a heat press by applying 320°F–330°F (160°C–165°C) for 10–15 seconds with firm, even pressure.
- Proper curing with a heat press transforms the ink into a durable, non-tacky print resistant to smudging, peeling, and fading.
- Pre-press garments to remove moisture and wrinkles, and ensure the ink is fully dried before heat pressing for best results.
- Use a flat platen, heat-resistant tape, and verify temperature with an infrared thermometer for consistent, uniform curing.
- Avoid over-pressing or excessive heat to prevent cracking, scorching, or fabric damage during the curing process.
What Is Plastisol Ink?
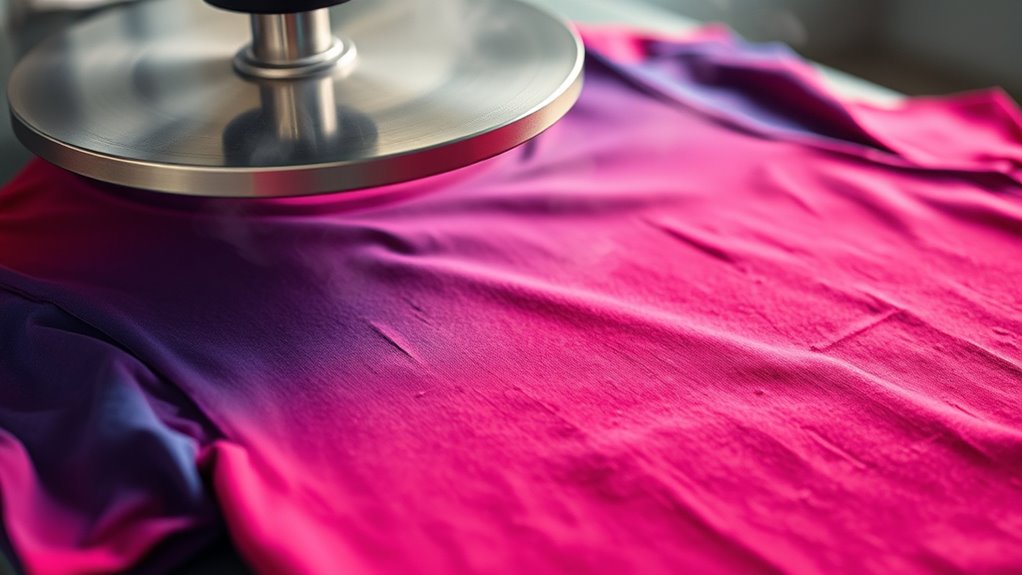
Although you might not realize it, plastisol ink plays a major role in custom apparel printing. It’s a type of ink made from PVC particles suspended in a plasticizer, which gives it a thick, flexible texture. When you apply plastisol ink, it sits on top of the fabric instead of soaking in, creating vibrant, durable designs.
You’ll find it popular because it’s easy to work with, doesn’t dry out quickly, and offers excellent color opacity on various textiles. Plus, it’s versatile enough for multiple printing techniques. When you handle plastisol ink, you’ll notice its smooth consistency, which helps you achieve sharp, clean prints.
Understanding what plastisol ink is sets the foundation for exploring how to properly cure it using tools like a heat press.
Why Plastisol Ink Needs Curing
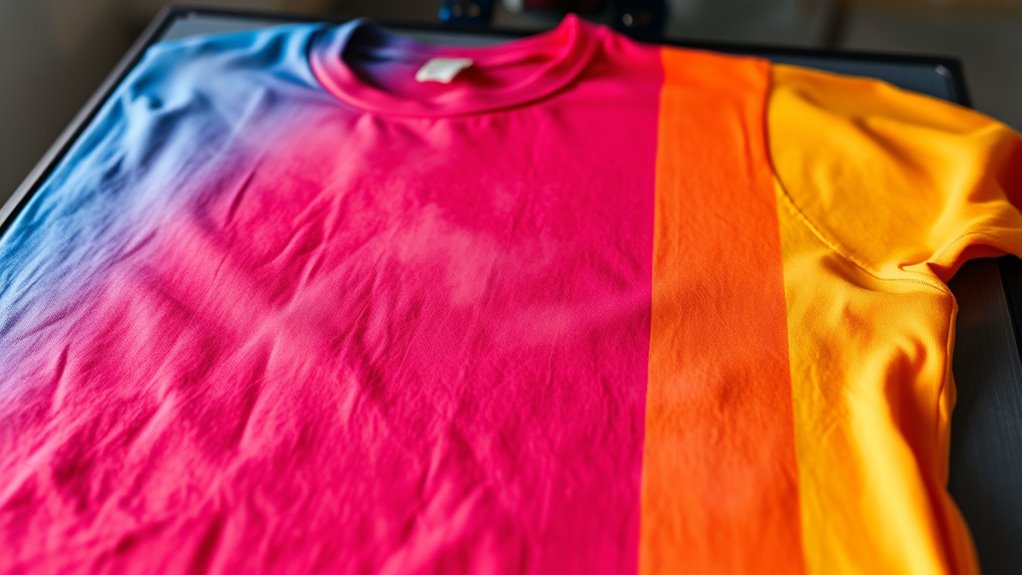
Because plastisol ink sits on the fabric’s surface, it needs curing to transform from a sticky liquid into a solid, durable print. Without curing, the ink remains wet and can easily smudge, peel, or wash away. Curing activates the ink’s chemical properties, causing it to fuse tightly to the fabric fibers.
This process guarantees the print withstands regular wear and multiple washes without cracking or fading. If you skip or under-cure plastisol ink, the design won’t have the strength or longevity you want. Proper curing also prevents the ink from feeling sticky or tacky to the touch.
Can You Cure Plastisol Ink With a Heat Press?
You can cure plastisol ink with a heat press by carefully managing the temperature settings and curing time. Getting these just right is essential to guarantee the ink fully bonds and stays durable.
Let’s explore how these factors affect the quality of your finished print.
Heat Press Temperature Settings
When curing plastisol ink with a heat press, setting the right temperature is essential for achieving a durable, vibrant print. Typically, you’ll want to set your heat press between 320°F and 330°F (160°C to 165°C). This range guarantees the plastisol ink melts properly, bonding securely to the fabric without scorching it.
Avoid temperatures below 300°F, as the ink won’t cure fully, leading to poor adhesion and potential cracking. On the other hand, going above 350°F risks burning or damaging your garment. Always use a reliable heat press thermometer if your machine lacks precise controls, so you can maintain consistent heat.
Curing Time Considerations
Although temperature plays a crucial role, curing time is equally important to guarantee plastisol ink sets properly with a heat press. You need to hold the heat press at the right temperature for the exact amount of time recommended by the ink manufacturer, usually between 10 to 15 seconds at 320°F to 330°F. If you under-cure, the ink won’t fully bond, leading to a sticky or tacky finish.
Over-curing can cause the ink to crack or degrade the fabric. Always use a timer to maintain consistency with each print. Keep in mind that fabric type and ink thickness can affect the required time.
Testing small samples before full production helps you dial in the most effective curing time for your specific setup.
Ink Durability And Quality
Since curing plastisol ink properly affects its durability and quality, using a heat press correctly is essential for achieving long-lasting prints. When you cure plastisol with a heat press, you guarantee the ink hardens evenly, preventing cracking or peeling over time. If you under-cure, the ink remains tacky and weak, making it prone to damage after washing.
Over-curing can cause the ink to become brittle and may damage the fabric. You’ll want to follow recommended temperature and time settings—usually around 330°F for 15-20 seconds—but always test to find the sweet spot for your specific setup. With the right heat press technique, your prints will stay vibrant and intact, maintaining high quality and durability through repeated wear and washing.
Heat Press vs. Conveyor Dryer: What’s the Difference?
While both heat presses and conveyor dryers serve to cure plastisol ink, they operate in distinctly different ways that affect your printing process. A heat press uses direct pressure and heat applied for a set time, making it perfect for small batches or detailed designs. It offers precise temperature control and consistent pressure, ensuring even curing.
On the other hand, a conveyor dryer uses an adjustable belt to move garments through a heated chamber, curing ink continuously. This method suits larger production runs, providing efficiency and speed. However, it requires more space and initial investment.
Choosing between them depends on your production volume, workspace, and budget. You’ll find heat presses handy for low-volume, custom jobs, while conveyor dryers excel in high-volume, fast-paced environments.
Preparing Garments and Screens for Plastisol Heat Press Curing
After deciding to use a heat press for curing your plastisol ink, you’ll need to prepare both your garments and screens properly to guarantee the best results. Start by making sure your garments are clean and wrinkle-free. Pre-press them to remove moisture and creases, which helps achieve an even cure.
For screens, make sure the ink is fully dried before pressing to avoid smudging. Position the garments flat on the press platen to ensure consistent heat exposure.
| Garment Prep | Screen Prep | Placement Tips |
|---|---|---|
| Pre-press to dry | Ink fully dried | Flat, wrinkle-free |
| Remove moisture | Check for smudges | Center design under heat |
| Smooth fabric | Avoid wet ink pressing | Use heat-resistant tape |
Heat Press Settings & Curing Time for Plastisol Ink
When you’re ready to cure plastisol ink with a heat press, setting the right temperature and time is essential for a durable finish. Typically, you want to set your heat press between 320°F and 330°F (160°C to 165°C). The curing time usually ranges from 15 to 30 seconds, depending on the ink thickness and garment type.
Avoid overheating, as it can scorch the fabric or cause the ink to crack. Under-curing will leave the ink tacky and prone to washing out. Make sure to use a medium to firm pressure to ensure even heat distribution.
Keep in mind that exact settings might vary, so always test on a sample garment first to achieve the best results without damaging your materials.
How to Cure Plastisol Ink With a Heat Press
To cure plastisol ink with a heat press, you’ll need to set the right temperature and press time based on the ink’s requirements. Make sure to follow a temperature settings guide and apply even heat across the design to avoid curing issues.
With the right technique, you can achieve a durable, professional finish every time.
Temperature Settings Guide
How hot should your heat press be to properly cure plastisol ink? Generally, you want to set your heat press between 320°F and 330°F (160°C to 165°C). This range ensures the ink reaches its curing temperature without scorching the fabric.
Keep in mind, different inks and fabrics might require slight adjustments, so always check your ink manufacturer’s recommendations. Avoid temperatures above 350°F, as extreme heat can cause the ink to crack or the garment to shrink. Also, make sure your heat press distributes heat evenly to prevent under- or over-curing.
Using a temperature strip or an infrared thermometer can help you verify your press’s accuracy. Getting your temperature right is key to achieving a durable, vibrant print.
Press Time Recommendations
Setting the right temperature is only part of curing plastisol ink with a heat press; controlling the pressing time matters just as much. If you press too briefly, the ink won’t fully cure, leading to a sticky or cracked finish. Press too long, and you risk scorching the fabric or dulling the print’s vibrancy.
Aim for a balanced press time between 12 to 15 seconds for most plastisol inks.
Keep these tips in mind for optimal pressing time:
- Start with manufacturer recommendations and adjust based on fabric thickness.
- Always test on a sample garment before full production.
- Use a timer to ensure consistency with every press.
Ensuring Even Heat
Even if you nail the temperature and timing, uneven heat can ruin your plastisol ink cure by causing inconsistent finishes or incomplete curing spots. To guarantee even heat, always preheat your heat press and check its temperature accuracy with a reliable thermometer. Use a heat press with a flat, smooth platen to distribute heat uniformly.
Avoid stacking garments or placing thick materials under your print, as this can create pressure points and uneven heating. Apply firm, consistent pressure throughout the pressing process to maintain contact between the platen and the garment. Finally, periodically rotate or reposition your garment if your press allows it, ensuring all areas receive equal heat exposure.
These steps help achieve a flawless, durable plastisol ink cure every time.
How to Tell If Plastisol Ink Is Fully Cured
Before you move on from curing your plastisol ink, you need to confirm it’s fully cured to guarantee durability and washability. If the ink isn’t fully cured, it can crack, peel, or wash out prematurely. To check, you can perform simple tests that reveal whether the ink has reached the right temperature and bonding time.
Confirm your plastisol ink is fully cured to ensure durability, washability, and prevent cracking or peeling.
Here’s how to tell if your plastisol ink is fully cured:
- Rub test: Lightly rub the print with a cloth; if it smudges or transfers, it’s not cured.
- Stretch test: Gently stretch the fabric around the print; if the ink cracks, it needs more curing.
- Ink temperature check: Use an infrared thermometer to ensure the ink surface hits around 320°F (160°C).
These quick checks help you avoid costly mistakes and confirm lasting results.
Heat Press Mistakes That Damage Plastisol Prints
If you don’t handle your heat press carefully, you risk ruining your plastisol prints with common mistakes. Pressing at too high a temperature can scorch or melt the ink, causing it to crack or discolor. Applying excessive pressure may flatten the ink’s texture, ruining the design’s detail.
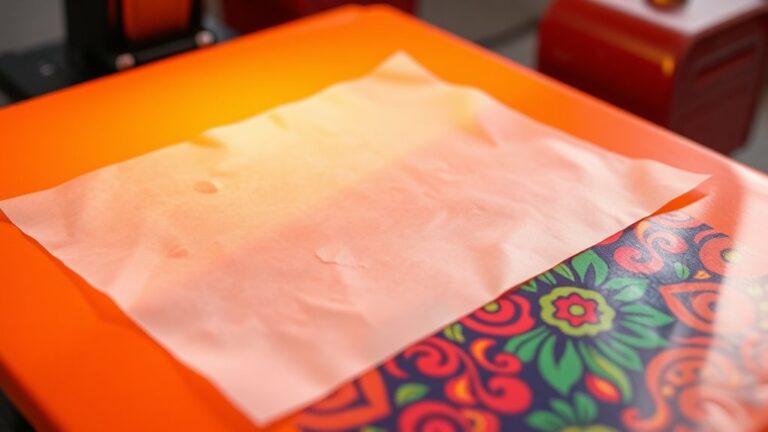
Holding the heat press down too long can over-cure the ink, making it brittle and prone to cracking later. On the flip side, insufficient heat or time leaves the ink undercured, leading to poor durability. Also, neglecting to use parchment paper or a protective sheet can cause ink to stick to the platen, damaging your prints.
Always follow the recommended temperature, pressure, and timing guidelines to keep your plastisol prints vibrant and intact.
Fixing Cracked or Faded Plastisol Prints
Mistakes with heat pressing can leave your plastisol prints cracked or faded, but you don’t have to accept those flaws as permanent. You can often restore appearance and durability by carefully re-curing or repairing the print. Before you try anything, confirm the garment is clean and dry.
Heat pressing errors don’t have to be final—re-curing can restore your plastisol print’s look and strength.
Here’s how you can fix cracked or faded plastisol prints:
- Re-press with correct heat and time: Adjust your heat press settings to the recommended temperature (usually around 320°F) and press time (15-30 seconds) to properly cure the ink.
- Apply a thin layer of plastisol clear coat: This seals and rejuvenates the print’s surface, preventing further cracking.
- Use a fabric-safe adhesive or patch: For deep cracks, these provide reinforcement and protect the print from worsening.
Taking these steps helps extend your garment’s life and keeps your design looking fresh.
Pros and Cons of Heat Press Curing for Plastisol Ink
You’ll find that heat press curing can speed up your process, making it more efficient than traditional methods. However, the way the heat is applied might affect the durability of your plastisol ink.
Let’s explore the benefits and drawbacks so you can decide if it’s the right fit for your projects.
Heat Press Efficiency
How effective is a heat press when curing plastisol ink? It can be quite efficient if you use the right settings and technique. A heat press delivers consistent, even heat and pressure, which are essential for curing plastisol properly.
However, its efficiency depends on several factors, including the type of heat press and the fabric.
Consider these points to optimize heat press curing:
- Consistent Temperature Control: Maintains the ideal curing temperature throughout the process.
- Uniform Pressure Distribution: Ensures the ink cures evenly without smudging or fading.
- Time Management: Balances curing time to prevent under- or over-curing, which can affect the final print quality.
Using a heat press effectively means understanding these elements to get the best cure every time.
Ink Durability Effects
Although heat presses offer a convenient way to cure plastisol ink, they can impact the ink’s durability in different ways. When you use a heat press correctly, you can achieve a strong, long-lasting cure that withstands multiple washes without cracking or fading. The even pressure and consistent heat help the ink bond well to the fabric.
However, if you apply too much pressure or heat for too long, the ink can become brittle and prone to cracking. On the other hand, insufficient curing leaves the ink soft and prone to washing out or peeling. So, you need to carefully control the temperature, time, and pressure to maximize durability.
With practice, heat pressing can produce durable prints comparable to traditional conveyor curing.
Other Ways to Cure Plastisol Ink at Home
Since not everyone owns a heat press, you can explore other effective methods to cure plastisol ink at home. Achieving the right temperature and time is key to a durable print. Here are some practical alternatives:
- Convection Oven: Set your oven to 320°F (160°C), place your garment inside on a baking tray, and cure for about 5 minutes. Confirm even heat distribution by moving the garment occasionally.
- Heat Gun: Hold the heat gun about 2-3 inches from the ink and move it in a circular motion for 3-5 minutes until the ink is dry and slightly tacky.
- Iron: Use a household iron on the cotton setting without steam. Press firmly over the design for 3-4 minutes, flipping the garment halfway to avoid scorching.
These methods let you cure plastisol ink effectively without specialized equipment.
Frequently Asked Questions
What Safety Precautions Should I Take When Curing Plastisol Ink?
You should wear heat-resistant gloves, work in a well-ventilated area, and avoid direct skin contact with the ink.
Also, keep your workspace clean and follow the manufacturer’s instructions to prevent burns or inhaling fumes.
Can Plastisol Ink Be Cured on Different Fabric Types?
Like a chameleon adapting to its surroundings, plastisol ink can cure on various fabrics, but you’ll need to adjust temperature and time.
Always test on each fabric type to guarantee vibrant, lasting prints without damage.
How Does Humidity Affect the Curing Process of Plastisol Ink?
Humidity slows plastisol ink curing by trapping moisture, which can cause ink to stay tacky or not fully cure.
You’ll need to adjust drying time or temperature to guarantee proper curing in high humidity conditions.
What Tools Are Best for Measuring Plastisol Ink Temperature?
You’ll want to grab a digital infrared thermometer or a thermocouple probe to measure plastisol ink temperature accurately.
These tools are like your ink’s compass, guiding you to perfect curing without guesswork or burnout.
Does Curing Plastisol Ink Impact Garment Stretchability?
Yes, curing plastisol ink properly can impact garment stretchability. You’ll want to avoid overheating, which can make the fabric stiff.
When you cure it correctly, the garment retains its flexibility and feels comfortable to wear.
Conclusion
Curing plastisol ink with a heat press is like giving your artwork a warm handshake—it seals in the colors and guarantees durability. While it’s not the conveyor dryer’s industrial strength, a heat press can still bring your prints to life if you handle it right.
Remember, your heat press is a trusty forge; treat it well, avoid common mistakes, and your designs will shine brightly. This method ensures your prints last through countless wears and washes.
In conclusion, you can cure plastisol ink with a heat press effectively by maintaining the right temperature and timing. Proper curing with a heat press preserves the vibrancy and durability of your prints just like traditional methods.