Can You Heat Press on Satin
Yes, you can heat press on satin without ruining it by using lower temperatures (around 250°F–300°F), shorter pressing times (10–15 seconds), and light pressure to avoid crushing the fabric.
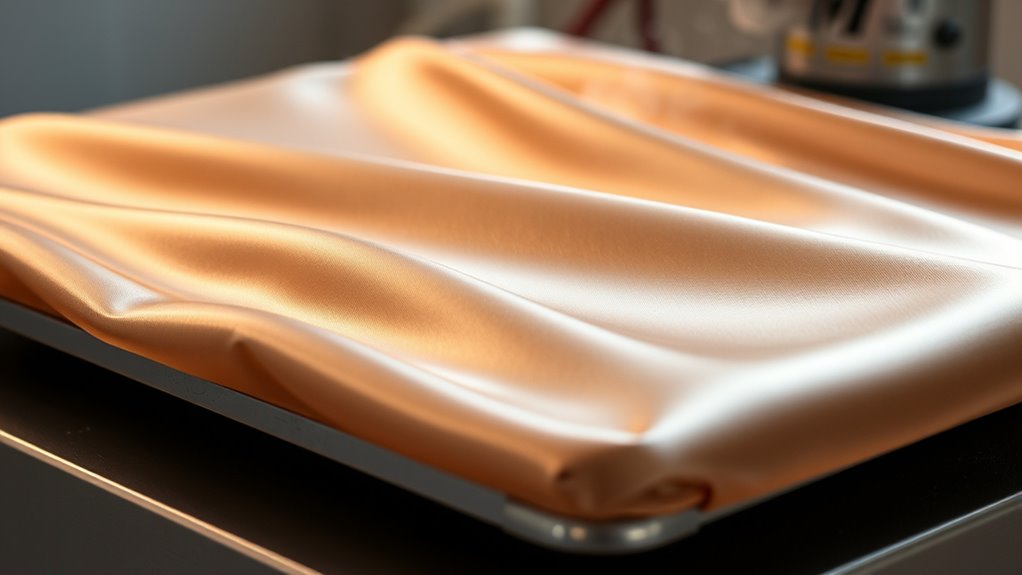
Satin is a delicate material, so it’s important to handle it carefully during heat pressing to maintain its smooth texture and sheen.
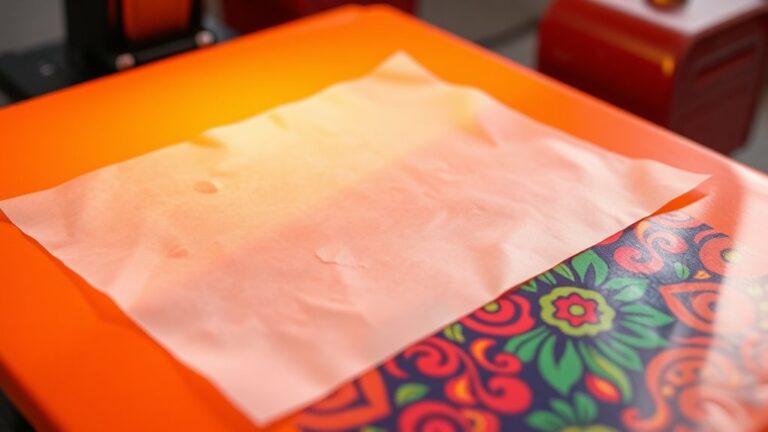
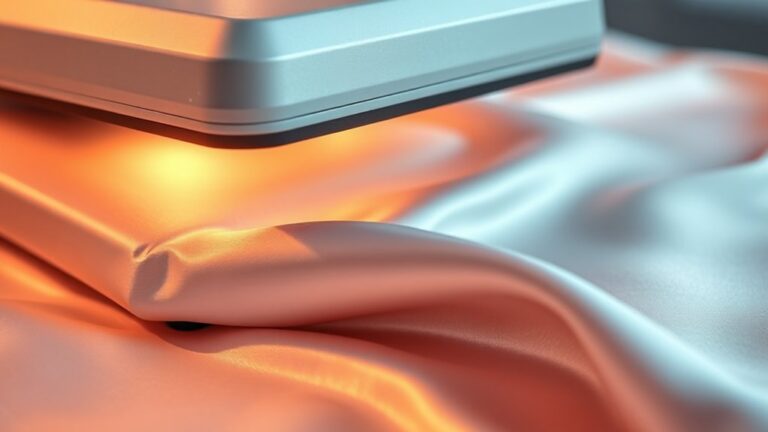
Always use a protective barrier like a Teflon sheet or parchment paper to shield satin’s delicate sheen. This helps prevent direct heat contact, which can cause damage or discoloration.
Test a small scrap first to adjust your settings and prevent damage.
If you want to get the best results and avoid common pitfalls, there’s more to take into account before you start.
Key Takeaways
- Satin can be heat pressed using low temperatures (250°F–300°F) and short pressing times (10–15 seconds) to avoid damage.
- Always test heat sensitivity on a small satin scrap before full pressing to prevent discoloration or melting.
- Use protective barriers like Teflon sheets or parchment paper between the heat press and satin to protect the fabric.
- Apply medium pressure (40–60 psi) gently to avoid crushing or distorting satin’s delicate weave and glossy surface.
- Monitor for signs of fabric damage during pressing and adjust temperature, time, or pressure accordingly to preserve satin’s sheen.
Can You Heat Press Satin Without Ruining It?
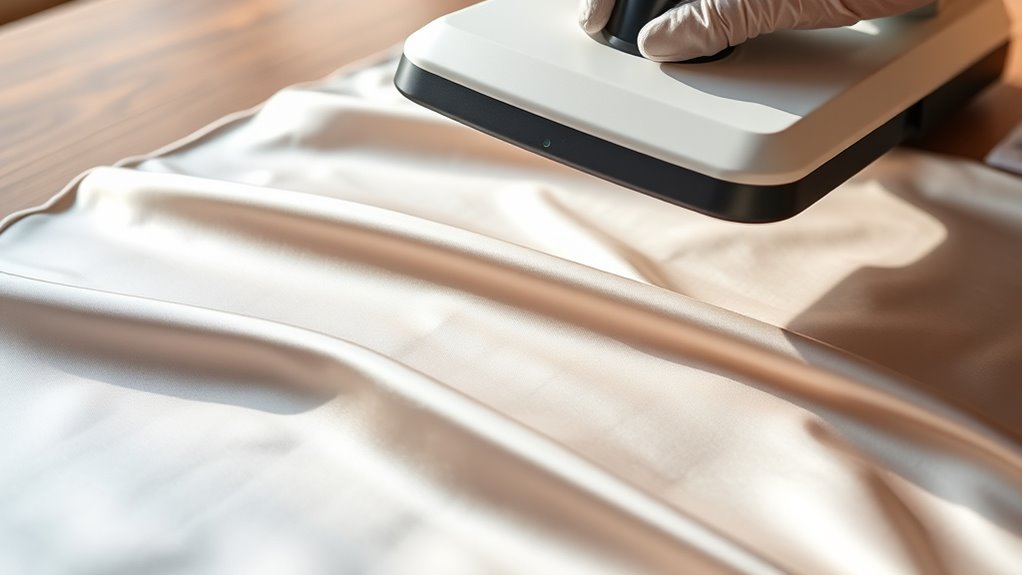
Although satin is delicate, you can heat press it without damaging the fabric if you take proper precautions. First, always test on a small, hidden area to see how the fabric reacts. Use a lower temperature setting on your heat press—typically between 250°F to 300°F—to prevent scorching or melting.
Protect the satin by placing a Teflon sheet or parchment paper between the heat press and the fabric. Avoid applying too much pressure, as heavy pressure can harm the smooth surface or leave marks. Limit the pressing time to about 10-15 seconds to reduce risk.
How Satin Differs From Other Fabrics for Heat Pressing
When you heat press satin, you’ll notice it behaves differently compared to other fabrics like cotton or polyester. Satin’s smooth, glossy surface reflects heat unevenly, which can lead to scorching or uneven transfers if you’re not careful. Unlike cotton, which absorbs heat well, satin’s delicate weave and synthetic fibers make it more sensitive to high temperatures.
It’s also slippery, so designs can shift during pressing, unlike sturdier fabrics that hold prints firmly. Additionally, satin’s sheen can dull or become patchy if pressed improperly, whereas matte fabrics usually don’t show such changes. Understanding these differences helps you adjust your technique, ensuring the heat press enhances rather than damages the satin material.
How to Prepare Satin Before Heat Pressing
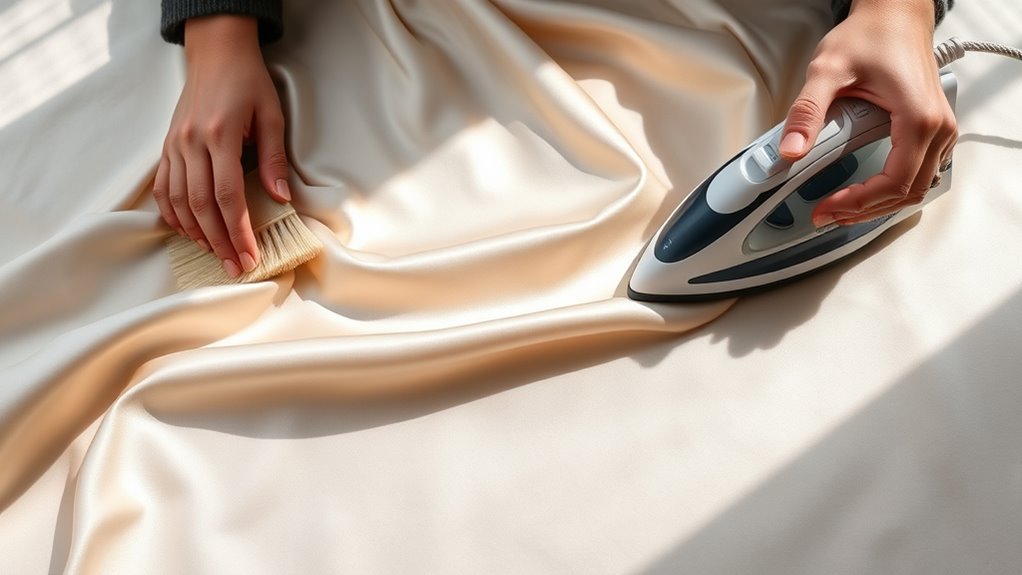
Before you start heat pressing on satin, make sure the fabric is clean to avoid any marks or damage. Test a small area for heat sensitivity to prevent scorching.
Always use protective layers like a Teflon sheet to keep the satin safe during pressing.
Cleaning Satin Fabric
How do you make sure your satin fabric is ready for heat pressing? Cleaning satin properly is key to avoid damage and guarantee the heat press adheres well.
First, gently remove any dust or dirt with a soft brush or lint roller. If washing is needed, always hand wash or use a delicate cycle with cold water and mild detergent. Avoid bleach or fabric softeners, as they can weaken fibers.
| Step | Action |
|---|---|
| Dust Removal | Use a soft brush or lint roller |
| Washing | Hand wash/cold delicate cycle |
| Drying | Air dry flat, avoid direct heat |
Following these steps prepares your satin for smooth, safe heat pressing without compromising its sheen or texture.
Testing Heat Sensitivity
Properly cleaning your satin fabric sets the stage, but you still need to check how it reacts to heat. To test its heat sensitivity, cut a small scrap from your satin piece. Set your heat press to the lowest recommended temperature for satin, usually around 250°F (121°C).
Press the scrap for 10-15 seconds, then carefully inspect it. Look for any discoloration, melting, or texture changes. If the fabric shows damage, lower the temperature or reduce pressing time and test again.
Repeat this process until you find settings that don’t harm the fabric. This step prevents ruining your entire project and guarantees your satin can handle the heat press safely. Taking this precaution helps you achieve the best results without surprises.
Using Protective Layers
Although satin is delicate, you can protect it during heat pressing by using protective layers. Start by placing a thin sheet of parchment paper or a Teflon sheet over the satin before applying heat. This layer acts as a barrier, shielding the fabric from direct contact with the heat press and preventing scorching or melting.
You might also consider placing a cotton press cloth beneath the satin to provide extra cushioning and distribute heat evenly. Avoid using thick or textured materials as protective layers—they can interfere with heat transfer. Always confirm the protective layer lies flat and wrinkle-free to maintain a smooth surface.
Best Temperature and Pressure Settings for Satin
You’ll want to set your heat press to the ideal temperature to avoid damaging the delicate satin fabric. Applying the right pressure is just as important to guarantee the design adheres properly without crushing the material.
Plus, controlling the time duration helps achieve the best results without scorching or wrinkling.
Optimal Heat Levels
How hot should you set your heat press when working with satin to avoid damage? Satin is delicate, so keep your temperature between 250°F and 300°F. This range is hot enough to activate the adhesive on most heat transfer vinyl or sublimation inks without scorching the fabric.
Going above 300°F risks melting or discoloring the satin’s shine. Always pre-test on a small scrap to confirm the temperature won’t harm your specific satin type. Use a heat press with consistent temperature control to maintain steady heat.
Avoid rushing; letting the heat work at the right level prevents damage and ensures vibrant, lasting transfers. Remember, lower temperatures combined with slightly longer pressing times often yield the best results on satin.
Recommended Pressure Settings
What pressure should you apply when heat pressing satin to guarantee a flawless transfer without damaging the fabric? You’ll want to use medium pressure—enough to assure the transfer adheres well but gentle enough to avoid crushing the delicate fibers. If the pressure’s too light, the design might not stick properly, leading to uneven results.
Too much pressure, however, risks imprinting marks or distorting the satin’s smooth surface. Aim for a balanced setting, typically around 40 to 60 psi, depending on your heat press machine. Always test on a scrap piece first to fine-tune pressure.
Time Duration Guidelines
Although getting the temperature and pressure right is essential, controlling the time duration during heat pressing satin guarantees your design transfers perfectly without scorching or wrinkling the fabric. You want to avoid applying heat for too long, as satin is delicate and sensitive to prolonged exposure.
Follow these time duration guidelines for the best results:
- Set your heat press between 10 to 15 seconds.
- Use a medium pressure setting to avoid fabric damage.
- Always perform a test press on a scrap piece of satin.
- Adjust time if your design requires multiple layers or thicker transfers.
Safe Heat Transfer Materials to Use on Satin
When working with satin, choosing heat transfer materials that won’t damage its delicate fibers is essential. You want materials that apply smoothly without requiring excessive heat or pressure. Vinyl and sublimation transfers are generally safe options, as they bond well at lower temperatures.
Avoid heavy or thick transfers that could stiffen the satin or cause puckering.
Here’s a quick guide to heat transfer materials suited for satin:
| Material Type | Heat Press Compatibility |
|---|---|
| Heat Transfer Vinyl | Low to medium heat, flexible |
| Sublimation Paper | Low heat, permanent bond |
| Foil Transfers | Use low heat, test first |
| Glitter Vinyl | Avoid high heat, can stiffen |
| Puff Vinyl | Not recommended, bulky and harsh |
Stick to gentle materials to keep satin soft and vibrant.
Effective Ways to Protect Satin During Heat Pressing
To protect your satin during heat pressing, always use a protective heat barrier like parchment paper or a Teflon sheet. You’ll also want to adjust the temperature and pressing time to prevent scorching or melting.
These simple steps help keep your satin looking smooth and vibrant.
Use Protective Heat Barriers
Since satin is delicate and sensitive to direct heat, you should always use protective heat barriers during heat pressing. These barriers shield the fabric, preventing scorch marks, shine, or melting. Without them, your satin project risks permanent damage.
Here are four effective heat barriers you can use:
- Teflon Sheets – Non-stick and heat resistant, they provide a smooth surface.
- Parchment Paper – Affordable and disposable, good for one-time use.
- Cotton Pressing Cloth – Breathable and reusable, ideal for delicate fabrics.
- Silicone Mats – Durable and flexible, offering excellent heat distribution.
Using any of these will help maintain satin’s sheen and texture while protecting it from direct heat exposure. Always place the barrier between the heat press and the fabric for best results.
Adjust Temperature And Time
Protective heat barriers do a great job shielding satin, but you still need to fine-tune your heat press settings to avoid damage. Satin is delicate, so lower the temperature than you would for cotton or polyester—typically around 270°F to 300°F works well. Also, shorten the pressing time, aiming for 10 to 15 seconds to prevent scorching or melting.
Always start with the lowest recommended settings and test on a scrap piece of satin before moving to your final project. If you notice any discoloration or fabric distortion, reduce time or temperature further. By carefully adjusting both heat and duration, you’ll protect satin’s smooth finish and achieve a crisp, clean transfer without ruining the fabric.
Choosing Between Teflon Sheets and Parchment Paper for Satin
How do you decide between Teflon sheets and parchment paper when heat pressing on satin? Both protect your fabric, but they serve slightly different purposes. Here’s what you should consider:
- Heat Resistance: Teflon sheets handle higher temperatures without burning, making them ideal for satin’s delicate surface.
- Non-stick Properties: Both prevent sticking, but Teflon provides a slicker barrier, reducing the risk of damage or residue.
- Reusability: Teflon sheets are reusable, saving money and reducing waste, while parchment paper is disposable.
- Cost and Convenience: Parchment paper is cheaper and easy to replace, good for occasional use or quick projects.
Choose Teflon sheets for frequent heat pressing and parchment paper for occasional, light tasks on satin.
How Long to Heat Press Satin for Optimal Results
After choosing the right protective layer, the next key factor is timing your heat press on satin correctly. Generally, you’ll want to set your heat press between 10 to 15 seconds to avoid damaging the fabric. Satin is delicate and sensitive to heat, so pressing it too long can cause shine, melting, or distortion.
Start with 10 seconds at the recommended temperature and check the results. If needed, increase time incrementally by 2-3 seconds, but never exceed 15 seconds. Always follow the heat press guidelines for your specific satin type and transfer material.
Common Heat Pressing Mistakes to Avoid on Satin
Because satin is delicate, even small mistakes during heat pressing can ruin your project quickly. You need to handle it with care to avoid damaging the fabric or the design. Here are common mistakes to watch out for:
- Using too much heat – Excessive temperature can scorch or melt satin fibers.
- Pressing for too long – Overexposure to heat can cause discoloration or warping.
- Skipping a protective layer – Always use a Teflon sheet or parchment paper to prevent direct heat damage.
- Applying uneven pressure – Uneven pressure can create wrinkles or incomplete transfers.
Avoid these errors to keep your satin looking smooth and flawless after heat pressing.
How to Test Your Heat Press Setup Safely on Satin
Before you start pressing your final design, you’ll want to test your heat press setup on a small satin scrap to avoid costly mistakes. Place the scrap on the press and cover it with a Teflon sheet or parchment paper to protect the fabric. Set your heat press to the recommended temperature and time for satin—usually a lower heat setting and shorter press time than other fabrics.
Press the scrap, then carefully check for any discoloration, scorching, or fabric distortion. If you notice any damage, reduce the temperature or time and test again. This trial and error process guarantees you find the safest settings for your specific satin fabric and heat transfer materials.
Always prioritize fabric safety to maintain satin’s smooth, shiny finish.
Caring for Heat-Pressed Satin to Keep Designs Fresh
Once you’ve found the right heat press settings for your satin, proper care will help keep your designs looking vibrant and intact. Satin is delicate, so treating it gently is key to preserving your heat-pressed artwork. Here’s how you can care for your satin pieces effectively:
Proper care is essential to keep your heat-pressed satin designs vibrant and intact over time.
- Wash Inside Out: Turn the fabric inside out before washing to protect the design from friction.
- Use Cold Water: Always wash in cold water to prevent colors from fading or bleeding.
- Avoid Harsh Detergents: Choose mild, color-safe detergents to maintain fabric and design quality.
- Air Dry or Low Heat: Let your satin air dry or use a low heat setting in the dryer to avoid heat damage.
Following these steps will guarantee your heat-pressed satin looks fresh for a long time.
Frequently Asked Questions
Can You Heat Press on Satin With a Home Iron?
You can heat press on satin with a home iron, but you’ll need a low heat setting and a protective cloth to avoid damage.
Press gently and avoid steam to keep the fabric smooth and shiny.
Is Heat Pressing on Satin Suitable for All Satin Colors?
No, heat pressing on satin isn’t suitable for all colors. Darker shades handle heat better, while lighter or delicate hues might fade or discolor.
Always test a small area to avoid ruining your fabric.
Can You Use Sublimation Printing on Satin Fabric?
You might worry sublimation won’t work on satin, but it does—especially on polyester satin. Just remember, natural satin doesn’t hold sublimation ink well, so choose synthetic blends for vibrant, lasting prints you’ll love.
Does Heat Pressing Affect the Sheen of Satin?
Yes, heat pressing can dull satin’s sheen if you use too much heat or pressure. You’ll want to use a lower temperature and a protective sheet to keep that smooth, shiny look intact while pressing.
Can You Remove Heat Press Designs From Satin?
Removing heat press designs from satin isn’t like peeling a sticker—it’s tricky and can damage the fabric. You’ll need special solvents or professional help, but be careful; satin’s delicate texture doesn’t handle harsh treatments well.
Conclusion
You might wonder, can you really heat press on satin without ruining it? Absolutely—but only if you treat it with care. Satin’s delicate nature means you’ve got to master the right temperature, pressure, and timing.
Think of it like handling a fragile treasure: too much heat or pressure, and it’s gone. Follow these tips, test wisely, and your satin designs will stay stunning and vibrant.
Proving that patience truly pays off in every press, you can successfully heat press on satin by using the correct techniques and settings to preserve its beauty.