Can You Heat Press Plastic Cups
You can heat press plastic cups if they’re made from heat-resistant materials like polypropylene. Heat pressing plastic cups requires careful attention to temperature and time to prevent damage.
Keeping the temperature below 300°F and limiting pressing time are essential to avoid warping or melting the cups.
Always use a protective sheet during the heat pressing process. Testing a small sample first helps guarantee compatibility with the materials.
Cleaning and proper preparation are key to achieving good results.
If you want to customize cups safely and avoid common mistakes, there’s plenty more to explore about the best techniques and materials. Understanding these factors will help you get the most out of your heat pressing projects.
Key Takeaways
- Plastic cups made from heat-resistant materials like polypropylene can be heat pressed safely with controlled temperature and time.
- Use lower heat settings, typically below 300°F, and press only for a few seconds to avoid warping or melting.
- Always place a protective sheet between the cup and heat press to prevent scorching and sticking.
- Test a small sample cup first to check for warping, discoloration, or damage before full heat pressing.
- Avoid thin, flimsy cups and plastics like polystyrene or LDPE that deform easily when heated.
Can You Heat Press Plastic Cups? What You Need to Know
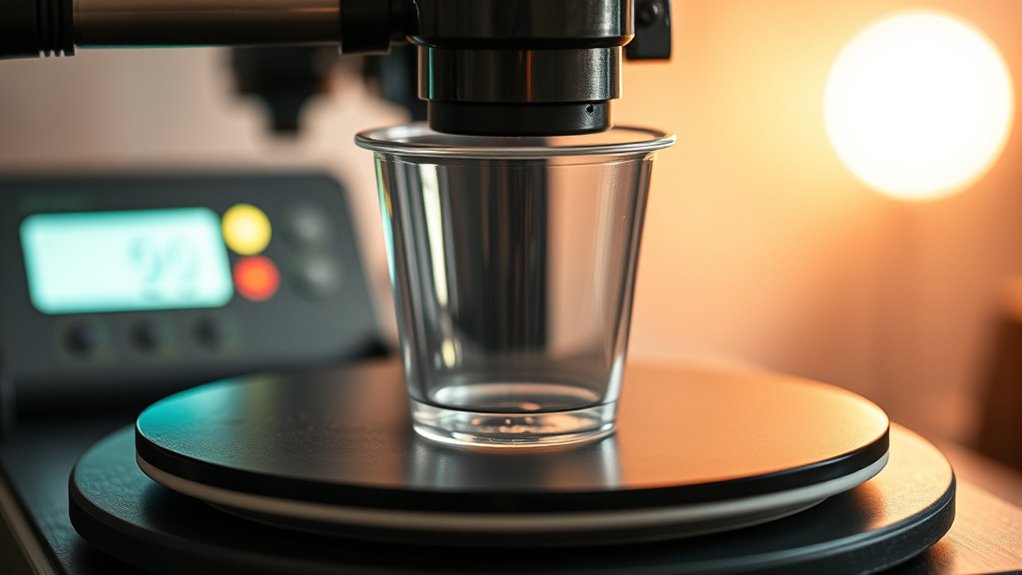
Although plastic cups aren’t designed to withstand high heat, you can heat press them carefully if you follow specific guidelines. First, choose cups made from heat-resistant plastics like polypropylene, which handle moderate heat better. Avoid thin or flimsy cups that may warp or melt easily.
Use a lower temperature setting on your heat press—typically below 300°F—to prevent damage. Also, limit the pressing time to just a few seconds to reduce heat exposure. Always place a protective sheet, like parchment paper or a Teflon sheet, between the cup and the heat press to avoid direct contact.
How Heat Affects Plastic Cups During Heat Pressing
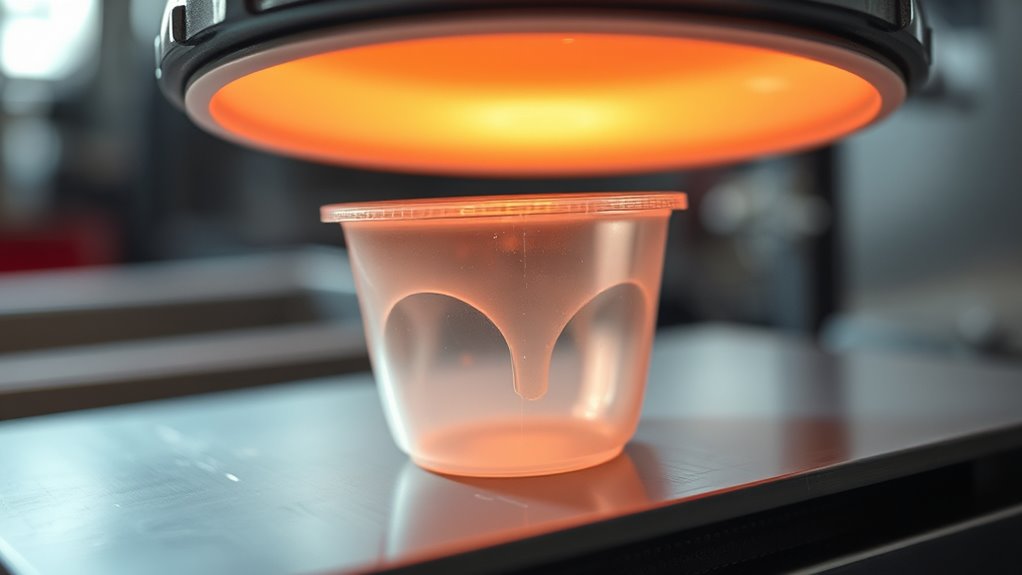
When you heat press plastic cups, the type of plastic matters because each reacts differently to temperature. You’ll need to control the heat carefully to avoid warping or melting the cup.
Understanding these risks helps you protect your cups and achieve the best results.
Plastic Cup Material Types
Since different plastics respond uniquely to heat, understanding the material of your cup is crucial before heat pressing. Common plastic cups are typically made from polypropylene (PP), polyethylene terephthalate (PET), or polystyrene (PS). Polypropylene is heat-resistant and flexible, making it more suitable for heat pressing.
PET cups, often used for cold beverages, soften easily and may deform under heat. Polystyrene is rigid but brittle, prone to cracking or melting with heat application. Knowing your cup’s material helps you anticipate how it will react—whether it will warp, melt, or hold up.
Always check for recycling codes or manufacturer info to identify the plastic type. This knowledge guarantees you handle the heat press process properly, avoiding damage and achieving the best results.
Temperature Effects On Plastic
Understanding the type of plastic your cup is made from sets the stage for managing heat during pressing. Different plastics react uniquely to heat — some soften quickly, while others handle higher temperatures without deforming. When you apply heat, the plastic’s molecules begin to move more freely, causing the material to become pliable.
This pliability allows designs to transfer smoothly but also makes the cup vulnerable if the temperature isn’t controlled. If you keep the heat within the recommended range for the cup’s plastic type, you’ll achieve a clean press without warping or melting. Remember, each plastic has a melting point and a softening temperature, so knowing these helps you adjust heat settings precisely and protect your cup’s shape and integrity during the heat press process.
Risks Of Overheating Cups
How much heat is too much for your plastic cup during pressing? Applying excessive heat can cause warping, melting, or discoloration, ruining the cup’s appearance and structure. You need to regulate the temperature carefully to avoid these risks.
Here’s a quick guide to what happens at different temperatures:
| Temperature Range | Effect on Plastic Cup |
|---|---|
| Below 250°F | Safe; minimal risk |
| 250°F – 300°F | Risk of warping and softening |
| Above 300°F | Melting, deformation, damage |
If you don’t monitor heat closely, your cup might lose its shape or develop unsightly marks. Always test with a sample cup first, and adjust the heat press settings accordingly. This helps guarantee your plastic cups stay intact and look great after pressing.
Which Types of Plastic Cups Can Handle Heat Pressing
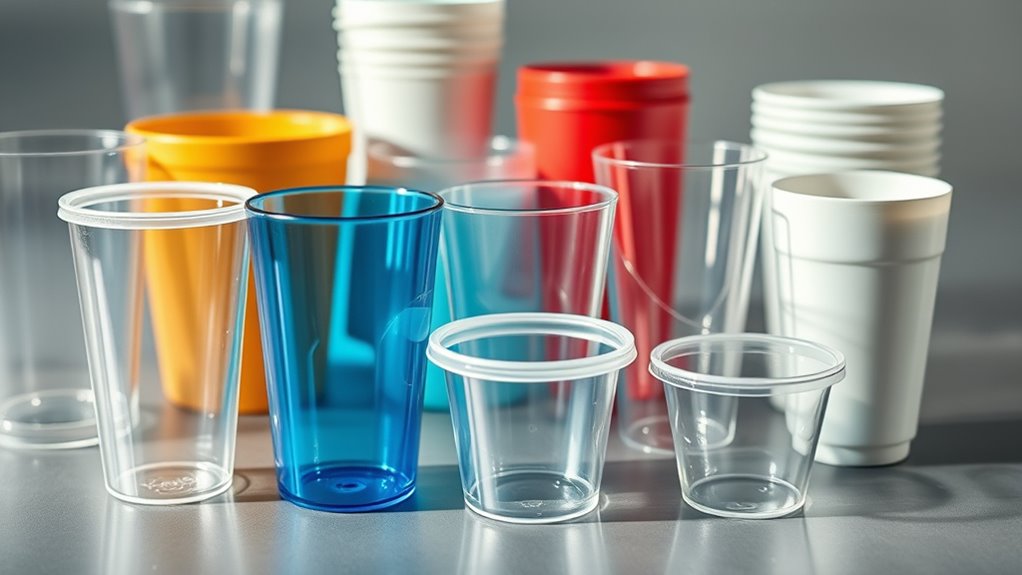
When you’re choosing plastic cups for heat pressing, not all materials are up to the task. Some plastics can warp, melt, or release harmful chemicals under high heat. To make sure your project succeeds, focus on these types:
Not all plastic cups withstand heat pressing; choose materials carefully to avoid warping or harmful chemical release.
- Polypropylene (PP) – Known for its high melting point and durability, it handles heat well.
- Polycarbonate (PC) – Offers excellent heat resistance but can be pricey.
- Polyethylene Terephthalate (PET or PETE) – Common in drinkware, tolerates moderate heat.
- High-Density Polyethylene (HDPE) – Resists heat better than low-density variants.
Avoid cups made from polystyrene (PS) or low-density polyethylene (LDPE), as they tend to deform quickly under heat. Stick with the options above to get clean, lasting results.
How to Test Heat Press Compatibility on Your Plastic Cups
Before you commit to a full heat press project, you’ll want to verify that your plastic cups can handle the temperature and pressure without damage. Start by selecting a small sample cup of the same material. Set your heat press to the lowest recommended temperature for the plastic type.
Press the sample for 5-10 seconds with moderate pressure. After releasing, inspect the cup for warping, melting, or discoloration. If it holds up well, gradually increase time or temperature in small increments, testing each time.
Avoid surpassing the plastic’s heat tolerance to prevent damage. This simple test helps ensure your cups won’t deform or lose integrity during the actual heat pressing, saving you time and materials in the long run.
Preparing Plastic Cups for Heat Pressing: Essential Steps
Although it might seem straightforward, preparing your plastic cups properly is essential for successful heat pressing. You need to verify the surface is clean, dry, and ready to accept the transfer without issues. Follow these essential steps:
- Clean the cup thoroughly – Use rubbing alcohol or mild soap to remove oils, dust, and fingerprints.
- Dry completely – Any moisture can ruin your design, so let the cup air dry or wipe it with a lint-free cloth.
- Secure your design – Position your transfer paper or vinyl firmly on the cup using heat-resistant tape.
- Preheat the cup – Warm the surface slightly with the heat press or a hairdryer to help the design adhere better.
Following these steps will give you a smooth, long-lasting finish.
Best Heat Press Settings for Plastic Cups
Since plastic cups require careful temperature control to avoid warping or melting, you’ll need to set your heat press precisely. Aim for lower temperatures and shorter press times than you’d use for other materials. Typically, a temperature between 270°F and 300°F works best, with a pressing time of 10 to 15 seconds.
Use medium pressure to guarantee even heat distribution without damaging the cup.
Here’s a quick guide to help you get it right:
| Setting | Recommendation |
|---|---|
| Temperature | 270°F – 300°F |
| Time | 10 – 15 seconds |
| Pressure | Medium (about 30-40 psi) |
Adjust carefully to protect your cups and get vibrant, lasting results.
Using Heat Transfer Vinyl (HTV) With Heat Pressed Plastic Cups
When you use heat transfer vinyl (HTV) on plastic cups, you need to carefully balance heat and pressure to guarantee the design adheres well without damaging the cup. HTV requires precise control because plastic cups can warp or melt under excessive heat. To get the best results, follow these key points:
- Choose a low-temperature HTV designed for plastics to prevent melting.
- Use moderate pressure to ensure the vinyl sticks without deforming the cup.
- Limit the heat press time, typically 5-10 seconds, to avoid warping.
- Allow the cup to cool before peeling the carrier sheet to secure the design.
Step-by-Step Heat Pressing Guide for Plastic Cups
Before you start heat pressing, make sure you prepare your plastic cups properly to avoid any damage. You’ll also need to follow specific heat pressing techniques to get the best results.
Let’s walk through each step to help you achieve a perfect finish every time.
Preparing Cups Properly
Although heating plastic cups might seem straightforward, properly preparing them guarantees the best results and prevents damage. Before you start, make sure your workspace is clean and organized.
Follow these steps to prep your cups:
- Clean the cup thoroughly – remove any dirt, oils, or residues with mild soap and water; dry completely.
- Remove labels and stickers – they can melt or cause uneven heat distribution.
- Check for cracks or defects – damaged cups won’t withstand heat pressing well and may warp.
- Position the cup correctly – use a heat-resistant mold or holder to keep the cup stable during pressing.
Heat Pressing Techniques
Since proper heat pressing guarantees a smooth finish without warping, you’ll want to follow each step carefully. First, preheat your heat press to the recommended temperature, usually between 320°F and 350°F for plastic cups. Place the prepared cup securely on the press, ensuring it’s centered.
Use a silicone pad or protective sheet to distribute heat evenly and prevent damage. Press the cup for 10 to 15 seconds with moderate pressure—too much can deform the cup. After pressing, carefully remove the cup and let it cool naturally; don’t use forced cooling as it can cause warping.
Always test on a sample cup first to adjust settings. By following these precise steps, you’ll achieve a clean, durable transfer without compromising the cup’s shape.
Common Heat Press Mistakes That Can Ruin Plastic Cups
When you heat press plastic cups, even small mistakes can cause serious damage. To avoid ruining your project, watch out for these common errors:
- Using Excessive Heat – Too much heat can warp or melt the plastic, ruining the cup’s shape.
- Applying Too Much Pressure – Pressing too hard can deform the cup or cause uneven transfers.
- Ignoring Time Settings – Leaving the press on too long or too short can lead to poor adhesion or damage.
- Skipping Protective Layers – Not using a protective sheet can result in scorching or sticking to the heat press.
Alternative Customization Methods for Plastic Cups (No Heat Press Needed)
You don’t always need a heat press to customize plastic cups. Try applying vinyl decals for a clean, professional look or use permanent markers to create your own designs.
Stickers are another easy option that lets you add vibrant prints without any heat.
Vinyl Decals Application
Applying vinyl decals offers a simple and effective way to customize plastic cups without needing a heat press. You just need a few basic supplies and some patience. Here’s how you can get started:
- Clean the cup surface thoroughly to remove any dirt or oils.
- Cut your vinyl design using a cutting machine or buy pre-made decals.
- Use transfer tape to lift the decal from its backing and place it carefully on the cup.
- Press firmly and smooth out any bubbles or wrinkles to guarantee strong adhesion.
This method is quick, mess-free, and lets you create vibrant, detailed designs easily. Plus, vinyl decals are durable and can withstand washing if applied correctly, making them a great option for personalizing plastic cups without heat.
Permanent Marker Designs
Although permanent markers don’t offer the same vibrancy as vinyl decals, they provide a quick and accessible way to personalize plastic cups with your own designs or messages. You can easily draw patterns, write names, or create custom artwork directly on the cup’s surface without needing special tools. Just make sure to use markers labeled as permanent and suitable for non-porous surfaces to prevent smudging.
After drawing, let the ink dry completely to avoid smears. Keep in mind, these designs may fade over time, especially with frequent washing, so hand washing is best to prolong their life. Permanent marker designs give you flexibility and creativity without heat pressing or complex equipment, making them ideal for last-minute or simple customization projects.
Sticker Printing Options
Permanent marker designs offer a simple way to customize plastic cups, but if you’re looking for more vibrant and durable options without using heat presses, sticker printing can be a great alternative. Stickers allow you to add detailed graphics and bright colors quickly.
Here are four key sticker printing options to evaluate:
- Vinyl Stickers – Waterproof and durable, perfect for long-lasting customization.
- Clear Stickers – Offer a seamless look by blending with the cup’s surface.
- Static Cling Stickers – Easy to apply and remove, great for temporary designs.
- Printable Adhesive Sheets – Let you create custom designs at home with a standard printer.
Each option gives you flexibility without the risks involved in heat pressing plastic cups.
Frequently Asked Questions
Can Heat Pressing Plastic Cups Affect Their Safety for Drinking?
Yes, heat pressing plastic cups can affect their safety for drinking. You might cause harmful chemicals to leach or deform the cup, so you shouldn’t heat press unless the cup is specifically designed to withstand it safely.
How Long Do Heat Pressed Designs on Plastic Cups Typically Last?
Like a knight’s armor enduring battle, your heat-pressed design on plastic cups typically lasts several months with proper care. You’ll want to hand wash gently and avoid harsh scrubbing to keep it looking fresh and vibrant longer.
Treat the cups with care to maintain the design’s integrity. Avoid using dishwashers or abrasive cleaning tools that can wear down the print. With mindful handling, your design can remain striking for a good while.
Are There Eco-Friendly Plastic Cups Suitable for Heat Pressing?
Yes, you can find eco-friendly plastic cups made from biodegradable or recycled materials that work well for heat pressing. Just make sure to check their heat tolerance to avoid warping or damaging the cup during the process.
Choosing cups specifically labeled for heat press use can help ensure better results. Always test a small area first if possible. This helps prevent any unexpected damage during your project.
Can You Reuse Plastic Cups After Heat Pressing Multiple Times?
Like a well-worn book, you can reuse plastic cups after multiple heat pressings, but keep in mind they may weaken or warp over time.
What Cleanup Is Required After Heat Pressing Plastic Cups?
You’ll need to clean the heat press surface with a non-abrasive cloth to remove residue. Also, wipe the cup gently to remove any transfer film or adhesive, preventing buildup and ensuring crisp prints next time.
Conclusion
Imagine holding a brightly decorated plastic cup, its design perfectly pressed and vibrant. With the right heat, careful preparation, and the right type of cup, you can create custom pieces that pop.
Just remember, too much heat can warp or melt your cups, turning your project into a mess. So, test first, follow steps closely, and watch your creativity come to life without a hitch.
Your perfect plastic cup awaits! When heat pressing plastic cups, always choose appropriate materials and settings to avoid damage. Proper technique ensures your custom cups remain beautiful and durable.