Can You Heat Press Iron on Vinyl
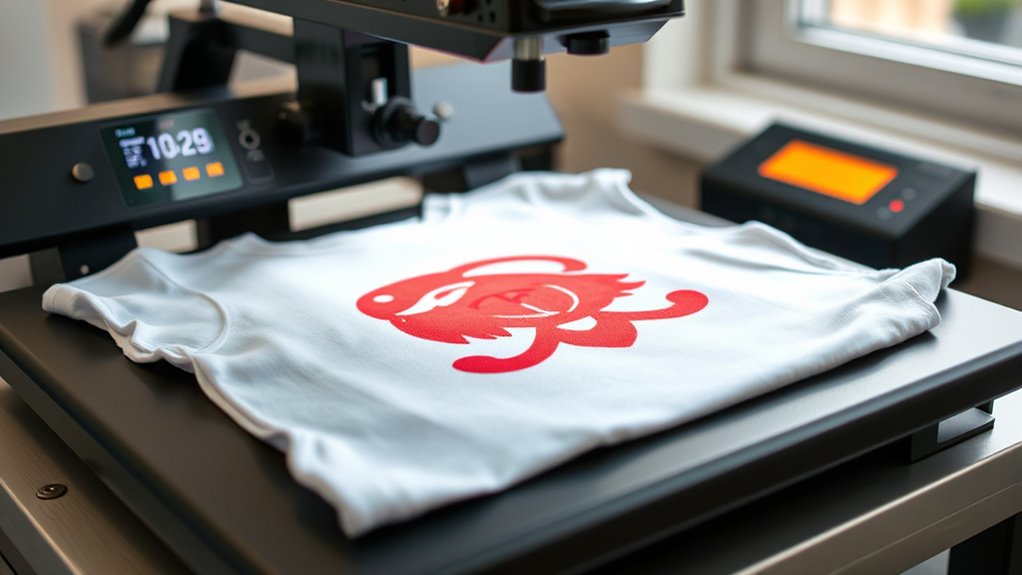
Yes, you can definitely use a heat press to apply iron-on vinyl, and it actually works better than a regular iron. Using a heat press for iron-on vinyl ensures consistent heat and pressure, which is essential for achieving a smooth, bubble-free application.
This method is popular because it produces professional, long-lasting results that a household iron often cannot match.
A heat press is faster and more efficient, making it ideal for both beginners and experienced crafters. Just make sure to set the right temperature and pressure specific to your vinyl type.
Preparing your fabric properly before pressing is equally important to ensure the best adhesion.
Keep practicing, and you’ll discover useful tips to perfect your technique and care for your designs.
With the right approach, your iron-on vinyl projects will look great and last a long time.
Key Takeaways
- Yes, a heat press provides consistent temperature and pressure for professional-quality iron-on vinyl application.
- Heat pressing ensures even adhesion, preventing peeling, bubbling, and shifting of vinyl designs.
- Optimal heat press settings are typically 300°F–320°F with medium pressure; always follow vinyl manufacturer guidelines.
- Use a protective sheet like Teflon to prevent scorching and secure vinyl placement with heat-resistant tape.
- Proper pressing, cooling, and care maintain vinyl durability and vibrant, long-lasting finishes.
Using a Heat Press for Iron-On Vinyl: Does It Work?
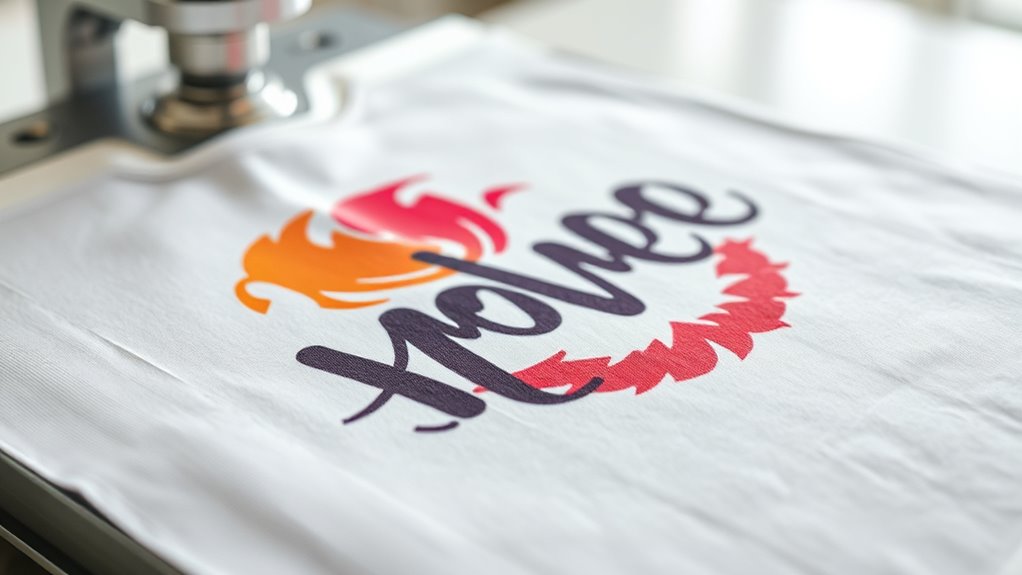
Although you might wonder if a heat press is necessary for iron-on vinyl, it actually works exceptionally well. You’ll get consistent, professional-quality results because a heat press maintains precise temperature and pressure. This control ensures your vinyl adheres smoothly and securely to your fabric without shifting or bubbling.
The even heat distribution means you won’t have to worry about uneven application or scorching your material. Plus, using a heat press speeds up the process compared to a traditional iron, especially when you’re working on multiple items. If you want durability and a crisp finish, a heat press is an excellent tool.
It’s designed to make your crafting easier and your designs last longer, giving you reliable, satisfying results every time.
How a Heat Press Differs From an Iron
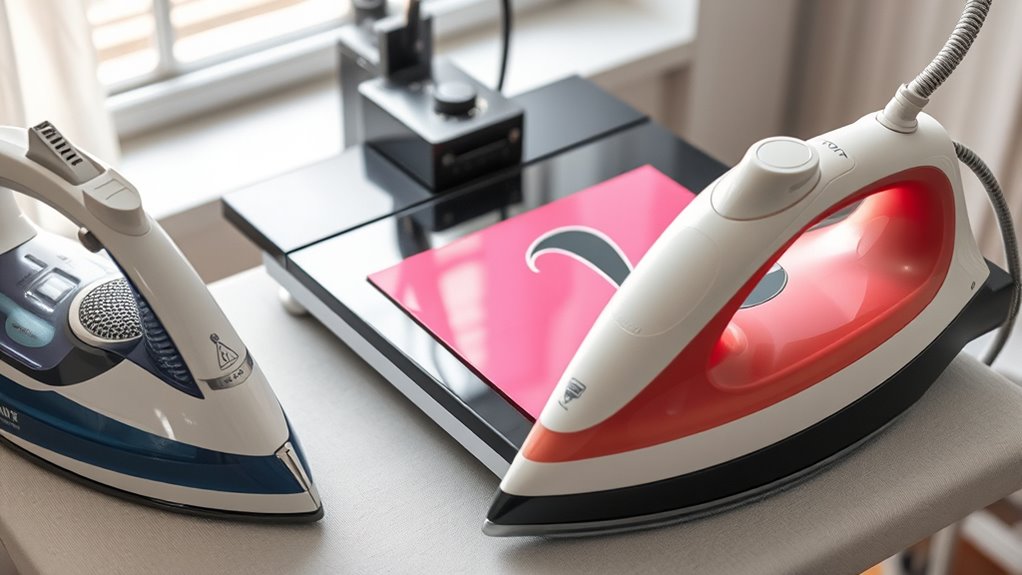
When you compare a heat press to a traditional iron, you’ll notice several key differences that affect how your iron-on vinyl adheres. First, a heat press applies consistent, even pressure across the entire design, while an iron requires you to manually press and move it, which can cause uneven adhesion.
Second, heat presses offer precise temperature control and timing, ensuring the vinyl melts perfectly without damage. Irons often lack accurate temperature settings and don’t maintain heat as steadily.
Finally, heat presses cover a larger surface area at once, allowing you to complete projects faster and with less effort. Understanding these differences helps you appreciate why a heat press can deliver more professional, durable results when working with iron-on vinyl.
Why Use a Heat Press for Iron-On Vinyl?
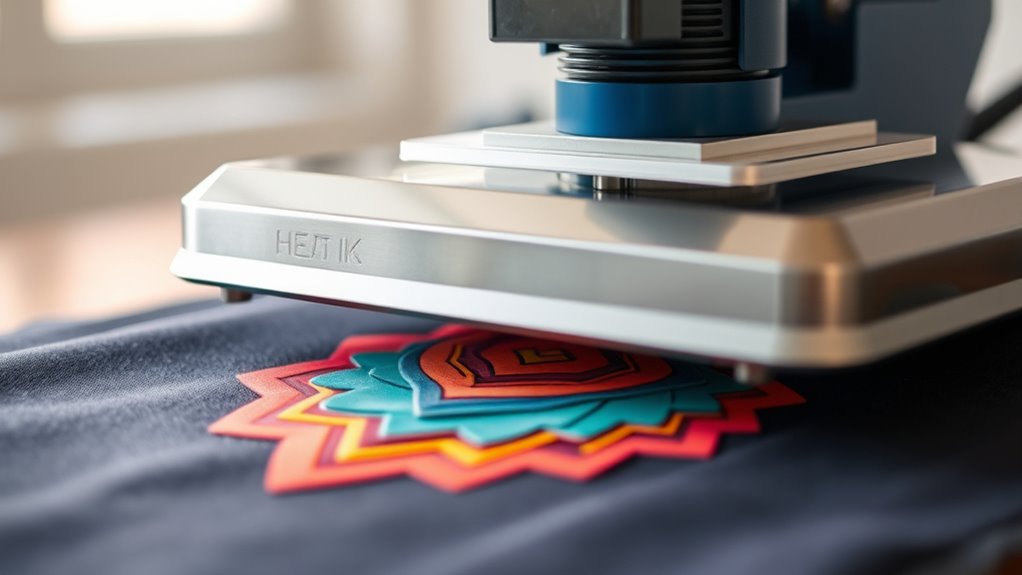
Because a heat press delivers consistent pressure and precise temperature control, it guarantees your iron-on vinyl adheres smoothly and lasts longer. When you use a heat press, you avoid uneven application, which can cause peeling or bubbling. It also speeds up the process, allowing you to finish projects faster without sacrificing quality.
Unlike a traditional iron, a heat press covers the entire design area evenly, ensuring every part bonds securely. You’ll get professional-looking results every time, making your vinyl transfers more durable and vibrant. Plus, a heat press minimizes mistakes by maintaining consistent heat and pressure, so you don’t have to worry about scorching or under-heating your vinyl.
What Temperature and Pressure Settings Work Best?
To get the best results with your heat press iron-on vinyl, you need to dial in the right temperature and pressure settings. Too little heat or pressure won’t adhere the vinyl properly, while too much can damage your design or fabric.
Most heat press machines have recommended settings, but here’s a quick guide:
| Vinyl Type | Temperature (°F) | Pressure |
|---|---|---|
| Standard HTV | 305 | Medium |
| Glitter Vinyl | 320 | Medium-High |
| Flock Vinyl | 315 | Medium |
| Stretch Vinyl | 300 | Light to Medium |
| Reflective Vinyl | 320 | Medium |
Always test a small piece first to ensure perfect adhesion without scorching. Adjust pressure based on fabric thickness for best results.
How to Pick the Best Heat Press for Vinyl Projects
When choosing a heat press for your vinyl projects, focus on temperature control, pressure settings, and size options. You’ll want a machine that offers consistent heat and adjustable pressure to guarantee clean transfers.
Also, consider the size of your projects to pick a press that fits your workspace and needs.
Heat Press Temperature Settings
Although choosing the right heat press might seem straightforward, picking the best temperature settings for your vinyl projects requires careful attention. Different types of vinyl need specific temperatures to adhere properly without melting or warping. Generally, most heat transfer vinyl (HTV) presses well between 300°F and 320°F.
However, always check the vinyl manufacturer’s guidelines since some specialty vinyls, like glitter or stretch, demand lower or higher temps. You’ll want to preheat your press, then apply the vinyl with steady heat to ensure a strong bond. Avoid guessing—using too high a temperature can damage the vinyl, while too low might cause poor adhesion.
Pressure and Size Options
Getting the temperature right sets the stage, but applying the right pressure and choosing the appropriate size of your heat press can make all the difference in how well your vinyl sticks. You want enough pressure to ensure the vinyl bonds firmly without crushing the fabric or vinyl. Adjustable pressure settings help you tailor the force depending on your material’s thickness.
When it comes to size, consider the projects you’ll tackle. A smaller press (around 9×12 inches) suits hats or small designs, while a larger one (15×15 inches or bigger) handles bigger shirts or bulkier items. Picking the right size means less repositioning and more consistent results.
How to Prepare Fabric and Vinyl for Heat Pressing
Before you start heat pressing, make sure your fabric is clean and completely dry to guarantee the vinyl sticks properly. Position your vinyl carefully to avoid wrinkles or misalignment during pressing.
Don’t forget to set your heat press to the right temperature for both the fabric and vinyl to get the best results.
Fabric Cleaning And Drying
Since any dirt or moisture can affect how well your vinyl adheres, you need to make sure your fabric is clean and completely dry before heat pressing. Start by washing the fabric according to its care label, using a mild detergent to remove oils, dust, or residues. Avoid fabric softeners, as they can leave a film that compromises adhesion.
After washing, dry the fabric thoroughly—either air dry or tumble dry on a low setting. Never heat press on damp fabric, as moisture creates steam that interferes with the vinyl bond. Also, iron the fabric beforehand to eliminate wrinkles, ensuring a smooth surface for pressing.
Vinyl Placement Techniques
Although preparing your fabric properly is crucial, equally important is positioning your vinyl accurately before heat pressing. First, lay your fabric flat on a clean, hard surface to avoid wrinkles or bumps that could affect adhesion. Next, place the vinyl design on the fabric with the clear carrier sheet facing up.
Use heat-resistant tape to secure the vinyl in place if needed, preventing any shifting during pressing. Align your design carefully by measuring or using a ruler to center it or place it exactly where you want. Finally, double-check that the vinyl is smooth and wrinkle-free to ensure even heat distribution.
Taking these steps helps you achieve crisp, professional results every time you use your heat press.
Pre-Press Temperature Settings
When you prepare your fabric and vinyl for heat pressing, setting the correct temperature is essential to guarantee strong adhesion without damaging the materials. Start by checking the vinyl manufacturer’s guidelines for the ideal temperature, usually between 305°F and 320°F. Preheat your heat press to this setting before placing your fabric and vinyl.
Avoid using an iron, as it often lacks accurate temperature control. Next, pre-press your fabric for 2-3 seconds to remove moisture and wrinkles, creating a smooth surface. This step ensures the vinyl sticks evenly.
Once the fabric cools slightly, position the vinyl and press it at the recommended temperature and time. Proper pre-press temperature settings help you achieve a professional, durable finish every time.
Step-by-Step Guide to Heat Pressing Iron-On Vinyl
Starting with a properly prepared surface, you’ll guarantee your iron-on vinyl adheres smoothly and lasts longer. First, preheat your heat press to the recommended temperature for your vinyl type. Next, position the vinyl design on your fabric, making certain it’s exactly where you want it.
Place a teflon sheet or parchment paper over the vinyl to protect it. Press down firmly for the suggested time, applying even pressure throughout. Once done, carefully peel the carrier sheet according to the vinyl’s instructions—hot or cold peel.
Finally, allow the fabric to cool before handling or washing. Following these steps ensures a crisp, durable finish every time you heat press iron-on vinyl, giving your projects a professional look and long-lasting wear.
Heat Press Mistakes to Avoid With Iron-On Vinyl
If you want your iron-on vinyl projects to look sharp and last, you need to avoid common heat press mistakes that can ruin your design. Paying attention to these pitfalls helps you get professional results every time.
- Skipping Temperature Settings: Don’t guess the heat; always use the recommended temperature to prevent melting or poor adhesion.
- Insufficient Pressure: Applying too little pressure means your vinyl won’t stick properly, causing peeling later.
- Rushing the Press Time: Ending the press too soon can result in weak bonds; stick to the suggested duration for durability.
- Not Using a Teflon Sheet or Parchment Paper: This protective layer shields your design from direct heat, preventing scorching or vinyl damage.
Avoid these mistakes, and your heat-pressed vinyl will stay vibrant and secure.
Caring for Your Heat-Pressed Iron-On Vinyl Designs
Mastering the heat press process sets a strong foundation, but how you care for your iron-on vinyl designs afterward determines their longevity. To keep your designs vibrant and intact, always turn garments inside out before washing. Use cold water and a gentle cycle to prevent peeling or cracking.
Avoid bleach and fabric softeners, which can degrade the vinyl. When drying, opt for air drying or tumble dry on low heat. Iron on the reverse side if needed, avoiding direct contact with the vinyl.
| Care Step | Reason |
|---|---|
| Turn inside out | Protects the vinyl from friction |
| Use cold water | Prevents vinyl from melting |
| No bleach | Avoids vinyl discoloration |
| Low heat drying | Maintains vinyl adhesion |
Frequently Asked Questions
Can Heat Pressing Iron-On Vinyl Damage My Fabric Over Time?
Yes, heat pressing iron-on vinyl can damage your fabric over time if you use too much heat or press too long. You should always follow temperature guidelines and test on a small area to protect your fabric.
Is Heat Pressing Suitable for All Types of Vinyl Colors?
About 70% of vinyl colors respond well to heat pressing, but you’ll find some metallic or glitter types need lower temps to avoid damage.
Always check your vinyl’s instructions to keep colors vibrant and fabric safe.
How Long Does Iron-On Vinyl Last After Heat Pressing?
Your iron-on vinyl can last several years with proper care. Avoid high heat washing and drying, and turn garments inside out.
This helps keep the vinyl vibrant and firmly adhered, extending its lifespan considerably.
Can I Use Heat Pressing for Multi-Layer Vinyl Designs?
Yes, you can heat press multi-layer vinyl designs. Just press each layer carefully, using a protective sheet and adjusting time and temperature to avoid melting or warping.
Patience guarantees vibrant, durable results every time.
Are There Safety Precautions When Heat Pressing Iron-On Vinyl?
When you heat press iron-on vinyl, treat the press like a dragon’s breath—hot and fierce. Always use heat-resistant gloves, keep fingers clear, and work in a ventilated space to avoid burns and fumes.
Stay safe!
Conclusion
Using a heat press for iron-on vinyl is like planting a seed in fertile soil—it gives your design the perfect environment to grow strong and vibrant. With the right temperature, pressure, and care, your vinyl will bond seamlessly, turning ordinary fabric into a wearable masterpiece.
So, embrace the heat press as your creative gardener, and watch your projects bloom with lasting beauty and durability. Remember, you can heat press iron on vinyl to ensure a professional finish that lasts. This method guarantees your designs stay vibrant and secure wash after wash.