Can You Heat Press on Velvet
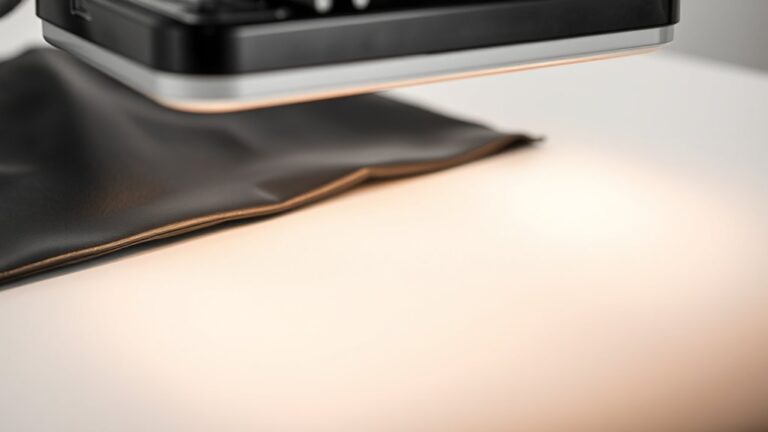
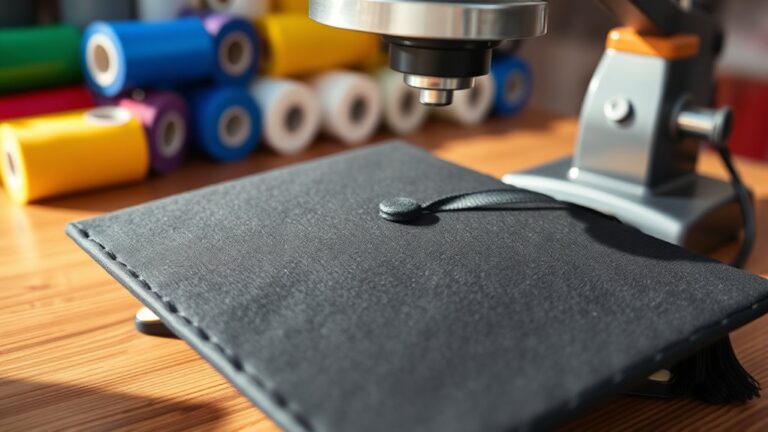
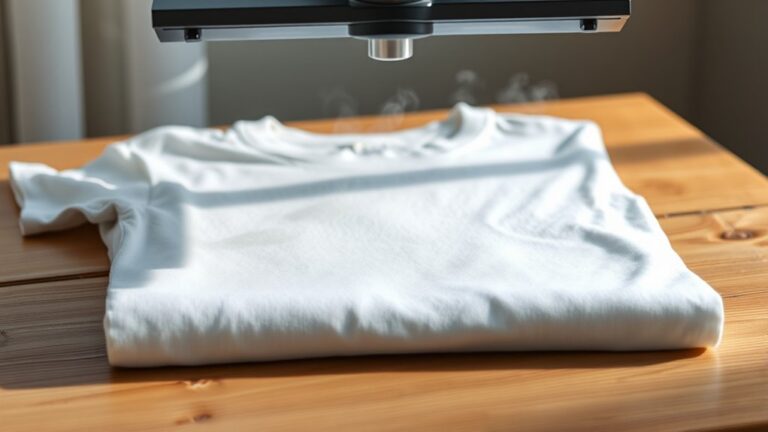
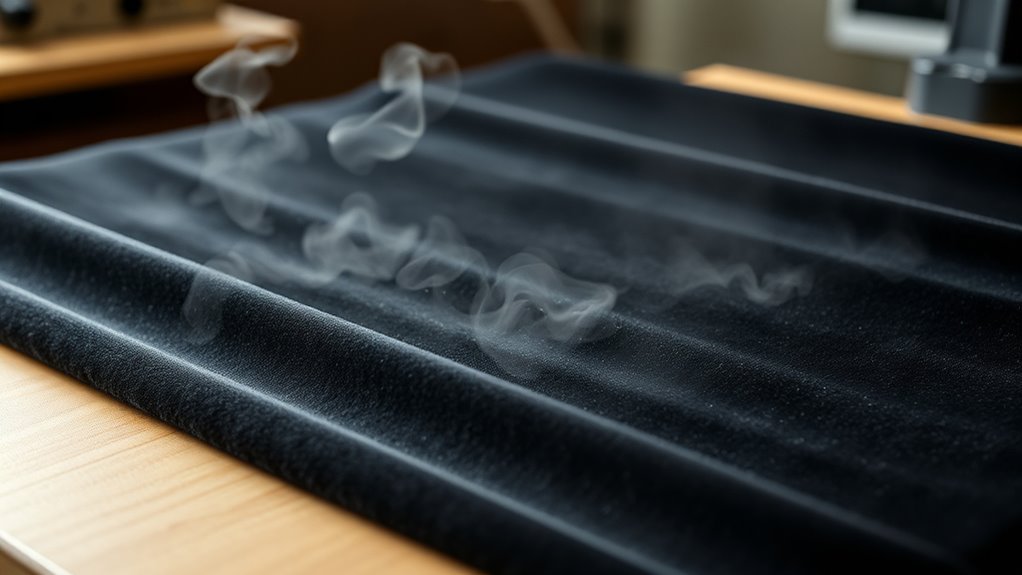
Yes, you can heat press on velvet, but it requires special care to maintain the fabric’s softness and appearance. When heat pressing velvet, use low temperatures around 270°F to protect the delicate fibers.
Applying gentle to medium pressure is important, along with a protective barrier like Teflon or parchment paper to prevent crushing or shiny spots.
Keep the pressing time short—about 10-15 seconds—to avoid damaging the plush texture. After pressing, allow the fabric to cool fully before handling. This helps preserve the velvet’s rich, soft feel.
If you want to get flawless results and avoid common pitfalls, there’s more helpful advice ahead.
Key Takeaways
- Yes, you can heat press on velvet using low temperatures (around 270°F) to avoid crushing the fabric’s pile.
- Always use protective barriers like Teflon or parchment paper between the velvet and heat press to prevent damage.
- Apply gentle to medium pressure for a short duration (10-15 seconds) to preserve velvet’s texture and avoid indentations.
- Use transfer materials designed for delicate fabrics, such as flock transfers or low-temperature vinyl, for best results.
- Allow the velvet to cool completely before handling to restore its plush texture and prevent permanent marks.
Can You Heat Press Velvet Safely?
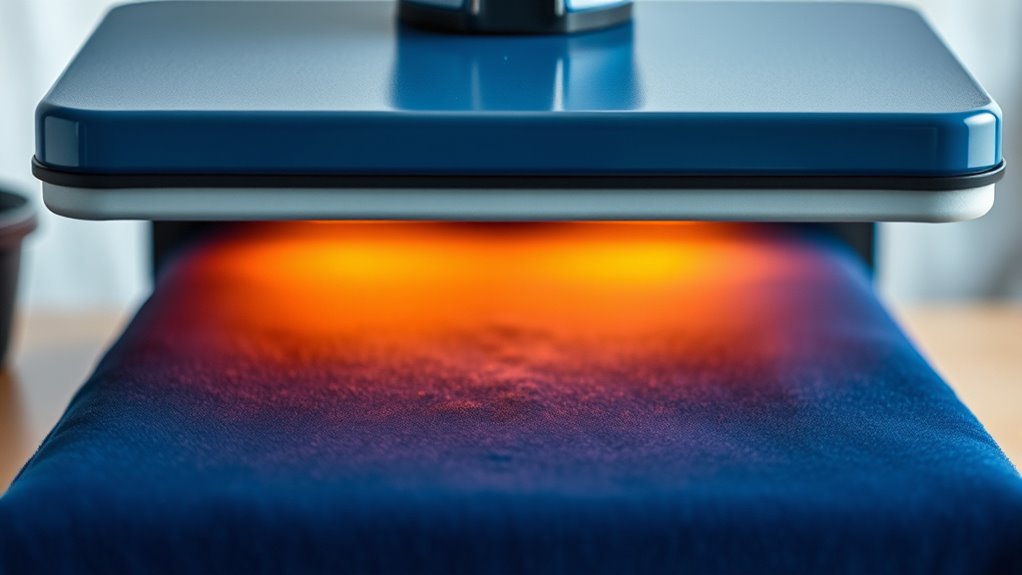
Although velvet’s delicate texture might make you hesitant, you can heat press velvet safely if you take proper precautions. First, always use a protective barrier like a Teflon sheet or parchment paper between the heat press and the fabric to prevent direct contact. Set your heat press to a lower temperature—typically around 250°F—since high heat can damage velvet fibers.
Keep the pressing time short, usually 5 to 8 seconds, to avoid crushing the pile. Avoid using heavy pressure; instead, apply light to medium pressure to maintain the fabric’s softness. Test on a small, inconspicuous area before applying your design fully.
Why Velvet’s Texture Changes Heat Pressing Results
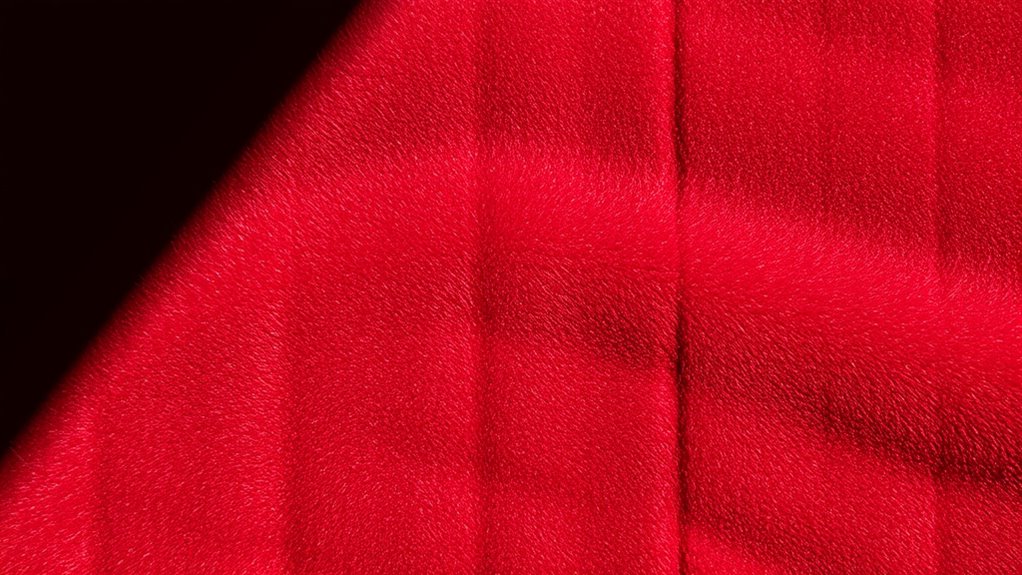
Because velvet has a dense pile of raised fibers, heat pressing affects its texture differently than flat fabrics. When you press velvet, you’re not just transferring a design—you’re also impacting the fabric’s plush surface. This can lead to unexpected changes that might frustrate you.
Velvet’s raised fibers react uniquely to heat pressing, altering its plush texture beyond just the design transfer.
Here’s why velvet’s texture changes heat pressing results:
- Crushing the pile: The heat and pressure can flatten the soft fibers, ruining the fabric’s luxurious feel.
- Shiny spots: Pressing may create glossy areas where the fibers lay in different directions, disrupting the velvet’s uniform look.
- Imprint marks: The pressure can leave indentations that don’t bounce back, affecting the overall appearance.
Understanding these effects helps you handle velvet with care during your heat press projects.
Picking the Best Heat Press Settings for Velvet
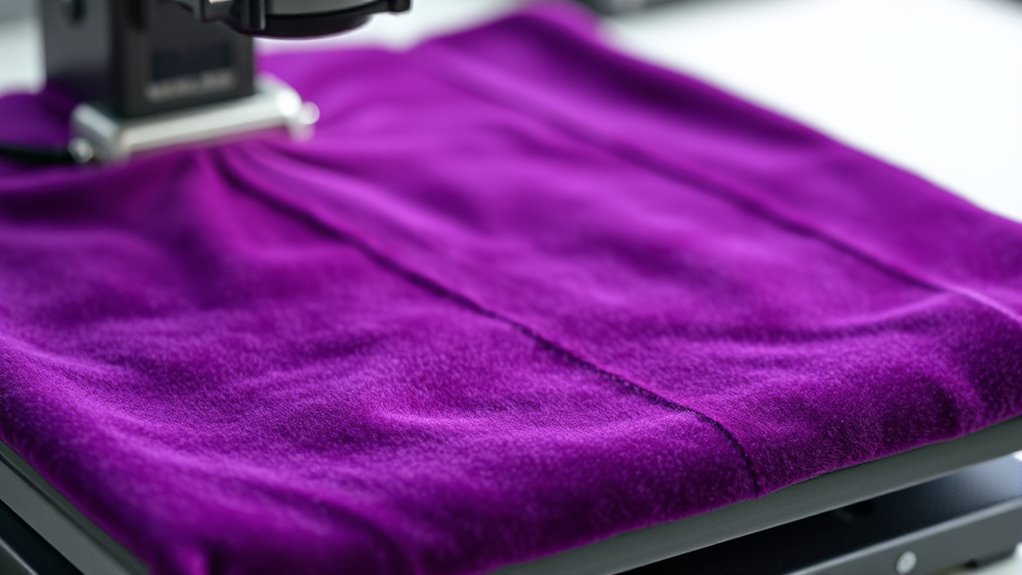
You’ll want to set your heat press to the right temperature range to protect the velvet’s delicate fibers. Applying the ideal pressure level is just as important to avoid crushing the texture.
Let’s explore the best settings to get perfect results every time.
Optimal Temperature Range
When selecting the best heat press settings for velvet, maintaining an ideal temperature range is essential to preserve the fabric’s texture and appearance. Velvet is sensitive to high heat, so you need to be careful not to scorch or crush its delicate fibers. Aim for a temperature between 270°F and 300°F (132°C to 149°C).
This range provides enough heat to activate adhesives without damaging the fabric.
Here’s why this matters to you:
- You’ll avoid ruining your project with burned or flattened velvet.
- You’ll achieve vibrant, lasting designs without compromising softness.
- You’ll feel confident knowing your velvet retains its luxurious look.
Stick to this temperature range, and your velvet creations will turn out beautifully every time.
Ideal Pressure Level
Maintaining the right pressure level is just as important as controlling the temperature when heat pressing velvet. Too much pressure can crush the fabric’s soft pile, while too little won’t create a lasting transfer.
You’ll want to use medium pressure—enough to guarantee good contact without compromising the velvet’s texture.
Here’s a quick guide to help you pick the best pressure setting:
| Pressure Level | Effect on Velvet |
|---|---|
| Low | Poor transfer, uneven results |
| Medium | Ideal imprint, preserves pile |
| High | Flattened texture, damage risk |
Adjust your heat press accordingly, and always test on a scrap piece first. This way, you’ll protect the velvet’s look while achieving a clean, vibrant design.
Which Heat Transfer Materials Work Best on Velvet
When choosing heat transfer materials for velvet, you’ll want to focus on compatibility and strong adhesive qualities. Not all materials stick well or last long on the fabric’s soft texture.
Let’s explore which options offer the best durability and finish on velvet.
Compatible Heat Transfer Types
Which heat transfer materials work best on velvet? You want options that complement velvet’s plush texture without damaging it. Here are three compatible heat transfer types you’ll find reliable:
- Flock Transfers – Their soft, fuzzy finish matches velvet’s tactile feel, creating a seamless, luxurious look.
- Low-Temperature Vinyl (LTV) – Designed for delicate fabrics, LTV applies at lower heat, protecting velvet’s fibers while sticking firmly.
- Printable Heat Transfer Vinyl (HTV) – When applied carefully, printable HTV adds vibrant designs without crushing velvet’s nap.
Choosing any of these guarantees your velvet project stays beautiful and intact. Avoid harsh heat or pressure, and you’ll enjoy stunning results every time you press.
Best Adhesive Qualities
Because velvet has a delicate texture, you need heat transfer materials with adhesives that bond securely without damaging the fabric. Look for adhesives that activate at lower temperatures to prevent crushing the velvet’s pile. Materials like heat transfer vinyl (HTV) with a soft, flexible adhesive are ideal since they apply at moderate heat and pressure, minimizing fabric distortion.
Avoid adhesives that require high heat or prolonged pressing, as they can flatten or burn velvet fibers. Pressure-sensitive adhesives also work well because they stick firmly without needing excessive heat. When choosing heat transfer materials, prioritize those labeled safe for delicate fabrics or specifically tested on velvet to guarantee a smooth, secure bond without compromising the fabric’s luxurious feel.
Durability On Velvet
Although velvet demands gentle handling, certain heat transfer materials stand out for their durability without compromising the fabric’s softness.
When you’re ready to personalize velvet with heat pressing, choosing the right material guarantees your design lasts without damaging the plush texture.
Here are three durable heat transfer materials that work best on velvet:
- Flocked Heat Transfer Vinyl (HTV) – Its raised texture complements velvet’s softness and resists cracking over time.
- Sublimation Vinyl – Offers vibrant colors and excellent washability, perfect if your velvet has a polyester blend.
- Eco-Friendly PU Vinyl – Flexible and strong, it adheres well to velvet while maintaining comfort.
Picking any of these materials helps you create beautiful, lasting designs without sacrificing velvet’s luxurious feel.
Step-by-Step Heat Pressing Guide for Velvet
When you’re ready to heat press on velvet, you’ll need to prepare both your materials and workspace carefully to avoid damaging the fabric. Start by preheating your heat press to a lower temperature, around 270°F (130°C). Place a protective Teflon sheet or parchment paper over the velvet to shield it.
Position your design on the fabric, then cover it with the Teflon sheet again. Press with medium pressure for about 10 to 15 seconds—avoid applying too much force. After pressing, lift the heat press quickly to prevent crushing the velvet pile.
Allow the fabric to cool completely before handling or removing the protective sheet. Following these precise steps helps maintain the velvet’s softness while ensuring your design adheres properly.
Common Mistakes to Avoid When Heat Pressing Velvet
If you skip key precautions during heat pressing, you risk damaging the velvet or ruining your design. Velvet is delicate, so avoid these common mistakes to protect your project and your patience.
- Using high heat settings: Velvet can scorch or flatten easily. Always use the lowest effective temperature to keep fibers soft and plush.
- Applying too much pressure: Pressing too hard crushes the pile, leaving your velvet looking dull and uneven. Gentle, even pressure works best.
- Skipping a protective barrier: Direct heat can burn or mark velvet. Always place a Teflon sheet or parchment paper between the press and fabric to shield it.
Avoid these pitfalls to keep your velvet vibrant and your design flawless every time you heat press.
How to Protect Velvet Fibers During Heat Pressing
To protect velvet fibers during heat pressing, you need to control temperature, pressure, and use proper barriers carefully. Always set your heat press to a lower temperature—around 270°F (130°C)—to avoid crushing the velvet pile. Use gentle pressure; too much weight can flatten the fibers permanently.
Place a protective sheet, like a Teflon or silicone sheet, between the velvet and the heat press to shield the fabric from direct heat and prevent scorching. Avoid pressing for long durations—15 seconds or less is ideal. After pressing, let the velvet cool completely before handling to help the fibers regain their texture.
Caring for Your Heat Pressed Velvet Projects
Since velvet is a delicate fabric, caring for your heat pressed projects requires special attention to maintain their softness and appearance. You want your creations to stay vibrant and plush for as long as possible.
Velvet’s delicate nature means extra care is essential to keep your heat pressed projects soft and vibrant.
Here’s how you can protect your work:
- Gentle Washing: Always hand wash or use a delicate cycle with cold water to prevent crushing the pile.
- Air Dry: Avoid the dryer. Lay your velvet item flat to dry, preserving its texture and preventing shrinkage.
- Proper Storage: Store velvet pieces in a cool, dry place. Hang them or fold loosely to avoid creases and pressure marks.
Frequently Asked Questions
Can Velvet Be Heat Pressed With a Home Iron Instead of a Heat Press?
You can heat press velvet with a home iron, but you must be careful. Use a low heat setting, press gently, and place a protective cloth over the velvet to avoid crushing or damaging its texture during the process.
Does Heat Pressing Velvet Affect Its Color Over Time?
Imagine your favorite velvet jacket slowly fading after many sunny days. Yes, heat pressing velvet can dull its rich color over time, so you’ll want to use low heat and protect the fabric to keep it vibrant longer.
Are Certain Velvet Colors More Heat Press-Friendly Than Others?
Yes, darker velvet colors usually handle heat pressing better since lighter shades risk discoloration. You’ll want to test on a small area first, as heat and pressure affect each velvet type differently.
Each velvet material reacts uniquely, so caution is essential. Testing ensures you avoid damage and achieve the best results. Always monitor temperature and pressure settings carefully.
Can Heat Pressing Velvet Be Done on Synthetic Versus Natural Fibers?
Like walking a tightrope, heat pressing synthetic velvet’s easier since it handles heat better than natural fibers. You’ll want lower temps and quick presses on natural velvet to avoid damage and keep that plush feel intact.
What Alternatives Exist to Heat Pressing for Decorating Velvet?
You can use embroidery, fabric paint, or appliqué to decorate velvet without heat pressing. These methods let you add designs without damaging the fabric’s texture, giving you creative options while keeping velvet soft and luxurious.
Conclusion
You can heat press velvet, but you need to be careful to keep its texture intact. Did you know that 70% of heat-pressed velvet projects fail due to incorrect temperature or pressure? That’s why using the right settings and materials is key.
Follow the steps carefully, avoid common mistakes, and protect the fibers. With proper care, your velvet heat press projects will look stunning and last longer. Using the correct temperature, pressure, and technique ensures successful heat pressing on velvet.