Can You Heat Press Printable Vinyl
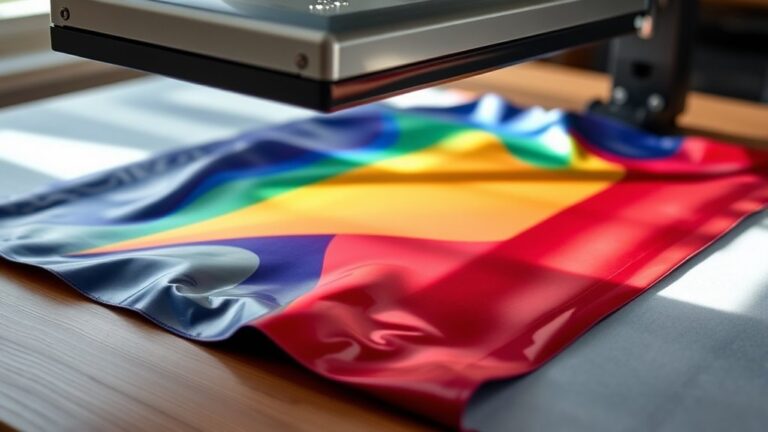
You can heat press printable vinyl successfully by preparing your fabric and vinyl carefully, using the right temperature (around 320°F), and applying firm pressure for 10-15 seconds.
Heat pressing printable vinyl requires attention to detail to ensure vibrant and lasting results. Proper preparation and technique are essential for the best outcome.
Make sure to pre-press your fabric to remove wrinkles and moisture, and peel the carrier sheet at the correct time to avoid damage.
Following these steps helps guarantee a vivid, durable design.
There’s plenty more to discover about choosing vinyl types and perfecting your heat press technique.
Key Takeaways
- Printable vinyl designed for heat pressing, like heat transfer vinyl (HTV), can be successfully applied using a heat press.
- Preheat the press to around 320°F (160°C) and apply firm pressure for 10-15 seconds for best results.
- Use a protective sheet, such as Teflon or parchment paper, between vinyl and heat press to prevent damage.
- Peel the carrier sheet according to vinyl type, either warm or cold, to maintain design integrity.
- Proper fabric and vinyl preparation, along with post-press care, ensure durability and vibrant print quality.
Printable Vinyl Explained
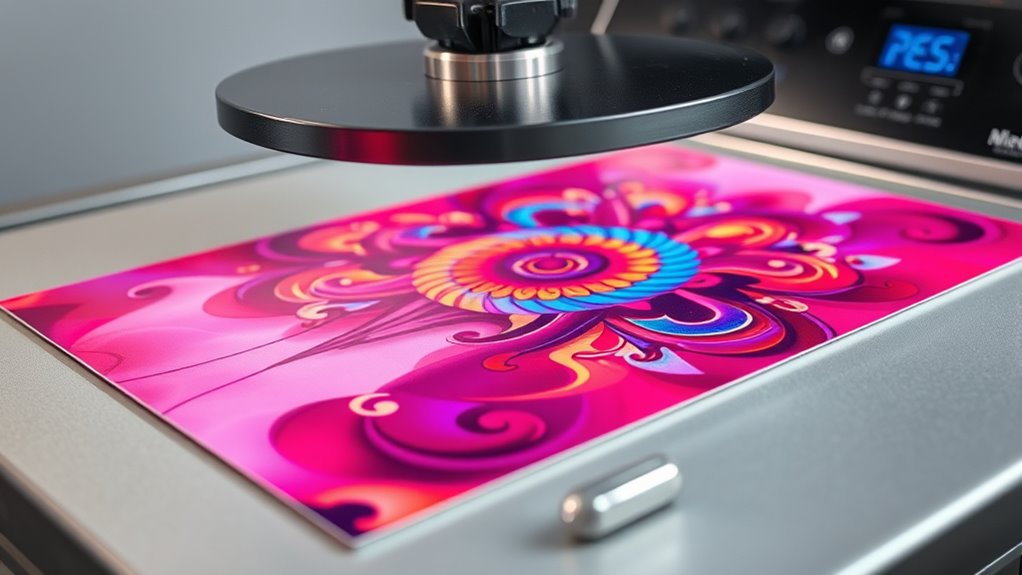
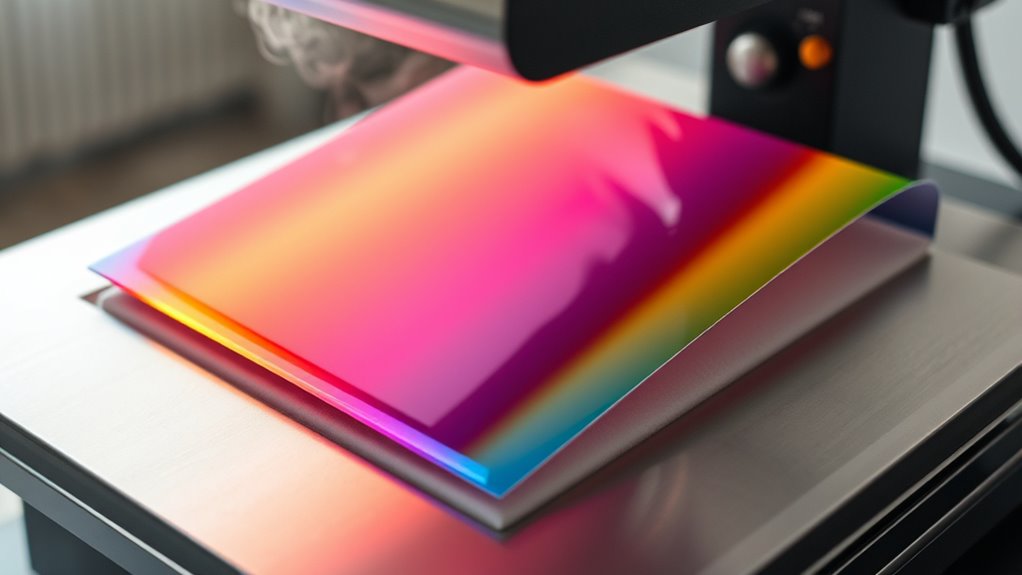
What exactly is printable vinyl, and why should you consider using it? Printable vinyl is a flexible material designed to be printed on with an inkjet or laser printer. Unlike traditional vinyl sheets, it allows you to create custom designs, photos, or patterns with vibrant colors and fine details.
You’ll find it ideal for personalizing items like mugs, signs, and apparel. The surface is specially coated to hold ink without smudging, which means your designs stay sharp and vivid. Plus, printable vinyl often features adhesive backing, so you can easily stick your creations onto various surfaces.
If you want versatility and customization without complicated steps, printable vinyl offers a straightforward way to bring your creative ideas to life.
Using a Heat Press With Printable Vinyl
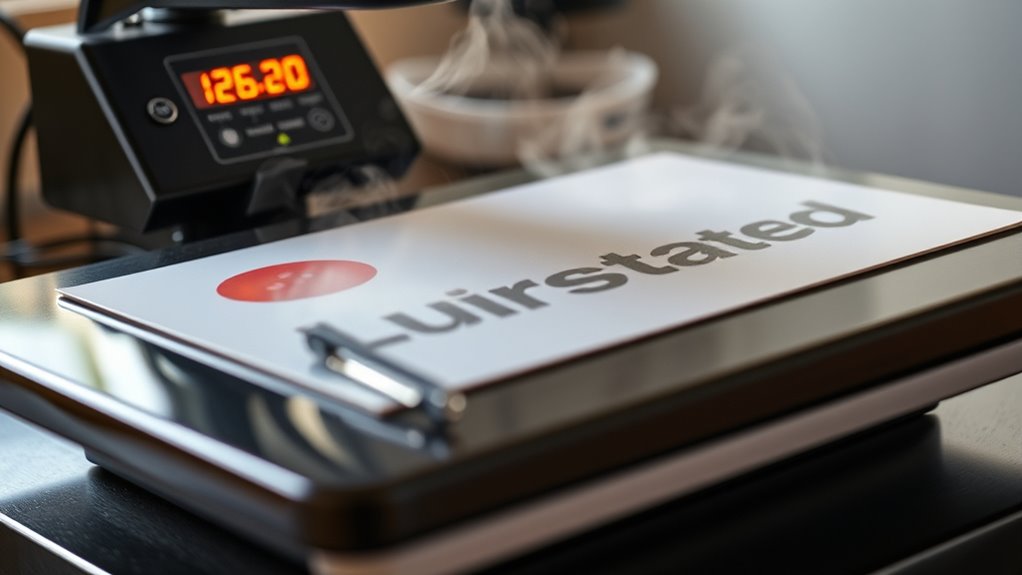
When you’re ready to transfer your printed vinyl design onto fabric or other heat-safe surfaces, using a heat press guarantees a strong, lasting bond. First, make sure your heat press is set to the correct temperature, usually between 300°F and 350°F, depending on the vinyl and fabric. Place your printed vinyl design face down on the fabric, then cover it with a Teflon sheet or parchment paper to protect it from direct heat.
Apply firm pressure for the recommended time, generally around 10 to 15 seconds. After pressing, let the vinyl cool before peeling off the carrier sheet to assure the design adheres properly. Using a heat press allows for even heat distribution, which helps prevent bubbling or peeling, giving your project a professional finish.
Types of Printable Vinyl Suitable for Heat Pressing
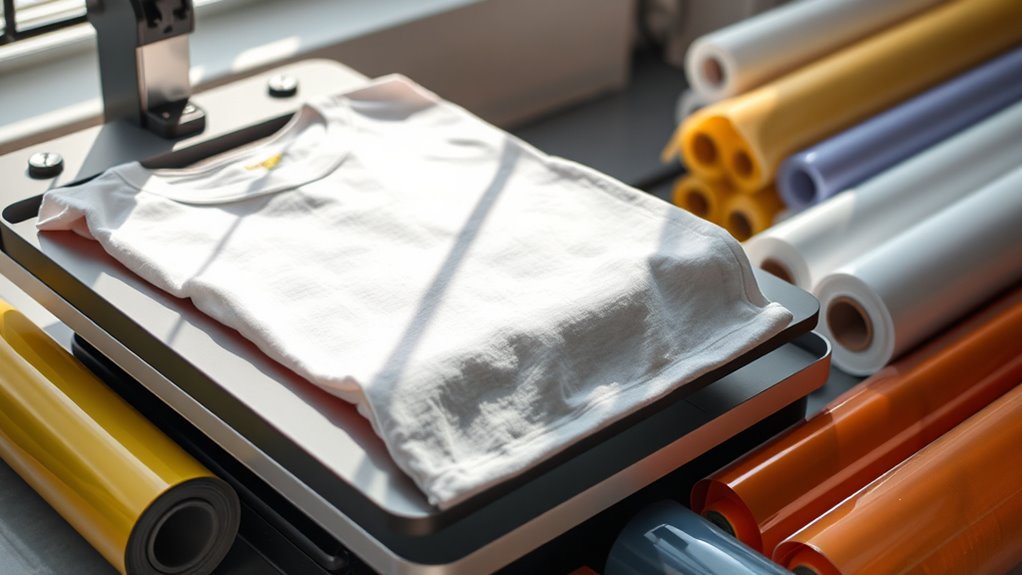
Although several types of printable vinyl exist, not all are ideal for heat pressing. You’ll want to focus on heat transfer vinyl (HTV) designed specifically for heat press application. This vinyl has a heat-activated adhesive backing that bonds firmly to fabric when pressed.
Printable HTV comes in various finishes like matte, glossy, or even glitter, giving you creative flexibility. Another option is printable heat transfer paper, but this works best for light-colored fabrics and may not be as durable as HTV. Avoid standard adhesive vinyl meant for stickers—it won’t withstand heat pressing and may peel off.
Preparing Fabric and Printable Vinyl for Heat Pressing
Before you start heat pressing, make sure you choose fabric that works well with printable vinyl. Always pre-wash and dry your fabric to remove any finishes that might block adhesion.
Then, carefully align the vinyl on the fabric to guarantee a clean, precise transfer.
Choosing Compatible Fabric Types
Why does fabric choice matter so much for heat press printable vinyl? Because not all fabrics react the same under heat and pressure. You’ll want to pick materials that can withstand the heat without burning, melting, or deforming.
Cotton, polyester, and cotton-poly blends are usually your best bets since they handle heat well and bond nicely with printable vinyl. Avoid delicate fabrics like silk or nylon—they’re prone to damage during pressing. Also, textured or heavily woven fabrics can make it tricky to get a smooth, even transfer.
Stick with smooth, stable surfaces to guarantee the vinyl adheres properly and lasts longer. By choosing the right fabric, you set yourself up for clean, vibrant results and prevent frustrating mishaps with your heat press project.
Pre-Washing And Drying Fabric
Since heat press printable vinyl relies on strong adhesion, you need to pre-wash and thoroughly dry your fabric to remove any chemicals, sizing, or oils that could interfere with bonding. This step guarantees the vinyl sticks well and lasts longer. Use mild detergent and avoid fabric softeners, which can leave residues.
After washing, dry the fabric completely to prevent moisture from trapping under the vinyl.
| Step | Action | Tip |
|---|---|---|
| 1 | Pre-wash fabric | Use mild detergent |
| 2 | Avoid softeners | They reduce adhesion |
| 3 | Rinse thoroughly | Remove all detergent |
| 4 | Dry completely | Use low heat or air dry |
| 5 | Check fabric texture | Smooth surface works best |
Following these steps prepares your fabric perfectly for heat pressing printable vinyl.
Aligning Vinyl With Fabric
After prepping your fabric by washing and drying it thoroughly, the next step is to carefully align your printable vinyl with the fabric. Proper alignment guarantees a crisp, professional look and helps avoid wrinkles or misplacement during heat pressing.
Here’s how to set up your materials:
- Lay your fabric flat on the heat press surface, smoothing out any wrinkles or folds.
- Position the printable vinyl on the fabric, paying close attention to the design’s orientation and placement.
- Use heat-resistant tape or a light adhesive spray to secure the vinyl in place, preventing shifts.
- Double-check alignment by measuring margins or using a ruler for accuracy.
Taking these steps helps you achieve flawless results with your heat press printable vinyl projects.
Heat Press Settings for Printable Vinyl
You’ll want to set your heat press to the ideal temperature range for printable vinyl to guarantee proper adhesion without damage. Applying the right pressure is just as important to achieve a smooth, lasting finish.
Finally, timing your press correctly will help you get the best results every time.
Ideal Temperature Range
When working with printable vinyl, finding the ideal temperature range on your heat press is essential for achieving vibrant, durable results. Too hot, and you risk melting or discoloring the vinyl; too cool, and the vinyl won’t properly adhere.
Here’s how to set your heat press:
1. Start at 320°F (160°C) as a safe baseline for most printable vinyl types. 2. Adjust up to 350°F (177°C) if you notice weak adhesion or dull colors. 3. Avoid exceeding 375°F (190°C) to prevent vinyl damage or warping.
4. Always test a small sample before pressing your final design to ensure suitable temperature and quality.
Pressure Recommendations
Setting the right temperature lays the foundation, but applying the correct pressure on your heat press guarantees the printable vinyl bonds firmly to your material. Too little pressure can cause poor adhesion, while too much might damage the vinyl or fabric.
Generally, medium to firm pressure works best for printable vinyl. Adjust based on your specific heat press model and fabric thickness. Below is a guideline to help you dial in the right pressure:
| Pressure Level | Description |
|---|---|
| Low | Light touch, minimal pressure |
| Medium-Low | Slightly firmer, gentle pressure |
| Medium | Balanced pressure, ideal for most fabrics |
| Medium-High | Firm pressure, thicker materials |
| High | Very firm, risk of damage |
Start with medium pressure and adjust as needed for the best results.
Optimal Pressing Time
How long should you press printable vinyl to achieve a perfect bond? Timing is crucial; too little, and the vinyl won’t stick properly, too long, and you risk damaging the design.
Here’s a simple guide to help you nail the optimal pressing time:
- Follow manufacturer guidelines: Always start with the recommended time on the vinyl packaging.
- Standard range: Generally, 10-15 seconds works well for most printable vinyl.
- Adjust based on fabric: Thicker materials may need closer to 15 seconds, while thinner fabrics might only require 8-10 seconds.
- Perform test presses: Test on a scrap piece to avoid mistakes on your final project.
Stick to these steps, and you’ll get a durable, vibrant finish every time.
How to Heat Press Printable Vinyl: Step-by-Step
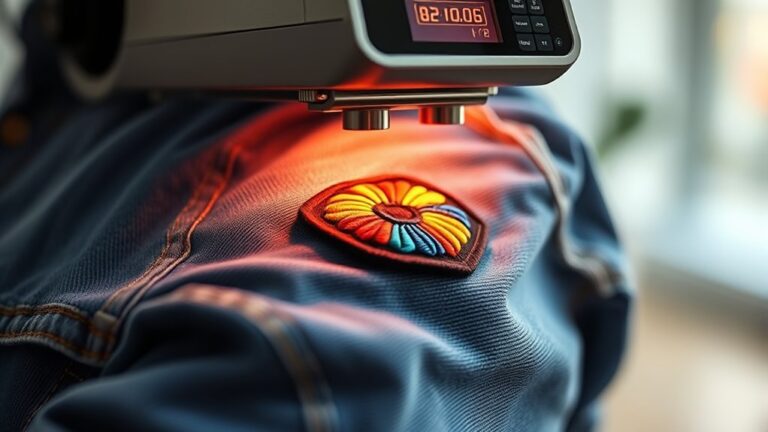
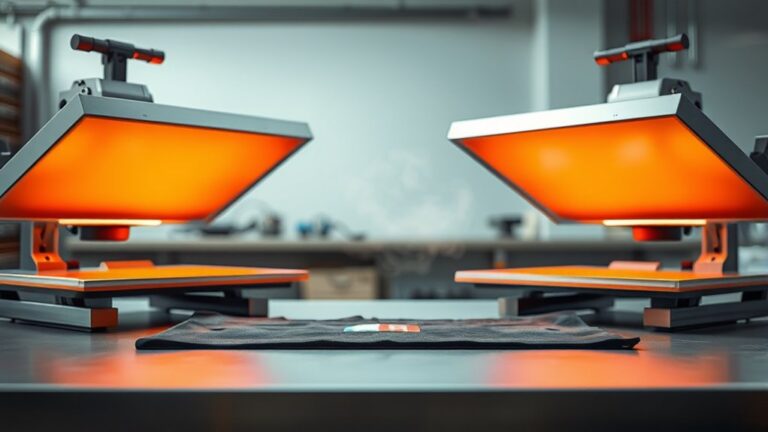
Although heat pressing printable vinyl might seem tricky at first, you’ll find the process straightforward once you know the exact steps. Start by preheating your heat press to the recommended temperature, usually around 320°F (160°C). Next, prepare your garment by placing it on the press and pressing it for a few seconds to remove wrinkles and moisture.
Position your printable vinyl design on the fabric, ensuring it’s aligned correctly. Cover the design with a Teflon sheet or parchment paper to protect it. Apply firm pressure and press for the specified time, typically 15-20 seconds.
Once done, carefully peel away the carrier sheet while it’s warm or cold, depending on the vinyl type. Finally, allow the garment to cool before handling or washing it.
Common Heat Pressing Mistakes With Printable Vinyl
Even if you follow the steps carefully, you might still run into common mistakes when heat pressing printable vinyl. Avoid these pitfalls to guarantee your projects turn out great every time:
- Incorrect Temperature Settings – Using too high or too low heat can cause vinyl to peel or not adhere properly.
- Insufficient Pressure – Not applying enough pressure may result in uneven bonding and poor durability.
- Skipping the Pre-Press – Failing to pre-press removes moisture and wrinkles, leading to a less smooth finish.
- Removing Carrier Sheet Too Early – Peeling the carrier sheet before it cools can ruin the design’s integrity.
Watch out for these errors, and your printable vinyl projects will look professional and last longer.
Caring for Heat Pressed Printable Vinyl Projects
To keep your heat pressed printable vinyl looking vibrant and durable, you’ll need to give it proper care after pressing. Always wait at least 24 hours before washing your project to allow the vinyl to fully adhere. When you do wash it, turn the garment inside out and use cold water with a gentle cycle.
Avoid bleach and fabric softeners, as they can damage the vinyl. Air drying is best, but if you use a dryer, choose a low heat setting. Avoid ironing directly on the vinyl; instead, place a cloth over the design if you need to smooth wrinkles.
Frequently Asked Questions
Can Printable Vinyl Be Layered Before Heat Pressing?
Yes, you can layer printable vinyl before heat pressing. Just make certain each layer is properly aligned and pressed individually if needed to guarantee strong adhesion and vibrant colors without shifting or bubbling during the final heat press process.
Is Printable Vinyl Safe for Children’s Clothing?
You won’t find anything softer than printable vinyl for kids’ clothes! Yes, it’s safe when you choose non-toxic, phthalate-free options.
Just follow care instructions carefully, and your little ones will stay comfy and stylish.
How Long Does Printable Vinyl Last on Outdoor Fabrics?
You can expect printable vinyl on outdoor fabrics to last about 1 to 3 years, depending on exposure to sun, rain, and washing.
Proper care and quality vinyl can extend its durability considerably.
Can Printable Vinyl Be Removed Without Damaging Fabric?
Like peeling a delicate butterfly from a flower, you can remove printable vinyl without damaging fabric if you’re gentle and use heat or adhesive remover carefully.
Rushing risks tearing or residue, so take your time and patience.
Are There Eco-Friendly Printable Vinyl Options Available?
Yes, you’ll find eco-friendly printable vinyl options made from biodegradable or recyclable materials. They reduce environmental impact while still delivering vibrant prints, so you can create sustainable designs without sacrificing quality or durability.
Conclusion
Now that you know the ins and outs of heat pressing printable vinyl, you’re ready to create designs that really stick around. While it might seem a bit tricky at first, with a little practice, you’ll avoid those “learning moments” and produce professional results.
Just remember, a gentle touch and the right settings make all the difference. So go ahead—press on confidently and turn your projects into lasting masterpieces! Using the proper heat press printable vinyl techniques ensures your creations will be durable and vibrant for the long haul.