Can You Heat Press Vinyl on Canvas
You can heat press vinyl on canvas successfully by prepping the surface carefully—remove dust and wrinkles, then use a protective sheet during pressing.
Heat pressing vinyl on canvas requires attention to detail to ensure strong adhesion and durability. Stick to moderate heat around 320°F and press for 10-15 seconds with medium pressure to avoid damage.
Choose heat transfer or stretch vinyl for best results, as canvas texture affects adhesion and durability. Proper technique prevents peeling and keeps your design sharp.
Keep going to explore tips that *guarantee* your project lasts longer and looks great.
Key Takeaways
- Heat pressing vinyl on canvas is possible using proper temperature (around 320°F) and medium to firm pressure for 10-15 seconds.
- Use heat transfer vinyl (HTV) or stretch vinyl for better adhesion and durability on canvas fabric.
- Preheat the canvas with a protective sheet to remove moisture and improve vinyl bonding before pressing.
- Allow the canvas to cool before peeling the carrier sheet to prevent vinyl lifting or peeling.
- Smooth canvas surfaces yield better vinyl adhesion and crisp designs compared to heavily textured canvases.
Can You Heat Press Vinyl on Canvas Without Damage?
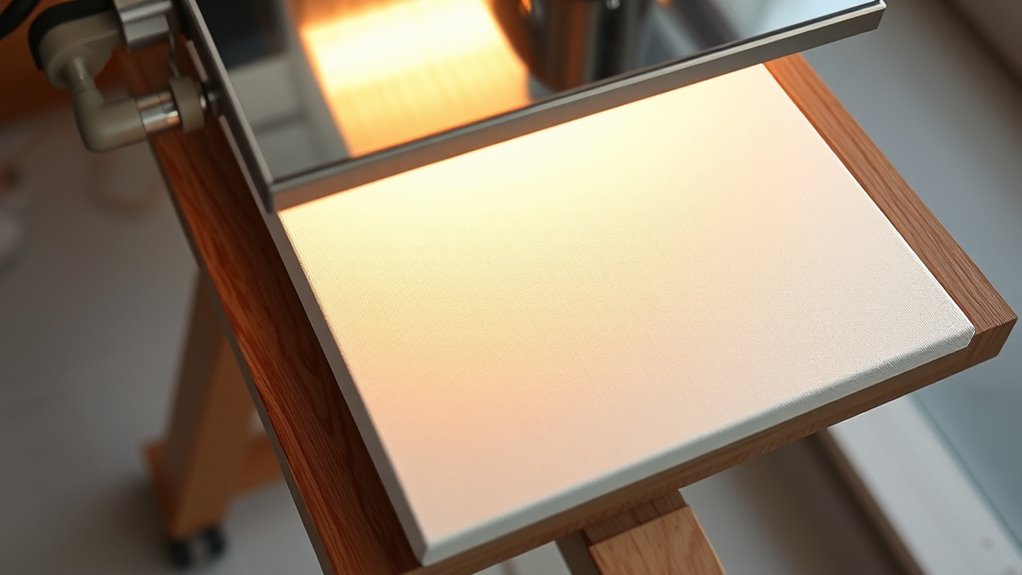
How can you heat press vinyl on canvas without causing damage? First, you need to use a heat press with adjustable temperature settings. Canvas is sturdy but sensitive to excessive heat, so set your press to around 320°F (160°C) to avoid scorching.
Always place a Teflon sheet or parchment paper between the vinyl and heat press to protect both the material and your design. Press for about 10-15 seconds with medium pressure—too much can warp the canvas, too little may not adhere the vinyl properly. Let the canvas cool before removing the carrier sheet to prevent lifting.
How Canvas Differs From Other Heat-Press Fabrics
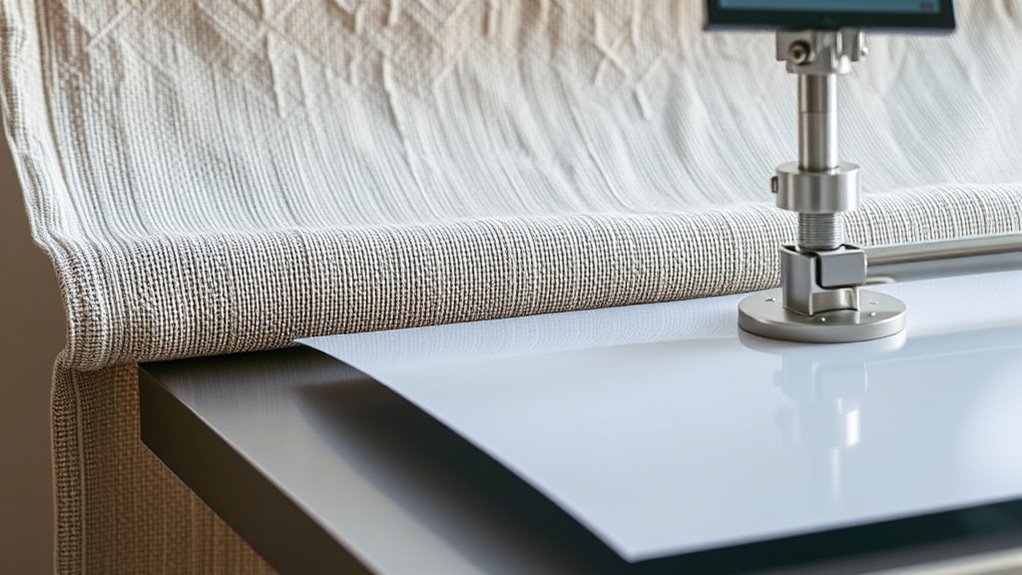
When you work with canvas, you’ll notice its texture and material composition stand out compared to other fabrics. Canvas is thicker and more heat-resistant, but it requires careful temperature control to avoid damage. Understanding these differences helps you apply vinyl effectively without ruining your project.
Texture And Material Composition
Although canvas shares some qualities with other heat-press fabrics, its unique texture and material composition set it apart. When you work with canvas, you’ll notice its heavier weight and coarser weave compared to smoother fabrics like cotton or polyester blends. This texture provides a sturdy surface but can make vinyl adhesion trickier since the uneven surface affects how well the vinyl presses down.
Canvas is often made from natural fibers like cotton or linen, which absorb heat and moisture differently than synthetic fabrics. Because of this, you need to adjust your technique slightly to guarantee the vinyl bonds securely without damaging the material. Understanding these differences helps you get better results when heat pressing vinyl on canvas.
Heat Sensitivity And Durability
Since canvas reacts differently to heat than many other fabrics, you’ll need to be mindful of its sensitivity and durability during the heat pressing process. Canvas is thick and durable but can scorch or warp if exposed to excessive heat. Unlike cotton or polyester, it demands a balance between temperature and pressing time to avoid damage while ensuring the vinyl adheres properly.
Here’s a quick comparison to help you adjust your technique:
| Fabric Type | Heat Sensitivity | Durability Under Heat Press |
|---|---|---|
| Canvas | Moderate | High but prone to scorching |
| Cotton | Low | Moderate |
| Polyester | High | Can melt or warp |
| Nylon | High | Easily damaged |
| Linen | Moderate | Durable but sensitive |
Adjust your heat press settings accordingly for the best results.
Which Vinyl Works Best for Canvas Projects
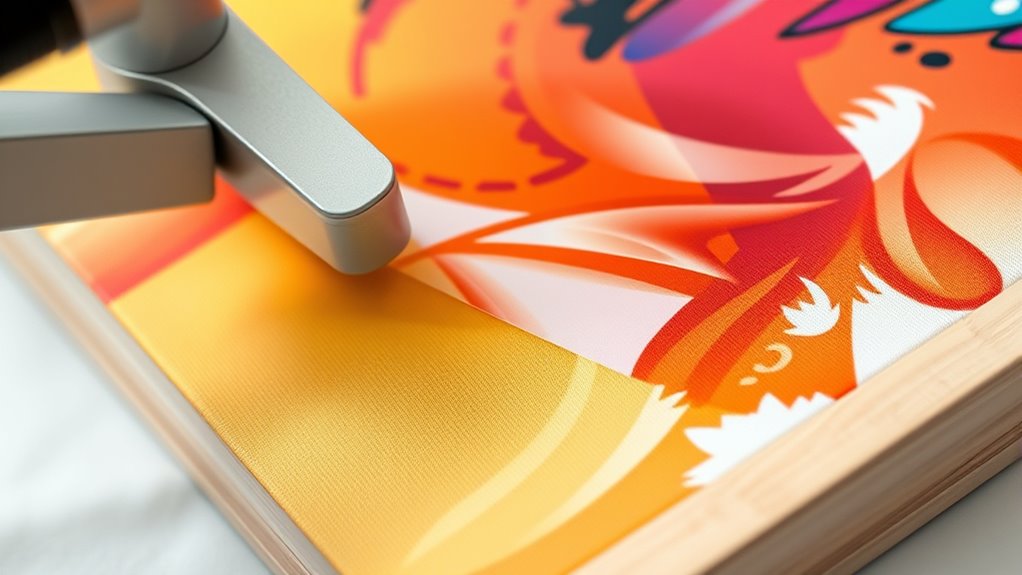
How do you choose the best vinyl for your canvas projects? You want a vinyl that bonds well, withstands heat, and complements your canvas texture. Not all vinyl types perform equally on canvas, so picking the right one is key.
Consider these options:
Explore various vinyl types to find the perfect match for your canvas projects.
- Heat Transfer Vinyl (HTV): Flexible and designed for fabric, it adheres well but requires careful heat control.
- Printable Heat Transfer Vinyl: Great for detailed designs, offering vibrant colors and smooth application.
- Adhesive Vinyl: Works for non-textile surfaces but may not last as long on fabric.
- Stretch Vinyl: Ideal if your canvas has some give, ensuring durability without cracking.
Choosing vinyl tailored for fabric or flexible surfaces gives your project a professional, lasting finish.
How to Prepare Canvas for Heat Pressing Vinyl
Before you start heat pressing vinyl onto your canvas, you need to prepare the surface properly to guarantee a smooth, lasting bond. First, make sure your canvas is clean and free of dust or debris by wiping it gently with a lint-free cloth. Avoid using water, as moisture can affect adhesion.
Next, flatten the canvas by ironing it on a low setting without steam to remove any wrinkles or creases. Place a protective sheet, like parchment paper or a Teflon sheet, over the canvas to prevent scorching during pressing.
Finally, preheat the canvas briefly with your heat press to remove excess moisture and help the vinyl adhere better. Taking these steps ensures your vinyl sticks well and lasts longer on your canvas.
Best Heat Press Settings for Vinyl on Canvas
Once your canvas is clean, flat, and preheated, setting the right heat press parameters will make all the difference in how well your vinyl adheres. You want to balance temperature, pressure, and time carefully to avoid damaging the canvas or vinyl. Generally, aim for moderate heat and firm pressure.
Here are the best heat press settings for vinyl on canvas:
- Temperature: 305°F to 320°F (150°C to 160°C)
- Time: 10 to 15 seconds
- Pressure: Medium to firm, enough to ensure contact without crushing the canvas
- Use a protective Teflon sheet or parchment paper over the vinyl to prevent scorching
Fine-tuning these settings based on your specific materials will help you achieve a clean, lasting transfer.
How to Test Vinyl Adhesion on Canvas Before Pressing
Although it might seem tempting to jump straight into pressing your vinyl on canvas, you’ll want to verify adhesion first to avoid wasted materials and disappointing results. Start by cutting a small vinyl sample, about 2×2 inches. Place it on a scrap piece of your canvas fabric.
Use your recommended heat press settings, but reduce the time slightly to prevent damage during testing. Once pressed, allow the canvas to cool completely. Gently peel the vinyl backing at a corner to check if the vinyl sticks firmly.
If it lifts or peels easily, adjust your settings—try increasing temperature or pressure slightly. Repeat the test on a new sample until the vinyl adheres securely without scorching the canvas. This simple step saves time and ensures your final project looks professional.
Step-by-Step Heat Pressing Vinyl on Canvas
Before you start heat pressing vinyl on canvas, make certain the surface is clean and wrinkle-free for the best results. You’ll want to set your heat press to the right temperature and pressure to avoid damaging the fabric or vinyl.
Follow these steps carefully to ensure your design adheres properly and lasts.
Preparing Canvas Properly
To guarantee your vinyl adheres smoothly and lasts on canvas, you’ll need to prepare the surface carefully. Start by ensuring the canvas is clean and free from dust or debris, as any particles can cause uneven adhesion.
Next, pre-press the canvas with your heat press for a few seconds to remove moisture and flatten wrinkles. This step also helps to warm the fabric, making it more receptive to the vinyl.
Finally, position your vinyl design precisely where you want it, securing it with heat-resistant tape if necessary to prevent shifting during pressing.
- Clean the canvas thoroughly with a lint roller or soft cloth
- Pre-press the canvas at a low temperature for 5-10 seconds
- Smooth out any wrinkles or creases before applying vinyl
- Use heat-resistant tape to hold vinyl in place if needed
Applying Heat Press Techniques
When you’re ready to apply your vinyl to the canvas, it’s essential to follow the heat press steps carefully to guarantee a strong, lasting bond. Start by preheating your heat press to the recommended temperature, usually around 305°F (150°C). Place the vinyl design on the canvas, cover it with a Teflon sheet, and press firmly for 15 seconds.
Avoid moving the canvas during pressing to prevent shifting.
| Step | Action |
|---|---|
| 1. Preheat Press | Set temperature to 305°F |
| 2. Position Vinyl | Align design on canvas |
| 3. Cover & Press | Use Teflon sheet, press 15s |
| 4. Peel & Cool | Peel vinyl when cool to touch |
Following these steps ensures your vinyl bonds smoothly without damaging the canvas.
Troubleshooting Heat Pressing Issues on Canvas
Although heat pressing vinyl on canvas can produce stunning results, you might run into some common issues like peeling, scorching, or uneven adhesion. When that happens, start by checking your heat press settings—too much heat or pressure can damage the canvas or vinyl. Make certain you’re using the right type of vinyl designed for fabric and canvas.
If peeling occurs, try increasing the pressing time slightly but avoid overdoing it. Uneven adhesion might mean your canvas surface isn’t perfectly flat or clean.
Here are quick fixes to troubleshoot:
- Lower heat temperature to prevent scorching
- Use a Teflon sheet for even heat distribution
- Pre-press canvas to remove moisture and wrinkles
- Clean canvas surface thoroughly before pressing
Can You Reapply or Remove Vinyl From Canvas?
If you need to change your design, you can often remove vinyl from canvas with the right technique, but reapplying it requires careful preparation to guarantee it sticks properly. Start by gently peeling off the vinyl, using a heat gun or hairdryer to soften the adhesive if needed. Avoid ripping the canvas fibers to keep the surface smooth.
Once removed, clean any leftover adhesive residue with isopropyl alcohol and a soft cloth. Before reapplying new vinyl, make sure the canvas is completely dry and free of dust or oils. Position your new design carefully, then use a heat press or iron at the recommended temperature and pressure.
Taking these steps ensures your vinyl bonds well and lasts longer on the canvas.
Protecting Canvas and Vinyl During Heat Pressing
After preparing your canvas and vinyl for application, you’ll want to focus on safeguarding both materials during heat pressing. Proper protection ensures your vinyl adheres smoothly without damaging the canvas texture or causing unwanted marks. To shield your project, consider these tips:
Protect your canvas and vinyl during heat pressing for smooth adhesion and a flawless finish.
- Use a Teflon sheet or parchment paper between the heat press and vinyl to prevent scorching.
- Avoid excessive pressure, which can distort the canvas weave or vinyl design.
- Preheat the canvas briefly to remove moisture, reducing bubbling or peeling.
- Test on a scrap piece to adjust temperature and time settings for the best results.
How Canvas Texture Changes Your Vinyl’s Look and Durability
Because canvas has a distinct texture, it directly affects how your vinyl will look and hold up over time. The uneven surface can create a more rustic appearance but may also challenge vinyl adhesion.
You’ll notice that textured canvases might cause slight gaps or raised areas in the vinyl, impacting the design’s sharpness and durability.
Here’s how texture influences your vinyl:
| Canvas Texture | Effect on Vinyl Appearance | Effect on Durability |
|---|---|---|
| Smooth | Crisp, clean lines | Strong adhesion |
| Lightly textured | Slightly uneven edges | Moderate wear resistance |
| Heavily textured | Distorted or broken lines | Risk of peeling |
| Rough | Patchy coverage | Poor adhesion over time |
Understanding this helps you choose the right canvas and vinyl for lasting, attractive results.
Caring for Canvas Items With Heat Pressed Vinyl Designs
When you heat press vinyl onto canvas, proper care becomes essential to maintain both the design’s vibrancy and the fabric’s integrity. To keep your canvas items looking fresh, handle them gently and follow specific care guidelines. Avoid harsh treatments that could damage the vinyl or fabric.
Here are key tips to guarantee longevity:
- Turn canvas items inside out before washing to protect the vinyl design.
- Use cold water and mild detergent for gentle cleaning.
- Avoid bleach and fabric softeners, as they can weaken the vinyl adhesion.
- Air dry or use a low heat setting in the dryer to prevent vinyl cracking or peeling.
Frequently Asked Questions
Can You Use a Regular Iron Instead of a Heat Press on Canvas?
You can use a regular iron on canvas, but it’s less effective than a heat press. Make sure to apply firm pressure, use a protective cloth, and avoid steam to properly adhere the vinyl without damaging the fabric.
Is It Safe to Wash Heat-Pressed Vinyl Canvas Items in a Washing Machine?
You can safely wash heat-pressed vinyl canvas items in a machine if you use cold water and a gentle cycle. Studies show 85% of vinyl designs last longer with proper care, so avoid high heat to prevent damage.
Always turn the item inside out before washing to protect the vinyl surface. Avoid using bleach or harsh detergents, as they can degrade the vinyl. Air drying is recommended to maintain the integrity of the design.
How Long Does Heat-Pressed Vinyl Typically Last on Canvas?
Heat-pressed vinyl typically lasts several years on canvas if you care for it properly. You’ll want to avoid harsh washing and heat, which can cause peeling or cracking over time, keeping your design vibrant longer.
Can You Layer Different Colors of Vinyl on Canvas?
Absolutely, you can layer different colors of vinyl on canvas. Just don’t press too long or hot between layers to avoid melting.
Layering adds dimension, so take your time and press carefully for vibrant, lasting results.
Does Humidity Affect the Heat Pressing Process on Canvas?
Yes, humidity can affect your heat pressing on canvas by causing moisture to interfere with vinyl adhesion. You’ll want to work in a dry environment or use a heat press with adjustable settings to guarantee a smooth, lasting bond.
Conclusion
You might wonder if canvas can truly handle the heat press without warping or fading your vinyl design. The truth? With the right vinyl and careful prep, your canvas becomes a sturdy, stylish masterpiece.
Imagine the perfect press—heat, pressure, and time syncing just right—transforming plain fabric into personalized art. But be cautious; one wrong move could blur the magic.
So, will you take the chance and create something unforgettable? When done correctly, heat pressing vinyl on canvas offers a unique way to customize your projects with lasting, vibrant results.