Can You Heat Press Vinyl
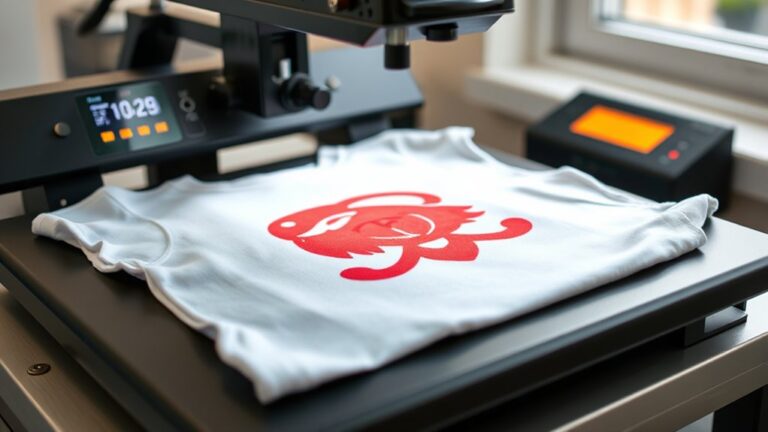
Yes, you can heat press vinyl directly onto fabric or other materials to create vibrant, durable designs. Heat pressing vinyl is a popular method for customizing clothing, bags, and home décor.
Just make sure you use vinyl made specifically for heat pressing and follow the recommended temperature, pressure, and timing for the type you have.
Preparing your fabric and vinyl properly and protecting the design during pressing helps avoid damage. This ensures the best adhesion and longevity of your design.
If you want your vinyl projects to last and look great, there are key techniques and tips you’ll want to explore next.
Key Takeaways
- Heat pressing vinyl uses heat and pressure to bond designs securely onto fabrics or surfaces. Different types of vinyl require specific temperature, pressure, and time settings for best results.
- Always use heat transfer vinyl (HTV) designed for heat pressing to avoid adhesion issues. Protect the vinyl with parchment or Teflon sheets during pressing to prevent damage.
- Allow the vinyl to cool fully before peeling the carrier sheet to ensure a strong bond.
What Is Heat Pressing and How Does It Work With Vinyl
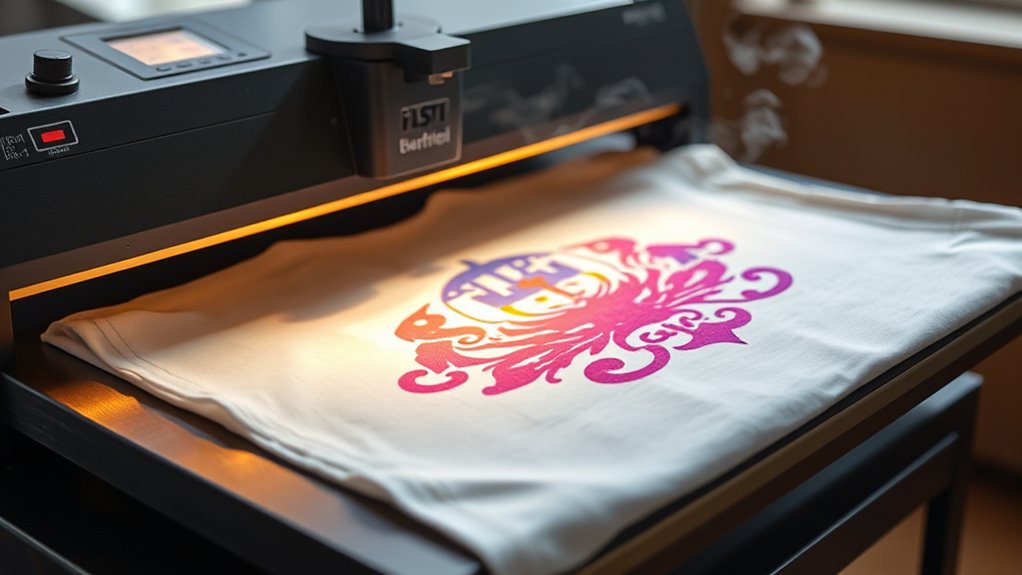
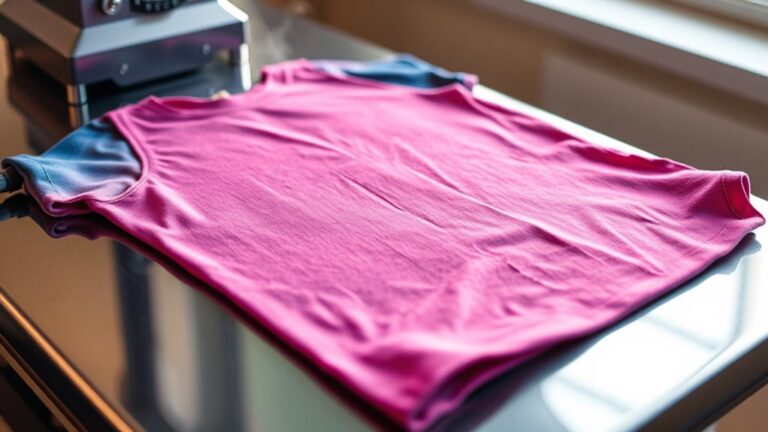
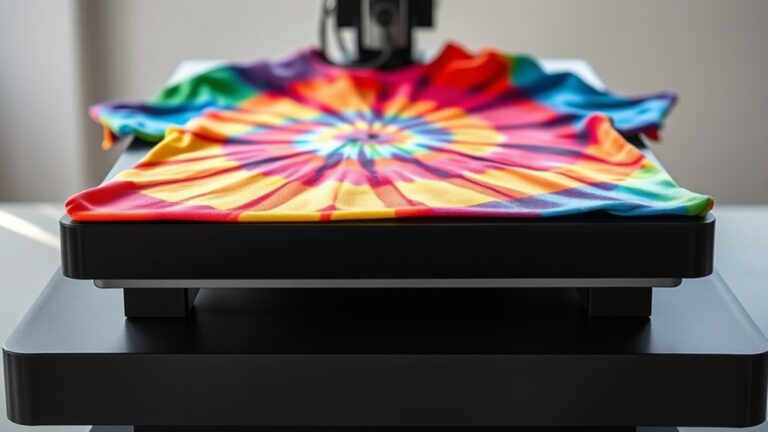
Although heat pressing might seem complex at first, it’s actually a straightforward process that uses heat and pressure to transfer vinyl designs onto fabrics or other materials. When you place your vinyl design on the material, the heat press applies consistent heat and pressure, activating the adhesive on the vinyl. This causes the vinyl to bond securely to the fabric’s surface.
You control the temperature, time, and pressure settings based on the type of vinyl and material you’re using. Once the pressing is done, you peel off the backing, leaving the design firmly attached. This method guarantees vibrant, durable results without the mess or unevenness of traditional ironing.
Can You Heat Press Different Vinyl Types?
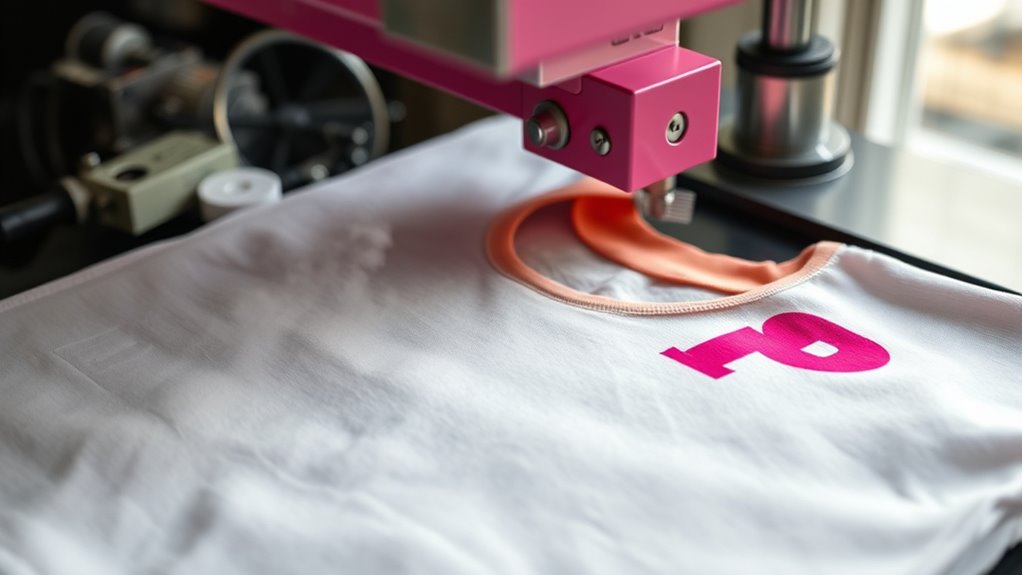
When you work with different types of vinyl, you need to adjust your heat press settings to match each material’s unique properties. For example, heat transfer vinyl (HTV) requires lower temperatures and shorter press times, while adhesive vinyl demands different care to avoid damage. Understanding these differences helps you avoid ruining your projects and guarantees vibrant, lasting designs.
| Vinyl Type | Heat Press Tips |
|---|---|
| Heat Transfer Vinyl | Medium heat, quick press, peel warm |
| Adhesive Vinyl | Low heat, gentle pressure |
| Glitter Vinyl | Slightly higher temp, protective sheet |
| Flock Vinyl | Moderate heat, longer press time |
Knowing these details empowers you to create flawless results every time.
How to Prepare Vinyl and Fabric for Heat Pressing
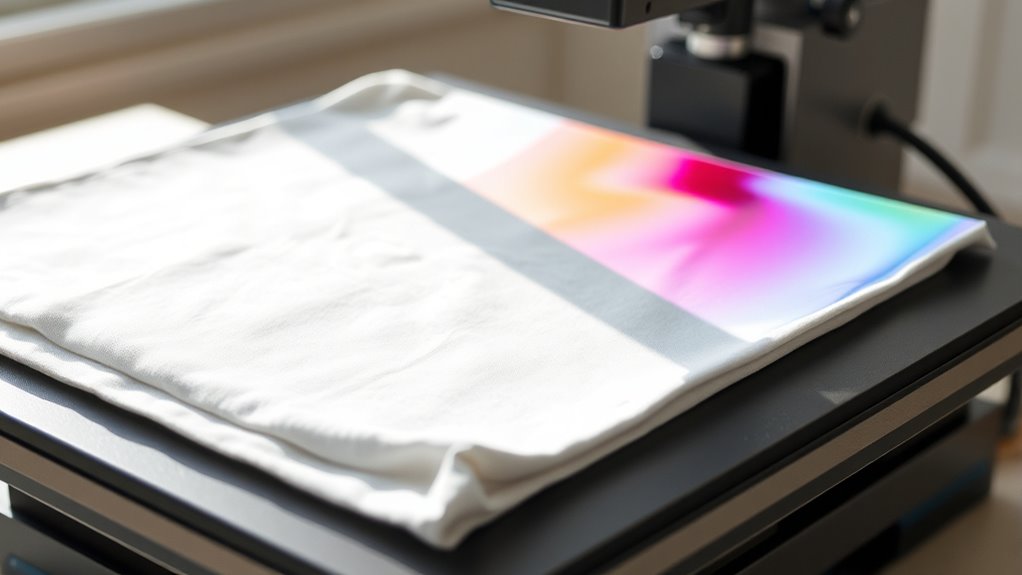
Before you start heat pressing, make sure both your vinyl and fabric are clean and wrinkle-free to guarantee proper adhesion. Lay your fabric flat and use a lint roller or brush to remove dust and debris. If your fabric is wrinkled, iron it beforehand to create a smooth surface.
Next, cut your vinyl to the desired shape and weed out excess material carefully. Position your vinyl on the fabric exactly where you want it. Pre-press the fabric for a few seconds to remove moisture and smooth out any remaining wrinkles.
This step also helps prevent unwanted texture beneath your vinyl. Finally, double-check your heat press settings to match the vinyl’s requirements, ensuring a strong, lasting bond without damaging your materials.
Best Fabrics and Surfaces for Heat Pressing Vinyl
Choosing the right fabric or surface is essential for achieving a clean, durable heat press vinyl application. You’ll want materials that can withstand heat without damage and allow the vinyl to adhere properly. Natural fibers like cotton and polyester blends work best because they hold vinyl firmly and resist heat well.
Here’s a quick guide to ideal fabrics and surfaces:
| Fabric/Surface | Suitability |
|---|---|
| Cotton | Excellent for heat pressing |
| Polyester Blends | Great durability and adhesion |
| Nylon | Not recommended; melts easily |
Avoid delicate fabrics like silk or leather, as they can warp or discolor. Stick to sturdy, heat-resistant materials to get the best results every time.
Best Temperature and Pressure for Heat Pressing Vinyl
If you want your vinyl to stick properly and last, you’ll need to use the right temperature and pressure settings on your heat press. Generally, set your press between 305°F and 320°F (150°C to 160°C). This range works well for most heat transfer vinyl types without damaging the fabric.
Apply medium to firm pressure—enough to guarantee good contact between the vinyl and material but not so much that it distorts the fabric or vinyl. Press your design for about 10 to 15 seconds, depending on the vinyl brand’s instructions. Always test on a scrap piece first to fine-tune settings.
Using the correct temperature and pressure guarantees your vinyl adheres smoothly and stays durable through washes.
Don’t Make These Heat Pressing Mistakes
Don’t ruin your project by setting the wrong temperature or using the wrong type of vinyl. You’ve got to press for the right amount of time to make sure the vinyl sticks properly.
Avoid these common mistakes to get crisp, lasting results every time.
Incorrect Temperature Settings
How hot should your heat press be to get the best results? Setting the wrong temperature can ruin your vinyl project. Too low, and the vinyl won’t adhere properly; too high, and it might melt or warp.
Always follow the vinyl manufacturer’s recommended temperature for ideal results.
Here’s a quick guide to common heat press temperatures for vinyl types:
| Vinyl Type | Temperature (°F) | Time (seconds) |
|---|---|---|
| Standard HTV | 305 | 10-15 |
| Glitter Vinyl | 320 | 15-20 |
| Stretch Vinyl | 280 | 10-12 |
Using Wrong Vinyl Types
While it might be tempting to use any vinyl you have on hand, choosing the wrong type can ruin your heat press project. Each vinyl has specific temperature and pressure requirements, and using the wrong one can cause peeling, melting, or poor adhesion.
To avoid mistakes, make sure you:
- Select heat transfer vinyl (HTV) designed for heat pressing
- Avoid adhesive vinyl meant for cutting machines only
- Check compatibility with your fabric type
- Use vinyl with a heat resistance appropriate for your press
- Read manufacturer instructions before starting
Using the right vinyl ensures your design sticks well and lasts long. Don’t risk your project by grabbing the first vinyl you see; matching the vinyl to your heat press setup is key to professional results.
Insufficient Pressing Time
If you rush the heat pressing process, your vinyl won’t properly adhere to the fabric, leading to peeling or fading. Pressing for too short a time means the adhesive doesn’t fully activate, compromising the durability of your design. Always follow the recommended pressing time for your specific vinyl type, usually between 10 to 20 seconds.
Use a timer to avoid guessing, and apply consistent pressure throughout. If you’re unsure, test on a scrap piece of fabric first. Remember, pressing too briefly wastes your effort and materials, while pressing long enough ensures a strong, lasting bond.
Don’t cut corners—patience here pays off with vibrant, long-lasting results that won’t peel after washing or wear.
Protecting Vinyl Designs From Heat Damage
Because vinyl is sensitive to high temperatures, you need to take specific steps to protect your designs when using a heat press. Applying too much heat can cause vinyl to warp, bubble, or peel, ruining your project. To keep your vinyl looking sharp, follow these tips:
- Use a Teflon sheet or parchment paper between the heat press and the vinyl.
- Set the heat press to the manufacturer’s recommended temperature.
- Avoid pressing for longer than necessary.
- Let the vinyl cool completely before handling.
- Test on a small scrap before full application.
Troubleshooting Common Heat Pressing Problems
If your vinyl isn’t sticking right or looks uneven, uneven heat distribution might be the culprit. You’ll also want to check your pressure settings since too much or too little pressure can cause peeling issues.
Let’s go over some quick tips to fix these common heat pressing problems.
Uneven Heat Distribution
Why does your heat press sometimes create uneven results? Uneven heat distribution can ruin your vinyl projects, causing patches that don’t adhere properly. It often happens when your heat press isn’t calibrated or the platen isn’t clean.
To fix this, check these key areas:
- Make certain the heat platen is clean and free from debris
- Calibrate your heat press temperature regularly
- Use a heat-resistant pad or silicone sheet for even pressure
- Avoid pressing thick or uneven materials without adjusting pressure
- Check the heating element for wear or damage
Vinyl Peeling Issues
How do you fix vinyl peeling after heat pressing? First, check if you used the right temperature and pressing time for your specific vinyl. Overheating or underheating often causes poor adhesion, leading to peeling.
Make sure your fabric is clean and free from lint or oils before pressing, as contaminants can prevent vinyl from sticking properly. Also, allow the vinyl to cool fully before peeling the carrier sheet; peeling it too soon can lift the vinyl off the fabric.
If you notice peeling after washing, use cold water and turn the garment inside out to protect the design. Addressing these factors will help you avoid vinyl peeling issues and guarantee your heat-pressed projects stay vibrant and durable.
Pressure Adjustment Tips
Although temperature and timing are essential, adjusting the pressure on your heat press plays an equally important role in achieving a flawless vinyl transfer. Too much pressure can squeeze out adhesive, causing vinyl to lift, while too little pressure results in poor bonding. To get it right, follow these tips:
- Start with medium pressure and test on a sample.
- Adjust pressure evenly across the platen.
- Use pressure adjustment knobs or dials to fine-tune settings.
- Check for fabric thickness; thicker materials need more pressure.
- Reassess pressure if you change the vinyl type or garment.
Tips for Long-Lasting Heat Pressed Vinyl Projects
To guarantee your heat pressed vinyl projects stand the test of time, you’ll want to pay close attention to proper application and care techniques. First, always follow the manufacturer’s recommended temperature, pressure, and pressing time to ensure a strong bond. Use a quality heat press and a protective sheet like parchment paper to prevent scorching.
After pressing, let the vinyl cool completely before peeling the carrier sheet to avoid lifting or stretching. For care, wash garments inside out in cold water and avoid bleach or harsh detergents. Air drying or tumble drying on low heat will help maintain adhesion.
Frequently Asked Questions
Can You Heat Press Vinyl on Curved or Irregular Surfaces?
You can heat press vinyl on curved or irregular surfaces, but you’ll need a flexible heat press or a specialized attachment.
Applying steady pressure and heat carefully helps the vinyl adhere smoothly without wrinkling or peeling.
How Long Does It Take to Heat Press Vinyl Designs?
You’ll typically heat press vinyl designs for 10 to 20 seconds at the recommended temperature, usually around 305°F.
Press firmly, then peel the carrier sheet while warm or cold, depending on the vinyl type you’re using.
Can Heat Pressing Vinyl Cause Fabric Shrinkage?
Yes, heat pressing vinyl can cause fabric shrinkage if the temperature is too high or the pressing time is too long. You should always follow fabric and vinyl guidelines to avoid damaging your material.
Carefully monitoring the heat and time settings is essential.
This helps ensure your fabric maintains its size and quality during the heat pressing process.
Is It Safe to Use a Household Iron Instead of a Heat Press?
You can use a household iron instead of a heat press, but you’ll need to be careful with temperature and pressure. Irons don’t provide consistent heat, so results might vary, and you risk damaging your vinyl or fabric.
Make sure to apply even pressure and avoid moving the iron around too much. Heat presses are designed to maintain steady heat and pressure, which is harder to achieve with an iron.
If you decide to use an iron, test on a small piece first to avoid ruining your project. Adjust the heat setting according to the vinyl and fabric instructions for best results.
How Do You Remove Heat Pressed Vinyl From Fabric?
You remove heat pressed vinyl by reheating it with your heat press or iron, then gently peeling it off while warm. Use a plastic scraper if needed, and avoid ripping to prevent damaging your fabric.
Conclusion
You might wonder, can you heat press vinyl? Absolutely—you just need the right know-how. When you master the perfect temperature, pressure, and fabric prep, your designs come alive with lasting vibrancy.
Don’t let common mistakes steal your shine—protect your work and troubleshoot wisely. Remember, every heat press is a chance to create something uniquely yours; so press on confidently.
Watch your vinyl projects transform from simple ideas into wearable art that tells your story. With the right heat press vinyl techniques, your creations will stand out with durability and style.