Can You Heat Press a Graduation Cap
You can heat press a graduation cap safely by controlling temperature, pressure, and proper preparation. Heat pressing a graduation cap is a popular method to add custom designs and personalize your celebration.
Most caps made from polyester or cotton blends handle moderate heat well, but it’s crucial to avoid overheating to prevent warping or damage.
Use protective sheets and test settings on small areas first to ensure the best results.
Clean and align your design carefully before pressing at 320°F to 350°F for 10-15 seconds.
With the right steps, you’ll create a custom, professional look.
Keep exploring for tips on perfecting your design and care to make your graduation cap truly stand out.
Key Takeaways
- Graduation caps can be heat pressed using moderate temperatures between 320°F and 350°F to avoid warping or damage.
- Use protective sheets like Teflon or parchment paper to shield the cap’s surface during heat pressing.
- Test heat press settings on small, hidden areas to ensure fabric compatibility and prevent scorching or melting.
- Apply even pressure for 10 to 15 seconds and allow the cap to cool before peeling backings for best adhesion.
- Avoid pressing caps made of velvet or suede, and be cautious with cardboard inserts that may scorch with heat.
Is It Safe to Heat Press Your Graduation Cap?
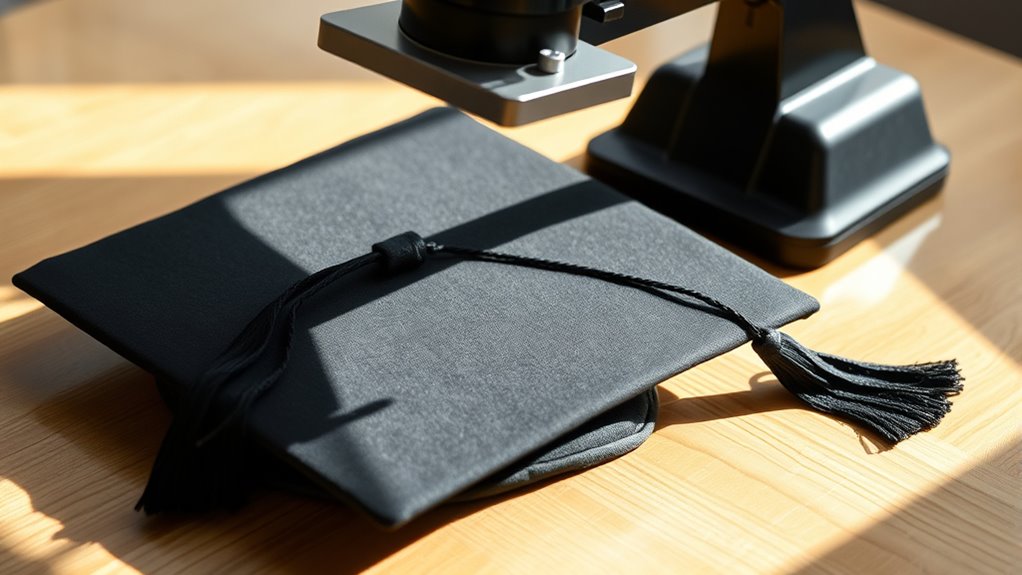
Is it safe to heat press your graduation cap? You might worry about damaging the cap or ruining your design, but with careful handling, it can be done safely. The key is to regulate the heat and pressure applied during the process.
You don’t want to apply too much heat, as it could warp the cap or affect its structure. Also, avoid pressing for too long to prevent scorching or melting. Using a protective sheet between the heat press and your cap helps shield it from direct contact.
Always test your heat press settings on a small, inconspicuous area first. Taking these precautions ensures your cap looks great without any damage.
Graduation Cap Materials and How They React to Heat
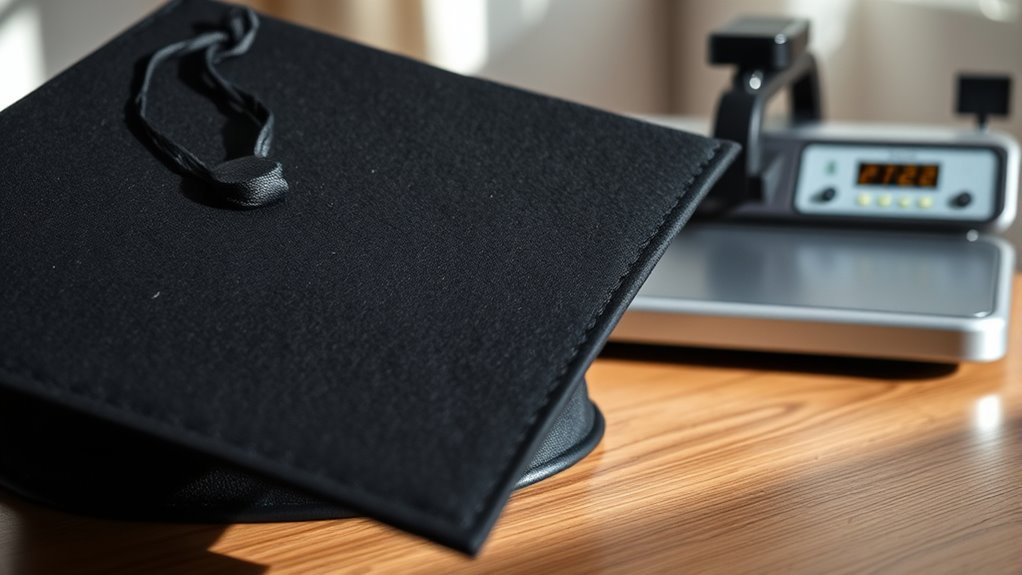
Although graduation caps may look similar, they’re made from different materials that react uniquely to heat. Most caps feature polyester or cotton blends, which generally handle moderate heat well. However, pure polyester can melt or warp if exposed to high temperatures, so you’ll need to be cautious.
Some caps also have cardboard inserts inside the top, which can scorch or become brittle when heated. If your cap uses velvet or suede, avoid heat pressing altogether since these materials can easily get damaged or lose their texture. Knowing your cap’s fabric composition helps you set the right temperature and prevent ruining it.
Always check labels or consult the manufacturer if you’re unsure. Understanding these materials ensures you protect your cap while applying heat transfers or decorations safely.
Preparing Your Graduation Cap for Heat Pressing
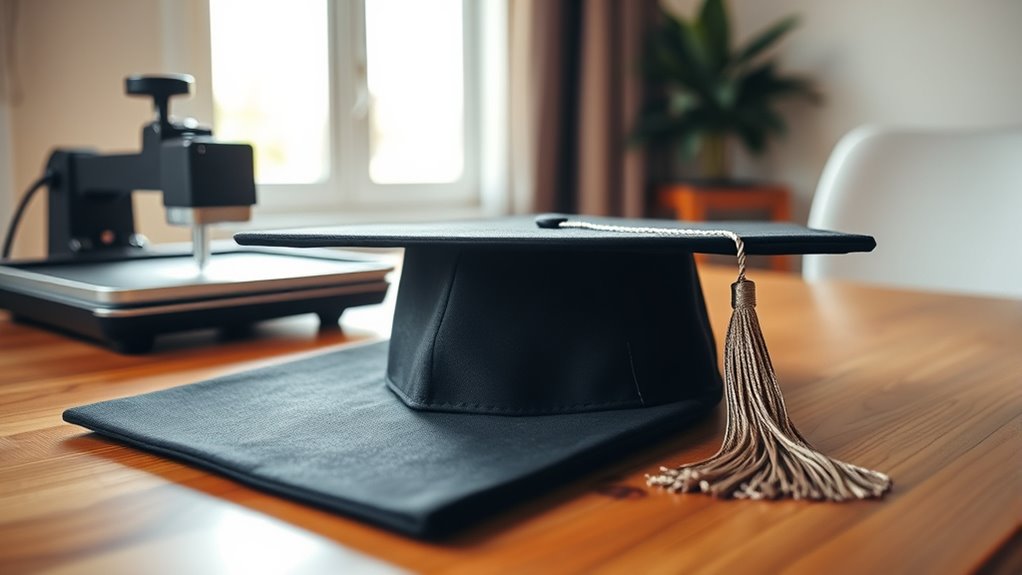
Before you start heat pressing, make sure your graduation cap’s surface is clean and free of dust. Choose the right materials that can handle the heat without damage.
Finally, position your design carefully to guarantee it looks perfect once pressed.
Cleaning The Cap Surface
Since a clean surface guarantees better adhesion, you’ll want to thoroughly clean your graduation cap before heat pressing. Start by gently wiping the cap with a lint-free cloth to remove dust and loose debris. If you notice any stubborn dirt or oils, lightly dampen the cloth with water or a mild soap solution and carefully clean the surface.
Avoid soaking the cap or using harsh chemicals, as these can damage the fabric or structure. After cleaning, let the cap air dry completely to prevent moisture from interfering with the heat press process. Taking these steps assures your design sticks properly and looks crisp, giving you a polished, professional finish on your graduation cap.
Selecting Heat Press Materials
Once your graduation cap is spotless and dry, the next step is choosing the right materials for heat pressing. You’ll want to pick a heat transfer vinyl (HTV) or a heat press decal suited for fabric surfaces, as most caps are made from polyester or cotton blends. Avoid thick or stiff materials that might ruin the cap’s shape.
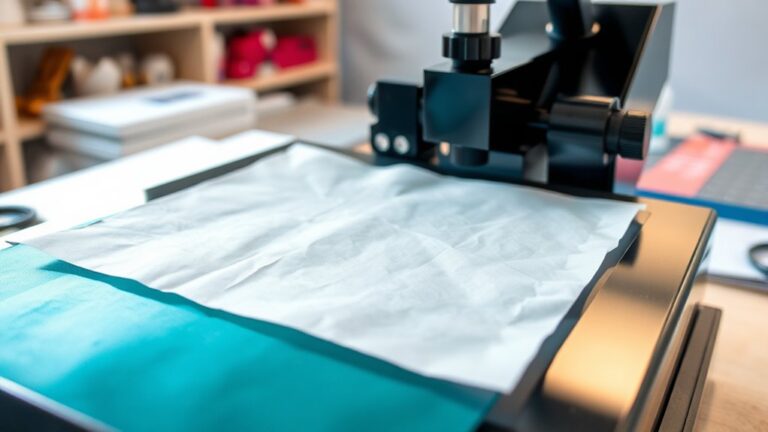
Make sure your vinyl is compatible with your heat press machine’s temperature and pressure settings. Also, grab a Teflon sheet or parchment paper to protect the cap and your design during pressing. Using a heat-resistant tape can help keep your design in place without damaging the cap.
With the right materials, you’ll get a clean, professional look without harming your graduation cap.
Positioning Your Design Properly
Although placing your design on a graduation cap might seem straightforward, positioning it correctly is essential to guarantee your final result looks polished and balanced. Start by measuring the cap’s flat surface to find its center. Use a ruler or measuring tape to mark the midpoint lightly with a pencil or tailor’s chalk.
Align your design so that its center matches this mark, ensuring it’s straight and not tilted. Consider the size of your design relative to the cap; it shouldn’t be too close to the edges or the button on top. Take your time to visualize the placement before pressing.
Proper positioning prevents awkward angles or off-center prints, making your cap stand out with a clean, professional look.
Best Heat Press Settings for Graduation Caps
You’ll want to set your heat press to the ideal temperature range to avoid damaging the cap. Press duration is just as important, so timing it right guarantees your design sticks well.
Let’s look at the best settings to get professional results every time.
Optimal Temperature Range
How hot should your heat press be when customizing a graduation cap? Aim for a temperature between 320°F and 350°F (160°C to 177°C). This range is hot enough to activate the adhesive on most heat transfer vinyl (HTV) without damaging the cap’s fabric or structure.
Going below 320°F might cause the vinyl to not fully adhere, while temperatures above 350°F risk scorching or warping the material. Keep in mind that different vinyl types or fabric blends may require slight adjustments within this range, so always check the manufacturer’s guidelines.
Sticking to this ideal temperature ensures your design sticks firmly and looks sharp, giving your graduation cap a professional, custom finish every time.
Recommended Press Duration
When should you press your graduation cap to guarantee the best heat transfer results? Aim for a press duration between 10 to 15 seconds. This timeframe is usually enough to activate the adhesive on your transfer material without damaging the cap’s fabric or structure.
Pressing too long risks scorching or warping the cap, while too short may cause poor adhesion. Make certain to apply even pressure throughout the pressing process to ensure the design bonds properly. If you’re using thicker or specialty materials, you might need to adjust the time slightly, but always start with 10 seconds and test incrementally.
Heat Pressing Your Graduation Cap Step-by-Step
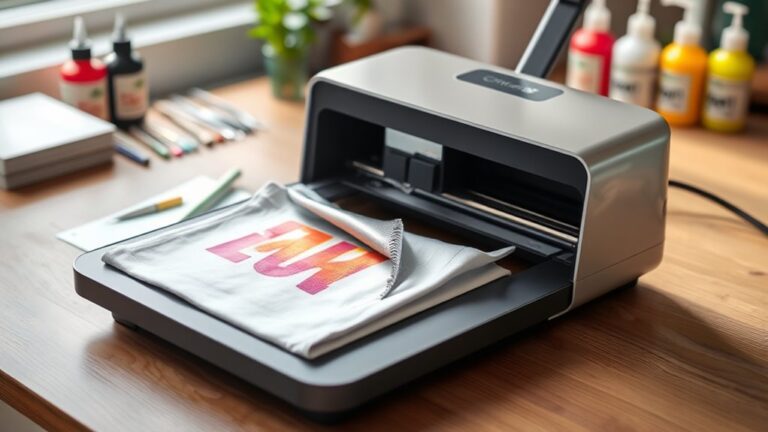
Before applying heat to your graduation cap, prepare your workspace by gathering all necessary materials and verifying the surface is clean and flat. Place your cap on the heat press, making sure the area you want to decorate is smooth and free of wrinkles. Position your heat transfer vinyl or design on the cap, adhesive side down.
Set the heat press to the recommended temperature and time based on your material’s guidelines. Gently close the heat press, applying even pressure, and start the timer. Once the timer ends, carefully lift the press.
Let the cap cool slightly before peeling the transfer backing off slowly to reveal your design. This step-by-step process ensures your graduation cap looks personalized and professionally finished.
Common Heat Pressing Mistakes to Avoid
Following the step-by-step process can help you achieve a polished look, but even small errors can affect the final result. Avoid rushing, as improper timing or temperature can ruin your design.
Don’t forget to preheat your press and material; skipping this step may cause uneven adhesion. Using too much pressure can damage the cap, while too little won’t secure the design properly.
| Mistake | Impact |
|---|---|
| Incorrect Temperature | Faded or peeling design |
| Skipping Preheat | Uneven adhesion |
| Wrong Pressure | Damaged cap or weak transfer |
Alternatives to Heat Pressing Graduation Caps
If you’re hesitant about using a heat press on your graduation cap, there are plenty of effective alternatives to contemplate. You can decorate your cap with fabric glue and embellishments like rhinestones, beads, or sequins for a personalized touch without heat. Another option is using hand-painting techniques with fabric paint or permanent markers, allowing you to create intricate designs safely.
You might also consider sewing on patches or appliques, which add texture and durability. If you want a quick fix, hot glue works well for attaching lightweight decorations. These methods keep your cap intact while still letting your creativity shine.
Each option offers a unique way to celebrate your achievement without risking damage from heat press machines.
Using Vinyl Stickers and Iron-Ons on Graduation Caps
When you want a simple yet striking way to personalize your graduation cap, vinyl stickers and iron-ons offer great options. You can easily apply vinyl stickers by peeling and sticking, while iron-ons require some heat but provide a durable finish. Both methods let you add names, quotes, or designs without damaging the cap.
Keep in mind the material of your cap and test a small area first to avoid warping or discoloration.
| Feature | Vinyl Stickers |
|---|---|
| Application | Peel and stick |
| Durability | Moderate |
| Removal | Easy, can leave residue |
| Surface Suitability | Most surfaces |
| Heat Required | No |
Iron-ons typically require a heat press or iron for best results.
Creative Heat Press Design Ideas for Graduation Caps
You can make your graduation cap stand out with unique themes that reflect your personality and achievements. Try trending heat press techniques like foil or glitter to add eye-catching details. Let your creativity shine by mixing styles and materials for a truly one-of-a-kind design.
Unique Graduation Cap Themes
Although graduation caps may seem like a simple canvas, they offer endless opportunities for creative expression through heat press designs. You can choose unique themes that reflect your personality, achievements, or future goals. For example, a literary lover might heat press a favorite book quote or iconic symbol, while a science enthusiast could showcase a clever formula or molecule design.
Sports fans can highlight their team colors or mascots, making their cap instantly recognizable. You might also opt for a travel theme, featuring maps or famous landmarks, symbolizing your journey ahead. Whatever you pick, guarantee the design fits well within the cap’s square shape and complements your graduation attire.
Unique themes make your cap memorable and truly one-of-a-kind on your big day.
Trending Heat Press Techniques
How can you make your graduation cap stand out even more? Try trending heat press techniques that add creativity and personality to your design. Start with layered vinyl for a 3D effect, combining metallic and matte finishes to catch the light.
Use holographic or glitter heat transfer vinyl to give your cap a dazzling shine. Incorporate custom text with bold fonts, applying multiple colors for a vivid look. You can also create intricate patterns using stencil heat transfers, adding depth while keeping the design clean.
Don’t forget to personalize with icons or symbols that reflect your journey. These techniques let you transform a simple cap into a vibrant statement piece, ensuring you graduate with style and flair.
Protecting Your Heat Pressed Graduation Cap
Since a heat pressed graduation cap is a cherished keepsake, taking steps to safeguard it guarantees your design stays vibrant and intact. To protect your cap, handle it with care and avoid exposing it to harsh conditions. Here are some simple tips to keep your heat pressed design looking fresh:
- Store the cap in a cool, dry place away from direct sunlight to prevent fading.
- Avoid folding or crushing the decorated area to maintain the design’s shape.
- Clean the cap gently with a soft, damp cloth if needed—never use harsh chemicals.
- Consider using a protective fabric spray designed for heat pressed materials to add durability.
Final Tips for a Perfect Graduation Cap Decoration
When decorating your graduation cap, paying close attention to detail guarantees your design stands out and lasts throughout the celebration. First, make sure your heat press temperature and time settings match the materials you’re using to avoid damage. Use heat-resistant tape to secure your design during pressing for clean edges.
Allow the cap to cool completely before handling to set the design firmly. Avoid heavy or bulky embellishments that might weigh down the cap or make it uncomfortable to wear. Finally, test your design on a similar fabric before applying it to your cap to prevent mistakes.
With these final tips, you’ll create a flawless, personalized cap that shines on your big day without any last-minute stress.
Frequently Asked Questions
Can I Heat Press a Graduation Cap Without Damaging the Tassel?
You can heat press a graduation cap without damaging the tassel by removing it first or shielding it carefully. Use a low temperature and quick press to avoid heat damage.
Always test on a scrap fabric first.
How Long Does a Heat Pressed Design Last on a Graduation Cap?
Your heat pressed design can last for years if you use high-quality materials and follow proper application techniques. Just avoid excessive bending or moisture to keep the design vibrant throughout your graduation celebrations and beyond.
Proper care is key to maintaining the look. Handle your cap gently and store it in a dry place when not in use. This will help preserve the design’s appearance for a long time.
Can Children Safely Heat Press Their Own Graduation Caps?
You shouldn’t let children heat press their own caps; over 60% of heat press burns happen from improper use.
Instead, supervise closely or handle the pressing yourself to keep them safe and avoid accidents.
Are There Specific Brands of Vinyl Best for Graduation Caps?
Yes, you’ll want brands like Siser EasyWeed or Cricut Iron-On for graduation caps. They’re flexible, durable, and heat press well without damaging the fabric, ensuring your design stays vibrant through the ceremony.
Can I Wash or Clean a Heat Pressed Graduation Cap?
You can gently spot clean a heat-pressed graduation cap with a damp cloth, but avoid soaking or machine washing it.
Harsh cleaning can damage the vinyl design, so handle it carefully to keep your decoration intact.
Conclusion
Now that you know how to safely heat press your graduation cap, you’re ready to turn it into a shining star on your big day. With the right materials, careful preparation, and precise heat settings, your design will stick like glue—and last through every proud moment.
Remember, a little patience and protection go a long way. So go ahead, press on, and let your creativity take flight as you celebrate this milestone in style! Heat pressing a graduation cap is a fantastic way to personalize your celebration and make your memories truly unforgettable.