Can You Heat Press Dri Fit Shirts
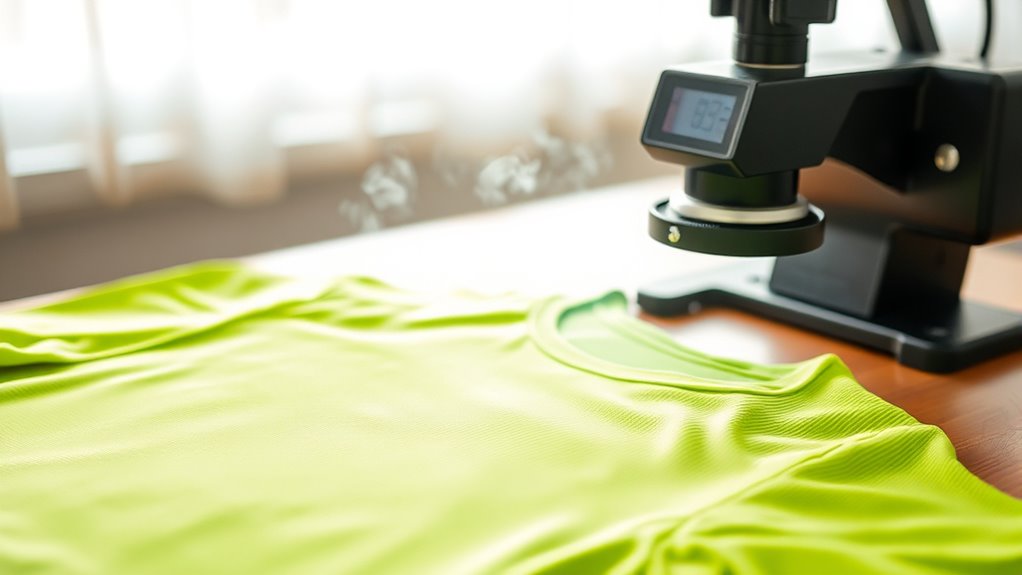
Yes, you can heat press Dri-Fit shirts, but it requires special care to maintain the fabric’s moisture-wicking properties. When heat pressing Dri-Fit shirts, it’s important to control the temperature and pressure carefully to avoid damaging the material. Using the right settings ensures your design adheres well without compromising the shirt’s performance.
Use a low heat setting between 270°F and 320°F, apply medium pressure, and keep the pressing time short—around 10 to 15 seconds. Always prep the shirt by washing and drying it completely before heat pressing.
Additionally, place a protective sheet over the design to prevent direct heat damage to the fabric.
If you want to achieve the best results and avoid common mistakes, there are more factors to consider. Understanding these details will help you preserve the quality and functionality of your Dri-Fit shirts while creating durable, vibrant designs.
Key Takeaways
- Yes, Dri-Fit shirts can be heat pressed using low to medium heat settings to avoid fabric damage.
- Maintain a temperature between 270°F and 320°F with moderate pressure for 10-15 seconds during pressing.
- Use protective sheets like Teflon or parchment paper to prevent direct heat contact and preserve fabric integrity.
- Select flexible, breathable transfers such as PU or silicone to maintain moisture-wicking properties and comfort.
- Pre-wash and dry shirts completely before pressing, and follow proper care instructions to prolong design and fabric life.
Why Dri-Fit Fabric Needs Special Heat Press Care
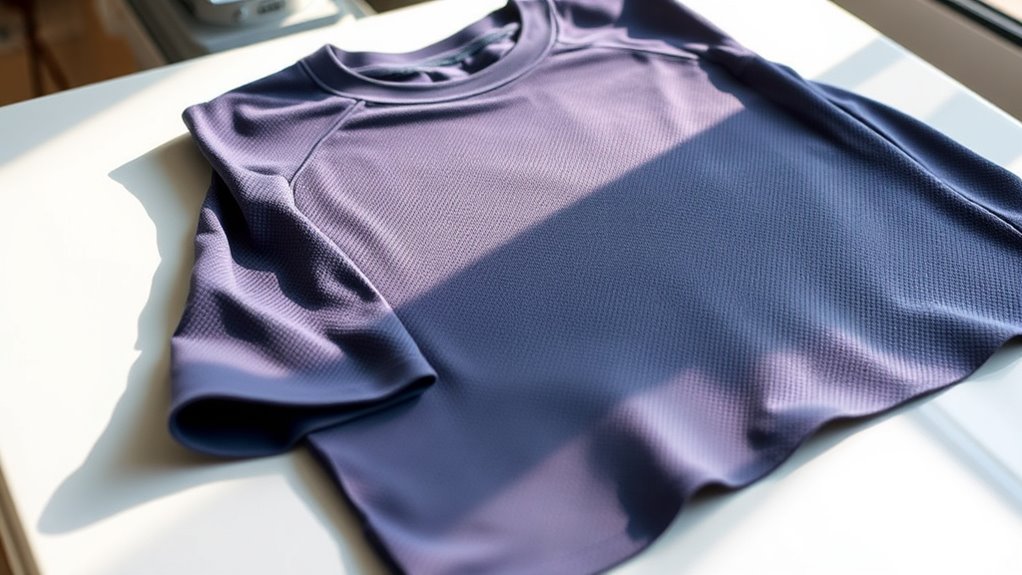
Because Dri-Fit fabric is designed to wick moisture and stay breathable, it requires special care when using a heat press. You’ll want to avoid excessive heat, which can damage the synthetic fibers and ruin the shirt’s moisture-wicking properties. Since Dri-Fit is often made from polyester blends, high temperatures can cause melting or warping.
You should also be cautious about applying too much pressure, as it might compress the fabric, reducing its breathability. Using a protective sheet between the heat press and the shirt helps prevent direct heat damage. Taking these precautions guarantees the fabric maintains its function and appearance.
Handling Dri-Fit carefully during heat pressing keeps your shirt comfortable and durable for longer wear.
Can You Heat Press Dri-Fit Shirts Safely?
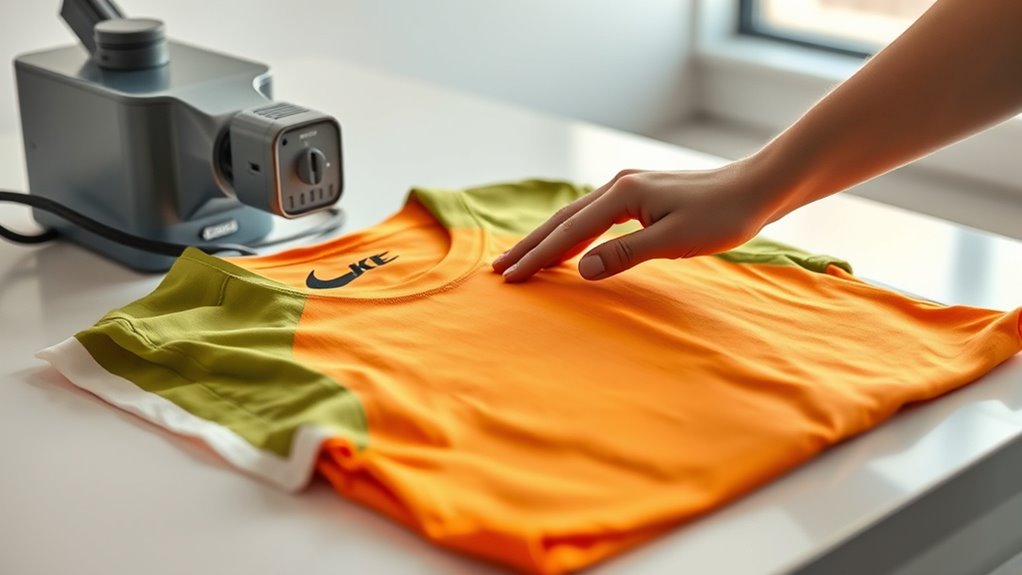
While heat pressing Dri-Fit shirts requires careful attention, you can do it safely by following the right steps. Dri-Fit fabric is sensitive to high heat, so you need to be precise to avoid damage. Here’s how you can guarantee a safe heat press:
- Use a lower temperature setting: Keep the heat between 270°F and 300°F to protect the fabric’s integrity.
- Limit pressing time: Press for 10-15 seconds to prevent melting or warping.
- Apply even pressure: Too much pressure can distort the shirt, so moderate and consistent pressure works best.
How to Prepare Dri-Fit Shirts for Heat Pressing
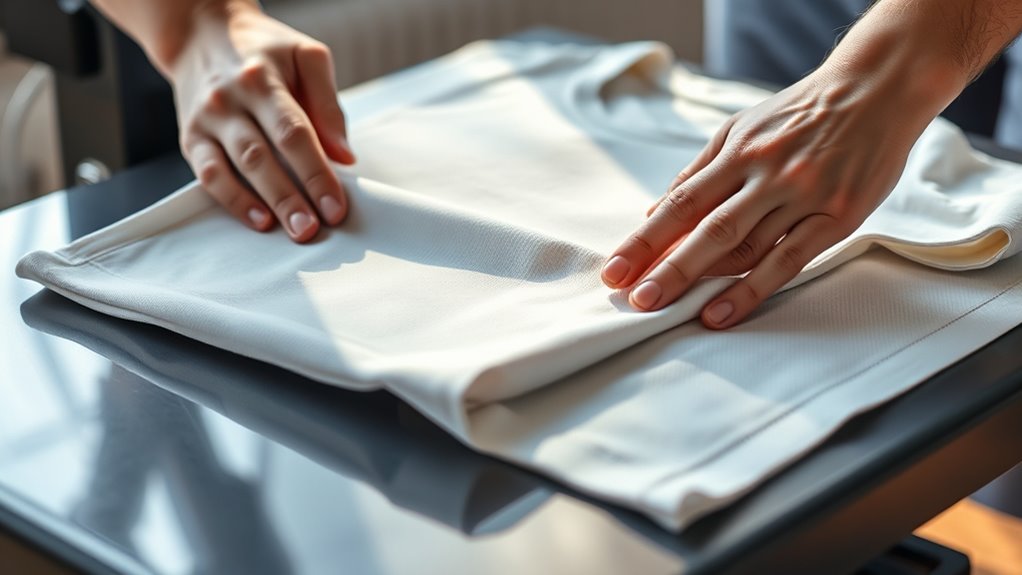
Before you start heat pressing, make sure you choose the right Dri-Fit fabric to avoid damage. Always pre-wash and dry the shirt to remove any chemicals or shrinkage.
Finally, eliminate moisture and wrinkles to guarantee a smooth, even press.
Choosing The Right Fabric
How do you guarantee your Dri-Fit shirts turn out perfect after heat pressing? It starts with choosing the right fabric. Not all Dri-Fit materials respond equally well to heat.
Knowing what to look for helps you avoid damage and get vibrant, lasting prints.
Here’s what to keep in mind:
- Check the fabric blend: Opt for polyester or polyester blends, as they handle heat pressing better than cotton-heavy fabrics.
- Look for smooth texture: Smooth surfaces allow designs to adhere evenly without bubbling or peeling.
- Avoid highly textured or mesh fabrics: These can interfere with the heat transfer, causing uneven results.
Pre-Washing And Drying
Selecting the right fabric sets the foundation for great heat press results, but preparing your Dri-Fit shirts properly takes it a step further. Pre-washing removes any factory coatings and prevents shrinking after heat pressing. Always wash shirts in cold water, using a gentle cycle to protect the fabric’s integrity.
Skip fabric softeners, as they can interfere with heat transfer. After washing, tumble dry on low heat or air dry to avoid fabric damage. Proper drying ensures the shirt is ready for pressing without warping.
| Step | Tip |
|---|---|
| Pre-wash | Use cold water, gentle cycle |
| Detergent | Avoid fabric softeners |
| Drying | Tumble dry low or air dry |
| Preparation | Ensure shirt is completely dry |
Removing Moisture And Wrinkles
Why is it essential to remove moisture and wrinkles from your Dri-Fit shirts before heat pressing? Moisture can interfere with the adhesive, causing poor transfer quality, while wrinkles create uneven surfaces that lead to distorted designs.
To prepare your shirts effectively, follow these steps:
- Air dry completely: After washing, let your Dri-Fit shirt dry fully to prevent steam buildup during pressing.
- Use a low-heat iron: Gently iron the shirt on a low setting to smooth out wrinkles, avoiding direct contact with printed areas.
- Place a protective sheet: Lay a Teflon sheet or parchment paper over the shirt before pressing to protect the fabric and design.
Heat Press Settings for Dri-Fit Shirts
You’ll want to set your heat press to the right temperature, pressure, and time to get the best results on Dri-Fit shirts. Using a protective layer is key to preventing damage during pressing.
Let’s go over the ideal settings to help you achieve a clean, lasting print.
Optimal Temperature Range
Although Dri-Fit shirts require careful handling, finding the right heat press temperature is key to achieving a durable, vibrant transfer without damaging the fabric. You want to avoid overheating, which can ruin the shirt’s moisture-wicking properties and cause warping.
Here’s the ideal temperature range to keep in mind:
- Set your heat press between 320°F and 350°F (160°C to 175°C) for best results.
- Stay closer to 320°F for thinner or more delicate Dri-Fit materials.
- You can push toward 350°F for thicker fabrics, but never exceed this to prevent melting or scorching.
Stick within this range, and your heat press designs will stay bright and your shirts comfortable.
Pressure and Duration
When working with Dri-Fit shirts, applying the right pressure and duration on your heat press is just as essential as setting the correct temperature. Too much pressure can compress the fabric excessively, affecting its breathability and moisture-wicking properties, while too little pressure may result in poor transfer adhesion.
Aim for medium pressure—firm enough to secure the transfer but gentle enough to preserve the shirt’s texture. As for duration, 10 to 15 seconds is generally ideal. Pressing too long might damage the material or cause the design to fade, while too short a time won’t properly bond the transfer.
Always follow your transfer material’s guidelines and test on a sample shirt first to ensure the best results without compromising the Dri-Fit fabric’s performance.
Protective Layer Usage
Since Dri-Fit shirts have a delicate, moisture-wicking fabric, you need to use a protective layer during heat pressing to prevent damage and assure a clean transfer. Skipping this step can lead to scorching, melting, or uneven prints.
Here’s how to properly use a protective layer:
- Place a thin sheet of parchment paper or a Teflon sheet over the design before pressing. This shields the fabric from direct heat. Avoid using thick or textured materials, as they might interfere with heat distribution and cause blotchy results.
- Always test on a scrap piece or inconspicuous area first to guarantee the protective layer works well with your specific Dri-Fit shirt and heat press settings.
Following these steps helps maintain your shirt’s integrity and delivers a crisp, vibrant design.
Best Heat Transfers for Dri-Fit Shirts
Choosing the best heat transfers for Dri-Fit shirts means focusing on materials that can flex and breathe alongside the fabric. You want transfers that won’t crack or peel after washing. Look for options like polyurethane (PU) and silicone heat transfers—they stretch well and stay vibrant.
Avoid thick or rigid transfers that block moisture-wicking.
Here’s a quick guide to help you decide:
| Transfer Type | Flexibility | Breathability |
|---|---|---|
| PU Vinyl | High | Good |
| Silicone | Very High | Excellent |
| Glitter Vinyl | Low | Poor |
| Flock Vinyl | Medium | Moderate |
| Sublimation | Excellent | Excellent |
Choosing the right transfer keeps your Dri-Fit shirt comfortable and looking sharp, no matter how intense your workout gets.
Step-by-Step Heat Press Guide for Dri-Fit Shirts
Now that you know which heat transfers work best with Dri-Fit shirts, let’s walk through the exact steps to apply them using a heat press.
Heat pressing Dri-Fit shirts requires precision to avoid damaging the fabric while ensuring a lasting design.
1. Prepare the Shirt and Press: Preheat your heat press to about 305°F (150°C). Lay the Dri-Fit shirt flat, smoothing out wrinkles.
Place a Teflon sheet or parchment paper over the area to protect the fabric.
2. Position the Transfer: Place your heat transfer vinyl or transfer paper design face down on the desired spot. Double-check alignment before pressing.
3. Apply Pressure and Time: Close the heat press with medium pressure for 15 seconds. Afterward, peel the carrier sheet carefully, either hot or cold depending on your transfer type.
Your shirt is ready!
Common Heat Press Mistakes on Dri-Fit Shirts
When heat pressing Dri-Fit shirts, you’ll want to avoid setting the temperature too high or too low, as this can damage the fabric or cause poor transfers. Applying the wrong amount of pressure is another common mistake that can lead to uneven prints or fabric puckering.
Let’s look at how to get these settings just right for the best results.
Temperature Settings Errors
Although heat pressing Dri-Fit shirts may seem straightforward, setting the wrong temperature can quickly ruin your design. You need to be precise because these polyester fabrics react differently than cotton. Too high a temperature can cause melting or discoloration, while too low won’t properly adhere the transfer.
Here are common temperature setting errors to avoid:
- Overheating – Pressing above 320°F can damage the fabric’s fibers, making the shirt stiff or shiny.
- Underheating – Temperatures below 300°F often result in designs peeling off or fading quickly.
- Ignoring manufacturer guidelines – Not checking the specific heat press temperature recommended for your transfer type leads to inconsistent results.
Always adjust your heat press according to both the shirt and transfer instructions for a flawless finish.
Pressure Application Issues
Since Dri-Fit fabrics are lightweight and stretchable, applying the right pressure during heat pressing is essential to avoid damaging the shirt or ruining your design. If you press too hard, the fabric can stretch out of shape or the design might bleed through, causing distortion.
Too little pressure, on the other hand, won’t allow the transfer to properly adhere, leading to peeling or fading after washing. You’ll need to find a balance—usually medium pressure works best. Always test on a scrap piece or old shirt first.
Make sure the heat press platen is evenly weighted to avoid uneven pressure spots. Adjust your press settings as needed, and avoid pressing for longer than recommended, which can also harm the fabric and print quality.
Tips to Protect Moisture-Wicking When Heat Pressing
To keep your Dri Fit shirts performing their best, you’ll need to handle heat pressing with care to protect their moisture-wicking properties. The right approach ensures the fabric stays breathable and functional. Here are three tips to help you out:
Handle heat pressing carefully to protect moisture-wicking properties and keep your Dri Fit shirts breathable and functional.
- Use a Teflon Sheet or Parchment Paper: This creates a protective barrier between the heat press and the fabric, preventing direct contact that can damage moisture-wicking fibers.
- Lower the Temperature: Stick to moderate heat settings, typically around 305°F (150°C), to avoid melting or shrinking the polyester fibers.
- Limit Pressure and Time: Apply gentle pressure and press for no more than 10-15 seconds to maintain fabric integrity without compromising the print.
Following these steps keeps your Dri Fit shirts both stylish and functional after heat pressing.
How to Fix Heat Press Problems on Dri-Fit Shirts
When heat pressing Dri-Fit shirts, you might run into issues like peeling prints, fabric damage, or uneven transfers. To fix peeling, increase the pressure slightly and extend the pressing time by 5-10 seconds, but don’t overdo it—too much heat can harm the fabric.
If you notice fabric damage, lower the temperature by 5-10 degrees and use a Teflon sheet to protect the material. For uneven transfers, ensure your heat press platen is clean and evenly heated; also, double-check that the shirt is flat and wrinkle-free before pressing.
Adjusting these settings while testing on scrap fabric helps you find the sweet spot to avoid problems and get professional results on your Dri-Fit shirts every time.
Caring for Heat-Pressed Dri-Fit Shirts
How do you keep your heat-pressed Dri-Fit shirts looking fresh and vibrant? Proper care is key to preserving both the fabric and the design. Follow these simple steps to extend the life of your shirts:
- Wash Inside Out: Turn your shirt inside out before washing to protect the heat-pressed design from friction and fading.
- Use Cold Water & Gentle Cycle: Cold water prevents shrinking and helps maintain the design’s adhesion; a gentle cycle reduces wear.
- Air Dry or Low Heat: Avoid high heat in the dryer, as it can damage the print. Air drying is best, but if you must use a dryer, choose a low-heat setting.
Alternatives to Heat Pressing Dri-Fit Shirts
Maintaining your heat-pressed Dri-Fit shirts guarantees they last longer, but you might want to explore other methods for customizing these garments. Screen printing is a popular alternative; it applies ink directly to the fabric, creating durable and vibrant designs without heat damage risks.
You can also try embroidery, which adds texture and longevity, perfect for logos or small designs. Sublimation printing works well on polyester blends like Dri-Fit, infusing ink into the fabric for a seamless finish.
If you prefer a DIY route, fabric markers or paints let you personalize your shirt without equipment. Each option offers unique benefits, so consider your design, budget, and shirt care before deciding which alternative suits your needs best.
Where to Find Quality Heat Press Supplies for Dri-Fit Shirts
Since the right tools make all the difference, finding quality heat press supplies for Dri-Fit shirts is essential to achieve professional results. You want materials that handle moisture-wicking fabric without damaging it or compromising the print.
Here are three great places to find what you need:
- Specialty Heat Press Stores: These retailers focus on heat press machines, heat-resistant tapes, and protective sheets designed for synthetic fabrics like Dri-Fit.
- Online Marketplaces: Websites like Amazon or Etsy offer a wide range of transfers, Teflon sheets, and heat press accessories with customer reviews to guide your choices.
- Craft Supply Shops: Local craft stores sometimes stock heat press essentials suitable for athletic wear, plus you can get hands-on advice.
Choosing the right supplies guarantees your Dri-Fit shirts come out flawless every time.
Frequently Asked Questions
Can Dri-Fit Shirts Be Washed Immediately After Heat Pressing?
You shouldn’t wash Dri-Fit shirts immediately after heat pressing; wait at least 24 hours to let the design cure properly. This helps prevent damage or peeling, ensuring your print stays vibrant and lasts longer.
Allowing the design to set fully before washing maintains the quality of your print. Washing too soon can cause the design to lift or crack.
Be sure to follow these guidelines to keep your Dri-Fit shirts looking great for a long time.
Does Heat Pressing Affect the Shirt’s Breathability?
Oh, absolutely—because who doesn’t want their breathable shirt to suddenly feel like a plastic bag? In reality, heat pressing can slightly reduce breathability, but if you’re careful, you won’t notice much difference at all.
Are There Specific Colorfastness Concerns for Dri-Fit Shirts?
Yes, you should watch for colorfastness issues with Dri-Fit shirts since their synthetic fibers can fade or bleed under high heat. Always test on a small area and use lower heat settings to protect the colors.
This helps maintain the shirt’s appearance and prolongs its lifespan. Being cautious with washing and drying temperatures is key.
Avoid using harsh detergents or bleach, as these can also affect color retention. Following care instructions carefully ensures your Dri-Fit shirts stay vibrant.
Can You Use a Home Iron Instead of a Heat Press?
You can’t just whip out a quill and parchment here—you shouldn’t use a home iron instead of a heat press on Dri-Fit shirts. Irons lack precise temperature and pressure control, risking damage or poor adhesion.
How Long Does a Heat-Pressed Design Last on Dri-Fit Shirts?
Your heat-pressed design on Dri-Fit shirts can last for years if you follow proper care instructions. Always wash inside out in cold water, avoid high heat drying, and don’t use harsh chemicals or bleach to keep it vibrant.
Proper care is key to maintaining the design’s look and durability. Be gentle when washing and drying to prevent damage.
Conclusion
You can definitely heat press Dri-Fit shirts, but you’ve got to handle them with care to avoid ruining the fabric. Follow the right prep steps and use proper settings to get the best results—remember, you don’t want to put all your eggs in one basket by rushing the process.
With patience and the right supplies, your heat-pressed Dri-Fit shirts will look sharp and last long, keeping you comfortable and stylish. Proper temperature, pressure, and timing are essential when you heat press Dri-Fit shirts.
By taking these precautions, you ensure your Dri-Fit shirt maintains its quality and performance. Heat pressing Dri-Fit shirts can be done successfully if you follow these guidelines carefully.