Can You Heat Press on Stainless Steel
You can heat press on stainless steel, but it requires the right materials and careful preparation to achieve the best results. Stainless steel heat pressing involves using specific techniques and equipment designed for metal surfaces.
By following the correct process, you can create vibrant and durable designs on stainless steel.
Use lower temperatures around 320°F–350°F and apply medium pressure with a heat press made for metal.
Clean the surface thoroughly before applying your design to ensure proper adhesion.
Secure your design firmly and protect the steel with a Teflon sheet to avoid any damage during pressing.
Choosing the right vinyl or sublimation-coated stainless steel is essential for long-lasting results.
Mastering these details will help you achieve consistent, high-quality designs every time you heat press on stainless steel.
Key Takeaways
- Stainless steel can be heat pressed using lower temperatures (320°F–350°F) to avoid damage and ensure proper adhesion.
- Use heat transfer vinyl (HTV) or sublimation on coated stainless steel for durable and vibrant designs.
- Thorough surface cleaning and protective layers like Teflon sheets are essential for successful heat pressing.
- Proper pressure, timing, and temperature settings must be calibrated to prevent peeling, warping, or discoloration.
- Sublimation requires coated steel, while vinyl heat pressing works well on uncoated stainless steel surfaces.
Can You Heat Press on Stainless Steel?
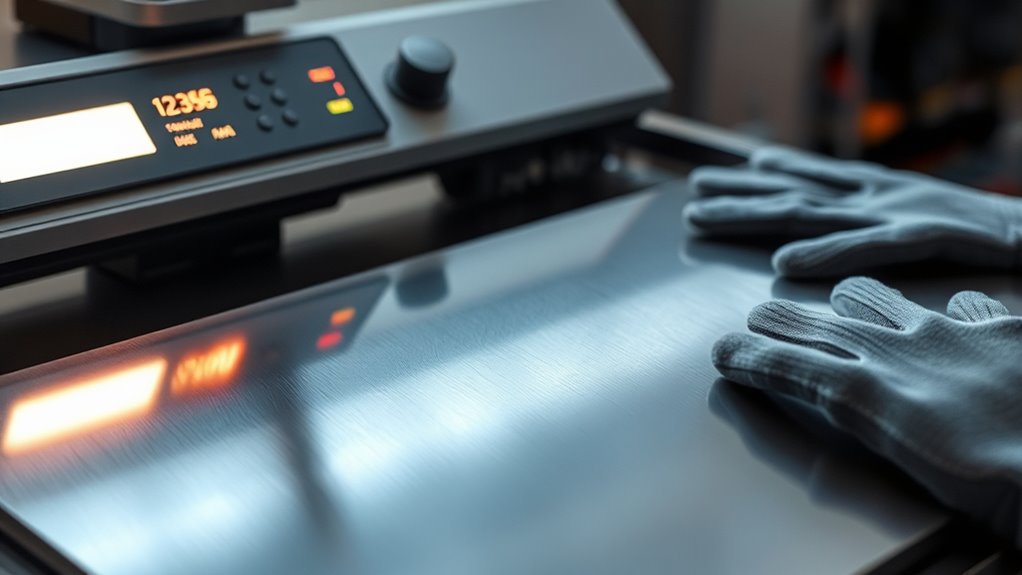
Although stainless steel is known for its durability and resistance to heat, you might wonder if you can safely use a heat press on it. The good news is, yes, you can heat press on stainless steel, but it requires specific techniques to get the best results. You’ll want to use the right temperature settings—usually lower than what you’d use on fabrics—to avoid damaging the steel’s surface.
Additionally, applying consistent pressure and using protective layers like Teflon sheets helps prevent scratches or burns. Keep in mind, heat pressing works best for decorating stainless steel items, especially with vinyl or sublimation printing. If you follow these guidelines, you can confidently heat press on stainless steel without ruining your project.
Why Is Stainless Steel Hard to Heat Press?
Because stainless steel conducts heat so efficiently, it can be challenging to achieve even temperature distribution during heat pressing. You might find that some areas heat up faster than others, risking uneven transfers or even scorching. Its smooth, non-porous surface also means adhesives or heat transfer vinyl might struggle to stick properly without the right technique.
Additionally, stainless steel’s high heat tolerance requires you to use higher temperatures and longer pressing times, increasing the risk of warping or damaging your materials if not carefully monitored. You need to be precise with pressure and timing to prevent issues like bubbling or peeling. Understanding these challenges helps you adjust your process for better results when heat pressing on stainless steel.
Best Heat Press Tools and Materials for Stainless Steel
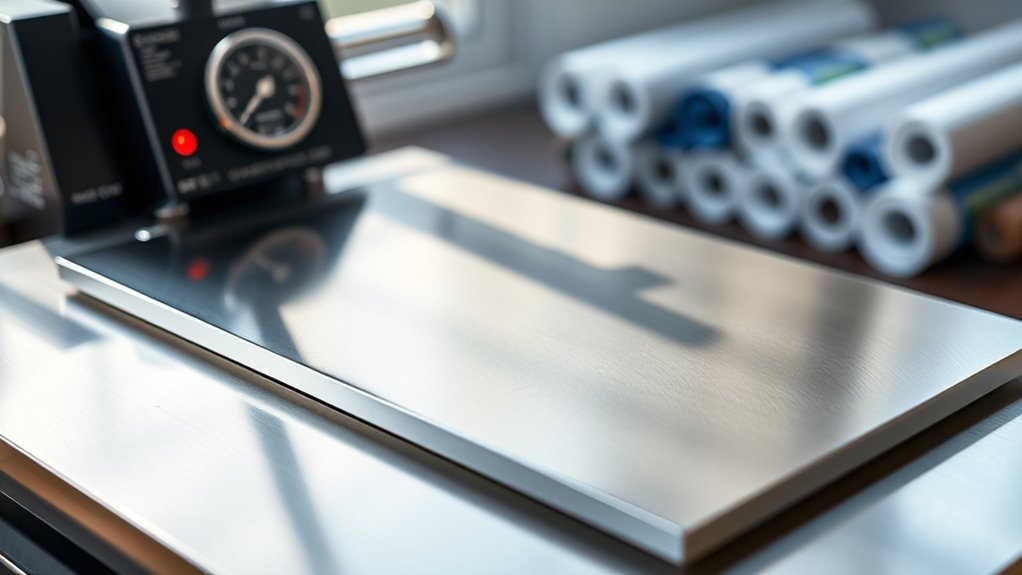
Mastering heat pressing on stainless steel means having the right tools and materials at your disposal. You’ll need a heat press machine with adjustable temperature settings, capable of reaching at least 350°F to guarantee proper adhesion. Use a silicone pad or Teflon sheet to protect the metal surface and prevent scorching.
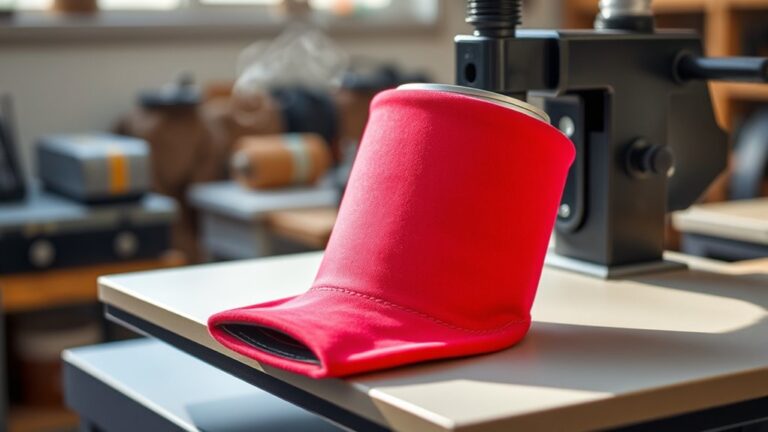
When it comes to transfer materials, opt for high-quality sublimation paper or heat transfer vinyl specifically designed for non-porous surfaces. A heat-resistant tape helps keep your design in place during pressing. Additionally, a reliable heat press pillow can provide even pressure on uneven stainless steel items.
Having these essentials ready guarantees your heat press projects turn out crisp, vibrant, and durable on stainless steel every time.
How to Prepare Stainless Steel Surfaces for Heat Pressing
Before you heat press stainless steel, make certain to clean the surface thoroughly to remove any dirt, oils, or residues. Use a mild detergent or rubbing alcohol and a lint-free cloth to prep the area.
Proper surface preparation guarantees better adhesion and a cleaner final result.
Cleaning Stainless Steel
How do you guarantee your stainless steel surface is ready for heat pressing? Start by thoroughly cleaning it to remove oils, dirt, and fingerprints that can interfere with adhesion. Use a mild detergent mixed with warm water and a soft cloth to wipe down the surface.
Avoid abrasive cleaners or scrubbers that might scratch the steel. After washing, rinse with clean water and dry the surface completely using a lint-free cloth to prevent water spots. If stubborn residues remain, try isopropyl alcohol on a clean cloth to ensure the surface is perfectly clean.
Surface Preparation Techniques
Once your stainless steel surface is clean and free of contaminants, the next step is to prepare it properly for heat pressing. Proper preparation guarantees strong adhesion and a smooth finish.
Here’s how you can get your surface ready:
- Lightly Sand the Surface – Use fine-grit sandpaper (around 400-600 grit) to create a slightly rough texture. This helps the heat transfer vinyl or sublimation ink grip better.
- Wipe Down Again – After sanding, clean the surface with a lint-free cloth and isopropyl alcohol to remove dust and oils.
- Apply a Heat-Resistant Primer – For certain applications, a special primer designed for metal can improve durability and color vibrancy.
Following these steps will help you achieve professional results when heat pressing on stainless steel.
Choosing the Right Heat Transfer Vinyl for Stainless Steel
When choosing heat transfer vinyl for stainless steel, you’ll want to focus on types designed for metal surfaces, like metallic or adhesive vinyl. It’s important to select vinyl that can withstand heat and maintain durability on a non-porous material like stainless steel.
This guarantees your design stays vibrant and secure even after repeated use.
Types Of Heat Transfer Vinyl
Which type of heat transfer vinyl (HTV) suits stainless steel best? When working with stainless steel, you need HTV that bonds well and withstands heat without peeling.
Here are three types to think about:
- Permanent HTV: Designed for durability, it sticks firmly to stainless steel and resists heat and wear, making it ideal for long-lasting designs.
- Metallic HTV: This vinyl adds a shiny, reflective finish that complements stainless steel’s sleek look, perfect if you want a stylish effect.
- Printable HTV: Allows you to print custom designs before heat pressing. Make sure to pick one compatible with metal surfaces for better adhesion.
Choosing the right HTV ensures your design stays vibrant and secure on stainless steel surfaces.
Vinyl Durability On Metal
Although stainless steel offers a smooth, durable surface, not all heat transfer vinyls hold up equally well on it. You need to pick vinyl specifically designed for metal to guarantee lasting adhesion and durability. Permanent adhesive vinyl and polymer-based HTV tend to perform best because they bond tightly and resist peeling or fading.
Avoid standard fabric vinyls; they may lift or crack over time. Also, consider vinyl with a strong carrier sheet that can handle the heat press’s temperature without warping. When applying, use a lower temperature and shorter pressing time to protect both your vinyl and the steel surface.
Ideal Heat Press Settings for Stainless Steel Items
To achieve the best results on stainless steel items, you’ll need to carefully adjust your heat press settings to match the material’s unique properties. Stainless steel requires precise temperature, pressure, and time to guarantee the vinyl adheres properly without damaging the surface.
Here are three ideal settings to start with:
- Temperature: Set your heat press between 320°F and 350°F. This range is hot enough to activate adhesive without warping the metal.
- Pressure: Use medium pressure to ensure firm contact without denting the stainless steel.
- Time: Press for 15 to 20 seconds. Too long can cause discoloration, while too short might lead to poor adhesion.
Always test on a small area first to fine-tune these settings for your specific item.
Step-by-Step Guide to Heat Pressing on Stainless Steel
Now that you have your heat press settings dialed in, it’s time to apply them step by step on your stainless steel item. First, clean the surface thoroughly to remove any oils or dust.
Next, position your design and secure it with heat-resistant tape. Place a protective sheet over the item to avoid direct contact with the heat press.
Press using the set temperature, pressure, and time. Finally, carefully peel off the transfer once it cools slightly.
| Step | Action | Tip |
|---|---|---|
| 1 | Clean surface | Use alcohol wipes |
| 2 | Position design | Align carefully |
| 3 | Secure with tape | Heat-resistant tape only |
| 4 | Heat press | Follow preset settings |
| 5 | Peel transfer | Peel when slightly warm |
Common Heat Pressing Mistakes on Stainless Steel
When heat pressing stainless steel, setting the wrong temperature can ruin your project. You also need to apply just the right amount of pressure—too little or too much can cause problems.
Let’s look at how these common mistakes affect your results.
Incorrect Temperature Settings
Although stainless steel can withstand high heat, using incorrect temperature settings during heat pressing can ruin your project. If the temperature is too low, your design won’t adhere properly, leading to peeling or fading.
On the other hand, excessive heat can cause discoloration or warping of the steel surface. To avoid these issues, you should:
- Check the recommended temperature for your specific transfer material before starting.
- Use a reliable heat press with an accurate temperature gauge to maintain consistency.
- Test on a scrap piece of stainless steel to dial in the perfect setting before pressing your final item.
Inadequate Pressure Application
Mistakes with temperature settings aren’t the only issue that can affect your heat pressing results on stainless steel—you also need to pay close attention to the amount of pressure you apply. If you don’t use enough pressure, your transfer might not adhere properly, leading to faded or peeling designs. On the flip side, too much pressure can damage the stainless steel surface or distort the transfer.
Finding the right balance is key. Use a calibrated heat press and adjust the pressure settings according to the thickness and texture of your stainless steel piece. Test on a small area first to avoid costly mistakes.
How Long Do Heat Press Designs Last on Stainless Steel?
If you want your heat press designs on stainless steel to last, you’ll need to take into account several factors that affect their durability. The lifespan of your design depends on how well you prepare and care for the item after pressing.
Here are three key factors to consider:
- Quality of Materials: Using high-quality heat transfer vinyl or sublimation inks ensures better adhesion and resistance to wear.
- Proper Heat Press Settings: Applying the right temperature, pressure, and time prevents peeling and fading.
- Post-Press Care: Avoid harsh cleaning chemicals and abrasive scrubbing. Hand washing or gentle cycles extend the design’s life.
Sublimation vs. Heat Pressing on Stainless Steel: Which Is Better?
Understanding how to make your design last on stainless steel naturally leads to choosing the best application method. When deciding between sublimation and heat pressing, consider your project’s needs. Sublimation offers vibrant, long-lasting colors but requires specially coated stainless steel to bond the ink properly.
Without this coating, your design won’t transfer well. Heat pressing, on the other hand, uses vinyl or heat transfer paper, making it versatile for most stainless steel surfaces without special prep. It’s quicker and great for simple, bold designs but might not offer the same durability or color depth as sublimation.
Ultimately, if you want rich, permanent designs and your stainless steel is coated, sublimation is better. For flexibility and easier application on uncoated steel, heat pressing wins. Choose based on your material and desired finish.
Creative Heat Press Designs for Stainless Steel Items
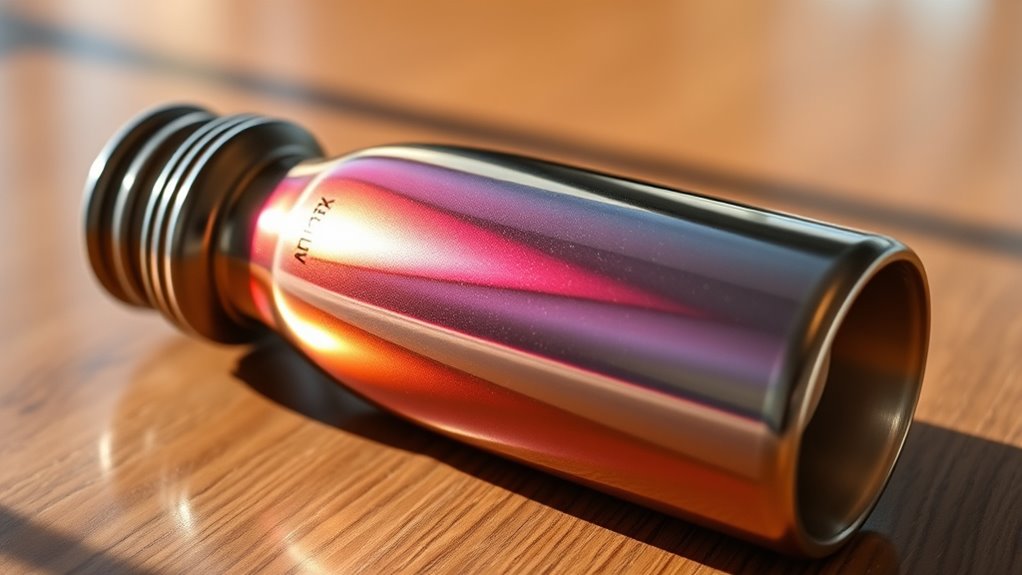
When you want to personalize stainless steel items, heat pressing opens up a world of creative possibilities. You can transform plain bottles, tumblers, and even kitchenware into unique, eye-catching pieces.
To get started, consider these popular design ideas:
Kick off your creative journey with these popular and inspiring design ideas for personalized stainless steel items.
- Monograms and Names – Add a personal touch with elegant fonts or custom calligraphy for gifts or branding.
- Geometric Patterns – Use sharp, clean lines or abstract shapes to create modern, stylish looks that stand out.
- Inspirational Quotes – Apply motivational or humorous sayings that resonate with the user, making the item both practical and meaningful.
Troubleshooting Heat Press Problems on Stainless Steel
Although heat pressing stainless steel can yield fantastic results, you might encounter some common issues along the way. Knowing how to troubleshoot can save you time and frustration.
Here’s a simple guide to help you fix common problems quickly:
| Problem | Solution |
|---|---|
| Image peeling off | Increase pressure and time |
| Uneven transfer | Check heat press platen for flatness |
| Fading or dull colors | Use higher temperature or better quality vinyl |
| Burn marks | Lower temperature and shorten press time |
If your design doesn’t stick, double-check your material settings. Uneven transfers often mean your press isn’t level—inspect and adjust as needed.
For fading, try improving your vinyl or heating longer but carefully. And if burn marks appear, dial down the heat and press time to protect your stainless steel.
Frequently Asked Questions
Can You Wash Heat-Pressed Stainless Steel in a Dishwasher?
You can wash heat-pressed stainless steel in a dishwasher, but it’s best to use a gentle cycle and avoid high heat.
Hand washing helps preserve the design longer and prevents potential fading or peeling.
Is It Safe to Use Heat-Pressed Stainless Steel for Food Containers?
If you use heat-pressed stainless steel for food containers, it’s generally safe as long as you choose food-grade materials. For example, a café tested custom heat-pressed lunchboxes without any contamination or durability issues.
How Do You Remove Heat Press Vinyl From Stainless Steel?
You can remove heat press vinyl from stainless steel by gently heating it with a hairdryer, then peeling it off slowly.
Use rubbing alcohol or adhesive remover to clean any leftover residue without scratching the surface.
Can Heat Pressing Damage the Finish of Stainless Steel?
You might think heat pressing ruins stainless steel’s finish, but if you control temperature and time carefully, it won’t. Just avoid overheating, or you’ll risk discoloration and damage, so always test small areas first.
Are There Eco-Friendly Heat Transfer Options for Stainless Steel?
Yes, you can use eco-friendly heat transfer options like water-based inks and biodegradable vinyl designed for stainless steel. These choices reduce environmental impact while delivering vibrant, durable designs without harmful chemicals or excessive waste.
They offer a sustainable alternative to traditional methods, helping to minimize ecological footprints. By choosing these materials, you support greener production practices and promote a healthier planet.
Conclusion
Now that you know how to heat press on stainless steel, you’re ready to give your projects a shiny, personalized touch. It might seem tricky at first, but with the right tools and prep, you’ll hit the nail on the head every time.
Remember, patience and practice are your best friends in mastering this craft. Keep experimenting, and soon you’ll turn plain steel into stunning works of art that last.
By mastering heat pressing on stainless steel, you can create durable, eye-catching designs that stand the test of time. Embrace the process, and your customized stainless steel projects will truly shine.