Can You Heat Press Vinyl on Wood
Yes, you can heat press vinyl on wood, but it requires proper preparation and the right materials. Heat pressing vinyl on wood is a popular technique for creating custom designs on wooden surfaces.
To achieve the best results, start by sanding and cleaning the wood to ensure a smooth, dust-free surface.
Use heat transfer vinyl specifically designed for porous surfaces, as it adheres better to wood. Set your heat press between 300°F and 320°F with medium pressure, and press for 10-15 seconds.
Always protect the wood with a heat barrier to prevent any damage from the heat.
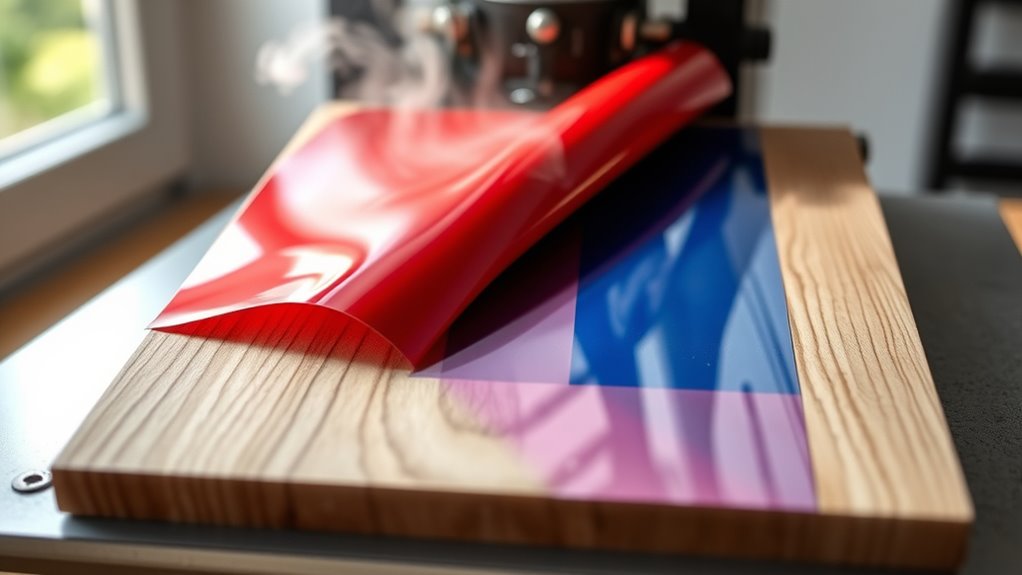
After pressing, peel the transfer tape once the wood has cooled slightly.
Following these steps carefully will give you a durable, smooth finish that lasts. Plus, there are useful tips and troubleshooting ideas to explore next.
Key Takeaways
- Heat pressing vinyl on wood is possible using heat transfer vinyl (HTV) designed specifically for porous surfaces like wood. Proper wood surface preparation, including sanding and sealing knots, is essential for vinyl adhesion and durability.
- Set heat press temperature between 300°F and 320°F with medium pressure and press for 10-15 seconds for best results. Use protective barriers such as parchment paper or Teflon sheets during pressing to prevent scorching and ensure even heat distribution.
- Alternative bonding methods like adhesives or decoupage can be used if heat pressing is unsuitable or to improve adhesion.
How to Heat Press Vinyl on Wood Successfully
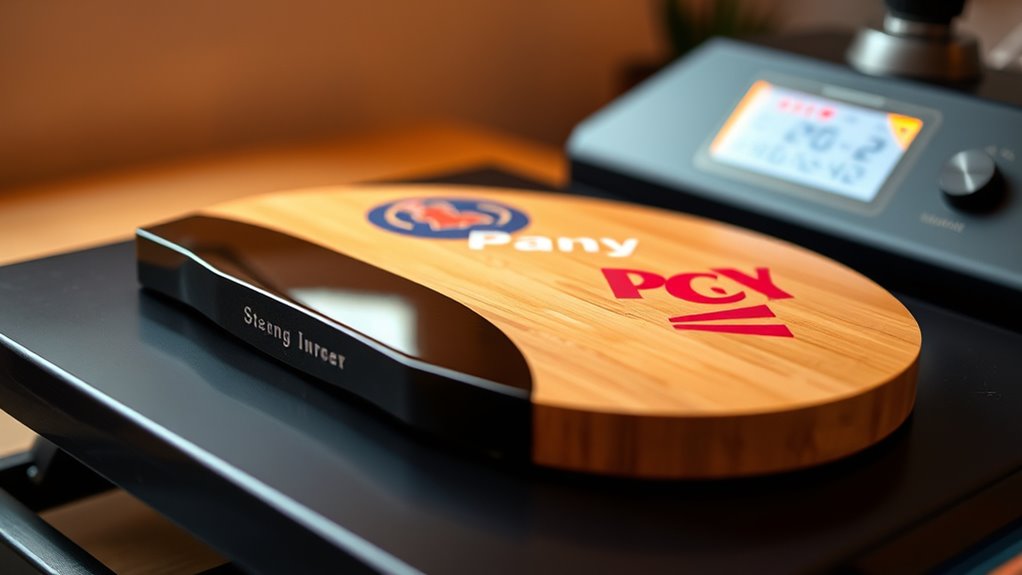
When you heat press vinyl on wood, you need to prepare the surface properly to guarantee the vinyl adheres well and lasts. Start by sanding the wood smooth to remove any rough patches or debris. Wipe it clean with a damp cloth to eliminate dust.
Next, apply a heat-resistant tape to secure the vinyl in place. Preheat your heat press to a moderate temperature, around 300°F, to avoid burning the wood. Place a protective sheet, like parchment paper, between the heat press and the vinyl to shield both.
Press firmly for 10-15 seconds, then carefully peel the backing while still warm. Allow the project to cool completely before handling it to confirm the vinyl sets properly and won’t lift or bubble.
Best Types of Vinyl for Wood Surfaces
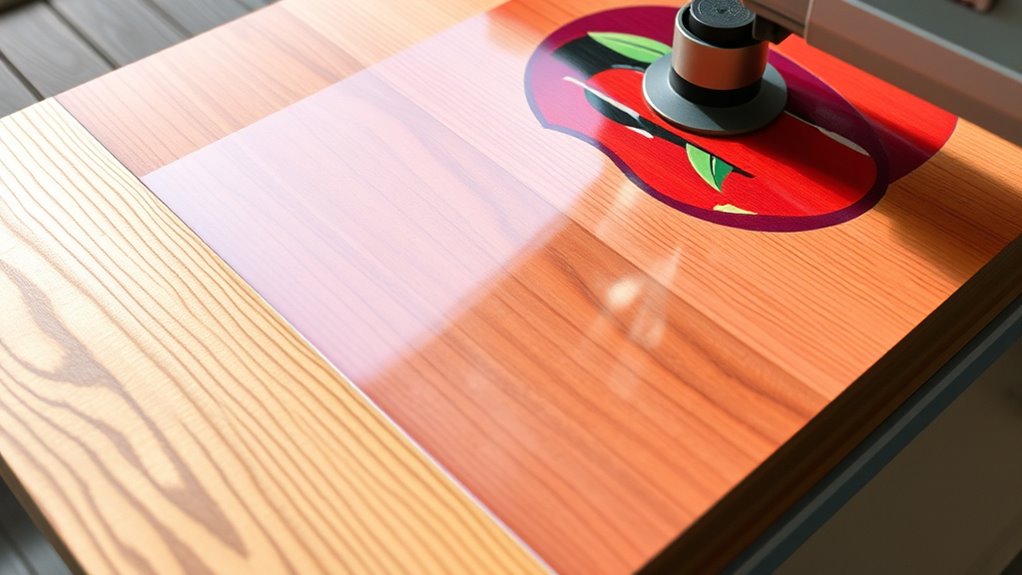
Choosing the right vinyl is essential for achieving durable and attractive results on wood surfaces. You’ll want to go with heat transfer vinyl (HTV) specifically designed for rough or porous materials, as it adheres better to wood’s texture. Matte or textured HTV works well because it hides imperfections and grips wood firmly.
You might also consider patterned or glitter vinyl for decorative projects, but verify they’re labeled for heat pressing on wood. Avoid thin, delicate vinyl types that can peel or crack easily on uneven surfaces. Adhesive vinyl isn’t suitable since it won’t withstand the heat press process on wood.
Preparing Wood for Heat Pressing Vinyl
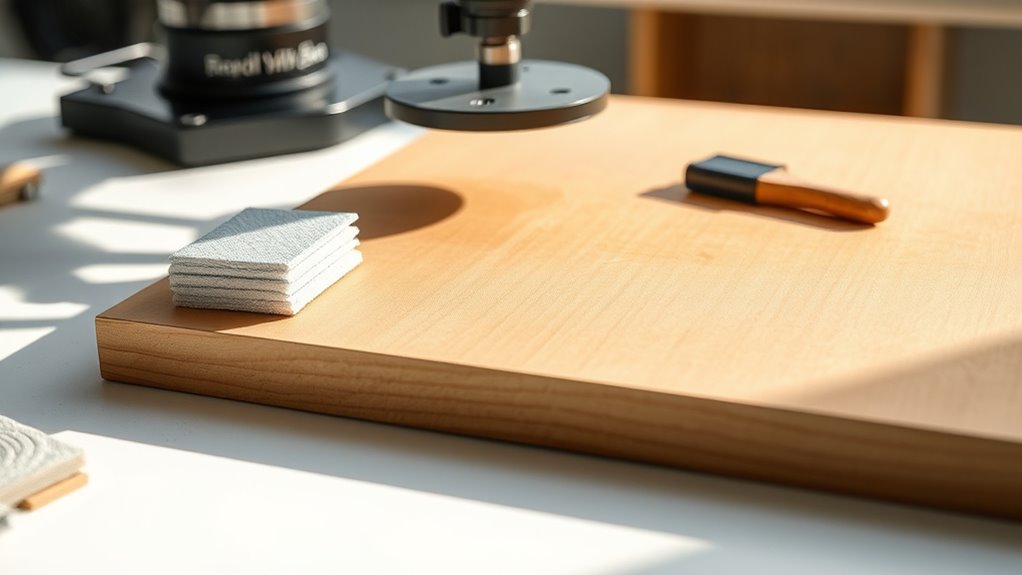
Selecting the right vinyl sets the stage, but preparing your wood properly guarantees the vinyl adheres smoothly and lasts longer. Start by sanding the wood surface with fine-grit sandpaper to create a smooth, even base. This removes any rough patches or coatings that might interfere with adhesion.
After sanding, wipe the wood clean with a damp cloth to remove dust and debris, then let it dry completely. If your wood has knots or resin spots, seal them with a clear primer or wood sealer to prevent discoloration. Finally, verify the wood is flat and free of warps or cracks, as these can affect the vinyl’s bond.
Taking these steps gives you a solid foundation for heat pressing vinyl onto wood.
Safe Heat Press Settings for Wood
To achieve a strong, lasting bond between vinyl and wood, you’ll need to set your heat press to the right temperature, pressure, and time. Generally, keep the temperature between 300°F and 320°F (149°C to 160°C). This range is hot enough to activate the vinyl adhesive without scorching the wood.
Apply medium pressure—just enough to press the vinyl firmly onto the surface without damaging the wood. Aim for a pressing time of about 10 to 15 seconds to ensure proper adhesion. Avoid longer heat exposure to prevent wood warping or discoloration.
Always test on a scrap piece first to dial in the perfect settings for your specific wood type and vinyl. This approach helps you get crisp, durable results every time.
How to Protect Wood From Heat Damage When Heat Pressing Vinyl
To protect your wood from heat damage, always use protective heat barriers like parchment paper or a Teflon sheet between the press and the surface. You’ll also want to carefully control the temperature and timing to avoid scorching or warping.
These simple steps help guarantee your project looks great without harming the wood.
Use Protective Heat Barriers
When you’re heat pressing vinyl onto wood, protecting the surface from heat damage is essential to maintain its appearance and integrity. Using a protective heat barrier is one of the best ways to shield the wood during the pressing process. You can place a Teflon sheet, parchment paper, or a thin silicone mat directly over the vinyl design before applying heat.
This barrier evenly distributes heat, prevents scorching, and stops the heat press from sticking to the vinyl or wood. Avoid using materials that might melt or leave residue. Always guarantee the barrier covers the entire design area and overlaps slightly onto the wood.
Control Temperature And Timing
Although heat is necessary to transfer vinyl onto wood, you’ll need to carefully regulate both temperature and timing to avoid damaging the surface. Start by setting your heat press to a lower temperature than you would for fabric—around 300°F (150°C) is usually safe. Keep the pressing time short, typically between 10 to 15 seconds, to prevent scorching or warping the wood.
Always test on a scrap piece first to fine-tune your settings. Using a heat-resistant barrier like parchment paper helps distribute heat evenly, but don’t rely on it alone. Monitor your process closely, and adjust time or temperature if you notice any discoloration or warping.
Step-by-Step Guide to Heat Pressing Vinyl on Wood
To get the best results, start by preparing your wood surface to guarantee it’s smooth and clean. Next, set your heat press to the right temperature and time settings for wood and vinyl.
Finally, apply your vinyl carefully to avoid bubbles and ensure a strong bond.
Preparing Wood Surface
Before you apply heat press vinyl to wood, you need to guarantee the surface is clean, smooth, and dry. Start by sanding the wood with fine-grit sandpaper to remove any rough spots or splinters. Wipe away all dust and debris using a damp cloth, then let the wood dry completely.
If the wood has knots or uneven textures, consider filling them with wood filler and sanding again once dry. For best results, make certain the surface is flat and free from oils, paint, or varnish that could prevent vinyl adhesion. A quick wipe with isopropyl alcohol can help remove any remaining residues.
Taking these steps will prepare your wood surface perfectly, ensuring your vinyl sticks well and your project looks professional.
Heat Press Settings
Once your wood surface is perfectly prepped, you can focus on setting your heat press correctly for vinyl application. Getting the temperature, pressure, and time right guarantees your vinyl adheres well without damaging the wood. Typically, you’ll want moderate heat and firm pressure.
Avoid excessive heat, which can scorch the wood or warp the vinyl.
Here’s a quick reference for your heat press settings:
| Setting | Recommended Value |
|---|---|
| Temperature | 320°F (160°C) |
| Pressure | Medium to Firm |
| Time | 10-15 seconds |
Adjust as needed for your specific vinyl type and wood thickness, but these settings are a reliable starting point for most projects.
Applying Vinyl Properly
How do you guarantee your vinyl sticks perfectly to wood without bubbles or wrinkles? Start by cleaning the wood surface thoroughly to remove dust and oils. Position your vinyl design carefully, using transfer tape to keep everything aligned.
Preheat your heat press to the recommended temperature, then place the wood with vinyl inside. Apply firm, even pressure for the set time, avoiding any movement. After pressing, let the wood cool slightly before peeling off the transfer tape slowly at a 45-degree angle.
If you notice any edges lifting, repress briefly with light pressure. This careful process ensures your vinyl adheres smoothly, creating a crisp, lasting design on wood every time.
Troubleshooting Common Heat Pressing Problems on Wood
Although heat pressing vinyl on wood is straightforward, you may encounter issues like bubbling, peeling, or uneven adhesion. If you notice bubbles, try applying steady, even pressure with your heat press and guarantee the wood surface is smooth and clean before pressing.
Peeling usually happens when the temperature is too low or the pressing time is too short—double-check your heat press settings and increase the time or temperature slightly if needed. Uneven adhesion can result from inconsistent heat distribution or moisture in the wood. Make sure your wood is dry and use a heat press with an even surface.
If problems persist, adjusting pressure or reapplying the vinyl after prepping the wood surface with light sanding can help improve results.
Alternatives to Heat Pressing Vinyl on Wood
If you’re looking for different ways to apply vinyl to wood, you don’t have to rely solely on heat pressing. One popular alternative is using strong adhesives or wood glue, which can securely bond vinyl without heat. You can also use transfer tape to position your design, then press firmly by hand or with a roller for even adhesion.
Another method is decoupage, where you seal the vinyl onto the wood with a clear coat like Mod Podge or polyurethane, protecting it while ensuring it sticks well. Additionally, consider using adhesive vinyl designed specifically for wood surfaces; these often stick better without heat.
These alternatives give you flexibility and can simplify your project when heat pressing isn’t ideal or possible.
Frequently Asked Questions
Can You Use a Regular Iron Instead of a Heat Press on Wood?
You can use a regular iron on wood, but it’s less effective than a heat press. You’ll need firm, even pressure and careful heat control to avoid burning the wood or vinyl.
Take your time!
How Long Does Heat-Pressed Vinyl on Wood Typically Last?
Heat-pressed vinyl on wood typically lasts several years if you seal it properly and avoid harsh weather or excessive wear.
You’ll want to use a protective coating to keep your design looking fresh and vibrant longer.
Is Heat Pressing Vinyl on Wood Eco-Friendly?
Think of heat pressing vinyl on wood like planting a tree in your backyard—it’s eco-friendly if you choose sustainably sourced wood and low-toxic vinyl.
You’re reducing waste and adding a personal touch without harming the planet.
Can Heat Pressing Vinyl on Wood Cause Discoloration Over Time?
Yes, heat pressing vinyl on wood can cause discoloration over time, especially if you use high temperatures or press for too long.
You should use proper settings and test small areas to avoid damage and fading.
What Types of Wood Are Best for Heat Pressing Vinyl?
You’ll want smooth, flat woods like maple, birch, or basswood—they’re practically begging for vinyl! Their tight grain and even surface help your heat press stick perfectly, making your designs pop without warping or burning the wood.
Conclusion
Now that you know how to heat press vinyl on wood safely and effectively, why not try your hand at creating personalized wooden crafts? With the right vinyl, proper wood prep, and careful heat settings, you can achieve stunning results without damaging your project.
Remember to protect your wood and follow each step closely—your creativity deserves a flawless finish. Ready to bring your ideas to life with heat-pressed vinyl on wood? Using heat press vinyl on wood opens up endless possibilities for custom designs and unique projects.