Can You Heat Press Windbreakers
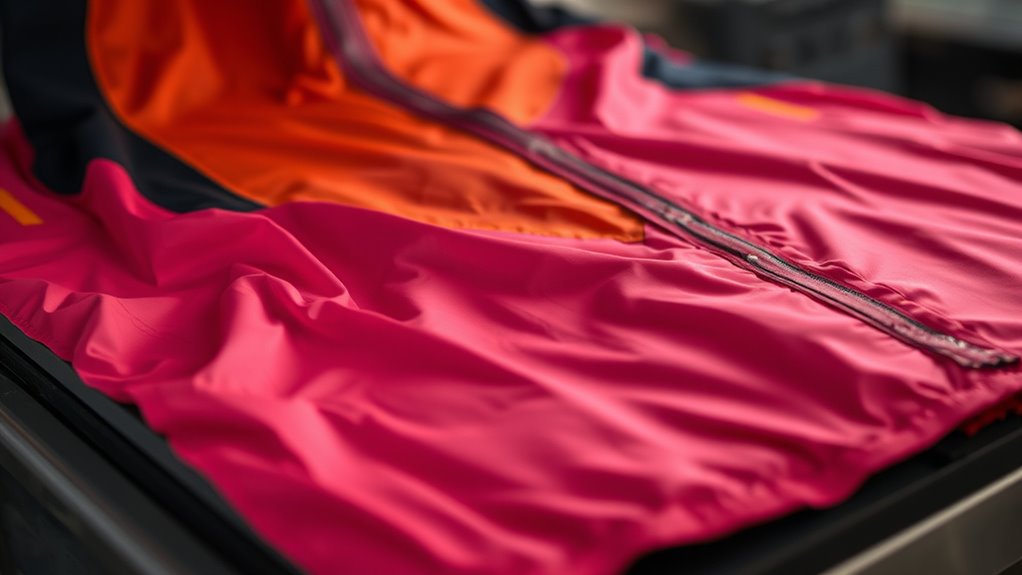
Yes, you can heat press windbreakers, but it’s important to use the right techniques to protect their delicate synthetic fabrics.
Heat pressing windbreakers requires low temperatures, usually below 320°F, and short pressing times to avoid melting or damaging the material. Using improper heat or pressing too long can ruin your jacket.
Always protect the windbreaker fabric with a Teflon sheet or parchment paper during the process.
Avoid pressing directly over seams or zippers, as these areas are more prone to damage.
Testing on a small, inconspicuous area first helps ensure good results without ruining your jacket.
If you want to explore how to get perfect, long-lasting designs on windbreakers, there’s more to learn.
Key Takeaways
- Windbreakers made from synthetic fabrics can be heat pressed but require careful temperature and time control to avoid damage.
- Use low heat settings (below 320°F) and short pressing times (10-15 seconds) to protect fabric and coatings.
- Always place protective layers like Teflon sheets or parchment paper between the heat press and the windbreaker.
- Test on a small, hidden area first to check heat tolerance and prevent warping or melting.
- Proper post-press care includes gentle washing and avoiding high heat to maintain design quality and fabric integrity.
What Materials Are Windbreakers Made Of
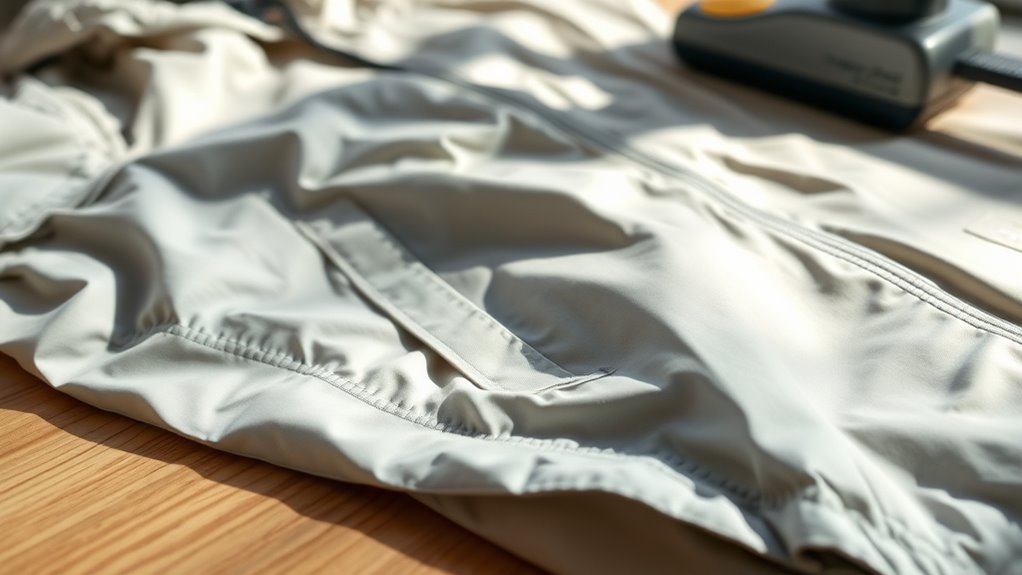
Although windbreakers come in various styles, they’re typically made from lightweight synthetic fabrics like nylon or polyester. When you pick up a windbreaker, you’ll notice it feels smooth and slightly shiny, thanks to these materials. Nylon and polyester are popular because they resist wind and water, keeping you comfortable in unpredictable weather.
You’ll also find some windbreakers lined with mesh or a thin layer of fleece for added breathability or warmth. Sometimes, manufacturers blend these fabrics with spandex or elastane to give you more stretch and flexibility. Understanding these materials helps you handle your windbreaker properly, especially if you plan to heat press designs onto it.
Knowing the fabric type guarantees you avoid damage and get the best results.
How Heat Can Damage Windbreaker Fabrics
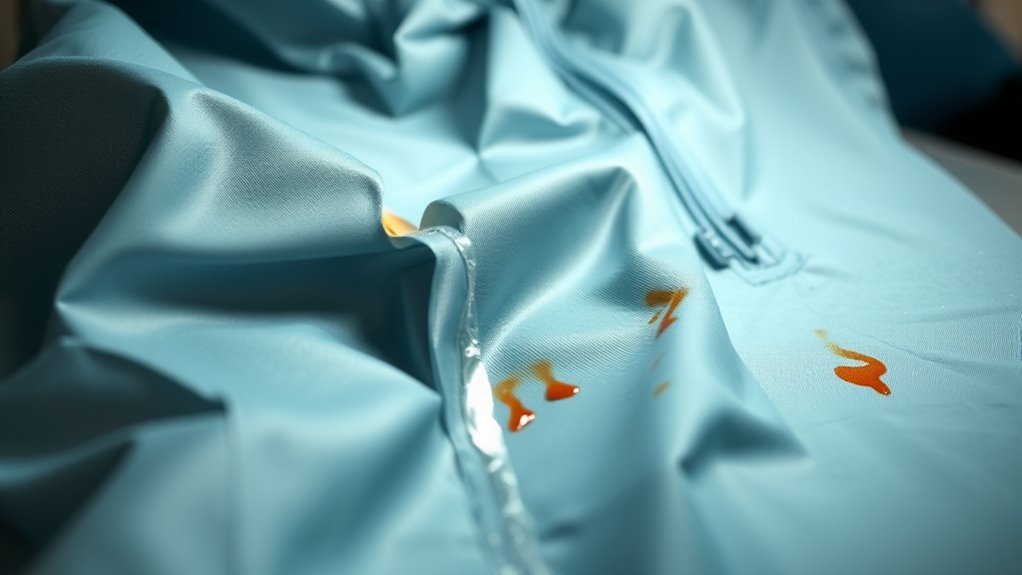
If you apply too much heat to windbreaker fabrics, you risk melting or warping the synthetic fibers like nylon and polyester. These materials are sensitive to high temperatures, which can cause permanent damage and ruin the jacket’s appearance and function. You’ll want to avoid heat that’s too intense or applied for too long.
Excessive heat can melt or warp synthetic fibers, damaging your windbreaker’s look and durability.
Here’s what can happen when heat damages windbreaker fabrics:
- Fibers can melt, leaving shiny, hardened patches.
- Fabric may shrink or lose its shape.
- The material’s water-resistant coating might degrade.
- Seams and stitching can weaken or distort.
Understanding these risks helps you protect your windbreaker while heat pressing. Always use appropriate temperature settings to maintain fabric integrity.
Safety Considerations When Heat Pressing Windbreakers
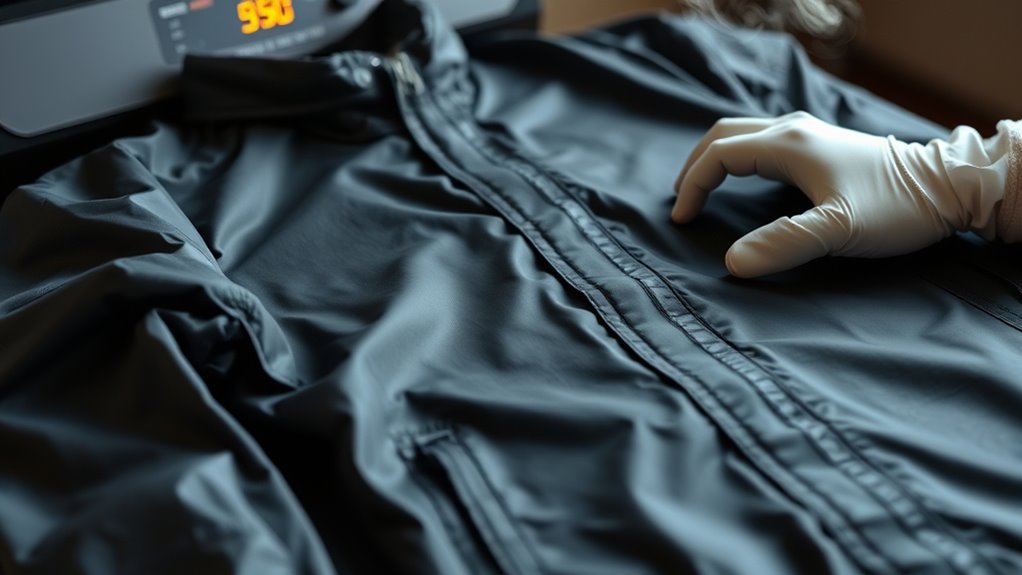
Heat can easily damage your windbreaker if not managed carefully, so taking safety precautions during heat pressing is key to preserving the fabric. Always test on a small, hidden area first to verify the fabric reacts well to heat. Use a protective barrier like a Teflon sheet or parchment paper between the heat plate and your windbreaker to prevent scorching or melting.
Make certain your heat press machine is clean to avoid transferring residue onto the fabric. Work in a well-ventilated space to avoid inhaling any fumes released during pressing. Never leave the heat press unattended while it’s on.
Finally, handle your windbreaker carefully after pressing, as the fabric and transferred designs may be hot and delicate immediately after heat application.
Picking the Best Heat Press Temperature for Your Windbreaker
When you choose the right temperature for your windbreaker, you protect the fabric while ensuring the design adheres properly. Different materials require different heat settings, so it’s essential to know what your windbreaker is made of. Most windbreakers respond well to medium heat, generally between 300°F and 320°F.
Avoid going too high to prevent melting or damaging the fabric’s water-resistant coating.
Consider these tips to help pick the best temperature:
- Check the garment’s care label for heat tolerance.
- Start with a lower temperature and test on a scrap piece.
- Use a heat press with accurate temperature controls.
- Adjust time and pressure if the design isn’t sticking well.
This approach helps you achieve a durable, professional finish without ruining your windbreaker.
Best Heat Transfer Types for Windbreakers
Choosing the right temperature sets the stage, but selecting the best heat transfer type makes all the difference in how your windbreaker looks and lasts. For windbreakers, you want transfers that handle lightweight, often slick fabrics without damaging them. Vinyl heat transfers are a top choice; they offer durability and vibrant colors, plus they adhere well to synthetic materials common in windbreakers.
Another great option is sublimation, which infuses the ink directly into polyester fibers, ensuring a smooth, long-lasting finish that won’t crack or peel. If your windbreaker has a nylon shell, opt for screen-printed transfers designed for delicate fabrics to avoid heat damage. Avoid heavy or thick transfers, as they can make the fabric stiff and uncomfortable.
Select the right type ensures your design stays sharp and wearable.
Preparing Windbreakers for Heat Pressing
Before you heat press your windbreaker, make sure it’s clean and completely dry to avoid any damage or uneven pressing. Choose the right temperature and pressure settings based on the fabric to get the best results.
Don’t forget to use protective transfer sheets to keep both your garment and the heat press safe.
Cleaning And Drying Fabric
Since heat pressing relies on a clean, dry surface for proper adhesion, you’ll need to wash and thoroughly dry your windbreaker before starting. Dirt, oils, or moisture can interfere with the heat transfer process, leading to poor results. Start by checking the care label to avoid damaging the fabric.
Use a mild detergent and wash on a gentle cycle to preserve the material’s integrity. Avoid fabric softeners, as they leave residues that affect adhesion.
After washing, dry your windbreaker completely using these tips:
- Air dry or tumble dry on low heat to prevent shrinkage or damage
- Make sure no damp spots remain, especially in seams or folds
- Avoid ironing before pressing to prevent unwanted creases
- Smooth out wrinkles manually for an even pressing surface
Selecting Appropriate Heat Settings
Although windbreakers come in various materials, you’ll need to adjust your heat press settings carefully to avoid damaging the fabric. Start by checking the care label for temperature recommendations, as most windbreakers are made from synthetic fabrics like nylon or polyester that require lower heat. Set your heat press to a medium temperature, usually between 270°F and 320°F (130°C to 160°C).
Avoid high heat settings, which can melt or warp the fabric. Also, control the pressing time—keep it brief, around 10 to 15 seconds, to prevent scorching. Use medium pressure to ensure proper adhesion without crushing the windbreaker’s texture.
Using Protective Transfer Sheets
Getting your heat press settings right is just one part of protecting your windbreaker during customization. Using protective transfer sheets acts as a vital barrier that prevents direct heat and pressure from damaging the fabric or design. Before pressing, place a Teflon sheet or parchment paper over your windbreaker to shield it from scorch marks and adhesive bleed-through.
These sheets also help evenly distribute heat, ensuring a crisp, clean transfer without melting or warping the material.
When preparing your windbreaker, remember to:
- Choose a transfer sheet compatible with your heat press
- Cut the sheet to fit the design area precisely
- Replace the sheet if it becomes wrinkled or worn
- Avoid reusing sheets that have residual adhesive buildup
This simple step safeguards your windbreaker and improves your final result.
Step-by-Step Heat Pressing Guide for Windbreakers
Before you start heat pressing your windbreaker, make certain you have all the necessary tools ready, including a heat press machine, heat-resistant tape, and protective sheets.
Follow this simple guide to get the best results:
| Step | Action | Tip |
|---|---|---|
| 1 | Preheat your machine | Set to 320°F (160°C) |
| 2 | Position the windbreaker | Smooth out wrinkles |
| 3 | Place transfer and tape | Use heat-resistant tape |
| 4 | Press for 15 seconds | Apply medium pressure |
Make sure to lift the heat press gently to avoid shifting the design.
Let the windbreaker cool before removing the transfer sheet for a clean finish.
This method ensures your windbreaker looks sharp and the design lasts longer.
Protecting Windbreakers From Heat Press Damage
When you heat press a windbreaker, you need to take extra care to prevent damage caused by excessive heat or pressure. Windbreakers, often made from delicate synthetic fabrics, can easily melt, warp, or lose their water-resistant properties if mishandled. To protect your windbreaker, always monitor the temperature and time settings carefully and use protective layers like Teflon sheets or parchment paper.
Heat pressing windbreakers requires careful temperature control and protective layers to avoid fabric damage.
Additionally, avoid pressing over zippers or seams that might cause uneven pressure.
Here are key tips to protect your windbreaker during heat pressing:
- Use a lower temperature setting (usually below 320°F).
- Limit pressing time to 10-15 seconds.
- Place a protective sheet between the press and fabric.
- Avoid direct contact with zippers or embellishments to prevent damage.
Following these steps keeps your windbreaker looking great and functional.
Troubleshooting Heat Pressing Issues on Windbreakers
Even with careful temperature control and protective layers, you might still face issues while heat pressing windbreakers. If you notice peeling or uneven adhesion, first check if the temperature or pressure was too low—adjusting these settings slightly can improve results.
Wrinkling often means the fabric wasn’t smooth before pressing, so always flatten the windbreaker carefully. If scorch marks appear, reduce the heat or use a thicker protective sheet. Sometimes, the transfer material itself causes problems, so verify it’s compatible with your windbreaker’s fabric.
If the design shifts after pressing, increase pressure or extend pressing time by a few seconds. Taking these troubleshooting steps helps you achieve crisp, durable heat press results without damaging your windbreaker.
Caring for Heat Pressed Windbreakers
Although heat pressing creates a durable design, you’ll want to handle your windbreaker carefully to keep it looking sharp. Proper care guarantees your design stays vibrant and intact for a long time. Avoid harsh washing and drying techniques that might damage the print or fabric.
Follow these tips to care for your heat pressed windbreaker:
- Wash inside out on a gentle cycle with cold water to protect the design.
- Use mild detergent; avoid bleach or fabric softeners that can weaken the adhesive.
- Air dry or tumble dry on low heat to prevent heat press peeling or cracking.
- Iron inside out on low heat if necessary, never directly on the design to avoid damage.
Alternatives to Heat Pressing Windbreakers
If you’re looking for alternatives to heat pressing windbreakers, screen printing offers durable, vibrant designs that hold up well over time. You can also explore vinyl transfers, which provide a flexible and customizable option without heavy heat.
Both methods give you creative freedom while protecting your jacket’s material.
Screen Printing Benefits
Why consider screen printing as an alternative to heat pressing windbreakers? It offers durability and vibrant colors that withstand frequent use and washing, which heat pressing might not guarantee. Screen printing is also ideal for bulk orders, letting you save time and money without compromising quality.
Plus, it adheres well to synthetic fabrics commonly used in windbreakers, ensuring your design stays intact.
Here’s why screen printing stands out:
- Produces long-lasting, fade-resistant prints
- Handles complex, multi-color designs efficiently
- Suitable for large volume production with cost benefits
- Minimizes fabric damage compared to high-heat methods
If you want a reliable, professional finish on your windbreakers, screen printing is a smart choice.
Vinyl Transfer Options
Wondering how vinyl transfers stack up as an alternative to heat pressing windbreakers? Vinyl transfers offer a flexible, durable option that can handle windbreaker materials well without the risk of damage from excessive heat. You’ll find they adhere nicely and maintain vibrant colors after multiple washes.
Plus, vinyl allows for detailed designs and quick application, making it ideal for small batches or custom orders.
Here’s a quick comparison of vinyl transfer options:
| Type | Durability | Best Use Case |
|---|---|---|
| Heat Transfer | High | Smooth fabrics |
| Adhesive Vinyl | Medium | Temporary graphics |
| Stretch Vinyl | High | Athletic wear |
| Printable Vinyl | Medium-High | Detailed, multicolor |
| Reflective | High | Safety wear |
Choose the type that fits your windbreaker and design needs.
Frequently Asked Questions
Can You Heat Press Windbreakers With Zippers or Pockets?
You can heat press windbreakers with zippers or pockets, but avoid pressing directly over those areas. Use a protective sheet and press around them carefully to prevent damage and guarantee your design adheres properly.
How Long Does a Heat Press Transfer Typically Last on Windbreakers?
You know what they say, “A stitch in time saves nine.” Typically, a heat press transfer on windbreakers lasts several years if you care for it properly, avoiding excessive washing and high heat during cleaning.
Can You Wash Heat-Pressed Windbreakers Immediately After Pressing?
You shouldn’t wash heat-pressed windbreakers immediately after pressing. Give the transfer at least 24 hours to fully cure.
Washing too soon can cause peeling or fading, so wait to keep your design looking sharp.
Is It Possible to Remove a Heat Press Design From a Windbreaker?
Yes, you can remove a heat press design from a windbreaker using heat and a scraper, but it’s tricky. You’ll need to reheat the area carefully and peel off the design without damaging the fabric underneath.
Be patient and work slowly to avoid tearing the windbreaker. Using a low heat setting is recommended to prevent melting or warping the material. Always test a small area first to make sure the fabric can handle the process.
Can Heat Pressing Affect the Water Resistance of Windbreakers?
About 70% of windbreakers lose some water resistance when exposed to high heat. You’ll want to use a low temperature and quick press to avoid damaging the coating and keep your jacket’s waterproof qualities intact.
Conclusion
You can heat press windbreakers, but you need to be cautious since 60% of windbreakers are made from delicate synthetic fabrics like nylon or polyester, which can easily melt or warp under high heat. Always use the right temperature and protective layers to avoid damage.
With careful handling, you can customize your windbreaker without ruining it. Remember, a little patience and the right technique go a long way in keeping your gear looking great.
In conclusion, heat pressing windbreakers is possible if you follow proper steps and use appropriate settings. Taking care to protect delicate materials ensures your customization turns out perfect without damage.