Can You Heat Press Wood
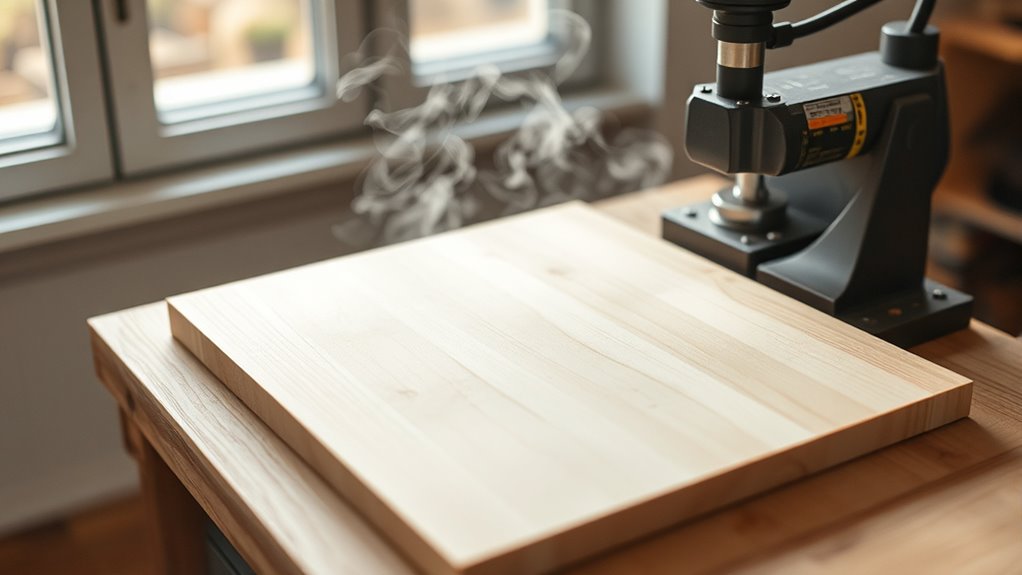
Yes, you can heat press wood effectively by applying controlled heat and moderate pressure. Heat pressing wood allows you to shape it or transfer designs with precision. It’s important to use the right temperature and pressure settings to avoid damaging the material.
Use lower temperatures, around 300-350°F, and avoid excessive pressure to prevent warping or scorching. Choose woods like birch or maple, which respond well to heat pressing.
Sand and clean surfaces first to ensure the best adhesion and finish.
Always test settings on scrap pieces before working on your final project. With the right preparation and technique, you’ll achieve crisp, durable results. Keep going to discover how to tailor the process perfectly for your wood projects.
Key Takeaways
- Heat pressing wood is possible by applying controlled heat and pressure to shape or imprint designs effectively.
- Proper temperature (300°F–350°F) and moderate pressure (40-60 psi) prevent damage and ensure good adhesion.
- Wood type, moisture content, and surface preparation significantly affect heat press results and durability.
- Gradual heating and testing on scrap wood help avoid scorching, warping, or ineffective transfers.
- Sanding, cleaning, and sealing wood improve heat distribution and create crisp, long-lasting finishes.
Can You Heat Press Wood?
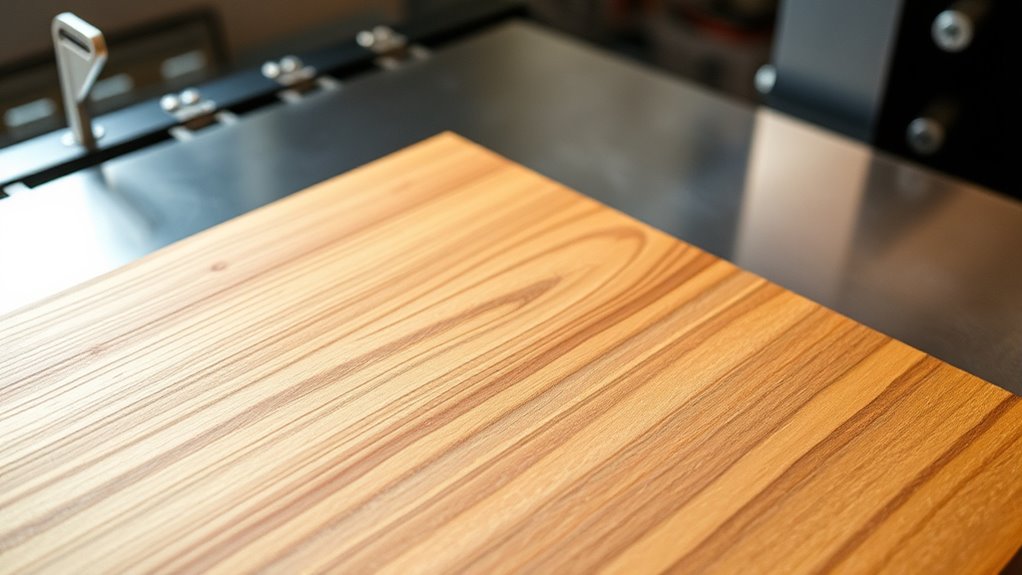
Although heat pressing is more common with materials like fabric and metal, you can definitely heat press wood. When you apply heat and pressure to wood, it becomes more pliable, allowing you to shape or imprint designs onto it. This technique works well for laminating veneers or creating curved wooden pieces without cracking.
You’ll need a heat press machine capable of reaching the right temperature and pressure settings for wood. Just be mindful of the wood type and moisture content, as these factors influence how well the wood responds. Heat pressing wood can save you time and give you smooth, professional results.
How Is Heat Pressing Wood Different From Fabric?
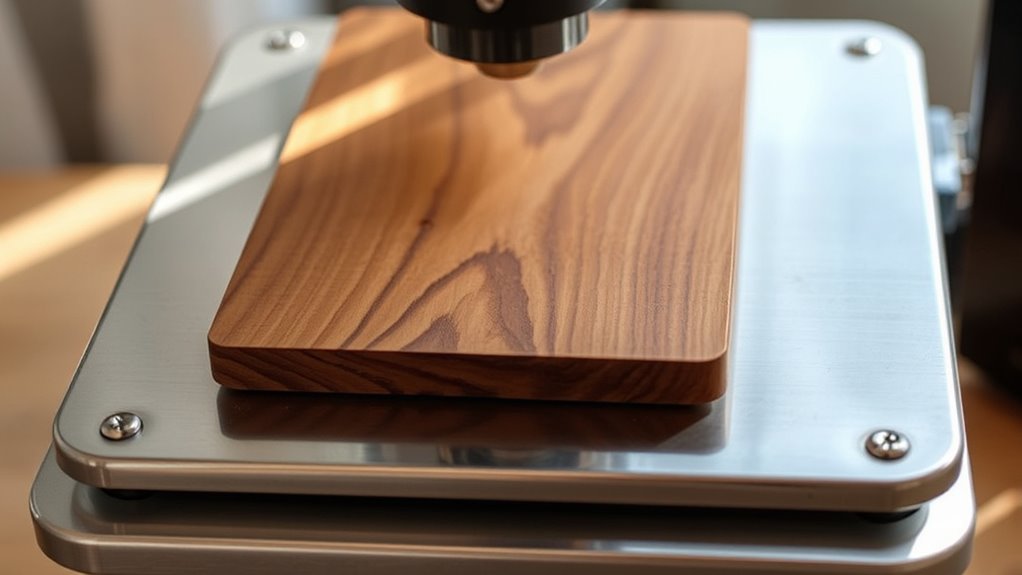
When you heat press wood, you’ll notice it behaves quite differently from fabric because wood is rigid and less flexible. Unlike fabric, which easily molds to the heat press’s shape, wood requires careful pressure control to avoid cracking or warping. You can’t just apply high heat and pressure quickly; wood needs gradual heating to prevent damage.
Also, fabric absorbs heat faster and can withstand higher temperatures, while wood is more sensitive and demands lower heat settings to avoid burning or discoloration. Unlike fabric’s porous fibers, wood has a dense surface that affects heat transfer, so you’ll often need longer pressing times. Understanding these differences helps you adjust your technique for successful wood pressing without ruining your material.
What Types Of Wood Are Best For Heat Pressing
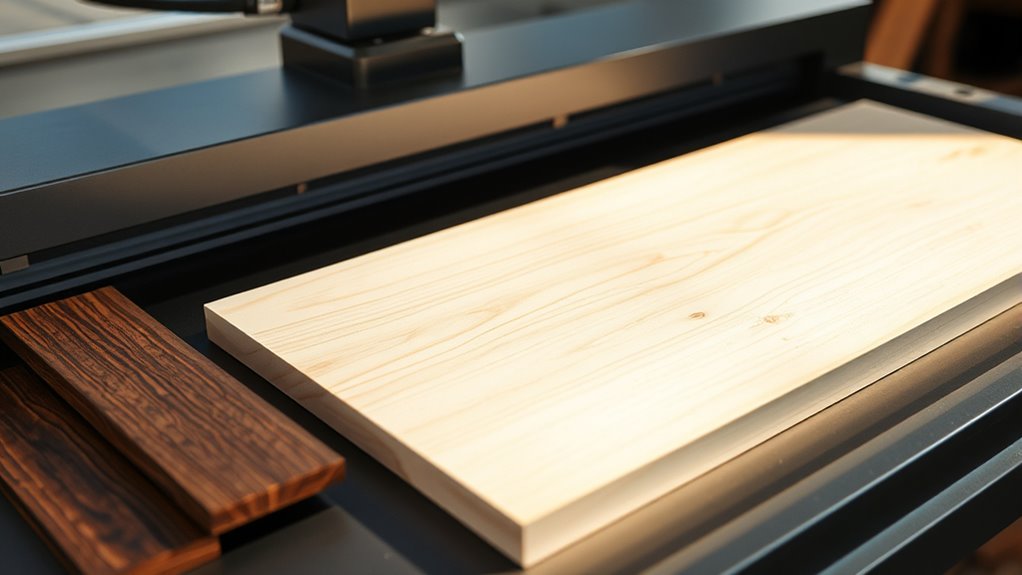
Choosing the right type of wood is essential because not all woods respond well to heat pressing. You want a wood that can withstand heat and pressure without warping or cracking. Here are three types that work best:
- Birch – It’s smooth, sturdy, and takes heat well, making it ideal for detailed designs.
- Maple – Known for its hardness and fine grain, maple resists heat damage and provides a clean surface.
- Pine – While softer, pine works if you’re cautious with temperature and pressure, offering a rustic look.
Avoid woods with high resin content like cedar, as they can release odors and bubbles during pressing. Sticking to these woods ensures your project turns out crisp and durable every time.
Ideal Temperature And Pressure Settings For Heat Pressing Wood
Now that you know which woods handle heat pressing best, it’s important to set the right temperature and pressure to get clean, lasting results. Typically, you’ll want to keep the heat press between 300°F and 350°F. Temperatures higher than 350°F risk scorching the wood, while lower heat might not activate adhesives or finishes properly.
As for pressure, moderate to firm pressure works best—around 40 to 60 psi. Too much pressure can damage the wood surface, and too little won’t ensure proper contact. Remember, every wood type reacts differently, so start with these settings and adjust slightly if needed.
Consistent temperature and pressure help avoid warping and ensure your wood stays smooth and intact throughout the process.
Can You Transfer Designs Onto Wood With A Heat Press?
Although heat pressing is commonly associated with fabrics, you can definitely transfer designs onto wood using this method. You’ll need the right materials and technique to get a clear, lasting image. Here’s how you can do it:
- Prepare the wood surface by sanding it smooth and cleaning off any dust or debris.
- Use heat transfer paper designed for hard surfaces, placing your design face down on the wood.
- Set your heat press to the appropriate temperature and pressure, usually around 350°F with medium pressure, then press for 60 seconds.
This process allows the ink to embed into the wood’s surface, creating a vibrant, durable design. Just remember to test on scrap wood first to perfect your settings.
Laminating Wood Veneers With A Heat Press
When you want to create a smooth, durable surface on wood, laminating veneers with a heat press offers an efficient solution. You start by selecting a thin wood veneer and an appropriate adhesive, usually a heat-activated glue. Position the veneer carefully on the wood substrate, guaranteeing alignment.
Then, set your heat press to the recommended temperature and pressure specified for your materials—typically around 250°F with medium pressure. Apply heat and pressure for the prescribed time, often between 1 to 5 minutes. The heat activates the adhesive, bonding the veneer securely to the wood.
Once the process is complete, allow the laminated piece to cool under pressure to prevent warping. This method guarantees a consistent bond and a professional finish without using clamps or prolonged drying times.
How Heat Changes Wood Finishes And Sealants
Heat plays a vital role not just in bonding veneers but also in altering the properties of wood finishes and sealants. When you apply heat during pressing, it triggers chemical changes that can improve or damage the finish depending on the temperature and duration.
Heat is crucial in bonding veneers and can chemically transform wood finishes and sealants during pressing.
Here’s how heat affects wood finishes and sealants:
- Softening and curing: Heat can soften finishes like shellac or wax, allowing them to penetrate deeper or cure faster, enhancing durability.
- Color changes: High heat may darken or yellow some finishes, altering the wood’s appearance.
- Sealant breakdown: Excessive heat can degrade certain sealants, causing them to crack or peel, which compromises protection.
You need to control heat carefully to maintain the finish’s integrity while achieving a strong bond.
Essential Tools And Materials For Heat Pressing Wood
Before you start pressing wood, you’ll need to gather the right tools and materials to guarantee a smooth and effective process. First, a reliable heat press machine with adjustable temperature and pressure settings is essential for controlling the heat applied to your wood. You’ll also need heat-resistant gloves to protect your hands during handling.
Use heat-resistant tape or clamps to secure your wood firmly in place. High-quality transfer paper or vinyl works well for transferring designs onto the wood surface. Additionally, prepare a clean, flat workspace and have a silicone or Teflon sheet handy to prevent sticking and assure even heat distribution.
Finally, keep a temperature-resistant timer nearby to monitor pressing duration precisely. With these essentials, you’ll be ready to achieve professional results.
Protecting Wood During Heat Pressing
To protect your wood during heat pressing, you’ll want to use protective barriers like heat-resistant sheets or parchment paper.
It’s also essential to manage the heat and pressure carefully to avoid damaging the wood.
Let’s explore how these steps keep your project safe and flawless.
Using Protective Barriers
Although applying direct heat is essential in wood pressing, you’ll want to use protective barriers to prevent scorching, warping, or unwanted marks. These barriers act as a buffer between the heat press and the wood, ensuring a smooth finish.
Here’s how you can protect your wood effectively:
- Parchment Paper: Place a sheet between the heat plate and wood to shield the surface from direct heat and adhesive residue.
- Silicone Mats: Use these reusable mats to distribute heat evenly and prevent pressure marks.
- Teflon Sheets: These non-stick sheets protect the wood while allowing heat to pass through efficiently.
Using these barriers helps maintain the wood’s integrity and appearance during heat pressing, so your project turns out flawless.
Managing Heat And Pressure
When you manage heat and pressure carefully during wood pressing, you safeguard your project from damage like cracking or warping. Start by setting your heat press to the lowest effective temperature and gradually increase it if necessary. Apply moderate pressure—too much can crush the wood fibers, while too little won’t bond materials properly.
Use a timer to avoid overheating, as prolonged exposure to heat weakens the wood. Always monitor the process closely and adjust settings as needed. Remember, different wood types react differently to heat and pressure, so test on scrap pieces first.
Balancing these factors ensures your wood stays intact, maintains its natural beauty, and achieves the desired finish without compromising strength or appearance.
Common Heat Pressing Mistakes To Avoid
When heat pressing wood, you’ll want to avoid using incorrect temperature settings that can damage the material. Don’t apply too little pressure, or the bond won’t hold properly.
Also, never skip proper wood preparation, as it’s key to getting the best results.
Incorrect Temperature Settings
How do you know if your heat press is set to the right temperature? Getting this wrong can ruin your wood project. Too high, and you risk scorching or warping the wood.
Too low, and your design won’t properly transfer. To avoid incorrect temperature settings, follow these steps:
- Check the recommended temperature for the type of wood and transfer material you’re using. Each combination has an ideal range.
- Calibrate your heat press regularly with an accurate thermometer to ensure the displayed temperature matches the actual heat.
- Test on scrap wood before pressing your final piece. This helps you confirm the temperature setting without risking your project.
Insufficient Pressure Applied
Although many focus on temperature, applying insufficient pressure during heat pressing can seriously undermine your wood project. If you don’t apply enough pressure, the heat transfer won’t bond properly with the wood’s surface, leading to uneven or faded designs. You might notice areas where the transfer didn’t fully adhere or edges that peel away easily.
To avoid this, make sure your heat press applies firm, consistent pressure across the entire wood piece. Don’t guess—adjust the pressure settings according to your press’s guidelines and the wood’s thickness. Remember, too little pressure wastes time and materials, so check the contact between the transfer and wood before pressing.
Getting this right ensures sharp, long-lasting results every time.
Ignoring Wood Preparation
Neglecting to properly prepare your wood before heat pressing can ruin even the best designs. If you skip essential prep steps, your final product might come out uneven or damaged. To avoid this, follow these key tips:
- Sand the Surface: Smooth out rough spots to ensure even heat distribution and better adhesion.
- Clean the Wood: Remove dust, oils, and debris that can interfere with the heat transfer process.
- Condition the Wood: Apply a suitable sealant or primer to prevent moisture absorption and warping during pressing.
Taking these steps helps you get a crisp, vibrant finish and protects your wood from heat damage. Don’t rush preparation—it’s vital for a professional-looking result every time.
Frequently Asked Questions
How Long Does a Heat Press Wood Transfer Typically Last?
A heat press wood transfer typically lasts several years if you take good care of it.
You’ll want to avoid excessive moisture and scratching to keep the design vibrant and intact over time.
Can You Use Heat Pressing on Painted Wood Surfaces?
You can use heat pressing on painted wood, but you’ll want to protect the paint from bubbling or peeling.
Think of it like gently sealing a delicate flower—apply moderate heat and pressure to preserve the surface’s beauty.
Is Heat Pressing Wood Safe for Beginners?
Yes, heat pressing wood is safe for beginners if you follow safety guidelines. You’ll want to use moderate heat, protect your workspace, and practice on scrap wood first.
This helps you avoid burns or damage while building your confidence and skills.
What Safety Precautions Are Needed When Heat Pressing Wood?
You should wear heat-resistant gloves, work in a well-ventilated area, and keep a fire extinguisher nearby. Avoid touching hot surfaces, monitor temperature closely, and never leave the heat press unattended to stay safe.
Can Heat Pressing Cause Wood to Warp or Crack?
Back in the day of knights and castles, you’d know heat pressing can warp or crack wood if you don’t control temperature and pressure. You’ve got to use moderate heat and quick timing to keep it smooth and intact.
Conclusion
You’ve learned that heat pressing wood isn’t as tricky as it sounds—it’s like using a rotary phone in a smartphone world: a bit old-school but surprisingly effective.
By choosing the right wood, temperature, and pressure, you can create stunning designs with ease. Just protect your wood and avoid common mistakes, and you’ll master this craft in no time.
So go ahead, heat press your wood and bring your creative ideas to life! Remember, with the proper technique, heat pressing wood can become a rewarding and enjoyable process.