Can You Laminate With a Cricut Heat Press
You can laminate with a Cricut heat press, but only if you use heat-activated laminating sheets designed specifically for heat pressing.
Using a Cricut heat press for lamination requires careful control of temperature, pressure, and timing to avoid damaging your materials or the laminating sheets.
It’s important to understand that a Cricut heat press is not built like a traditional laminator, so results may be uneven or inconsistent.
For delicate or thicker items, a dedicated laminator is usually a better choice to ensure even coverage and protection.
If you want to get the best results and learn when a heat press is right for lamination, keep exploring these important tips for using your Cricut heat press effectively.
Key Takeaways
- A Cricut heat press can laminate only with heat-activated laminating sheets designed for heat pressing, not traditional laminating pouches.
- It applies direct heat and pressure manually, lacking rollers for even sealing like a dedicated laminator.
- Use medium pressure and 15-30 seconds pressing time, testing on scrap materials to avoid damage or creasing.
- The heat press is best for small, heat-tolerant items; delicate or thick materials require a dedicated laminator.
- Alternatives like self-adhesive sheets, contact paper, or spray sealants offer protective finishes without heat lamination.
Can You Use a Cricut Heat Press for Laminating Projects?
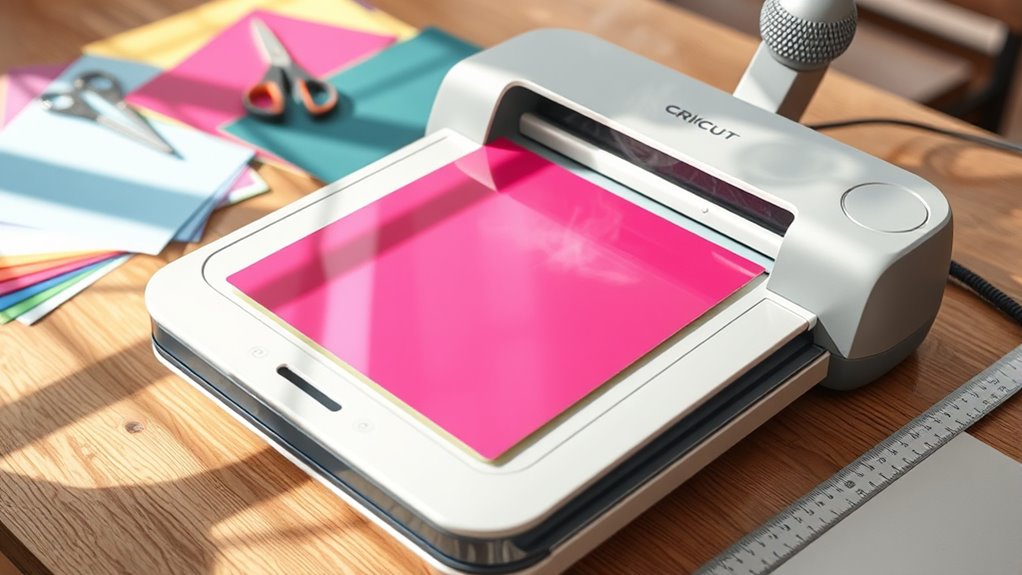
Wondering if you can use a Cricut Heat Press for laminating projects? The short answer is yes, but with some limitations. A Cricut Heat Press applies consistent heat and pressure, which can help seal heat-sensitive laminating pouches around your documents or craft items.
You’ll need to use heat-activated laminating sheets designed for heat pressing rather than cold lamination. Make sure to adjust the temperature and pressing time carefully to avoid melting or damaging the materials. Keep in mind that the heat press won’t feed the laminating pouch like a traditional laminator, so you’ll have to position your item precisely.
How a Cricut Heat Press Differs From a Laminator
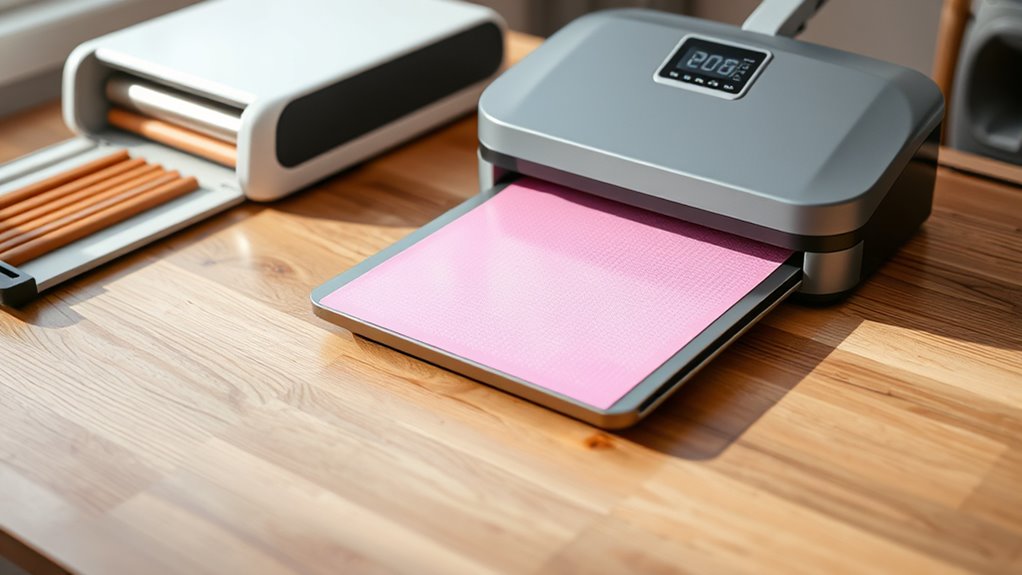
You’ll notice a Cricut heat press and a laminator serve different purposes and apply heat in unique ways. While the heat press uses direct pressure and high heat for crafting transfers, a laminator melts adhesive films to seal documents or photos.
Understanding these differences helps you choose the right tool for your project.
Functional Differences Explained
Although both a Cricut heat press and a laminator use heat, they serve very different purposes and operate in distinct ways. When you use a Cricut heat press, you’re mainly applying intense, direct heat and pressure to transfer designs onto materials like fabric or wood. It’s designed for crafting heat transfers rather than sealing layers.
On the other hand, a laminator’s main job is to encase documents or paper between plastic sheets, bonding them with heat to protect and preserve. You won’t get the same sealing effect from a heat press because it doesn’t have rollers or the mechanism for evenly fusing laminating film. So, while heat is involved in both, their core functions and results are fundamentally different.
Heat Application Methods
Because heat presses and laminators apply heat differently, understanding their methods is key to using them correctly. When you use a Cricut heat press, it applies direct, intense heat and pressure for a set time, perfect for imprinting designs on materials. Laminators, however, use continuous, gentle heat to melt plastic film onto documents or photos, protecting them without pressure.
Here’s how they differ:
- Heat press applies heat and pressure simultaneously—laminators use heat alone.
- Heat presses have precise temperature control; laminators focus on consistent, lower heat.
- Presses work in timed bursts; laminators operate continuously.
- Heat presses target small areas; laminators cover entire sheets evenly.
Knowing this helps you avoid damaging materials by misusing these tools.
Intended Crafting Uses
When you want to create custom apparel or personalized gifts, a Cricut heat press delivers the precise heat and pressure needed to transfer vinyl or sublimation inks onto fabrics or hard surfaces. Unlike a laminator, which seals documents or photos between plastic sheets to protect and preserve them, the heat press is designed to bond materials using heat activation. You won’t use a heat press to laminate paper or protect flat items; instead, it’s perfect for crafting wearable art, mugs, or home décor.
Laminators focus on encapsulating, while heat presses activate adhesives and inks. So, if you’re aiming to create durable, heat-applied designs, a Cricut heat press fits the bill—not for laminating but for applying transfers that last.
What Materials Can You Laminate With a Cricut Heat Press?
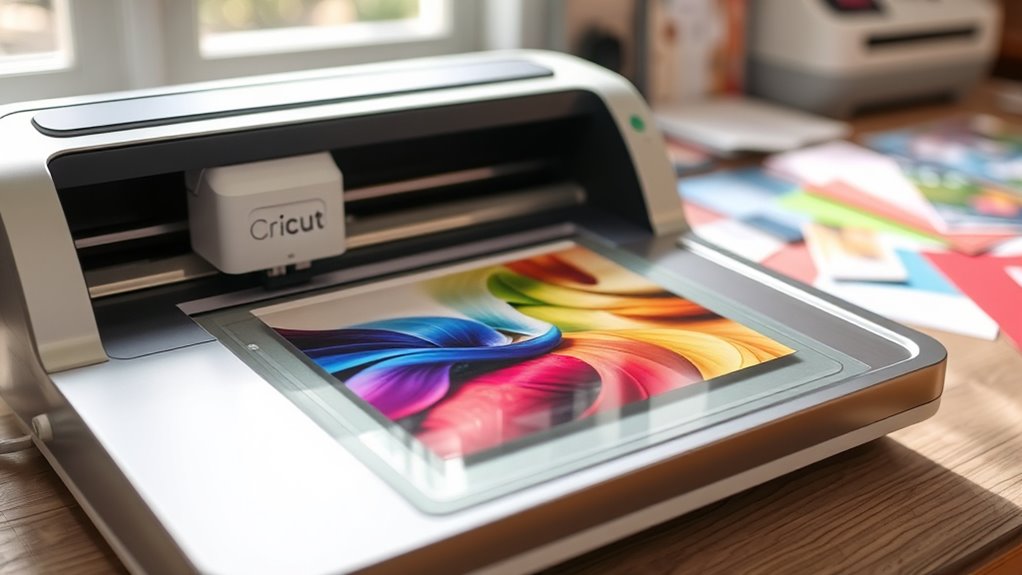
If you want to laminate with a Cricut Heat Press, you’ll need to choose materials that can withstand heat without warping or melting. Not all laminating projects are suitable for this tool, so picking the right materials is key to protect your creations and get great results.
Here are four materials you can confidently laminate using your Cricut Heat Press:
- Heat-resistant laminating pouches designed for home presses
- Cardstock with a smooth, durable finish
- Fabric pieces treated to handle moderate heat
- Printable iron-on transfer sheets that can add protection and shine
Why Laminating Usually Needs Different Equipment Than a Cricut Heat Press
Although a Cricut Heat Press can handle some laminating tasks, it lacks the specialized mechanisms that traditional laminators have for evenly applying pressure and heat. Laminators use rollers to feed your documents through a heated, pressurized system, ensuring consistent coverage and preventing bubbles or wrinkles.
In contrast, a Cricut Heat Press applies heat from one direction and relies on you to apply pressure manually, which makes it harder to achieve a smooth finish. Also, laminators are designed to work with specific laminating pouches that melt evenly and seal tightly.
Since a heat press doesn’t regulate temperature and pressure as precisely, you risk uneven lamination or damage to your materials. For these reasons, laminating usually requires dedicated equipment rather than a Cricut Heat Press.
Alternatives to Laminating With a Cricut Heat Press
Since a Cricut Heat Press isn’t ideal for laminating, you can explore several effective alternatives to protect and preserve your projects. These options offer durability without risking damage to your materials.
A Cricut Heat Press isn’t suited for laminating, but there are safer, durable alternatives to protect your projects.
- Thermal Laminators – They provide a smooth, bubble-free finish and are designed specifically for lamination.
- Self-Adhesive Laminating Sheets – No heat needed, just peel and stick for quick, mess-free protection.
- Clear Contact Paper – Affordable and easy to cut, it shields your work from moisture and wear.
- Spray Sealants – Offer a protective coating that’s perfect for delicate or irregularly shaped items.
Choosing the right method guarantees your creations last longer and stay vibrant, letting you enjoy your projects with confidence.
DIY Lamination Hacks With Your Cricut Heat Press
When you don’t have a traditional laminator on hand, your Cricut Heat Press can still come in handy for some creative DIY lamination hacks. You can use clear laminating sheets combined with parchment paper to protect your designs. Simply place your item between two laminating sheets, cover with parchment paper, and press with your heat press for a few seconds.
This method seals the sheets together, creating a protective layer. Another trick is using contact paper as a budget-friendly alternative; just cut it to size, smooth out bubbles, and heat press briefly to enhance adhesion. Remember, prepping your materials carefully and testing on scraps will help you avoid damage.
These hacks let you protect your projects without needing specialized lamination tools.
Heat Press Settings to Mimic Lamination Effects
To mimic lamination effects with your Cricut heat press, you’ll need to set the right temperature, usually between 300°F and 350°F. Adjust the pressure carefully to avoid damaging your project while ensuring proper adhesion. Timing is key—too long or too short can affect the finish, so finding that sweet spot is essential.
Ideal Temperature Range
How hot should your Cricut heat press get to achieve lamination-like results? You’ll want to set your temperature carefully to protect your material and still get that glossy, sealed finish. Aim for a range between 280°F and 320°F.
This sweet spot ensures the laminating sheets melt just enough to bond without warping or burning.
Follow these tips for the ideal temperature:
- Start at 280°F for delicate or thin materials to avoid damage.
- Increase to 300°F for thicker papers or cardstock for better adhesion.
- Avoid exceeding 320°F as it risks melting laminates excessively.
- Always test a small piece first to find the perfect balance.
With these settings, your Cricut heat press can give you impressive lamination effects every time.
Pressure Adjustment Tips
Although temperature plays a crucial role, adjusting the pressure on your Cricut heat press is just as important to mimic true lamination effects. You want enough pressure to guarantee the laminate adheres smoothly without causing damage or warping.
Start with medium pressure and test on scrap material. Increase pressure gradually if the laminate isn’t sealing well, but avoid max pressure to prevent creases.
| Pressure Level | Effect on Lamination | Recommended Use |
|---|---|---|
| Low | Loose seal, bubbles | Thin or delicate materials |
| Medium | Even adhesion, smooth | Most lamination projects |
| High | Strong bond, risk damage | Thick materials, careful use |
Adjusting pressure thoughtfully helps you get that professional laminated look using your Cricut heat press.
Timing for Best Results
Once you’ve dialed in the right pressure on your Cricut heat press, the next step is timing. Getting this just right guarantees your project mimics the smooth, glossy finish of lamination without damage. Too short, and your layers won’t bond; too long, and you risk scorching or warping.
Follow these timing tips for flawless results:
- Start with 15 seconds and test on a scrap piece to avoid mistakes.
- Increase in 5-second increments if bonding isn’t secure.
- Avoid exceeding 30 seconds to prevent overheating.
- Always allow the item to cool fully before handling to set the finish.
Mastering timing will make your heat press projects shine with that perfect laminated look every time.
Protecting Your Cricut Heat Press During Lamination Attempts
Since lamination involves heat and pressure, you need to take extra care to protect your Cricut heat press from potential damage. Using protective layers and adjusting settings prevents wear and maintains performance. Always avoid direct contact between laminating sheets and the heat plate.
Here’s a quick guide to keep your heat press safe:
| Action | Purpose |
|---|---|
| Use Teflon sheets | Prevents sticking and damage |
| Adjust temperature settings | Avoids overheating |
| Limit press time | Protects heat plate and materials |
| Clean heat plate regularly | Removes residue and buildup |
| Avoid sharp tools nearby | Prevents surface scratches |
When to Choose a Dedicated Laminator Instead of a Heat Press
You’ll want to use a dedicated laminator when your project involves heat-sensitive materials that could get damaged by a heat press. Laminators also handle thicker documents or multiple layers more easily than a heat press.
Choosing the right tool guarantees your laminating job comes out smooth and protected.
Heat Sensitivity Considerations
Although a Cricut heat press offers versatile heat application, it’s not always the best choice for laminating heat-sensitive materials. When your project involves delicate papers, photos, or fabrics, excessive heat can cause warping, discoloration, or damage. You need to be cautious and sometimes opt for a dedicated laminator that uses lower, controlled heat settings.
Consider these points before using a heat press for laminating:
- You risk ruining precious keepsakes with too much heat.
- Uneven pressure can lead to bubbles or creases.
- Certain laminating films won’t withstand high temperatures.
- A dedicated laminator offers safer, gentle adhesion for fragile items.
Choosing the right tool protects your work and keeps your projects looking perfect.
Laminating Thickness Limits
How thick can your materials be before a Cricut heat press struggles to laminate them effectively? Generally, heat presses handle thin to moderately thick items, but when thickness exceeds about 1/8 inch, they may deliver uneven pressure and heat.
That’s when a dedicated laminator is your best bet. Laminators are designed to accommodate various thicknesses smoothly, ensuring your project stays perfect.
Here’s a quick guide to help you decide:
| Thickness (inches) | Heat Press Performance | Laminator Recommendation |
|---|---|---|
| 0.01 – 0.03 | Excellent | Optional |
| 0.04 – 0.08 | Good | Recommended |
| 0.09 – 0.12 | Fair | Strongly Recommended |
| 0.13 – 0.20 | Poor | Necessary |
| Over 0.20 | Not Feasible | Essential |
Choose wisely to protect your materials and results.
Finishing Cricut Heat Press Projects Without Lamination
When you skip lamination in your Cricut heat press projects, several alternative finishing techniques can help protect and enhance your designs. You don’t have to worry about durability or appearance slipping just because you skip lamination. Instead, try these methods to keep your creations looking sharp and lasting longer:
- Use Heat-Resistant Sealants: Applying a clear, heat-resistant spray adds a protective layer without altering your design’s texture.
- Press with Protective Sheets: Place Teflon sheets or parchment paper over your project during pressing to prevent scorching and peeling.
- Edge Sealing: Carefully seal edges with fabric glue or clear nail polish to stop fraying or lifting.
- Proper Washing Instructions: Educate recipients on gentle washing to maintain the design’s integrity.
These steps help you confidently finish projects without needing lamination.
Frequently Asked Questions
Can a Cricut Heat Press Damage Laminated Paper?
Yes, your Cricut heat press can damage laminated paper if the temperature or time is too high. Always use the lowest effective heat setting and a protective sheet to avoid warping or melting the laminate.
Be cautious with the heat duration to prevent any damage. Using a protective sheet adds an extra layer of safety. This helps maintain the quality of your laminated paper.
How Long Does Laminating With a Heat Press Take?
Back in the day of telegrams, laminating with a heat press usually takes about 30 to 60 seconds per sheet. You’ll want to adjust based on thickness and keep a close eye to avoid overheating or wrinkles.
Does Laminating With a Heat Press Affect Print Colors?
Yes, laminating with a heat press can slightly alter print colors, making them a bit darker or more saturated.
You’ll want to test first to guarantee the final look matches your expectations before laminating your project.
Can You Laminate Photos Using a Cricut Heat Press?
You can’t exactly bake a cake with a toaster, and similarly, you can’t laminate photos using a Cricut heat press.
It’s designed for heat transfer, not sealing laminating films onto photos.
Is It Safe to Laminate Food Packaging With a Heat Press?
No, it’s not safe to laminate food packaging with a heat press. The heat and adhesives can release harmful chemicals, contaminating your food.
You should use food-safe laminating methods designed specifically for packaging instead.
Conclusion
While you can try to mimic lamination with your Cricut heat press, it’s not the one-trick pony for true lamination jobs. Your heat press shines with heat transfer projects but lacks the adhesive and sealing power a dedicated laminator offers.
If you want that glossy, protective finish, it’s best to use the right tool for the job. Don’t put all your eggs in one basket—choose what fits your project and keep your gear in top shape!
For the best results, use a laminator when you need proper lamination. Remember, Cricut heat press is perfect for heat transfer, but lamination requires specialized equipment. Always match the tool to the task for professional-quality outcomes.