Can You Use a Heat Press for Iron on Patches
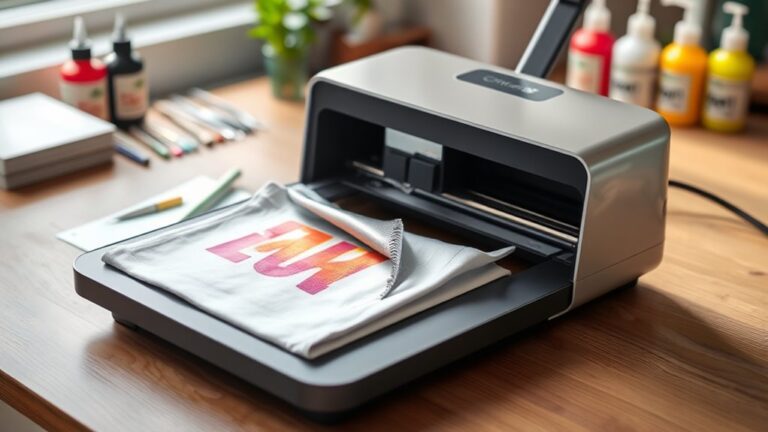
Yes, you can use a heat press for iron-on patches, and it often works better than a traditional iron for applying these patches. Using a heat press provides steady, even heat and consistent pressure, which helps your patch bond securely to the fabric.
This method ensures the patch lasts longer without peeling or lifting over time.
A heat press is also faster, typically taking just about 15 seconds per patch, which is great for completing multiple applications efficiently. It reduces the risk of uneven edges that can happen with manual ironing.
With the right heat press settings and proper fabric preparation, you’ll achieve professional, durable results every time.
Keep reading to discover helpful tips and tricks for flawless iron-on patch application.
Key Takeaways
- A heat press can be used for iron-on patches, providing stronger and more durable adhesion than a traditional iron.
- It offers consistent temperature, pressure, and even heat distribution for professional, uniform bonding.
- Typical settings are 300-350°F with 10-15 seconds pressing time, adjusted for fabric type and patch instructions.
- Preheat fabric, use a protective sheet, and allow patches to cool fully for optimal results.
- Heat presses save time, reduce errors, and are ideal for bulk applications compared to hand-held irons.
What Is a Heat Press and How Does It Work for Iron-On Patches?
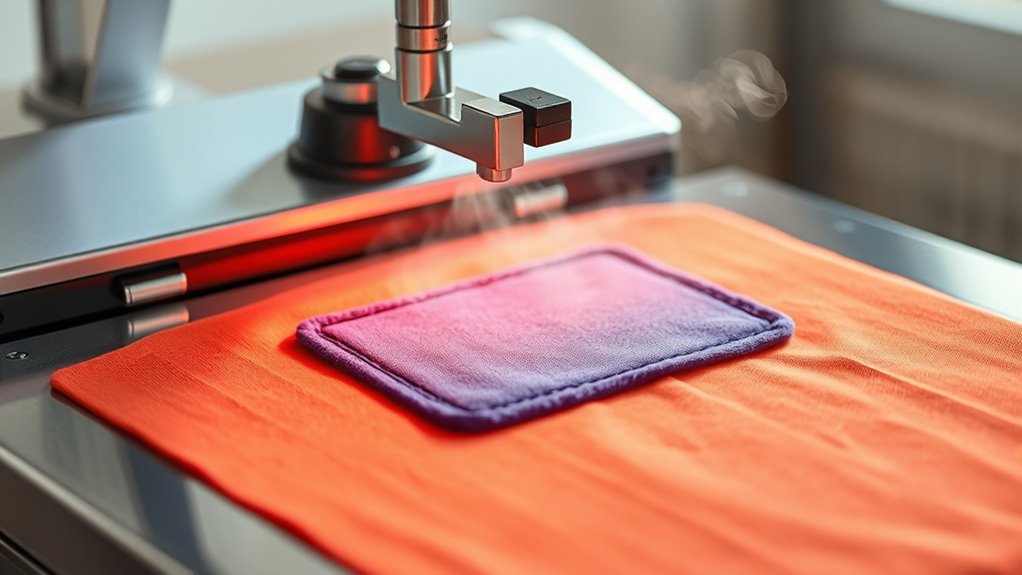
Although you might be familiar with traditional irons, a heat press offers more consistent heat and pressure, making it ideal for applying iron-on patches. When you use a heat press, you place your fabric and patch between two heated plates. The machine applies even heat and firm pressure for a set amount of time, ensuring the adhesive on the patch bonds securely to the fabric.
This process reduces the risk of uneven application or patch edges lifting over time. You control the temperature, time, and pressure settings, which helps you achieve professional results every time. Unlike an iron, a heat press maintains steady heat and pressure throughout, giving your patches a stronger, longer-lasting attachment.
Can You Use a Heat Press for Iron-On Patches?
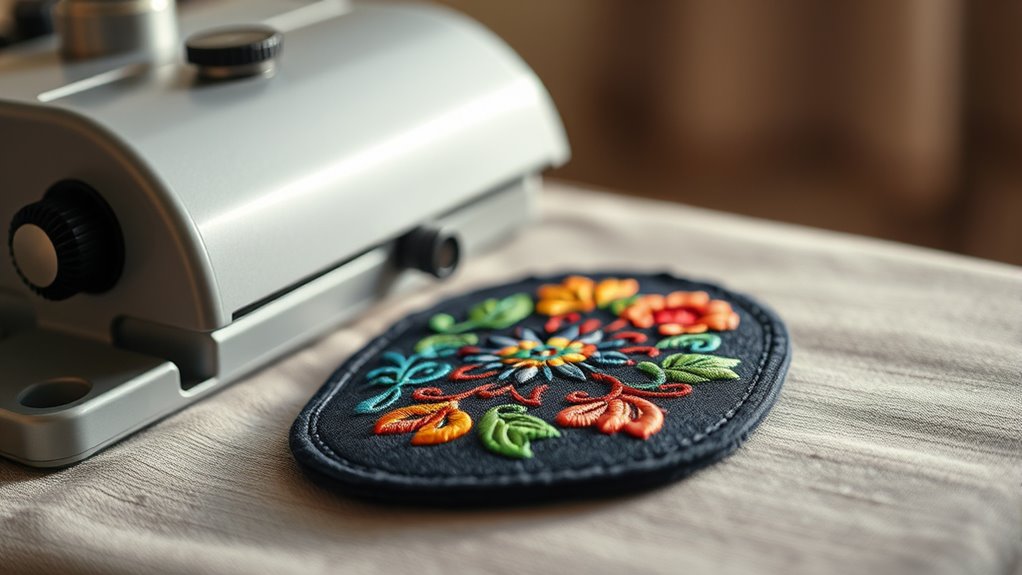
You can definitely use a heat press for iron-on patches, and it often gives you better results than a regular iron. Paying attention to the right temperature and time settings is key to making sure your patch sticks properly.
With a few simple tips on application, you’ll get a smooth, secure finish every time.
Heat Press Benefits
When applying iron-on patches, a heat press offers consistent temperature and pressure that you can’t easily achieve with a regular iron. This consistency guarantees your patch adheres evenly and securely, reducing the risk of peeling or lifting over time. You’ll also save time since a heat press applies uniform heat across the patch quickly, making it ideal for multiple patches or bulk projects.
Plus, it gives you better control, allowing you to apply precise pressure without guesswork. The sturdy design of a heat press means less effort on your part, preventing uneven application caused by hand pressure. Overall, using a heat press makes your patch application professional, durable, and hassle-free, giving you impressive, lasting results every time.
Temperature And Time Settings
Getting the temperature and time settings right is key to making the most of your heat press for iron-on patches. Typically, you’ll want to set your heat press between 300°F and 350°F, depending on the patch material and fabric type. Most iron-on patches require about 10 to 15 seconds of pressing time.
Too much heat or time can damage both the patch and the garment, while too little won’t secure the patch properly. Always check the patch manufacturer’s guidelines if available, as some patches may need lower temperatures or shorter press times.
Preheat your heat press and apply firm, even pressure during the entire cycle. Adjust settings based on your equipment and materials to guarantee a durable, professional-looking bond every time.
Patch Application Tips
Although applying iron-on patches with a heat press seems straightforward, following specific tips can guarantee a strong, lasting bond. First, always preheat your fabric for a few seconds to remove moisture and wrinkles. Position the patch carefully, making sure it’s exactly where you want it before pressing.
Use a protective sheet, like parchment paper or a Teflon sheet, between the heat plate and patch to prevent scorching. Press with firm, even pressure—don’t move the patch during pressing. After heat pressing, let the patch cool completely before handling to allow the adhesive to set fully.
Finally, check if your fabric can handle the heat; delicate materials may need lower temperatures or alternative methods to avoid damage. Following these tips ensures your patch stays put and looks great.
Heat Press vs. Traditional Iron: Which Works Better?
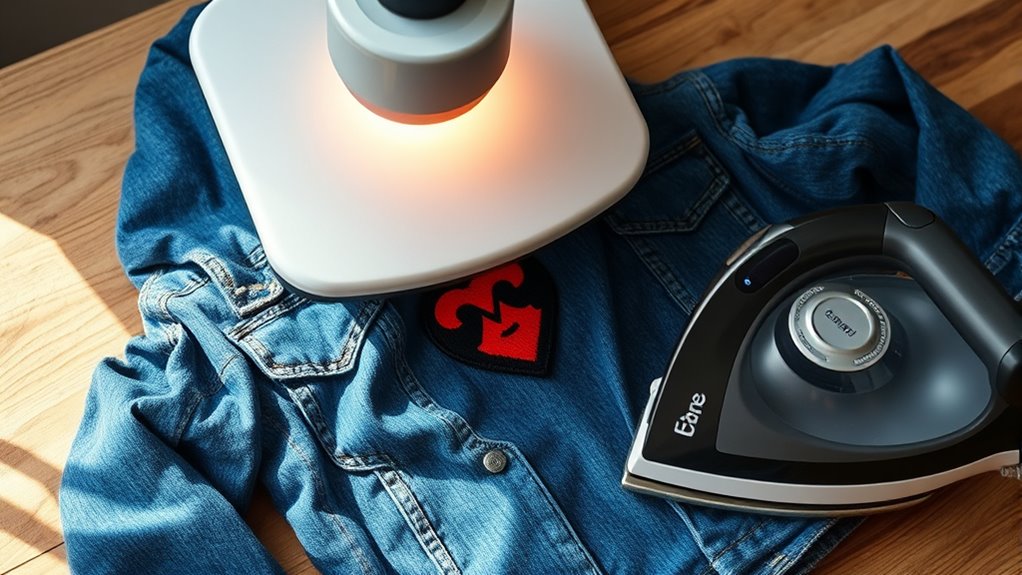
When deciding between a heat press and a traditional iron for your iron-on patches, consider how evenly each distributes heat and how long they take to apply.
You’ll also want to think about the pressure consistency, which can affect the patch’s durability.
Let’s compare these factors to see which method works better for you.
Heat Distribution Efficiency
How evenly does a heat source distribute heat when applying iron-on patches? This factor is crucial for a strong, lasting bond. A heat press offers consistent, even heat across the entire patch, reducing the risk of weak spots.
Here’s why it often outperforms a traditional iron:
- Uniform Pressure and Heat: Heat presses apply steady pressure and maintain a constant temperature, ensuring even heat distribution.
- Larger Heating Surface: The broad heating element covers the entire patch at once, preventing uneven heating.
- Reduced Human Error: Unlike an iron, which requires manual movement and can cause hot or cold spots, a heat press automates heat distribution.
You’ll find that a heat press gives you more reliable, professional results by efficiently distributing heat across your iron-on patches.
Application Time Comparison
You’ve seen how a heat press guarantees even heat distribution for iron-on patches, but speed matters just as much. When you’re deciding between a heat press and a traditional iron, the time each takes can affect your entire project. Heat presses typically apply patches in about 15 seconds, while irons need multiple presses, totaling around 2-3 minutes.
This makes heat presses more efficient, especially for bulk work. Here’s a quick comparison:
| Method | Application Time per Patch | Total Time for 10 Patches |
|---|---|---|
| Heat Press | 15 seconds | 2.5 minutes |
| Traditional Iron | 15-20 seconds per press | 2-3 minutes |
| 2-3 presses per patch |
Choosing a heat press saves you time and hassle.
Pressure Consistency Benefits
Although both heat presses and traditional irons can apply iron-on patches, the consistent pressure a heat press delivers gives you a much better result. When you use a heat press, you avoid the uneven pressure that often comes with an iron, which can lead to patch edges lifting or incomplete adhesion.
Here’s why pressure consistency matters:
- Uniform Bonding – Consistent pressure ensures the entire patch adheres evenly, preventing peeling.
- Durability – Even pressure creates a stronger, longer-lasting bond with your fabric.
- Less Rework – You’ll spend less time fixing patches that didn’t stick properly the first time.
Using a heat press takes the guesswork out of applying patches, making your work look professional and stay put.
Preparing Fabric and Patches for Heat Pressing
Before applying heat to your fabric and patches, make sure both are clean and wrinkle-free to guarantee proper adhesion. Wash and dry your fabric to remove any dirt, oils, or sizing that might prevent the patch from sticking properly. Iron the fabric gently to smooth out creases, as wrinkles can cause uneven pressing.
Lay your patch flat and inspect the adhesive backing for any damage or dust—wipe it gently if needed. Position the patch exactly where you want it on the fabric, using heat-resistant tape if necessary to keep it from shifting during pressing. Taking these steps assures your patch bonds securely and looks professional once heat pressed, setting you up for a successful application.
Best Heat Press Settings for Iron-On Patches
Once your fabric and patch are prepped and positioned, setting the right heat press parameters guarantees a strong bond without damaging your materials. You’ll want to focus on three key settings to get the best results:
Proper heat press settings ensure a secure bond without harming your fabric or patch.
- Temperature: Set your heat press to around 305°F (150°C). This temperature is hot enough to melt the adhesive without scorching the fabric or patch.
- Time: Apply heat for 15 to 20 seconds. This duration allows the adhesive to activate fully without overheating.
- Pressure: Use medium pressure to ensure the patch adheres evenly. Too much pressure can distort the patch, while too little won’t secure it properly.
Fine-tuning these settings assures your iron-on patches stay put and look great after each press.
How to Apply Iron-On Patches With a Heat Press
When you’re ready to apply your iron-on patch with a heat press, start by positioning the patch exactly where you want it on the fabric. Place a Teflon sheet or parchment paper over the patch to protect both the patch and fabric from direct heat. Set your heat press to the recommended temperature and pressure based on the patch and fabric type.
Lower the heat press onto the patch, applying firm, even pressure. Avoid moving the press during the process to prevent shifting. Once the pressing time ends, carefully lift the heat press.
Let the patch cool slightly before checking adhesion. If edges lift, you can press again briefly. This method guarantees a smooth, secure bond between your patch and fabric.
How Long Should You Press Iron-On Patches?
Although pressing time can vary depending on the patch and fabric, you’ll typically need to apply heat for 10 to 15 seconds to guarantee a strong bond. Pressing too briefly might cause the patch to peel off, while pressing too long can damage both the patch and fabric.
To assure the best results, follow these steps:
- Set your heat press to the recommended temperature (usually around 320°F or 160°C).
- Place the patch in position and cover it with a Teflon sheet or parchment paper.
- Press firmly for 10 to 15 seconds, then lift the heat press and let the patch cool.
This timing helps fuse the adhesive evenly, giving your patch a durable hold.
Which Fabrics Work Best With Heat Pressed Patches?
Because heat pressing involves high temperatures and pressure, choosing the right fabric is essential to guarantee your patch adheres properly without damaging the material. Natural fibers like cotton and denim work best since they can handle heat without melting or warping. Polyester and nylon, on the other hand, may melt or get damaged under high heat, so you’ll need to use lower temperatures and be extra cautious.
Canvas and twill are also great choices because they’re sturdy enough to withstand pressing. Avoid delicate fabrics like silk, lace, or anything with a plastic coating, as they’re prone to damage. Always check the fabric’s heat tolerance and test on a small area if you’re unsure.
Picking the right fabric ensures your patch stays put and your garment stays intact.
Common Heat Press Mistakes to Avoid
Choosing the right fabric sets you up for success, but even with the best materials, mistakes during heat pressing can ruin your patches or garments. To avoid frustration, watch out for these common errors:
Selecting the right fabric is key, but careful heat pressing prevents damage to your patches and garments.
- Incorrect Temperature and Time: Using too high heat or pressing too long can burn fabric or warp the patch, while too low won’t properly adhere it. Always follow the patch’s instructions carefully.
- Skipping Pre-Pressing: Not pre-pressing your garment can leave moisture or wrinkles, causing poor adhesion and uneven results.
- Applying Uneven Pressure: Unequal pressure leads to partial bonding or bubbling. Use a sturdy, flat surface and ensure the heat press applies consistent force.
Avoid these pitfalls, and your iron-on patches will stick perfectly every time.
How to Test Patch Adhesion After Heat Pressing
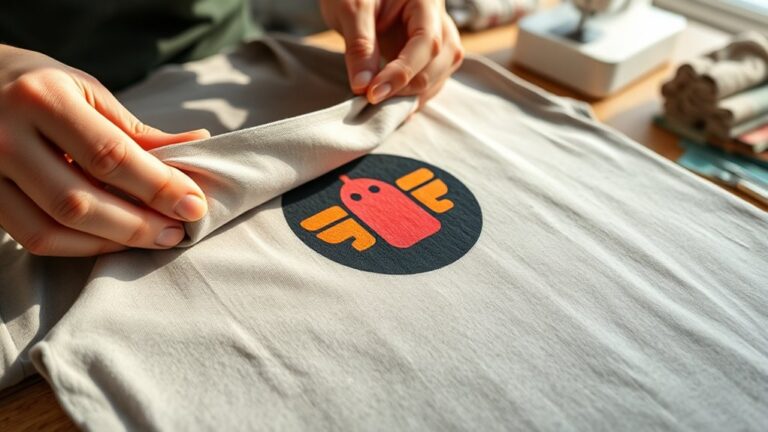
After heat pressing your patch, start by closely inspecting the edges for any lifting or gaps. Then, try a gentle peel test by lifting a corner to see if the adhesive holds firm without peeling off.
These simple checks help guarantee your patch is securely attached and ready to wear.
Visual Inspection Techniques
When you finish heat pressing your iron-on patch, you’ll want to carefully inspect the edges and surface to guarantee proper adhesion. Visual inspection helps you spot any lifting or uneven bonding early on. Here’s how to do it effectively:
- Edge Check: Look closely at all patch edges to ensure they’re flush against the fabric with no visible gaps or peeling.
- Surface Uniformity: Examine the patch surface for wrinkles, bubbles, or areas where the adhesive hasn’t fully activated.
- Fabric Interaction: Confirm the patch lies flat without puckering the fabric underneath, which may indicate insufficient pressure or heat.
Peel Test Methods
Although visual inspection can reveal many issues, performing a peel test gives you a hands-on way to confirm that your iron-on patch is securely bonded. To do this, gently lift one corner of the patch using your fingernail or a flat tool. Slowly peel it back at a 45-degree angle while observing any resistance or lifting.
If the patch stays firmly attached without any edge lifting or fabric separation, you’ve achieved a strong bond. If you notice any peeling, you may need to increase the heat, pressure, or pressing time and test again. Performing this simple peel test ensures that your patch won’t come off during wear or washing.
This method gives you confidence in your heat press results every time.
Can You Remove or Reuse Heat Pressed Iron-On Patches?
If you want to remove a heat pressed iron-on patch, you’ll need to act carefully to avoid damaging the fabric. Removing the patch usually involves reheating the adhesive to soften it, but be mindful that some fabrics can scorch or weaken with repeated heat.
Here’s how you can remove or reuse your patch:
- Place a thin cloth over the patch and apply heat with an iron or heat press to soften the adhesive.
- Gently peel the patch away while it’s warm, using a slow, steady motion to minimize fabric damage.
- If you want to reuse the patch, carefully clean off residual adhesive and reapply a new heat-activated adhesive sheet before pressing again.
Keep in mind that repeated removals may reduce patch and fabric quality.
Tips for Customizing Jackets, Hats, and Bags With Heat Pressed Patches
After removing or reusing patches, you might want to take your customization a step further by applying heat pressed patches to jackets, hats, and bags.
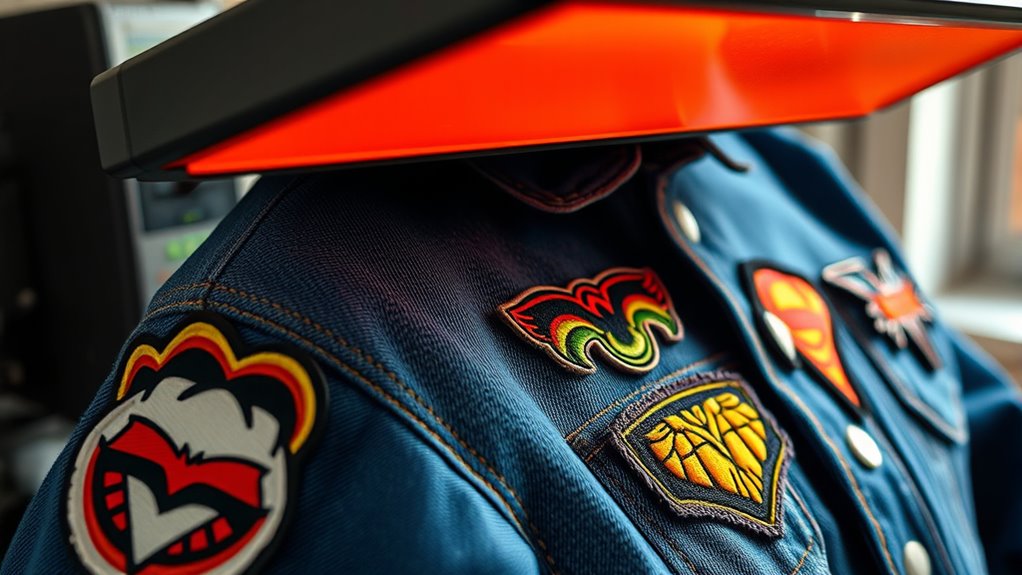
Start by selecting patches that complement the material and style of your item. Make sure to clean the surface to guarantee proper adhesion. Use a heat press with the right temperature and time settings to avoid damaging delicate fabrics.
| Item Type | Heat Press Tips |
|---|---|
| Jackets | Use a protective sheet; press for 15-20 sec at 320°F |
| Hats | Press patches on flat areas; lower temp to 300°F |
| Bags | Reinforce edges with stitching for durability |
Following these tips will help you create personalized, long-lasting designs with ease.
Frequently Asked Questions
Can Heat Pressing Damage the Patch Design or Colors?
Yes, heat pressing can damage the patch design or colors if you use too much heat or press for too long.
You should always follow the patch’s instructions to protect its appearance and avoid fading or warping.
Are Special Heat Press Machines Needed for Different Patch Sizes?
You don’t need special heat press machines for different patch sizes, but adjustable pressure and temperature settings help. Smaller patches require precision, while larger ones need even heat distribution, so choose a versatile heat press accordingly.
How Do Weather Conditions Affect Heat Pressing Results?
Weather woes won’t wildly warp your work, but humidity and heat can hamper heat pressing. You’ll want to avoid damp days and chilly chills since moisture and cold can cause patches to peel or not properly stick to fabrics.
Can You Heat Press Patches on Leather or Vinyl Materials?
Yes, you can heat press patches on leather or vinyl, but you’ve got to use a lower temperature and a protective sheet to guarantee the material handles the heat well.
Test a small area first to ensure the material handles the heat well.
What Maintenance Is Required for a Heat Press Used With Patches?
You’ll need to clean the heat platen regularly, check the pressure and temperature settings often, lubricate moving parts, and inspect electrical components.
This keeps your heat press working efficiently and guarantees your patches adhere perfectly every time.
Conclusion
You can use a heat press for iron-on patches to get a stronger bond, faster application, and more even heat distribution. You’ll save time, avoid burnt edges, and achieve professional results. Just prepare your fabric, set the right temperature, and press with care.
Whether customizing jackets, hats, or bags, a heat press gives you control, consistency, and quality. It’s an excellent tool for applying iron-on patches with precision and ease.
So go ahead—press with confidence, create with passion, and wear your patches proudly! Using a heat press for iron-on patches ensures durability, vibrant colors, and a secure finish every time.