Can You Remove Heat Press Letters
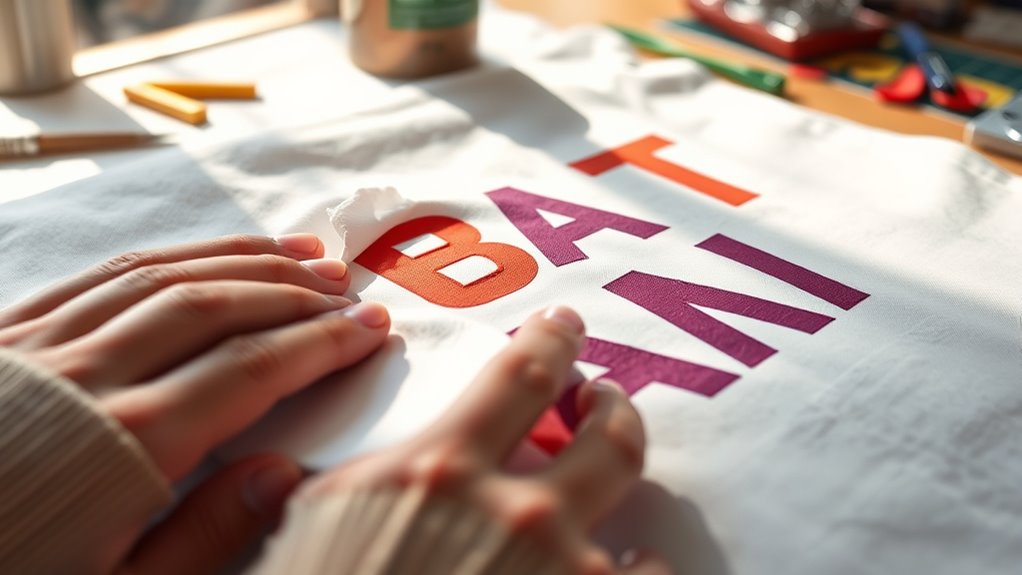
You can remove heat press letters by gently reheating the area with a hairdryer or low heat to soften the adhesive. This method helps loosen the bond between the fabric and the letters, making removal easier.
Using heat press letters removal techniques properly can save your garment from damage.
After reheating, carefully peel the letters off. Use tools like tweezers and plastic scrapers to avoid harming the fabric. These tools help lift the letters without causing tears or stretching.
Some adhesive residue may remain on the fabric. You can clean this leftover sticky material with rubbing alcohol.
Keep in mind that the type of fabric and vinyl affects how easily the letters come off.
If you want to avoid mistakes and fabric damage, you’ll want to explore proper techniques and precautions. Taking care during removal ensures your fabric stays intact and looks good.
Key Takeaways
- Heat press letters can be removed by warming the adhesive with a hairdryer or heat press, then gently peeling the letters off the fabric.
- Removal timing varies; some letters peel best hot, others cold, depending on vinyl type and fabric.
- Use plastic scrapers and solvents like rubbing alcohol cautiously to remove adhesive residue without damaging fabric.
- Freezing is mostly ineffective for removal and can risk fabric damage if done improperly.
- When in doubt, seek professional help to avoid tearing, staining, or damaging delicate or valuable fabrics.
Can You Remove Heat Press Letters From Fabric?
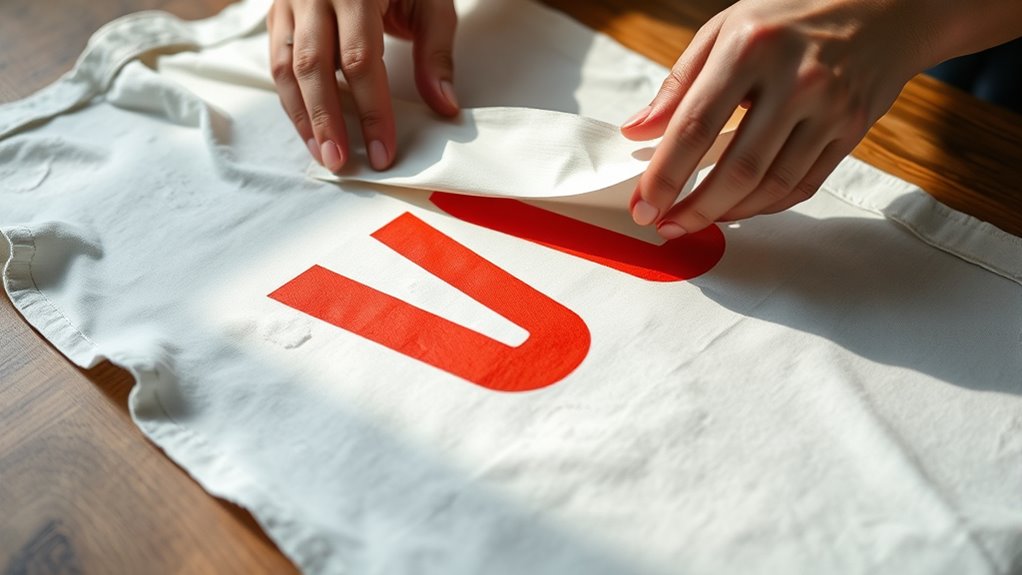
Although heat press letters are designed to stick firmly to fabric, you can remove them with the right approach. Start by warming the area with a hairdryer or heat press set to low heat. This softens the adhesive, making it easier to peel off the letters gently.
Use a pair of tweezers or your fingernails to lift the edges slowly, avoiding damage to the fabric. If residue remains, apply a small amount of adhesive remover or rubbing alcohol on a cloth and dab it carefully. Always test any solvent on a hidden fabric spot first to prevent discoloration.
Be patient and avoid pulling too hard, which can stretch or tear the material. With care, you can effectively remove heat press letters without ruining your garment.
When Should You Remove Heat Press Letters?
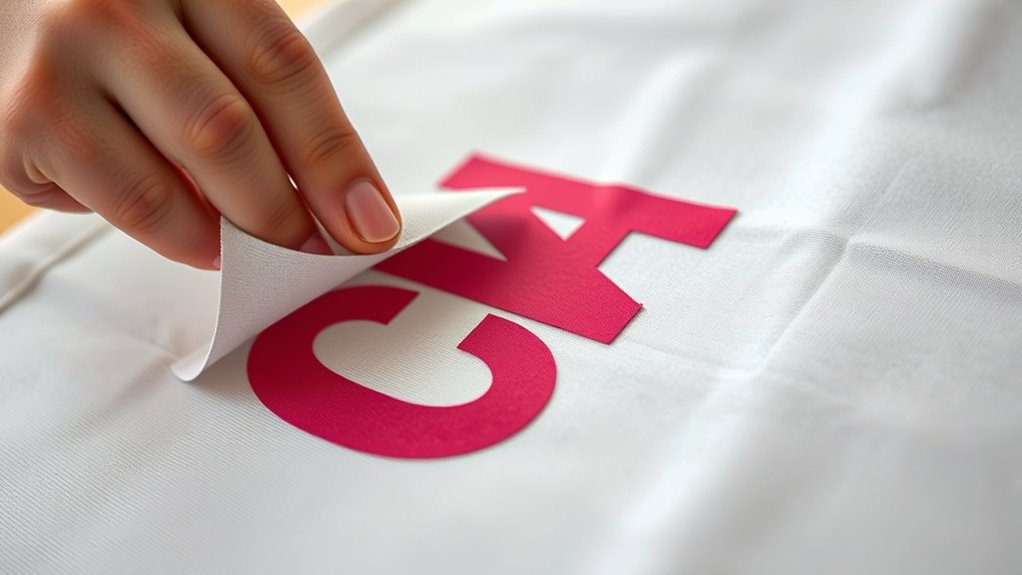
You should remove heat press letters at the right time to avoid damaging your fabric or design. Factors like the type of material and adhesive used will influence when removal is safe and effective.
Knowing these details helps you decide the best moment to take the letters off.
Optimal Timing For Removal
When heat pressing letters onto fabric, knowing the most suitable timing for removal can make all the difference in achieving a smooth, durable finish. Typically, you want to remove the transfer backing either while it’s still hot (hot peel) or after it has fully cooled (cold peel), depending on the type of material and heat transfer used. Removing it too soon or too late can compromise adhesion and cause peeling.
To get the best results, check the manufacturer’s instructions for your specific heat press letters. If unsure, start with a hot peel, gently lifting the backing as soon as the press is done. If the letters resist, allow them to cool completely before peeling slowly.
This careful timing helps maintain the quality and longevity of your design.
Factors Influencing Letter Removal
Since different heat press letters and fabrics respond uniquely to heat and pressure, several factors influence the best time to remove the transfer backing. You need to consider the type of material—vinyl, flock, or glitter—because each has its own cooling requirements. The fabric itself matters too; delicate materials like polyester might need a warm peel, while cotton usually allows a cool peel.
Temperature and pressure settings during pressing also play a role; higher heat and pressure often mean you can peel sooner. Additionally, manufacturer instructions are vital—always follow them to avoid damaging your design. By paying attention to these factors, you’ll know exactly when to remove the backing, ensuring your heat press letters adhere properly and last longer.
How Do Heat Press Letters Attach to Clothing?
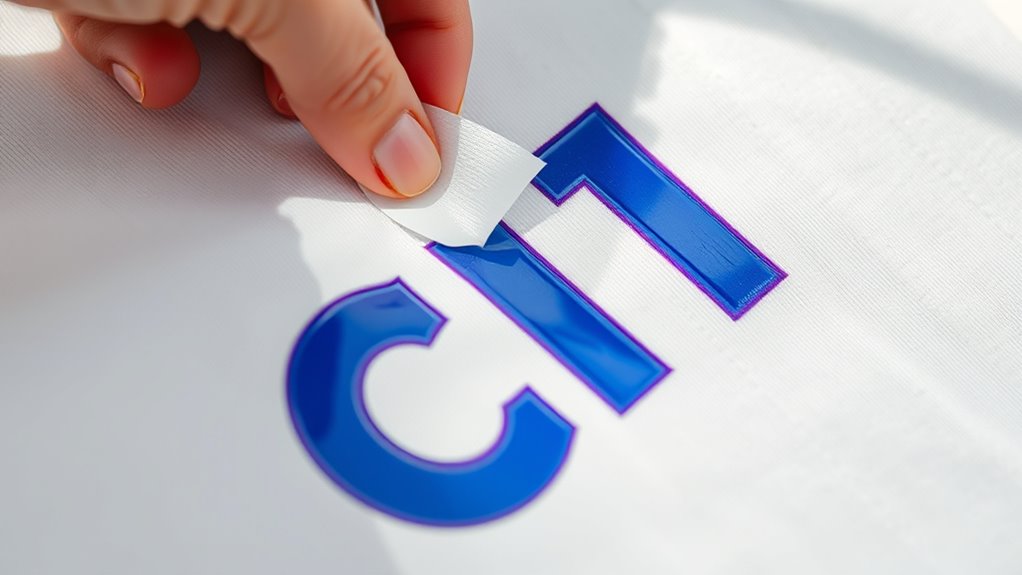
You might wonder how heat press letters stick so firmly to your clothing. The process uses a special adhesive that melts under heat, bonding tightly with the fabric fibers.
Understanding this will help you know why removal can be tricky.
Adhesive Mechanism Explained
Although heat press letters might seem like simple decorations, they rely on a precise adhesive mechanism to bond firmly with fabric. When you apply heat and pressure, the adhesive layer on the back of the letters activates, melting just enough to stick to the garment’s fibers without damaging them. This adhesive is usually a heat-sensitive polymer that becomes tacky under the press’s heat, creating a strong, flexible bond.
The combination of temperature, pressure, and time guarantees the adhesive fully penetrates the fabric’s surface, securing the letters in place. This mechanism allows the letters to endure washing and wear, staying intact. Understanding this helps you appreciate why proper heat pressing is essential for a lasting finish.
Fabric Bonding Process
When heat press letters attach to clothing, the fabric’s fibers and the adhesive layer work together to create a durable bond. You’ll notice this process relies on three key steps:
- Heat Activation: The heat press applies high temperature, melting the adhesive on the back of the letters.
- Pressure Application: Firm pressure pushes the melted adhesive deep into the fabric’s fibers, ensuring it grips tightly.
- Cooling and Setting: Once cooled, the adhesive solidifies, locking the letters securely onto the fabric.
This combination of heat, pressure, and cooling guarantees the letters don’t just stick—they become part of your garment. Understanding this process helps you see why removing heat press letters without damage can be tricky.
Which Materials Are Best for Removing Heat Press Letters?
Since different fabrics and surfaces react uniquely to heat press removal techniques, choosing the right materials is essential for success. You’ll find that natural fibers like cotton and polyester blends handle removal better than delicate fabrics such as silk or rayon, which can easily get damaged. Thick materials like denim or canvas are also good candidates since they withstand heat and pressure without warping.
Avoid fabrics with special coatings or finishes, as these may peel or discolor during removal. When it comes to surfaces, smooth, non-porous materials like certain synthetics allow easier lifting of heat press letters without leaving residue. By selecting sturdy, heat-tolerant fabrics, you’ll reduce the risk of damage and improve your chances of cleanly removing heat press letters.
What Tools Do You Need to Remove Heat Press Letters?
Before you start removing heat press letters, you’ll need to gather a few essential tools to make the process smoother and safer. Having the right equipment will help you avoid damaging the fabric or the design underneath.
Gathering the right tools before removing heat press letters ensures a safer, smoother process and protects your fabric.
Here are the three key tools you’ll need:
- Heat-resistant gloves – Protect your hands from burns when handling hot materials or tools.
- Plastic scraper or credit card – Gently lifts the edges of the letters without tearing the fabric.
- Lint-free cloth or towel – Use it to apply pressure or clean the surface without leaving fibers behind.
With these tools ready, you’ll be well-prepared to carefully remove heat press letters and keep your garment intact.
How to Use Heat to Loosen Heat Press Letters
Although heat press letters are designed to stick firmly, you can loosen them effectively by applying controlled heat. Start by setting your heat press or iron to a medium temperature (around 250°F or 120°C). Place a thin cloth over the letters to protect the fabric, then press for 10-15 seconds.
This softens the adhesive, making removal easier. Use a plastic scraper or your fingernail to gently lift the edges while reheating as needed.
| Step | Action |
|---|---|
| 1 | Set heat press to 250°F (120°C) |
| 2 | Cover letters with cloth |
| 3 | Press for 10-15 seconds |
| 4 | Gently lift letters with tool |
Applying heat carefully prevents fabric damage while loosening the adhesive.
How to Use Solvents Safely to Remove Heat Press Letters
When you find heat and scraping aren’t enough, using solvents can help dissolve the adhesive holding the heat press letters in place. To use solvents safely, follow these steps carefully:
- Choose the right solvent. Use adhesive removers like isopropyl alcohol or commercial products made for heat press vinyl. Avoid harsh chemicals that can damage fabric.
- Test on a small area first. Apply a small amount to an inconspicuous spot to ensure it won’t discolor or weaken your material.
- Work in a ventilated area. Open windows or use a fan to avoid inhaling fumes. Wear gloves to protect your skin, and apply the solvent sparingly with a cotton swab.
Can Freezing Help Remove Heat Press Letters?
Wondering if freezing can help remove heat press letters? Freezing isn’t typically effective because heat press vinyl bonds strongly to fabric fibers, and cold temperatures won’t weaken that bond enough to peel the letters off. Unlike adhesives that become brittle when frozen, heat press vinyl stays flexible.
However, you can try placing the garment in the freezer for about an hour to see if the vinyl stiffens slightly, which might make it easier to scrape off gently with a plastic scraper or your fingernail. Just be careful not to damage the fabric. Overall, freezing is a low-risk method but usually won’t fully remove the letters.
For better results, consider heat, solvents, or professional removal methods instead.
What to Do If Removing Heat Press Letters Damages Fabric
If freezing or other removal methods don’t work as planned, you might find the fabric damaged while trying to peel off heat press letters. Don’t panic—there are steps you can take to fix or minimize the damage.
- Assess the Damage: Check for tears, holes, or thinning fabric to decide whether repair or replacement is needed.
- Repair Small Tears: Use fabric glue or iron-on patches to mend minor holes or weak spots without sewing.
- Reinforce Weak Areas: Apply interfacing or backing fabric on the inside to strengthen thin or worn sections.
Taking these steps helps restore your garment’s durability and appearance, so you can keep wearing it comfortably despite the damage.
How to Clean Residue After Removing Heat Press Letters
Although removing heat press letters can leave behind sticky residue, you don’t have to settle for a sticky or discolored fabric surface. Start by gently scraping off any excess residue with a plastic scraper or credit card to avoid damaging the fabric.
Next, apply a small amount of rubbing alcohol or adhesive remover to a clean cloth and dab the affected area carefully. Test on a hidden spot first to guarantee it won’t harm the fabric. Let the solution sit for a few minutes to break down the adhesive, then blot gently—don’t rub—to lift the residue.
Finally, wash the garment according to care instructions to remove any leftover solvent. This method helps restore your fabric’s look without causing damage or discoloration.
When Should You Get Professional Help Removing Heat Press Letters?
If the heat press letters won’t come off easily or you notice damage to the fabric, it’s time to call in a professional. Trying to remove stubborn letters yourself can lead to tearing or permanent stains.
Knowing when to get expert help can save you time and frustration.
Signs You Need Experts
When you notice that the heat press letters aren’t coming off cleanly or start damaging the fabric, it’s time to call in a professional. You don’t want to risk ruining your garment or wasting time with ineffective methods.
Here are clear signs you need expert help:
- Persistent Adhesive Residue: If the letters leave behind sticky or stubborn residue that won’t budge despite your efforts, professionals have the right tools to clean it thoroughly.
- Delicate or Expensive Fabric: When the garment is fragile or valuable, experts can ensure safe removal without compromising the material.
- Complex Designs or Multiple Layers: Intricate heat press work can be tricky. Professionals know how to handle multi-layered designs without causing damage.
Recognizing these signs early saves you frustration and protects your clothing investment.
Risks of DIY Removal
Because DIY removal of heat press letters involves heat, chemicals, and careful handling, you risk damaging your garment or leaving unsightly marks if you don’t have the right skills and tools. Using excessive heat can scorch fabric, while harsh chemicals might weaken fibers or cause discoloration. If you’re unsure about the material or adhesive type, it’s easy to make mistakes that ruin your clothing.
When the letters are large, intricate, or stubbornly stuck, professional help becomes a safer choice. Experts have specialized equipment and experience to remove letters cleanly without harming your garment. So, if you want to avoid costly mistakes or preserve a favorite piece, it’s best to trust professionals rather than risk DIY removal gone wrong.
How to Prevent Damage When Removing or Reapplying Heat Press Letters
Although heat press letters are designed to adhere firmly, you can prevent damage by handling them carefully during removal or reapplication.
To keep your fabric and letters intact, follow these steps:
To keep your fabric and letters intact, follow these simple steps for careful removal and reapplication.
- Use low heat and gentle pressure: When reheating, avoid excessive heat or force to prevent fabric burns or letter distortion.
- Peel slowly and at an angle: Removing letters gradually reduces the risk of tearing or stretching both the letters and fabric.
- Clean the surface before reapplying: Make sure the fabric is free from residue or lint to guarantee smooth adhesion and avoid uneven pressing.
Frequently Asked Questions
How Long Do Heat Press Letters Typically Last on Fabric?
Heat press letters typically last 20-50 washes, depending on fabric quality and care. You’ll want to wash inside out, avoid high heat, and skip harsh detergents to keep the letters looking fresh and intact longer.
Can Heat Press Letters Be Reused After Removal?
Think you can peel off heat press letters and reuse them? Unfortunately, you can’t—they lose their adhesive and shape during removal.
You’ll need new letters to keep your design looking fresh and sharp every time.
Are There Specific Brands of Heat Press Letters Recommended for Beginners?
Yes, you’ll want to try brands like Cricut, Siser, or ThermoFlex—they’re beginner-friendly with easy application and durability. These brands offer clear instructions and reliable results, helping you get comfortable with heat pressing quickly and confidently.
Their user-friendly designs make the learning process smoother, reducing frustration for beginners. Plus, they provide great value for the quality, making them ideal for those just starting out. Overall, these brands are excellent choices to build your heat pressing skills effectively.
How Does Washing Affect Heat Press Letters Over Time?
Washing can cause heat press letters to peel or fade over time, especially if you use hot water or harsh detergents.
You’ll want to wash garments inside out on a gentle cycle and air dry to extend their life.
Can Heat Press Letters Be Applied to Non-Clothing Items?
You can absolutely slap heat press letters onto non-clothing items like wood, canvas, or even metal! Just make sure the surface can handle the heat and pressure—otherwise, you might end up with a melted mess instead of cool designs.
Conclusion
Removing heat press letters can be tricky, but did you know that 70% of DIY fabric projects face issues with peeling or damage? By knowing when and how to remove these letters, you can save your clothes and keep them looking great. Always use the right tools and materials, and don’t hesitate to get professional help if needed.
With care, you’ll avoid damage and extend your garment’s life, making your efforts truly worth it. Understanding how to properly remove heat press letters is essential for maintaining fabric quality. Using the correct techniques ensures that your clothes remain in good condition, preventing further wear and tear.
If you want to successfully remove heat press letters without ruining your garments, always prioritize safety and the right removal methods. Whether you’re tackling a DIY project or fixing a mistake, knowing how to remove heat press letters can make all the difference.