Can You Heat Press on Cardstock
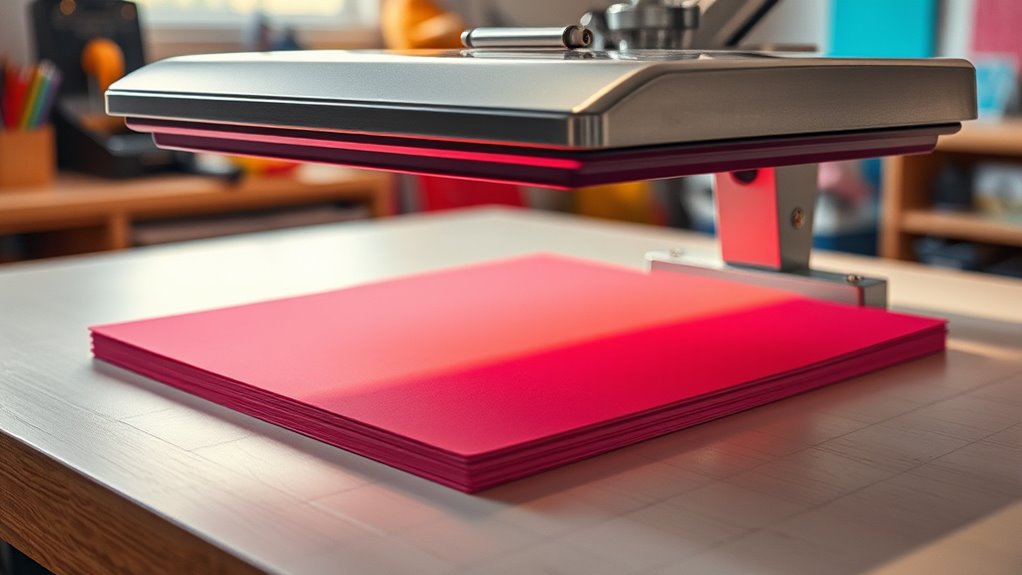
You can definitely heat press on cardstock, but it requires some careful adjustments to get the best results. When heat pressing on cardstock, you’ll need to use lower temperatures, around 280°F, and keep pressing times short, about 10-15 seconds, to avoid warping or scorching your paper.
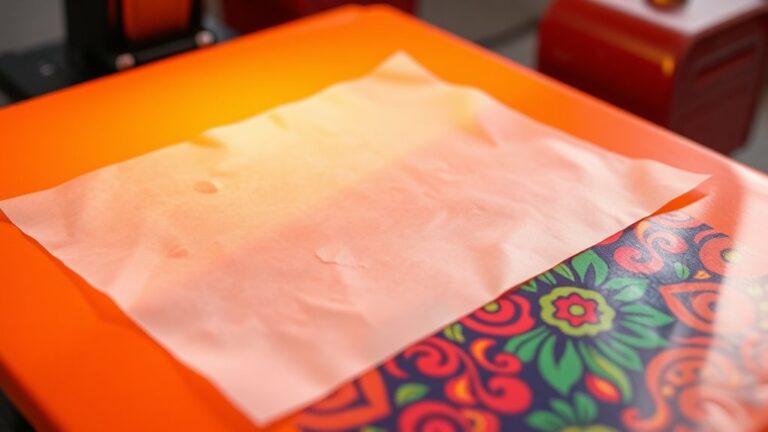
Using a protective sheet like parchment paper between the press and your cardstock helps distribute heat evenly and prevent damage.
Always test on scrap pieces first to fine-tune your settings and ensure your cardstock holds up well under the heat.
If you want to explore how to choose the best cardstock for heat pressing and troubleshoot common issues, there’s more helpful info ahead to guide you through the process.
Key Takeaways
- You can heat press on cardstock using lower temperatures around 280°F (140°C) to avoid damage.
- Limit pressing time to 10-15 seconds and use protective sheets to prevent scorching or warping.
- Choose sturdy, heat-resistant cardstock between 80 lb and 110 lb for best results.
- Cool the cardstock immediately after pressing under a flat, heavy surface to maintain shape.
- Test on scrap cardstock first and adjust heat press settings for optimal transfer quality.
Can You Safely Use a Heat Press on Cardstock?
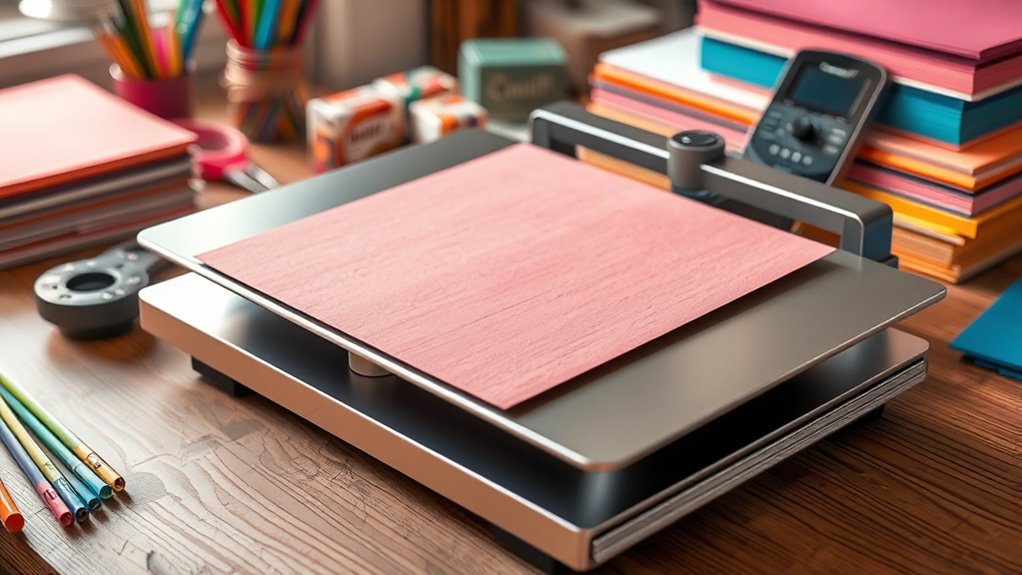
How safe is it to use a heat press on cardstock? If you’re careful with temperature and timing, it can be safe. Cardstock can handle moderate heat, but too much can cause warping, scorching, or curling.
You’ll want to use a lower heat setting than you would for fabric—typically around 280°F (140°C)—and limit the press time to 10-15 seconds to avoid damage. Always protect your cardstock with a Teflon sheet or parchment paper to prevent sticking or heat marks. Test on a scrap piece first to see how your particular cardstock reacts.
How Is Cardstock Different From Regular Paper for Heat Pressing?
Because cardstock is thicker and more durable than regular paper, it handles heat pressing quite differently. You’ll notice that cardstock can withstand higher temperatures without warping or tearing, unlike regular paper, which is more prone to damage under heat.
However, this thickness also means it requires more pressure and longer pressing times to assure proper adhesion of heat transfer materials.
Here’s a quick comparison:
| Feature | Cardstock |
|---|---|
| Thickness | Thicker, more rigid |
| Heat Resistance | Higher, less likely to warp |
| Pressing Requirements | More pressure, longer time |
Understanding these differences helps you adjust your heat press settings for better results on cardstock.
Which Types of Cardstock Work Best With Heat Presses?
You’ll want to choose cardstock that can handle the heat without warping or burning, so weight and thickness matter a lot. Coated cardstock often reacts differently than uncoated, affecting how well your design transfers.
Understanding the heat resistance properties of your cardstock will help you get the best results from your heat press.
Weight and Thickness Matters
Although many types of cardstock can handle heat presses, the weight and thickness play a crucial role in achieving the best results. When you choose cardstock, aim for a weight between 80 lb and 110 lb; this range offers enough durability to withstand heat without warping or curling. Thicker cardstock provides better stability, preventing damage during pressing, but if it’s too thick, you risk uneven pressure and poor transfer quality.
Conversely, lightweight cardstock might buckle or scorch easily. You’ll want to test small samples to find the sweet spot for your particular heat press and design. Balancing weight and thickness ensures your finished product looks crisp and professional while protecting your heat press and transfer materials from unnecessary wear.
Coated vs. Uncoated Cardstock
When deciding between coated and uncoated cardstock for heat pressing, understanding their surface differences is key. Coated cardstock has a smooth, often glossy finish that can help transfer designs more evenly. You’ll find that heat transfer vinyl (HTV) or sublimation prints adhere better on coated surfaces because the heat and pressure distribute uniformly.
On the other hand, uncoated cardstock has a rougher, porous texture, which may cause uneven ink absorption or design adherence. If you want crisp, vibrant results, coated cardstock usually works best. However, uncoated cardstock can still be used if you adjust your technique carefully.
To conclude, for consistent, clean heat press results, opt for coated cardstock whenever possible—it provides a better surface for heat-applied designs.
Heat Resistance Properties
How well your cardstock handles heat can make or break your heat press project. When choosing cardstock, you want one with a high heat resistance to avoid warping, scorching, or discoloration. Typically, heavyweight cardstock with a thickness of 80 lb or above holds up better under heat presses.
Uncoated cardstock often fares better than coated types, as coatings can melt or bubble. However, some coated cardstocks designed specifically for heat applications can work well if they specify heat resistance. Always check the manufacturer’s details for heat tolerance, and test a small piece before committing to your entire project.
How to Prepare Cardstock for Heat Transfer Vinyl (HTV) Heat Pressing
To get the best results, you’ll want to choose cardstock that can handle the heat without warping. Make certain the surface is clean and smooth before applying your HTV to ensure proper adhesion.
Finally, adjust your heat press settings carefully to avoid damaging the cardstock or vinyl.
Choosing The Right Cardstock
Since not all cardstock can withstand the heat press, you’ll need to select a type that’s both sturdy and heat-resistant for your HTV projects. Choose cardstock with a weight of at least 80 lb (216 gsm) to guarantee durability and prevent warping under heat. Opt for smooth, coated surfaces to help the HTV adhere better without peeling.
Avoid thin or textured cardstock, as it’s more likely to buckle or cause uneven transfers. Also, consider using cardstock specifically labeled as heat-resistant or suitable for crafting. Testing a small piece before committing to a full design can save you time and material.
Preparing Surface For HTV
Why does preparing your cardstock surface matter before applying HTV? Because a clean, smooth surface ensures the vinyl adheres properly and lasts longer. If the surface is dusty, textured, or oily, your design might peel off or look uneven.
Here’s how to get your cardstock ready:
- Clean the surface: Wipe your cardstock gently with a dry, lint-free cloth to remove dust and debris.
- Flatten the cardstock: If it’s slightly warped, place it under a heavy book for a few hours to create a smooth base.
- Avoid moisture: Don’t use liquids or sprays, as moisture can warp or damage the cardstock and interfere with vinyl adhesion.
Taking these steps sets you up for a successful, crisp HTV transfer every time.
Adjusting Heat Press Settings
Although cardstock is sturdier than fabric, you’ll need to adjust your heat press settings carefully to avoid warping or scorching it. Start by lowering the temperature to around 270°F (130°C), which is gentler than the usual HTV fabric setting. Set the timer for 8-10 seconds to prevent overheating.
Use medium pressure instead of heavy pressure to protect the cardstock’s structure. Always use a heat-resistant mat or parchment paper underneath your cardstock to distribute heat evenly and prevent direct contact with the press. Before pressing your final piece, test these settings on a scrap piece of cardstock with HTV to guarantee the best results.
This way, you’ll achieve a clean transfer without damaging your project or wasting materials.
Best Heat Press Settings for Cardstock Projects
When working with cardstock in a heat press, you’ll want to use specific settings to avoid damaging your project. Getting these right guarantees your design adheres well without warping or burning the paper.
Here are the best heat press settings for cardstock:
- Temperature: Set your heat press between 270°F to 300°F. This range is hot enough to activate adhesive without scorching the cardstock.
- Pressure: Use light to medium pressure. Too much pressure can cause indentations or damage the paper’s surface.
- Time: Limit pressing time to 10-15 seconds. Prolonged heat exposure risks warping or discoloration.
Stick to these settings, and your cardstock projects will come out clean, vibrant, and intact every time.
How to Avoid Warping and Damage When Heat Pressing Cardstock
To prevent warping and damage when heat pressing cardstock, you need to carefully control the temperature, pressure, and timing throughout the process. Start by setting your heat press to the lowest temperature that still adheres your design properly, usually around 300°F. Use light to medium pressure to avoid compressing or crushing the cardstock fibers.
Limit the pressing time—typically 10 to 15 seconds—to reduce heat exposure. Always place a protective sheet, like parchment paper or a Teflon sheet, between the heat press and the cardstock to distribute heat evenly and prevent scorching.
Finally, allow the cardstock to cool flat under a heavy book or flat surface immediately after pressing to maintain its shape and prevent curling or warping. Following these steps guarantees clean, professional results without damaging your cardstock.
Troubleshooting Common Heat Press Issues With Cardstock
If you run into issues like warping, scorching, or incomplete transfers while heat pressing on cardstock, you’re not alone—these problems are common but usually easy to fix.
Here’s what you can do:
- Warping: Reduce heat and pressure slightly. Use a heat-resistant mat beneath your cardstock to distribute heat evenly and prevent bending.
- Scorching: Lower the temperature or shorten the pressing time. Always use a protective sheet like parchment paper to shield the cardstock from direct heat.
- Incomplete Transfers: Verify your design is properly aligned and the transfer material is compatible with cardstock.
Double-check your heat press settings—too low heat or time can cause incomplete adhesion.
Fun Ways to Use a Heat Press on Cardstock
Although heat pressing on cardstock might seem limited, you can create a variety of eye-catching projects that add a professional touch to your crafts. Try making personalized greeting cards by pressing foil designs or vinyl decals onto the cardstock for a sleek finish. You can also create custom bookmarks, adding intricate heat-pressed patterns or names to make thoughtful gifts.
Another fun idea is designing party invitations with raised, shiny elements that stand out. If you enjoy scrapbooking, heat pressing can add texture and shine to your pages, enhancing your layouts. Just remember to use a protective sheet to prevent damage.
With a little creativity, heat pressing on cardstock opens up many possibilities for unique, polished projects you’ll be proud to share.
Frequently Asked Questions
Can You Use a Regular Iron Instead of a Heat Press on Cardstock?
You can use a regular iron instead of a heat press on cardstock, but you’ll need to be careful. Use a low heat setting, press gently, and place a protective sheet to avoid burning or warping the paper.
What Types of Vinyl Work Best for Cardstock Heat Pressing?
You’ll find that softer, thinner vinyl like HTV or adhesive vinyl with a gentle hug works best on cardstock. They cling without overwhelming, preserving the paper’s delicate dance while delivering vibrant, lasting designs you’ll love.
How Long Does Heat-Pressed Cardstock Last Without Fading?
You can expect heat-pressed cardstock to last several months without fading if kept away from direct sunlight and moisture. Proper curing and using quality vinyl also help maintain vibrant colors longer, so handle and store it carefully.
Can Heat Pressing Cardstock Be Done at Home Without Professional Equipment?
You can heat press cardstock at home without professional gear, but it takes careful temperature control and a sturdy heat source like a household iron.
Don’t rush—it’s all about patience and steady pressure for good results.
Are There Eco-Friendly Cardstock Options Suitable for Heat Pressing?
Yes, you can find eco-friendly cardstock made from recycled materials or sustainable fibers that handle heat pressing well. Just make sure it’s thick enough to withstand heat and pressure without warping or burning during your project.
Choosing the right type ensures your designs come out crisp and vibrant. Look for options labeled as heat-resistant or suitable for heat pressing. This will help maintain the quality of both the cardstock and your design.
Conclusion
You can absolutely create stunning designs by heat pressing on cardstock—just imagine the smooth, vibrant vinyl melting perfectly onto that sturdy surface. With the right cardstock and careful settings, you’ll avoid warping or damage, turning your project into a crisp, professional-looking masterpiece.
So, get your heat press ready, and watch your cardstock come alive with color and creativity, each press adding a bold, lasting impression you’ll be proud to show off. Heat pressing on cardstock is a fantastic way to add personalized flair and make your crafts truly unique.