Can You Press a Hat With a Regular Heat Press
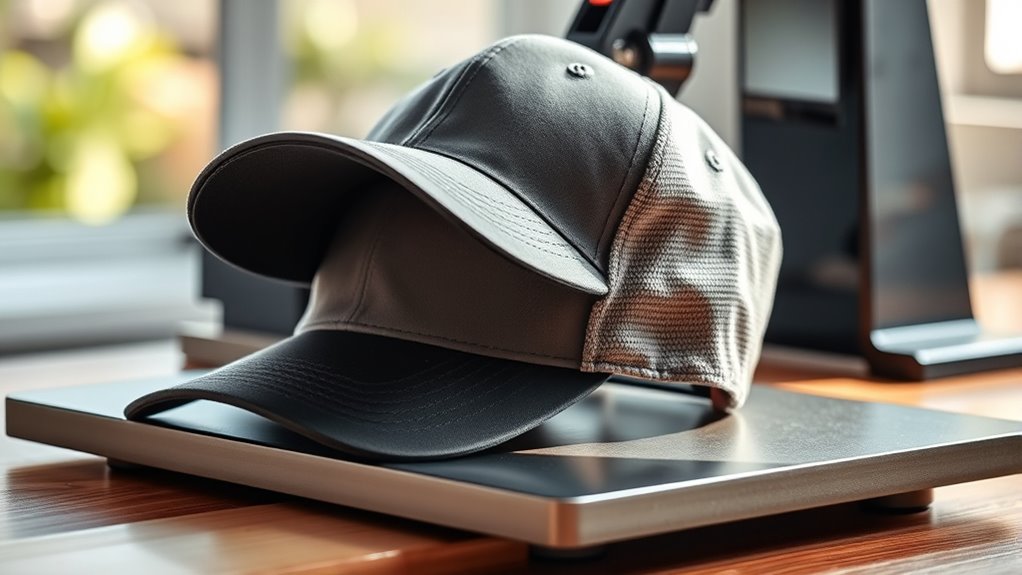
Yes, you can press a hat with a regular heat press, but to achieve the best results, you’ll need special hat press attachments or curved pads. These accessories help properly handle the hat’s unique shape and ensure even pressure.
Without them, uneven pressure and wrinkles can easily ruin your design.
Make sure to carefully adjust the pressure and temperature settings for your specific hat material. Using a rounded form underneath the hat also helps in maintaining its shape during pressing.
While a regular heat press works with some tweaks, using the right techniques and accessories makes all the difference. There’s plenty more to explore if you want professional-quality hat pressing.
Key Takeaways
- A regular heat press can press hats only with specialized curved platen attachments or pads to accommodate the hat’s shape.
- Removing the flat platen and securely attaching a hat press platen ensures even pressure and better design transfer.
- Adjusting pressure, temperature, and time is essential to prevent damage and achieve crisp results on curved surfaces.
- Using a rounded pressing pillow or foam inside the hat helps maintain shape and distribute heat evenly during pressing.
- Without proper accessories and adjustments, uneven pressure and wrinkles can cause poor adhesion and design distortion.
Can You Use a Regular Heat Press to Press Hats?
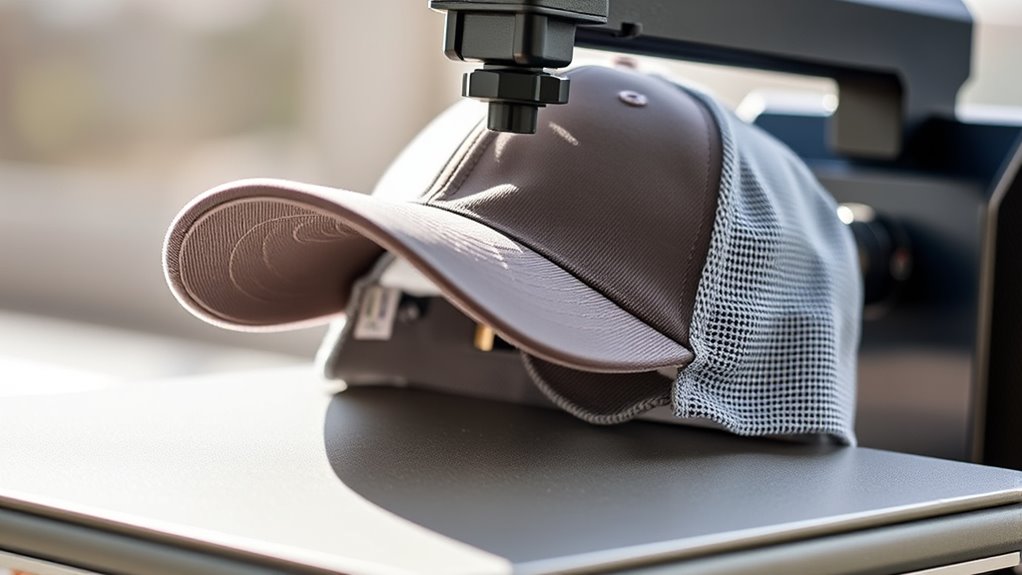
Wondering if you can use a regular heat press to press hats? The short answer is yes, but with some limitations. Regular heat presses are designed primarily for flat items like t-shirts, so they don’t have the specialized curved platen needed for hats.
You can still press hats by using accessories like a hat press attachment or a curved pressing pad that fits under the hat’s shape. These tools help you apply even pressure and heat without damaging the hat. Keep in mind, you’ll need to adjust your technique slightly to avoid creases or uneven transfers.
Why Are Hats Harder to Heat Press Than Flat Items?
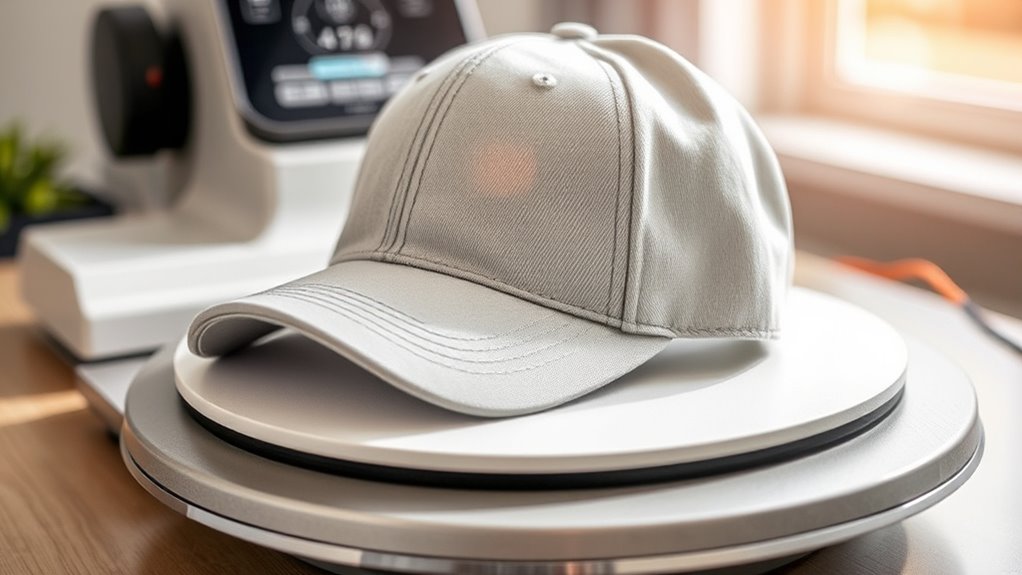
You’ll find hats harder to heat press because their curved surfaces don’t lay flat like shirts or bags. This makes it tricky to get even pressure across the entire design.
Plus, the way heat spreads through hat materials varies, so you have to adjust your technique to avoid uneven results.
Curved Surface Challenges
Why does heat pressing hats feel more complicated than pressing flat items like t-shirts? It’s all about the curved surface. Unlike the flat canvas of a t-shirt, hats have rounded shapes that don’t sit evenly on a regular heat press platen.
When you try to press a hat, the curve creates gaps between the heat plate and fabric, preventing consistent pressure. This uneven contact means parts of your design might not transfer correctly, leading to patchy or incomplete results. You’ll also struggle to keep the hat stable during pressing since it won’t lay flat, increasing the risk of shifting and misalignment.
To get around these challenges, you need a specialized hat press or a way to mold the hat snugly against the heat source to guarantee even pressure across the entire surface.
Material Heat Distribution
How does the material of a hat affect heat pressing compared to flat items? When you heat press a hat, the material’s heat distribution plays a big role. Unlike flat fabrics, hats often have thicker and multi-layered materials, which makes it harder to get consistent heat across the surface.
You might notice uneven pressing results because the heat can’t reach all areas equally. Here’s why hats are tougher to press:
- Thicker fabric layers slow down heat transfer, requiring longer press times.
- Curved and structured panels create gaps between the heat plate and fabric, causing uneven heat contact.
- Different material blends respond differently to heat, affecting adhesion and durability.
Understanding these factors helps you adjust your process for better hat pressing results.
Challenges of Heat Pressing Designs on Curved Hat Surfaces
Because curved hat surfaces don’t lay flat like shirts or bags, pressing designs on them can be tricky. You’ll struggle with uneven pressure, which can cause incomplete transfers or distorted designs. The shape also makes it hard to position your design precisely, leading to misalignment.
Plus, the limited contact area between the heat platen and the hat surface means inconsistent heat distribution, risking poor adhesion.
Here’s a quick look at common challenges you might face:
| Challenge | Cause | Result |
|---|---|---|
| Uneven pressure | Curved surface | Patchy or faded design |
| Misalignment | Difficulty positioning | Crooked prints |
| Heat inconsistency | Limited platen contact | Weak adhesion or burns |
Understanding these helps you adjust your technique for better results.
How Does Heat Pressing a Hat Differ From Flat Items?
When you press a hat, its curved surface creates unique challenges compared to flat items. You’ll notice the pressure doesn’t distribute evenly, which can affect the final design.
Understanding these differences helps you adjust your technique for better results.
Curved Surface Challenges
Although heat pressing a hat might seem similar to pressing flat items, the curved surface presents unique challenges that require extra attention. Unlike flat fabrics, hats have rounded shapes that make it tricky to get consistent contact with the heat platen. You’ll need to adjust your technique to avoid uneven transfers or damaging the hat’s structure.
Here are some challenges you’ll face:
- Wrinkles and folds can form easily on curved surfaces, disrupting the design.
- Standard heat press platens aren’t designed to fit snugly on hats, causing gaps.
- Applying even heat is difficult since the surface isn’t flat, risking patchy results.
To press hats well, you’ll have to adapt your setup and work carefully around these obstacles.
Pressure Distribution Differences
The curved shape of hats changes how pressure spreads during heat pressing compared to flat items. When you press a flat shirt or fabric, the heat platen applies even pressure across the entire surface. However, with hats, the rounded crown and bill create uneven contact points, causing pressure to concentrate in some areas while leaving others lighter.
This uneven distribution can result in inconsistent transfers or weak adhesion in spots. You’ll often need to adjust pressure settings and consider using specialized hat platens or pressure pads to compensate. Without these adjustments, you risk damaging the hat’s shape or getting subpar results.
Understanding this pressure difference helps you adapt your technique, ensuring your designs apply smoothly and last longer on curved surfaces like hats.
Best Types of Heat Presses for Pressing Hats
Choosing the right heat press can make all the difference in achieving professional-quality hat designs. Not all heat presses are created equal when it comes to hats, so picking one designed for curved surfaces helps you get even pressure and crisp results.
Here are the best types to contemplate:
- Cap heat press: Specifically designed for hats, with a curved platen to fit the crown perfectly.
- Swing-away heat press: Allows you to move the heating element away, giving you better access to the hat and reducing the risk of burns.
- Clamshell heat press with a hat attachment: Offers versatility; you can switch between flat and curved platens depending on your project.
Choosing one of these guarantees your hats come out looking sharp every time.
How to Modify a Regular Heat Press for Hat Pressing
To press hats with your regular heat press, you’ll need to adjust some components for a better fit and even pressure. You can also explore using specialized hat press attachments that make the process much easier.
Let’s look at how these modifications can turn your standard heat press into a hat-friendly machine.
Adjusting Heat Press Components
When you want to adapt a regular heat press for hat pressing, you’ll need to adjust several key components to guarantee even pressure and proper heat distribution. Start by modifying the platen height to accommodate the curved surface of the hat’s crown.
Next, confirm the pressure is evenly distributed; too much can damage the hat, while too little won’t transfer the design properly. Finally, adjust the timer and temperature settings to suit the fabric type and thickness of the hat.
Here’s what to focus on:
- Platen height: Raise or lower to fit the hat’s shape comfortably.
- Pressure: Fine-tune for consistent contact without crushing.
- Heat and time: Calibrate based on material to avoid burns or incomplete transfers.
These tweaks help you get professional results with your regular heat press.
Using Hat Press Attachments
How can you transform your regular heat press into a hat-friendly machine? The key is using hat press attachments designed to fit onto your existing heat press. These attachments typically feature a curved platen that matches the shape of a hat’s crown, allowing even heat distribution and pressure where it counts.
You simply remove your regular platen and attach the hat press platen in its place. Make certain it’s securely fastened to prevent shifting during pressing. Many attachments are adjustable, so you can customize pressure and fit for different hat styles.
Using these accessories lets you press hats professionally without buying a separate machine. Just ensure your heat press can handle the extra attachment’s size and weight, and you’re ready to start customizing hats efficiently.
Best Materials and Inks for Heat Pressing Hats
Although heat pressing hats can be straightforward, choosing the right materials and inks plays a crucial role in achieving durable and vibrant results. You want fabrics that handle heat well without warping or discoloring. Cotton blends and polyester hats work best because they withstand high temperatures and hold prints nicely.
Selecting the right ink is equally important to ensure your design lasts.
Here are the best options to consider:
- Heat transfer vinyl (HTV): Offers vivid colors, flexibility, and excellent durability on hats.
- Sublimation ink: Perfect for polyester hats, giving sharp, long-lasting prints.
- Plastisol transfer ink: Ideal for detailed designs, providing a vibrant and durable finish.
Choosing these materials helps you get professional-quality results every time.
How to Prepare Hats Properly Before Heat Pressing
Before you start heat pressing, you’ll want to shape and secure the hat properly to guarantee a smooth, even application. Begin by placing a hat form or a ball inside the crown to maintain its shape and prevent any wrinkles or folds. If you don’t have a hat form, a rolled towel or foam ball works well.
Next, use heat-resistant tape to secure any loose parts of the hat, like the brim or seams, so they don’t shift during pressing. Make sure the hat is clean and free from dust or oils, as these can affect the transfer quality. Finally, preheat the hat briefly to remove moisture, ensuring the material is ready to accept the design evenly.
How to Press a Hat With a Regular Heat Press
When you’re ready to press your hat with a regular heat press, positioning it correctly is key to achieving a clean, professional finish. Start by placing the hat on a rounded pressing pillow or a folded towel to maintain its shape. Align the design carefully under the heat platen to *ensure* even heat distribution.
Properly positioning your hat on a rounded surface ensures even heat and a professional finish.
Follow these steps:
- Set your heat press to the recommended temperature and pressure based on your transfer material.
- Use a Teflon sheet or parchment paper over the design to protect both the hat and the press.
- Press for the recommended time, usually between 10-15 seconds, then lift the press carefully to avoid smudging.
With these steps, your hat will come out looking crisp and well-pressed every time.
Common Mistakes When Pressing Hats at Home
If you want your hat pressing to look professional, you need to avoid common mistakes that can ruin your design or damage the fabric. One big error is applying too much pressure; it can warp the hat’s shape or cause the design to bleed. Don’t forget to adjust the heat press settings specifically for hats—using the same temperature and time as flat garments often leads to poor results.
Another mistake is not preheating the hat, which can cause moisture buildup and uneven adhesion. Skipping test presses is risky; you should always test on a similar material first. Finally, avoid pressing the hat too long, or you might scorch the fabric or fade your design.
Being mindful of these helps you get clean, durable results every time.
How to Protect Your Hat and Design During Heat Pressing
Avoiding common pressing mistakes sets a strong foundation, but protecting both your hat and design during heat pressing takes careful attention. To keep your hat in great shape and guarantee your design stays flawless, follow these key tips:
- Use a Teflon sheet or parchment paper: Place it between the heat press and your design to prevent scorching or melting.
- Adjust pressure appropriately: Too much pressure can distort your hat’s shape and ruin the design; find a balance that’s firm but gentle.
- Preheat the hat: Briefly warm the hat before pressing to remove moisture and avoid wrinkles or bubbles in your design.
When to Invest in a Hat-Specific Heat Press
Although you can press hats with a regular heat press, investing in a hat-specific heat press can save you time and improve results if you frequently work with headwear. These machines are designed to fit the curved shape of hats, ensuring even pressure and better adhesion.
If you find yourself pressing hats often, the efficiency gains and professional finish are worth the investment.
| Situation | Regular Heat Press | Hat-Specific Heat Press |
|---|---|---|
| Occasional hat pressing | Suitable | Overkill |
| Frequent hat pressing | Time-consuming | Time-saving |
| Varied hat styles | Difficult fit | Adjustable, versatile |
| Quality of finish | Uneven pressure | Consistent, professional |
| Investment cost | Lower upfront | Higher upfront, better ROI |
Frequently Asked Questions
Can You Heat Press a Hat With a Design on Mesh Panels?
You can heat press a design on mesh panels, but you’ll need a special hat press attachment to avoid damaging the mesh. Regular heat presses aren’t designed for curved, breathable surfaces like mesh panels on hats.
Using the correct attachment helps ensure even pressure and heat distribution. This prevents warping or melting the mesh material. Always check the settings to match the fabric type before pressing.
Does Humidity Affect the Heat Pressing Process for Hats?
Yes, humidity affects heat pressing hats by causing moisture buildup, which can lead to uneven heat distribution and poor adhesion.
You should make sure hats are dry before pressing to get the best results and avoid damage.
How Long Does a Heat-Pressed Hat Design Typically Last?
Your heat-pressed hat design typically lasts around 20-30 washes.
To keep it vibrant longer, you’ll want to avoid excessive moisture and heat when cleaning. These factors can wear down the design faster than you’d like.
Can Heat Pressing Damage Hat Logos or Embellishments?
Yes, heat pressing can damage hat logos or embellishments if you use too much heat or pressure.
You’ll want to use a heat press with adjustable settings and test on a small area to avoid ruining your design.
Is It Safe to Heat Press Hats With Plastic Brims?
You can’t just scorch plastic brims like they’re made of paper! It’s not safe to heat press hats with plastic brims because they’ll warp or melt.
Always check materials first and use lower temperatures to protect your hats.
Conclusion
Pressing a hat with a regular heat press can feel like fitting a square peg in a round hole—it’s tricky but not impossible. You’ll need patience and some creative adjustments to tame the curved surface and protect your design. While a flat press is great for basics, it requires extra care when working with hats.
Investing in a hat-specific press is like switching from a flashlight to a spotlight—it shines where it counts. This specialized heat press ensures even pressure and heat distribution on the curved brim and crown. Choose wisely, and your hats will wear your art proudly.
In conclusion, while you can press a hat with a regular heat press, using the right equipment makes a big difference. For the best results, consider a hat-specific heat press to protect your design and achieve professional-quality transfers.