Can You Heat Press on Acrylic
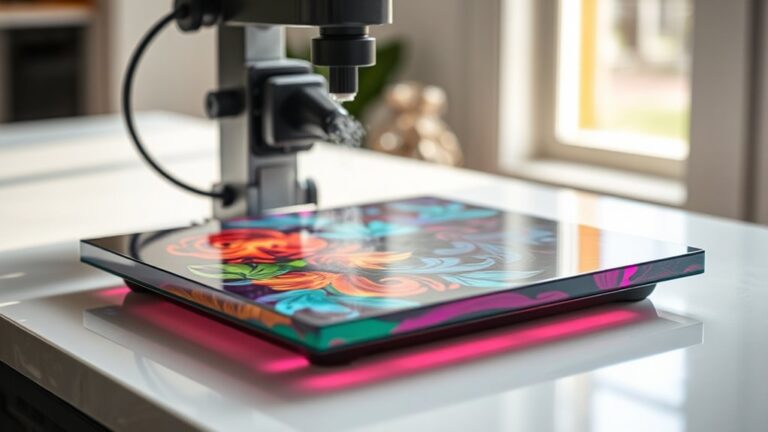
You can heat press on acrylic safely by following specific guidelines to prevent damage. Keeping the temperature below 300°F is crucial to avoid melting or warping the material.
Using light to medium pressure and limiting the pressing time to under 15 seconds also helps maintain the acrylic’s integrity.
Always protect the acrylic with a Teflon or silicone sheet during the heat pressing process. This protective layer prevents direct contact with the heat press, reducing the risk of surface damage.
Testing on scrap pieces first is essential to find the right settings for your specific acrylic material.
If you want to avoid common mistakes and explore alternative methods, there’s more helpful info available to guide you through the process.
Key Takeaways
- Heat pressing on acrylic is possible but requires temperatures below 300°F (149°C) to avoid melting or warping.
- Always use a protective sheet like Teflon to prevent direct heat damage during pressing.
- Limit pressing time to 10-15 seconds with light to medium pressure to minimize acrylic distortion.
- Test settings on scrap acrylic pieces first to ensure safe temperature, pressure, and adhesion.
- Alternative decoration methods like vinyl application, painting, or etching avoid heat risks and offer durable designs.
Can You Heat Press on Acrylic Without Damaging It?
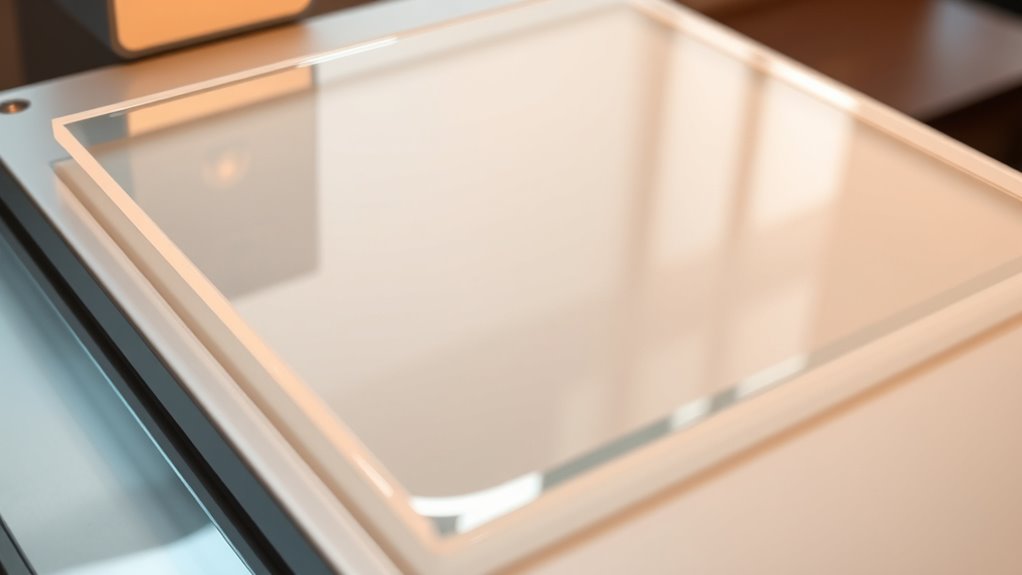
How can you heat press on acrylic without causing damage? You need to control the temperature and pressure carefully. Acrylic is sensitive to high heat, so keep the temperature below 300°F (149°C) to avoid melting or discoloration.
Use a lower pressure setting to prevent cracking or warping. Always place a protective sheet, like a Teflon or silicone mat, between the heat press and the acrylic surface. This prevents direct contact and distributes heat evenly.
Limit the pressing time to just a few seconds—usually under 10 seconds is best. Test on a small acrylic piece first to see how it reacts. By managing these factors, you can apply heat transfers efficiently without harming your acrylic projects.
Why Acrylic Warps With Heat (And What to Do About It)
Even with careful temperature and pressure control, acrylic can still warp when exposed to heat. This happens because acrylic is a thermoplastic, meaning it softens and becomes pliable at elevated temperatures. When heat is uneven or prolonged, the material expands and contracts inconsistently, causing distortion.
You might notice warping if the acrylic isn’t supported properly or if the heat presses too long in one area.
To minimize warping, you can:
- Use a heat-resistant backing to distribute pressure evenly
- Limit heat exposure time to the minimum necessary
- Allow acrylic to cool slowly and evenly after pressing
Best Heat Press Techniques for Acrylic Surfaces
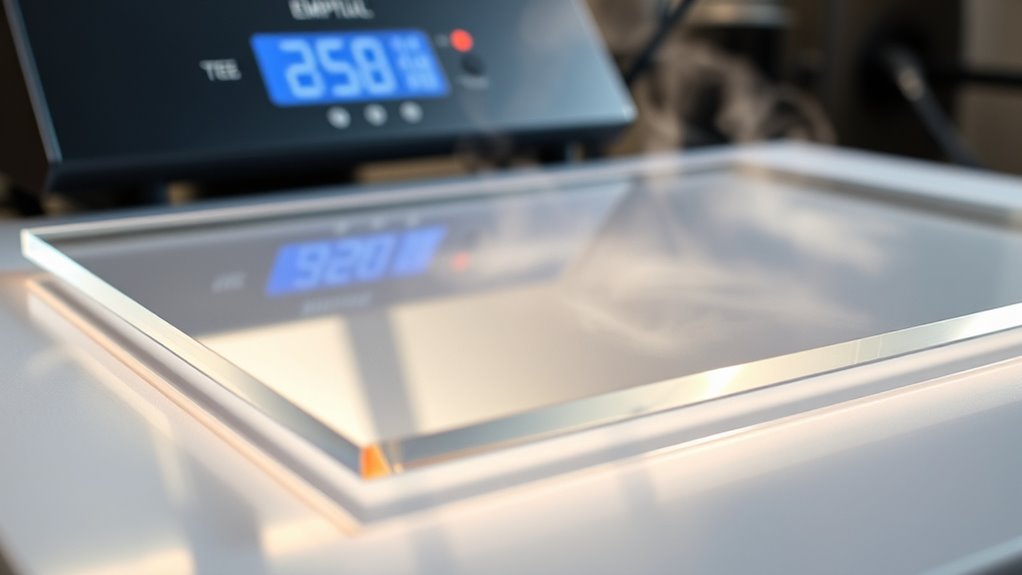
To get the best results when heat pressing on acrylic, you’ll need to start by properly preparing the surface. Use the right temperature settings to avoid warping, and always apply protective layers to shield the acrylic from direct heat.
These steps will help you achieve a clean, lasting transfer without damaging your material.
Preparing Acrylic Surface
Although acrylic is a durable material, you need to prepare its surface carefully to guarantee your heat press design adheres properly. Start by cleaning the acrylic thoroughly to remove dust, oils, or fingerprints. Use a lint-free cloth with isopropyl alcohol for best results.
Next, lightly sand the area where you’ll apply the design using fine-grit sandpaper; this helps create a slightly rough texture for better adhesion. Finally, make certain the surface is completely dry before pressing to avoid any moisture interference.
Here’s a quick checklist to prepare your acrylic surface:
- Clean with isopropyl alcohol and a lint-free cloth
- Lightly sand with fine-grit sandpaper (around 400 grit)
- Dry the surface fully before heat pressing
These steps help make sure your design sticks firmly and looks sharp.
Optimal Temperature Settings
When you heat press on acrylic, choosing the right temperature is essential to prevent warping or discoloration while ensuring your design adheres firmly. Generally, keeping the temperature between 270°F and 300°F works best. Going higher risks melting or distorting the acrylic’s smooth surface.
You should also adjust your press time to about 10 to 15 seconds, avoiding excessive heat exposure. Always test on a scrap piece first to find the exact setting for your specific acrylic type and thickness. Using steady, even pressure helps transfer the design without damaging the material.
Applying Protective Layers
How can you protect your acrylic surface during heat pressing to avoid damage? Applying a protective layer is essential to shield the acrylic from direct heat and pressure. Without it, you risk discoloration, warping, or scratches.
Here’s how you can safeguard your acrylic:
- Use a Teflon sheet or heat-resistant silicone mat to create a barrier between the heat press and acrylic.
- Place parchment paper over your design before pressing to prevent scorching or adhesive transfer.
- Consider using a thin cotton cloth as an extra layer for heat distribution and surface protection.
How to Prepare Acrylic for Heat Pressing Success
Before you start heat pressing, make sure to clean the acrylic surface thoroughly to remove dust and oils. You’ll also want to use protective layers like Teflon sheets or parchment paper to prevent damage.
These simple steps help guarantee your design adheres properly and your acrylic stays in great shape.
Cleaning Acrylic Surface
Why does cleaning the acrylic surface matter so much for heat pressing? Because any dust, oil, or residue can prevent the design from adhering properly, leading to uneven results or peeling later. You want a smooth, spotless surface to maximize heat transfer and guarantee your design looks sharp and lasts long.
To clean your acrylic effectively, follow these steps:
- Use a lint-free cloth dampened with isopropyl alcohol to remove oils and fingerprints.
- Avoid abrasive cleaners or rough cloths that can scratch the surface.
- Let the surface air dry completely before proceeding with heat pressing.
Using Protective Layers
Once your acrylic surface is spotless, the next step is to protect it during heat pressing. You’ll want to use a protective layer like a Teflon sheet or parchment paper between the heat press and the acrylic. This prevents direct heat contact, reducing the risk of warping or melting.
Place the protective sheet carefully to cover the entire pressing area. Additionally, you can use a silicone pad underneath the acrylic to distribute heat evenly and avoid pressure marks. Make sure the protective layers are clean and free of debris to avoid imperfections on your project.
Safe Temperature and Pressure Settings for Acrylic Heat Pressing
Although acrylic can handle heat pressing, you need to carefully control the temperature and pressure to avoid damage. Too much heat can warp or melt the acrylic, while excessive pressure might cause cracking or surface imperfections. To get the best results, aim for a balance that protects the material and guarantees proper adhesion.
Here are safe settings to start with:
- Temperature: Keep it between 300°F and 320°F (149°C and 160°C) to prevent warping.
- Pressure: Use light to medium pressure, roughly 30-40 PSI, to avoid cracking.
- Time: Limit the pressing time to 10-15 seconds to reduce heat exposure.
Always test on a scrap piece first to fine-tune your settings for your specific acrylic type.
Choosing the Right Heat Transfer Vinyl for Acrylic
When selecting heat transfer vinyl (HTV) for acrylic, you’ll want a material that bonds well without damaging the surface. Look for HTV labeled as compatible with non-fabric materials or plastics, as these typically adhere better. Thin, flexible vinyls work best since thick or rigid types might not contour properly or could peel off.
You should also consider adhesive strength—permanent adhesive is ideal to guarantee durability. Avoid vinyls that require very high heat, as acrylic can’t handle extreme temperatures. Choosing a vinyl with a peel temperature that matches your acrylic’s heat tolerance ensures a secure bond.
Finally, test a small piece first to confirm adhesion and avoid ruining your project. This careful selection helps you achieve professional results every time.
How to Prevent Acrylic Warping During Heat Pressing
Since acrylic is sensitive to heat, you need to carefully control your heat press settings to prevent warping. Too much heat or pressure can cause your acrylic to bend or bubble, ruining your project. To keep your acrylic flat and intact, start by lowering the temperature and shortening the pressing time.
Use a protective sheet to evenly distribute the heat and avoid direct contact with the heating element. Also, apply gentle, even pressure instead of heavy force.
Here are some quick tips to prevent warping:
- Set your heat press between 250°F and 300°F (121°C to 149°C).
- Limit pressing time to 10-15 seconds.
- Use a Teflon sheet or parchment paper as a barrier.
Following these steps will help you achieve crisp, clean results every time.
Alternatives to Heat Pressing for Decorating Acrylic
If heat pressing feels risky for your acrylic projects, you’ve got other great options to explore. You can try painting techniques, apply vinyl decals, or even use etching and engraving for a unique look.
Each method offers a different way to customize your acrylic without the heat.
Painting Techniques for Acrylic
Although heat pressing might not suit acrylic, you can still achieve vibrant, lasting designs by using painting techniques specifically made for this material. To decorate acrylic effectively, you need paints that bond well and resist chipping. Start by cleaning the acrylic surface to remove oils, then use paints designed for plastic or acrylic, like acrylic enamels or airbrush paints.
Seal your artwork with a clear protective coating to enhance durability.
Here are three painting techniques to try:
- Hand Painting: Use fine brushes and acrylic paints for detailed, custom designs.
- Airbrushing: Achieve smooth gradients and professional finishes with an airbrush.
- Stencil Painting: Create sharp, repeatable patterns using stencils and spray or dab paint.
These methods let you decorate acrylic beautifully without heat pressing.
Vinyl Application Methods
When you want to decorate acrylic without using heat pressing, vinyl application offers a versatile and effective alternative. You can use adhesive vinyl or heat transfer vinyl (HTV) with a simple peel-and-stick method, avoiding heat altogether. This approach works well for smooth acrylic surfaces and provides vibrant, durable designs.
Here’s a quick overview of common vinyl application methods:
| Method | Best For | Key Benefit |
|---|---|---|
| Adhesive Vinyl | Smooth, flat acrylic | Easy application, no heat |
| Heat Transfer Vinyl (HTV) | Limited heat use on acrylic | Durable finish |
| Printable Vinyl | Complex, multi-color designs | High detail and color |
| Removable Vinyl | Temporary applications | Easy removal without residue |
Each method suits different project needs, letting you customize acrylic decor safely and creatively.
Etching and Engraving Options
Since heat pressing isn’t always suitable for acrylic, you can explore etching and engraving as effective alternatives to decorate your pieces. These methods offer precision and permanence without risking damage from high heat. When you etch or engrave, you fundamentally carve designs into the acrylic’s surface, creating stunning, detailed effects that last.
Here are some options you might consider:
- Laser Engraving: Uses a laser beam to precisely etch detailed designs, perfect for intricate logos or text.
- Chemical Etching: Applies acid or other chemicals to selectively wear away the surface, giving a frosted look.
- Mechanical Engraving: Uses rotary tools or CNC machines to physically carve patterns, adding texture and depth.
Each method provides durable, elegant decoration without the challenges of heat pressing.
Common Mistakes to Avoid When Heat Pressing Acrylic
If you want your heat-pressed acrylic projects to turn out perfectly, you’ll need to steer clear of some common pitfalls. First, don’t apply too much heat or pressure; acrylic can warp or melt if exposed to excessive temperature or force. Always check your heat press settings carefully.
Avoid skipping the protective layer—use a Teflon sheet or parchment paper between the acrylic and the heat platen to prevent damage or sticking. Don’t rush the cooling process; letting the acrylic cool naturally helps maintain its shape. Also, avoid pressing on curved or uneven surfaces, as this can cause inconsistent results.
Finally, don’t ignore the acrylic’s thickness; thin sheets are more prone to damage, so adjust your settings accordingly to protect your project.
How to Test Your Heat Press Setup on Acrylic Safely
Before you start your heat pressing project on acrylic, you’ll want to test your setup carefully to avoid costly mistakes. Testing guarantees the temperature, pressure, and timing won’t damage your acrylic or ruin your design. Start by using a small acrylic scrap to experiment safely.
Adjust your heat press settings incrementally, and observe the results closely.
Follow these steps for a safe test:
- Set your heat press to a low temperature (around 300°F) and short duration (10-15 seconds).
- Use a protective Teflon sheet or parchment paper between the heat press and acrylic.
- Apply moderate pressure and check the acrylic for warping, discoloration, or damage.
Frequently Asked Questions
Can Heat Pressing Acrylic Affect Its Transparency or Color?
Yes, heat pressing acrylic can affect its transparency and color. You’ll notice warping, discoloration, or cloudiness if the temperature or time is too high.
Always use lower heat and test first to avoid damage.
Is Heat Pressing Acrylic Safe for Food-Related Items?
You shouldn’t use heat pressing on acrylic for food-related items since the process can release harmful fumes and damage the surface.
Instead, choose food-safe materials and methods to guarantee safety and avoid contamination.
How Long Does a Heat-Pressed Design on Acrylic Typically Last?
Coincidentally, your heat-pressed design on acrylic can last several years if you treat it right. You’ll want to avoid harsh scrubbing or extreme heat, and your design will stay vibrant through regular use and care.
Can You Use a Regular Household Iron Instead of a Heat Press on Acrylic?
You shouldn’t use a regular household iron on acrylic because it can’t maintain consistent heat or pressure, risking damage. A heat press provides even heat and pressure, ensuring your design adheres properly and lasts longer.
Are There Specific Adhesives Recommended for Use With Heat-Pressed Acrylic?
Imagine you’re customizing acrylic signs; you’ll want to use heat-activated adhesives like heat-transfer vinyl (HTV). It bonds well under pressure and temperature, ensuring your design stays vibrant and long-lasting without damaging the acrylic surface.
These adhesives are specifically formulated to work with the heat-pressing process. This helps achieve a strong, durable bond that can withstand regular use.
Using the right adhesive also prevents peeling and fading over time. This keeps your acrylic signs looking professional and attractive.
Conclusion
You might think heat pressing acrylic is like trying to tame a wild dragon—one wrong move, and it warps or melts! But with the right temperature, pressure, and prep, you can conquer this fiery beast without a scratch. Just follow the steps, avoid common mistakes, and test carefully.
Trust me, mastering heat pressing on acrylic isn’t just possible—it’s practically a superpower you’ll want to show off every time! With patience and practice, heat pressing acrylic can become a reliable method for your creative projects. Embrace the challenge, and enjoy the unique results that only heat pressing on acrylic can deliver.