Can You Heat Press a Yeti Cup
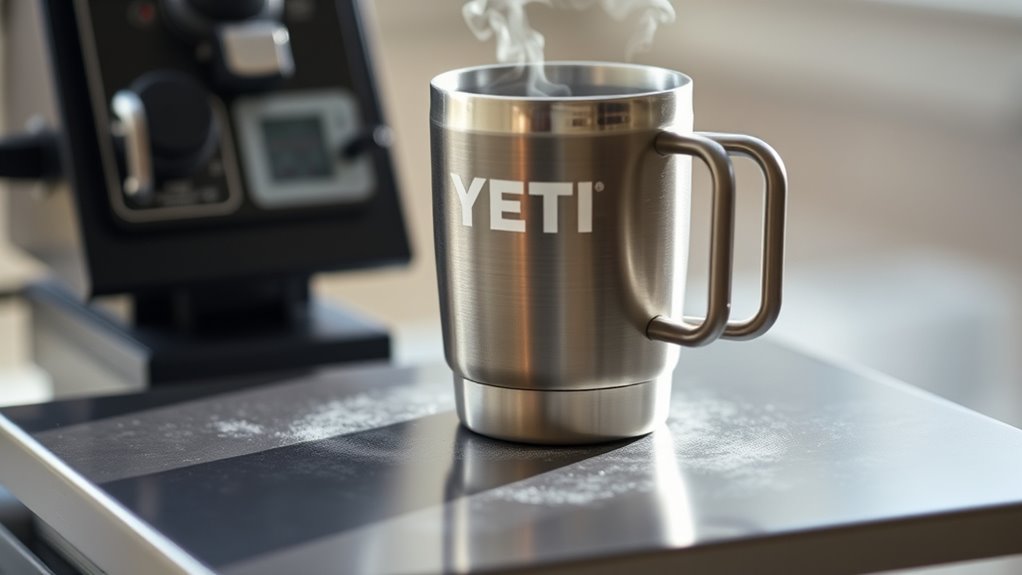
You shouldn’t heat press a Yeti cup because the high heat and pressure can damage its powder coating, warp the metal, and even release harmful fumes.
Heat pressing a Yeti cup risks peeling, bubbling, and surface warping that ruin the cup’s insulation and finish. These issues make heat pressing an unsuitable method for customizing your Yeti.
Instead, consider safer methods like using vinyl decals or hand-painting for customization. These alternatives preserve your cup’s integrity and allow for creative designs without the risk of damage.
If you want to create durable, professional designs without ruining your Yeti, there are proven steps and alternatives you’ll want to explore.
Key Takeaways
- Heat pressing Yeti cups risks surface damage like peeling, warping, and discoloration due to intense heat and pressure. Stainless steel and powder coating react differently; excessive heat can cause burns, fumes, or hot spots, so use gloves and ventilation.
- Proper surface preparation, including cleaning and drying, is crucial to prevent bubbling or lifting of the design during heat pressing. Vinyl decals or hand-painting are safer customization alternatives that avoid heat damage and provide durable, attractive finishes.
- If heat pressing, use recommended settings (350°F–375°F, 15–20 seconds, medium pressure) and protective layers to minimize damage.
Is Heat Pressing a Yeti Cup Safe?
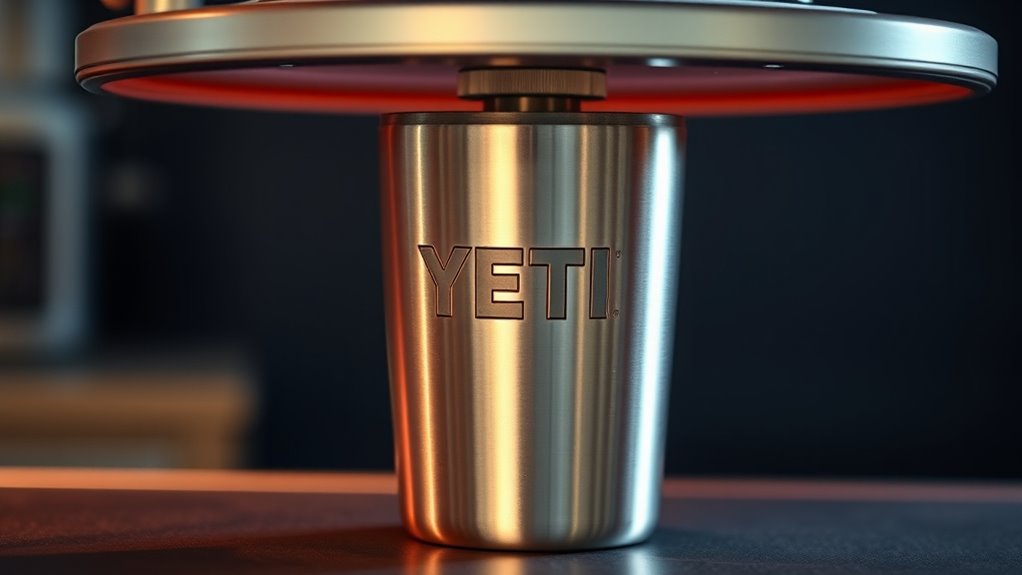
When you consider heat pressing a Yeti cup, safety should be your top priority. You need to understand the materials used in the cup, like stainless steel and powder coating, which react differently to heat. Applying too much heat can cause burns or release harmful fumes, so always use protective gloves and work in a well-ventilated area.
Make sure your heat press machine is set to the appropriate temperature and time settings to avoid overheating. Also, keep in mind that uneven pressure or prolonged heat exposure can create hot spots, increasing the risk of injury. By following proper safety measures and using the right equipment, you can minimize hazards and handle the heat pressing process confidently and securely.
How Heat Pressing Can Damage Your Yeti Cup
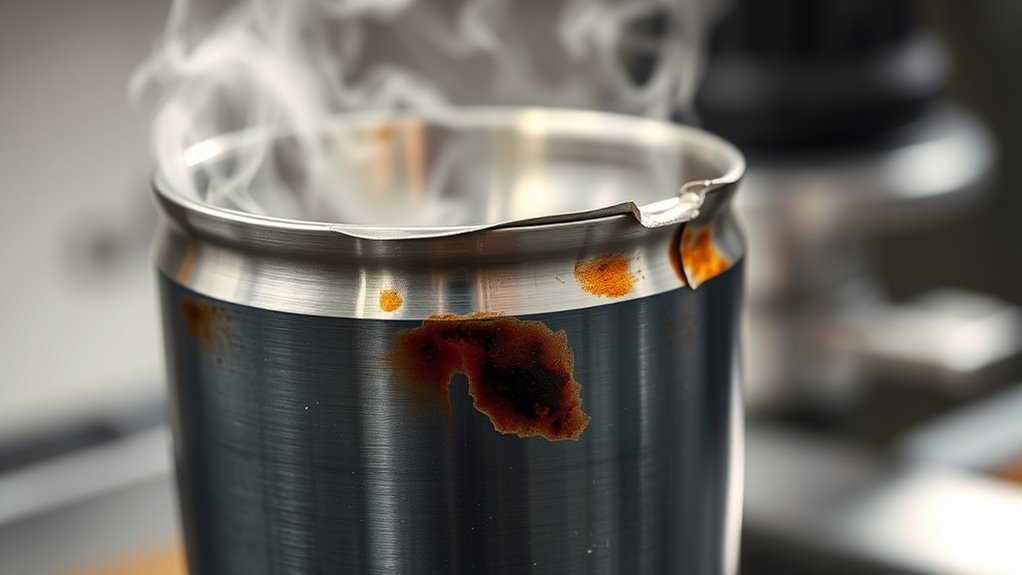
Although heat pressing can personalize your Yeti cup, it can also cause significant damage if not done correctly. The intense heat and pressure from the press can warp the cup’s metal surface, ruining its sleek finish. If you apply too much heat, the powder coating may blister, peel, or discolor, leaving your cup looking worse than before.
Additionally, uneven pressure can create dents or scratches, compromising the cup’s insulation. You might also weaken the cup’s structural integrity, reducing its durability over time. If moisture gets trapped under the heat transfer, it can cause bubbling or lifting of the design.
To avoid these issues, you need to carefully control temperature, time, and pressure—otherwise, the heat press could end up destroying your Yeti instead of customizing it.
Best Materials for Customizing Yeti Cups
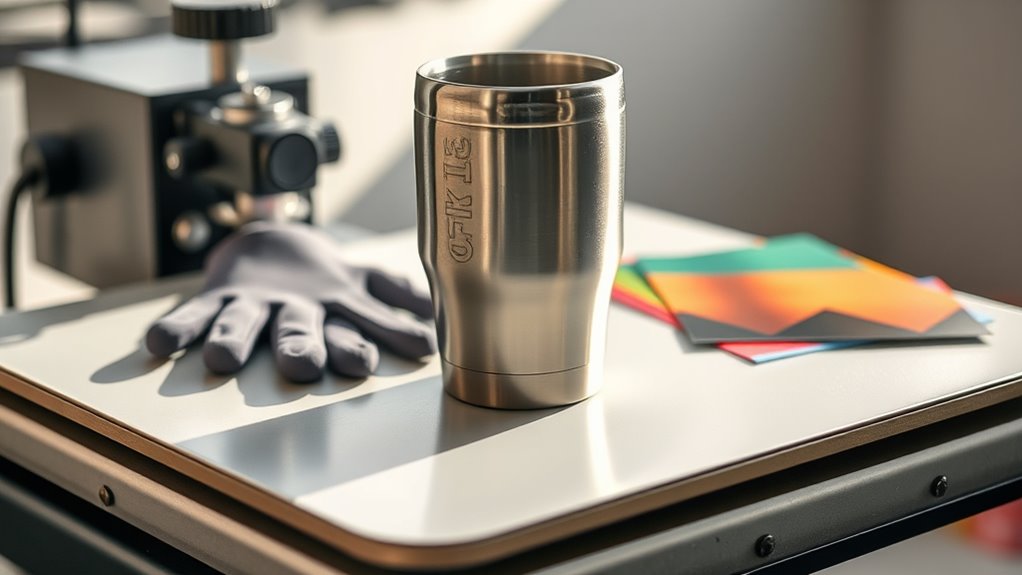
When customizing your Yeti cup, choosing the right vinyl is key for a lasting design. You’ll want materials that handle heat transfer well without peeling or fading.
Let’s explore which options give you the best results and durability.
Suitable Vinyl Types
What types of vinyl work best for customizing a Yeti cup? You’ll want to choose permanent adhesive vinyl since it sticks well to the stainless steel surface and withstands regular use. Look for outdoor or permanent vinyl brands, as they’re designed to handle moisture and temperature changes without peeling.
Avoid removable or indoor vinyl, which won’t hold up long on a Yeti cup. You can also consider glossy or matte finishes depending on the look you want. Make sure the vinyl is thin and flexible enough to conform to the cup’s curved surface, ensuring a smooth application.
Heat Transfer Compatibility
Choosing the right vinyl is just one part of customizing your Yeti cup; understanding which heat transfer materials work best is equally important. You’ll want to use heat transfer vinyl (HTV) designed for non-porous surfaces, as Yeti cups have a smooth, stainless steel exterior. Look for materials labeled as compatible with metal or hard surfaces to guarantee proper adhesion.
Some HTVs come with strong adhesives that bond well under the right heat and pressure. Avoid standard fabric HTVs, as they often won’t stick properly and can peel off. You might also consider specialized sublimation coatings if you plan to use sublimation printing.
Always test a small area first to confirm compatibility and prevent damage to your Yeti cup.
Durable Design Materials
Although customizing your Yeti cup can be exciting, selecting durable design materials guarantees your artwork lasts through daily use and washing. You want materials that resist fading, peeling, and cracking over time.
Here are four of the best options:
- Permanent Vinyl – Offers strong adhesion and vibrant colors that endure frequent washing.
- Epoxy Resin Coating – Provides a glossy, protective finish that seals your design firmly.
- Sublimation Ink (on compatible surfaces) – Bonds deeply with the cup’s material for long-lasting prints.
- High-Quality Heat Transfer Vinyl (HTV) – Designed to withstand heat and moisture without losing integrity.
Using these materials ensures your personalized Yeti cup stays looking sharp and fresh, no matter how often you use or clean it.
How to Prepare Your Yeti Cup for Heat Transfer
Before you start the heat transfer process, you’ll need to thoroughly clean your Yeti cup to guarantee the design adheres properly. Use rubbing alcohol or a mild detergent to remove oils and dirt. Dry it completely with a lint-free cloth.
Next, remove any stickers or labels. Avoid scratches or dents by handling the cup gently. Finally, preheat your heat press to the recommended temperature so the cup is ready for transfer.
| Step | Action | Tip |
|---|---|---|
| 1 | Clean with rubbing alcohol | Ensures surface is grease-free |
| 2 | Dry with lint-free cloth | Prevents lint under design |
| 3 | Remove stickers | Avoids uneven surface |
| 4 | Inspect for damage | Prevents transfer issues |
| 5 | Preheat press | Ready cup for heat transfer |
How to Choose the Right Heat Press Settings for Yeti Cups
When you set your heat press for Yeti cups, getting the temperature, time, and pressure just right makes all the difference in achieving a clean, long-lasting transfer. Here’s how to choose the right settings:
- Temperature: Aim for 350°F to 375°F; too hot can damage the cup’s finish, too cool won’t set the design properly.
- Time: Set between 15 to 25 seconds to ensure the transfer adheres without overheating.
- Pressure: Use medium pressure; too much can distort the design, too little may cause peeling.
- Test First: Always test your settings on a similar surface or spare cup to perfect your approach before the final press.
Adjust carefully, and you’ll get a professional result every time.
Protecting Your Yeti Cup’s Finish During Customization
How can you guarantee your Yeti cup stays flawless while adding your custom design? Start by thoroughly cleaning the surface with rubbing alcohol to remove oils and dirt. Use a heat-resistant tape to secure your design firmly, preventing shifting that can cause smudges or bubbles.
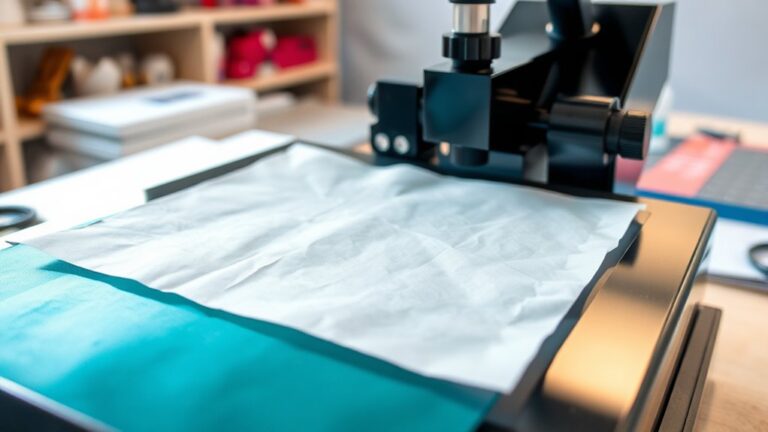
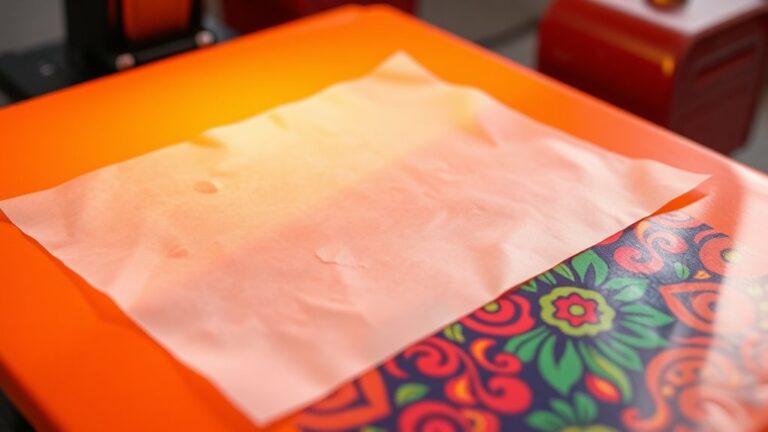
Always place a protective Teflon sheet or parchment paper between the heat press and your cup to shield the finish from direct heat. Avoid overheating by adhering strictly to recommended temperature and time settings; too much heat can damage the cup’s coating. Handle the cup gently after pressing to prevent scratches or dents.
Taking these precautions ensures your Yeti cup not only looks professional but also maintains its durable, sleek finish for long-lasting enjoyment.
Troubleshooting Common Heat Pressing Problems With Yeti Cups
Although heat pressing a Yeti cup can produce stunning results, you might encounter some common issues like bubbling, fading, or uneven adhesion. To troubleshoot these problems, follow these steps:
Heat pressing a Yeti cup can yield great results, but watch for bubbling, fading, or uneven adhesion.
- Check heat settings: Ensure your press isn’t too hot or cold; incorrect temperature causes bubbling or fading.
- Apply even pressure: Uneven pressure leads to poor adhesion—adjust your press to distribute weight uniformly.
- Use the right materials: Opt for heat transfer vinyl designed for metal surfaces to avoid peeling or fading.
- Prep the surface properly: Clean and dry your Yeti cup thoroughly; any residue blocks adhesion and causes bubbling.
Safe Alternatives to Heat Pressing for Customizing Yeti Cups
If you want to customize your Yeti cup without heat pressing, applying vinyl decals is a simple and safe option. You can also create unique hand-painted designs that add a personal touch. Both methods let you get creative without risking damage to your cup.
Vinyl Decals Application
Since heat pressing can damage the surface of a Yeti cup, you’ll want to explore safer methods like applying vinyl decals to customize it. Vinyl decals offer a durable, visually appealing alternative without risking heat damage.
Here’s how you can do it:
- Clean the surface thoroughly with rubbing alcohol to remove oils and dirt.
- Measure and position the vinyl decal to ensure perfect placement before peeling the backing.
- Apply the decal slowly, smoothing out air bubbles with a squeegee or credit card.
- Seal the decal with a clear, non-heat adhesive spray or epoxy for added protection.
This method keeps your Yeti looking great without the risks associated with heat pressing.
Hand-Painted Designs
When you want to customize your Yeti cup without risking damage from heat pressing, hand-painted designs provide a fantastic alternative. You can create unique, personalized artwork using durable, water-resistant paints made for metal surfaces. Start by cleaning your cup thoroughly to guarantee the paint adheres well.
Use acrylic enamel or oil-based paints, which dry hard and resist fading. Apply thin layers with fine brushes or paint markers for detailed designs. After painting, seal your artwork with a clear, non-toxic sealant to protect it from scratches and moisture.
This method lets you customize your cup freely without worrying about heat damaging the insulation or finish. Plus, hand-painted designs offer a creative, lasting look that stands out beautifully.
Using Vinyl Wraps and Decals on Yeti Cups
Although Yeti cups aren’t ideal for heat pressing, you can easily customize them using vinyl wraps and decals. These methods offer a simple, durable way to personalize your cup without worrying about heat damage.
Yeti cups aren’t suited for heat pressing but vinyl wraps and decals provide an easy, durable customization option.
Here’s how to get started:
- Clean the surface thoroughly to remove oils and dirt for better vinyl adhesion.
- Measure and cut your vinyl wrap or decal to fit your Yeti cup perfectly.
- Apply slowly, smoothing out air bubbles with a squeegee or credit card.
- Seal the edges with a clear adhesive or tape for extra durability, especially if you plan to hand wash the cup.
Using vinyl wraps and decals lets you create unique designs without the risks that come with heat pressing.
Essential Tools and Supplies for Decorating Yeti Cups
Before you start decorating your Yeti cup, you’ll need the right tools and supplies to guarantee your design looks professional and lasts long. First, gather high-quality adhesive vinyl or heat transfer vinyl, depending on your method. A reliable cutting machine like a Cricut or Silhouette makes precise designs easier.
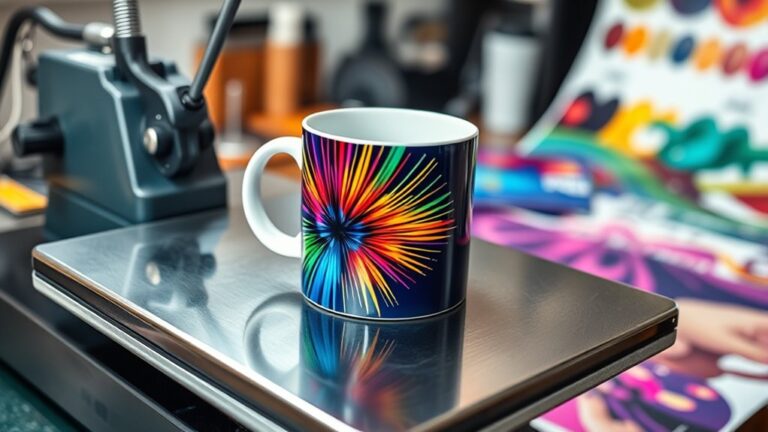
You’ll also want transfer tape to apply vinyl decals smoothly without bubbles. For heat press applications, a heat-resistant tape is essential to keep your design in place. Don’t forget a heat press or a mug press designed for curved surfaces to ensure even heat distribution.
Ultimately, a lint-free cloth and rubbing alcohol help clean the cup’s surface before applying your design, ensuring better adhesion. Having these tools ready will set you up for success.
Tips to Make Your Yeti Cup Designs Last Longer
To make your Yeti Cup designs last longer, start by preparing the surface properly to guarantee better adhesion. Use the right heat press settings to avoid damaging the design or cup.
Adding a protective layer can also shield your design from wear and tear.
Proper Surface Preparation
When you want your Yeti cup design to last, you need to prepare the surface carefully. Proper surface prep ensures your heat press design sticks well and resists peeling. Follow these steps:
- Clean the cup thoroughly with rubbing alcohol to remove oils and dirt.
- Dry the cup completely; moisture can ruin adhesion.
- Lightly sand the area where the design will go to create a better grip.
- Wipe off any sanding dust with a lint-free cloth.
Skipping these steps can cause your design to lift or fade quickly. Taking a few minutes to prep properly will make your Yeti cup look professional and keep your custom design intact for the long haul.
Optimal Heat Press Settings
Although choosing the right heat press settings might seem tricky, getting them right is essential to making your Yeti cup designs last. Set your heat press temperature between 350°F and 375°F to guarantee the vinyl adheres properly without damaging the cup’s finish. Apply firm pressure—medium to firm works best—to secure full contact between the design and surface.
Keep the pressing time short, around 15 to 20 seconds, to avoid overheating. Use a timer to maintain consistency with each cup you press. After pressing, let the cup cool naturally before handling it to allow the vinyl to set fully.
Sticking to these settings helps your design withstand washing and daily use, keeping your Yeti cup looking sharp for longer.
Protective Layer Usage
Since heat pressing alone can leave your Yeti cup design vulnerable to scratches and fading, using a protective layer is essential for durability. This layer acts as a shield, preserving your design’s vibrancy and preventing damage from daily use. To make your Yeti cup designs last longer, follow these tips:
- Use a clear heat-resistant tape to cover the design before pressing.
- Apply a silicone sheet or Teflon sheet over the cup during heat pressing to distribute heat evenly.
- After pressing, consider a clear epoxy or protective coating to guard against scratches.
- Avoid abrasive cleaners or scrubbing directly on the design to maintain the protective layer.
Frequently Asked Questions
Can Yeti Cups Be Customized Using Laser Engraving?
Yes, you can customize Yeti cups using laser engraving. You’ll get precise, durable designs that won’t peel or fade.
Just make sure to use a professional service experienced with stainless steel for the best results.
Are Yeti Cups Dishwasher Safe After Customization?
About 90% of Yeti cup users report their customization stays intact after dishwasher use. You shouldn’t worry; your customized Yeti cup is dishwasher safe, but to keep designs vibrant longer, hand washing is your safest bet.
What Types of Inks Work Best on Yeti Cups?
You’ll want to use permanent, oil-based inks or epoxy resin inks for Yeti cups. These inks bond well to metal surfaces, resist fading, and withstand washing, keeping your design vibrant and durable over time.
How Long Does It Take for Custom Designs to Dry on Yeti Cups?
Drying durations depend on design type, but typically, your custom creations can take anywhere from 24 to 72 hours to fully dry.
Don’t rush; allowing ample air and avoiding abrasions guarantees your art stays sharp and stunning.
Can You Use a Cricut Machine to Decorate Yeti Cups?
Yes, you can use a Cricut machine to decorate Yeti cups. Just cut your design on adhesive vinyl, weed it carefully, then apply it smoothly to your cup.
Avoid heat pressing to protect the finish.
Conclusion
Customizing your Yeti cup isn’t just a project—it’s a way to make it truly yours. But heat pressing can be like playing with fire, risking damage to your prized cup. Instead, choose safer methods like vinyl wraps or decals to keep your design vibrant and intact.
With the right tools and care, your personalized Yeti will stand out and last. These safer alternatives ensure your customization remains beautiful over time. When considering can you heat press a Yeti cup, it’s best to avoid heat pressing altogether.
Opt for methods that protect your cup’s finish and keep your design looking fresh. This approach guarantees your Yeti cup stays unique and durable.